
Repair problem
Leaking Troubleshooting Guides – Page 3
Published FixGraph guidance for diagnosing and responding to leaking.
Matching published guides
Choose a guide that matches the service, equipment, and conditions you are seeing.
-
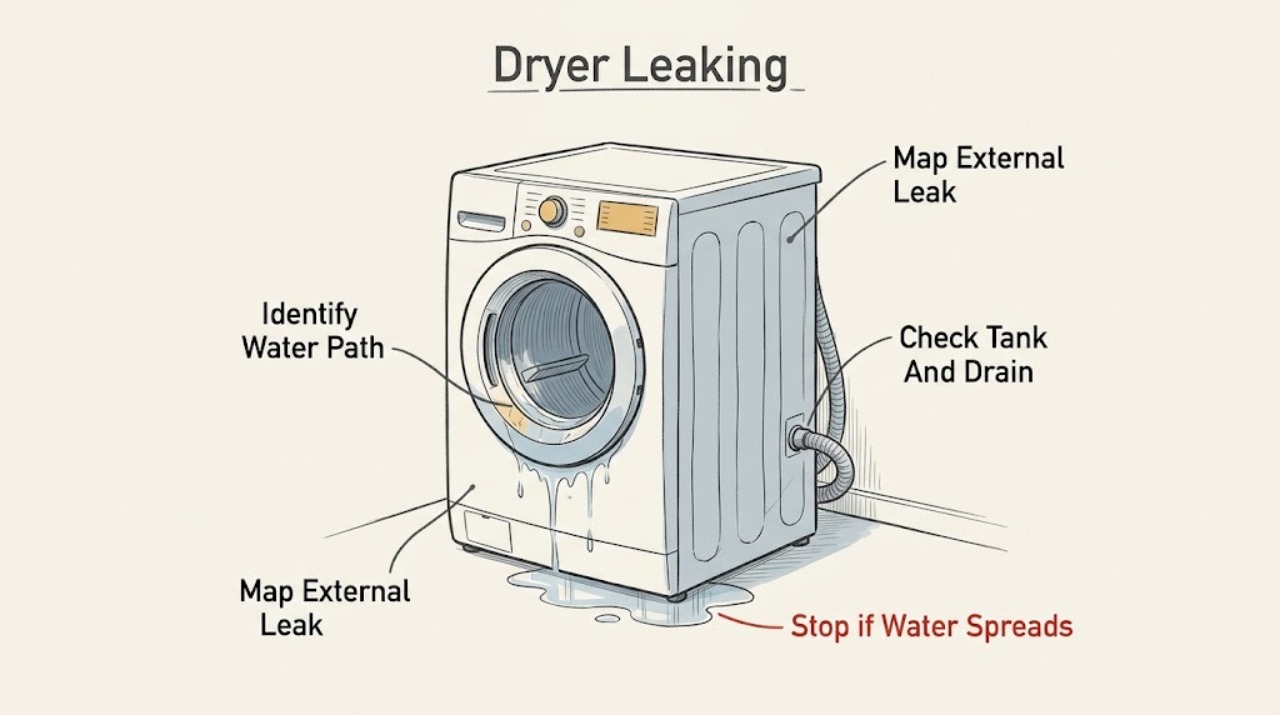
Fisher & Paykel Dryer Leaking: Check the Water Path Safely
A Fisher & Paykel dryer leak needs the dryer type identified before any check. On heat-pump or condensing models with a water tank, Fisher & Paykel lists a full or incorrectly fitted tank, an obstructed or disconnected drain hose, and a door that is not closed as possible causes of water under the machine.
-
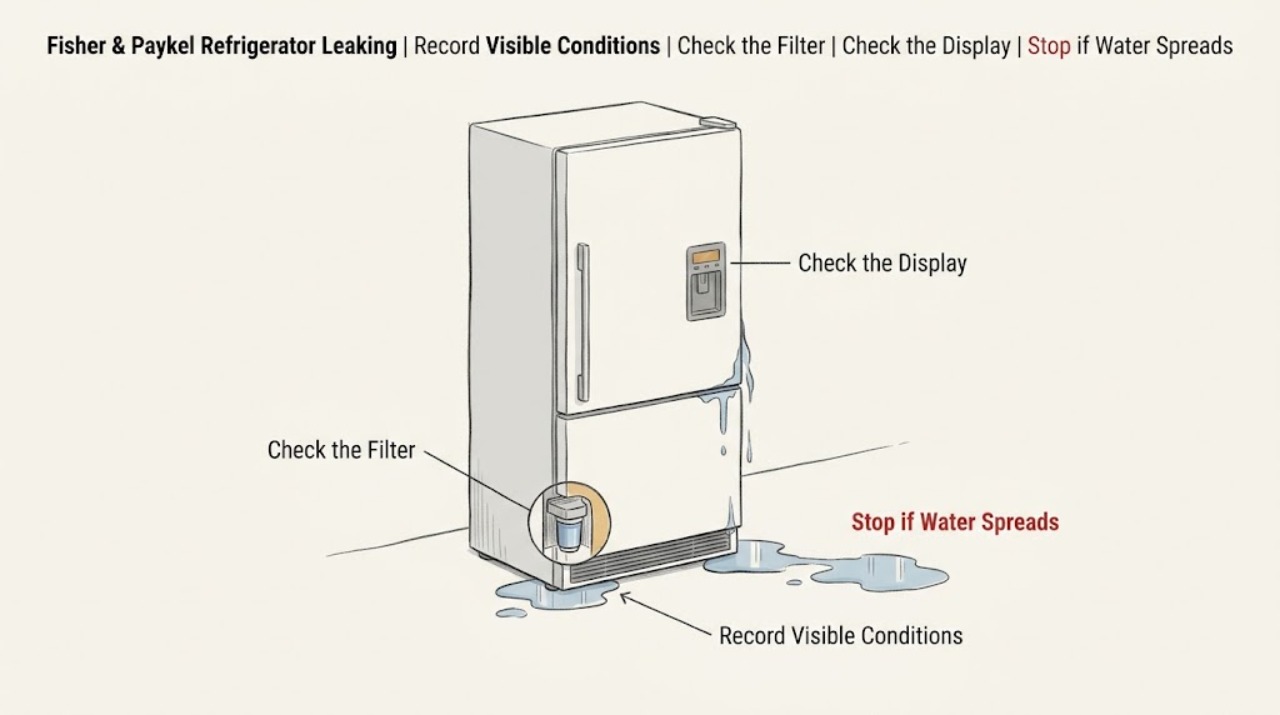
Fisher & Paykel Refrigerator Leaking
First identify where the water starts and whether the refrigerator has an Ice & Water or Automatic Ice configuration; not every Fisher & Paykel model has a water connection or dispenser.
-
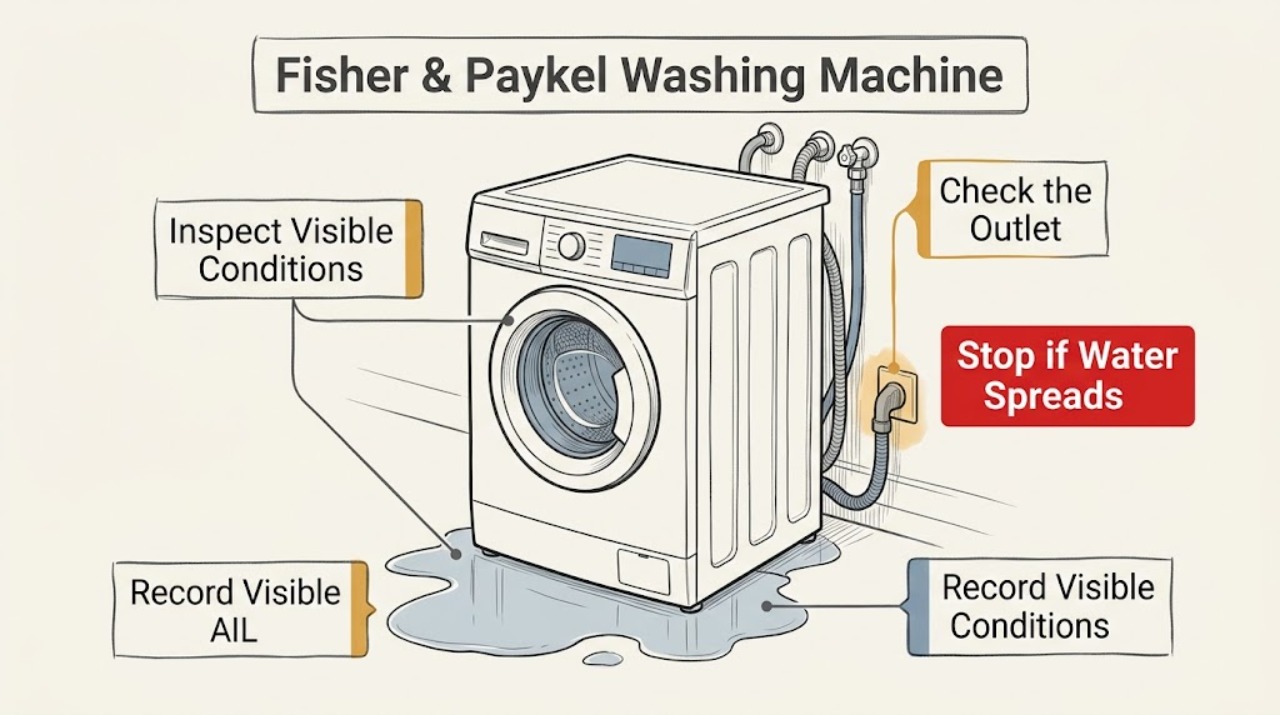
Fisher & Paykel Washing Machine Leaking: Find the Source Safely
For a leaking Fisher & Paykel washing machine, stop the cycle, keep clear of wet electrical parts, close the water taps, and find when the water appears: during filling, while draining, at the dispenser, around the door, or underneath.
-
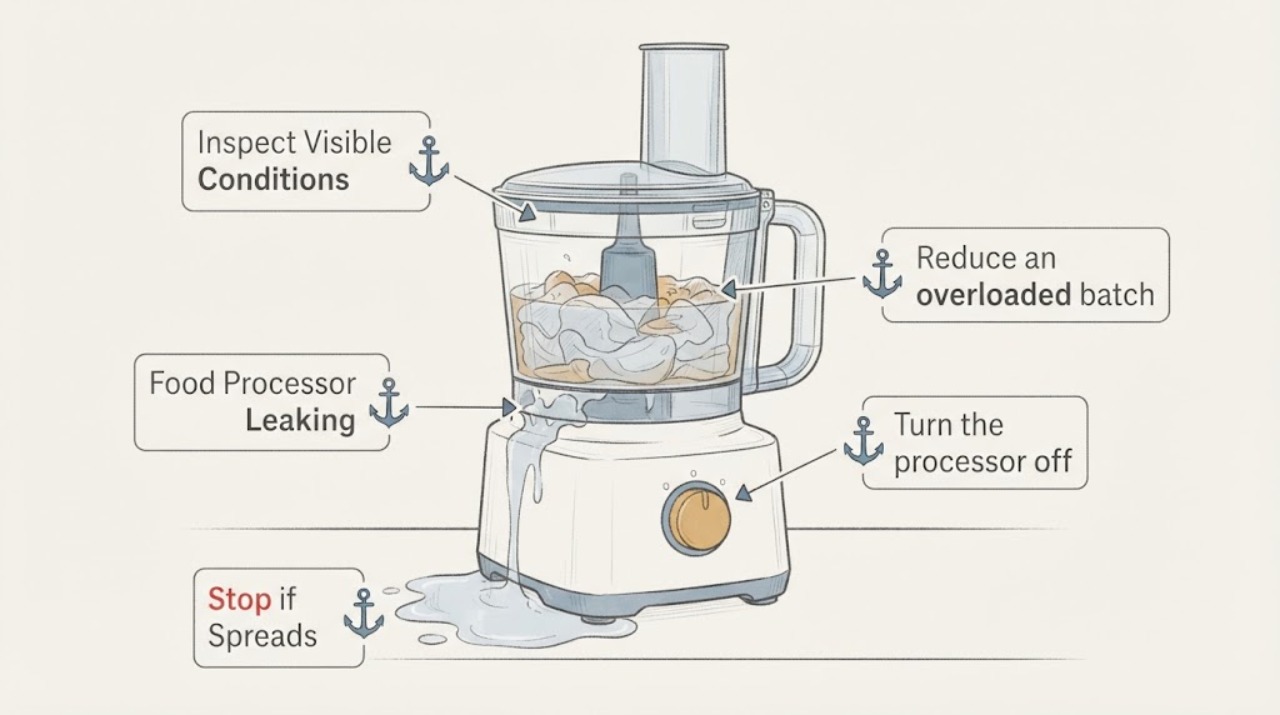
Food Processor Leaking
To troubleshoot a food processor that is leaking, first identify the exact stage and accompanying signs, then make only the safe external checks supported by the owner guidance. Stop for hazards or recurrence and arrange qualified service.
-
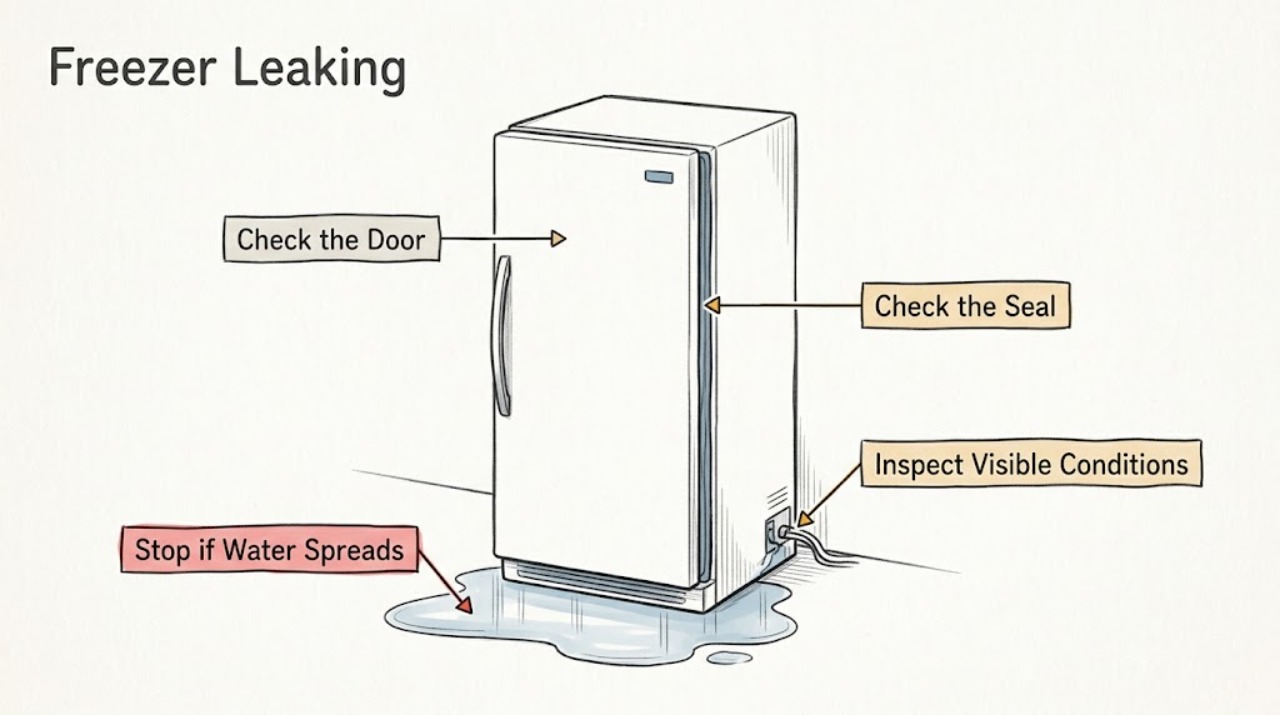
Freezer Leaking: Find the Water Source Without Creating an Electrical Hazard
First locate where water appears: around the door, inside the compartment, beneath the freezer, at a drain or drip pan, or near an ice-maker or water connection if fitted. A door that does not seal can admit warm air and create condensation or frost; a blocked defrost drain can overflow or freeze; an ice-maker line or connection can leak; and a spill or melting ice outside the appliance can be mistaken for a freezer leak.
-
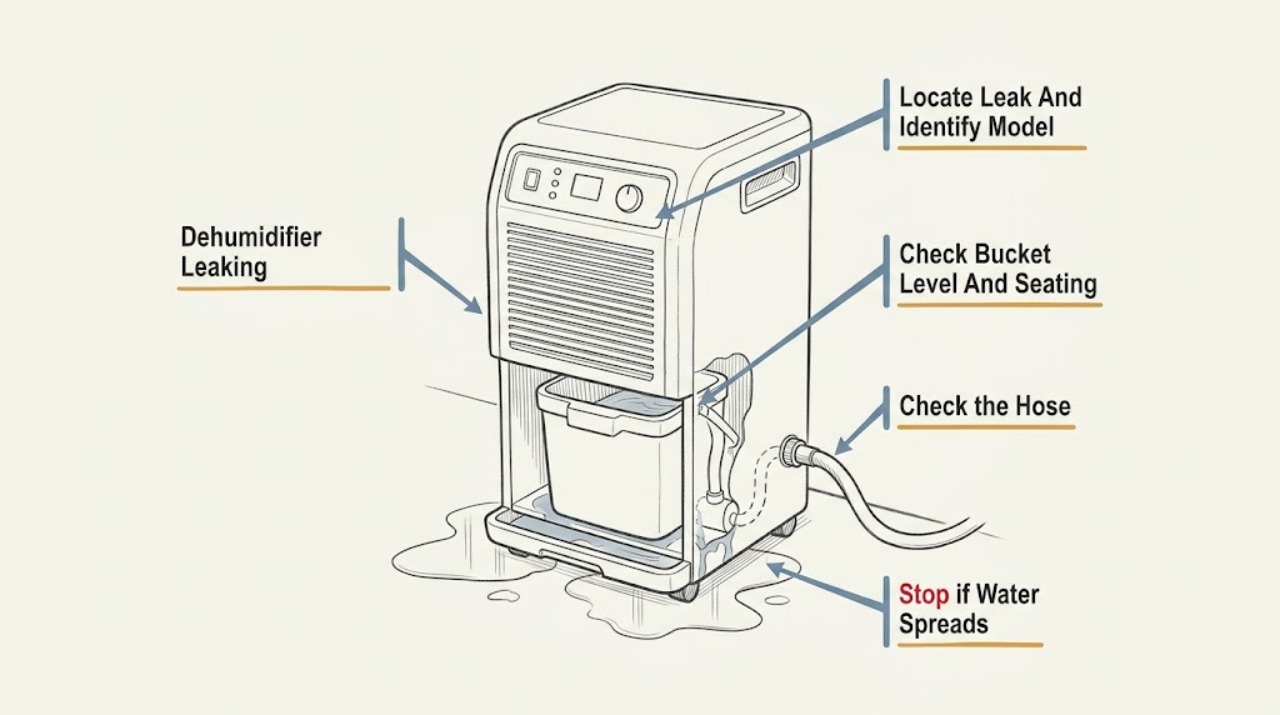
Frigidaire Dehumidifier Leaking: Bucket, Drain Hose, and Base Checks
First dry the floor, switch the Frigidaire dehumidifier off, and identify where water starts: around the bucket, at a continuous-drain hose, or from the base/cabinet. A tilted or damaged bucket can leak, so the unit should sit on a flat, level floor and the bucket should be checked for cracks and correct seating.
-
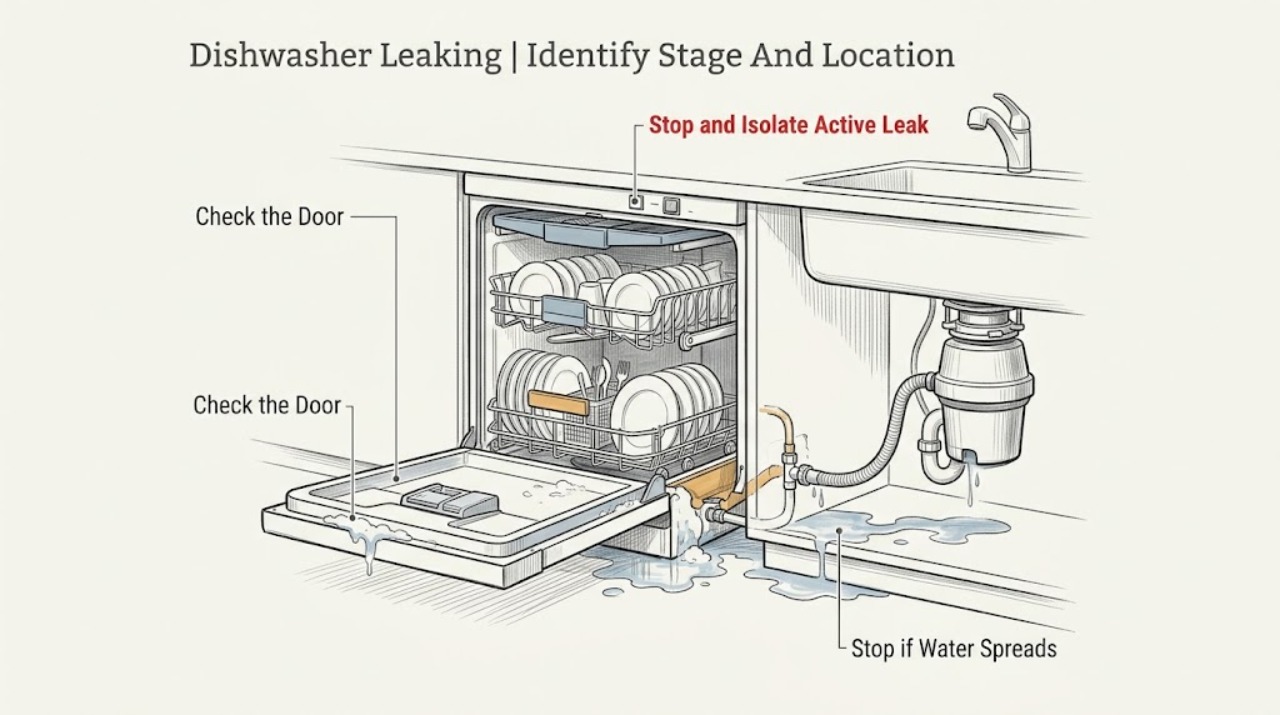
Frigidaire Dishwasher Leaking: Find the Leak by Stage and Location
Stop the cycle as soon as water is actively escaping, keep hands away from wet electrical areas, and close the accessible dishwasher water shutoff if the leak continues. Identify both when the leak starts and where the first wet point appears.
-
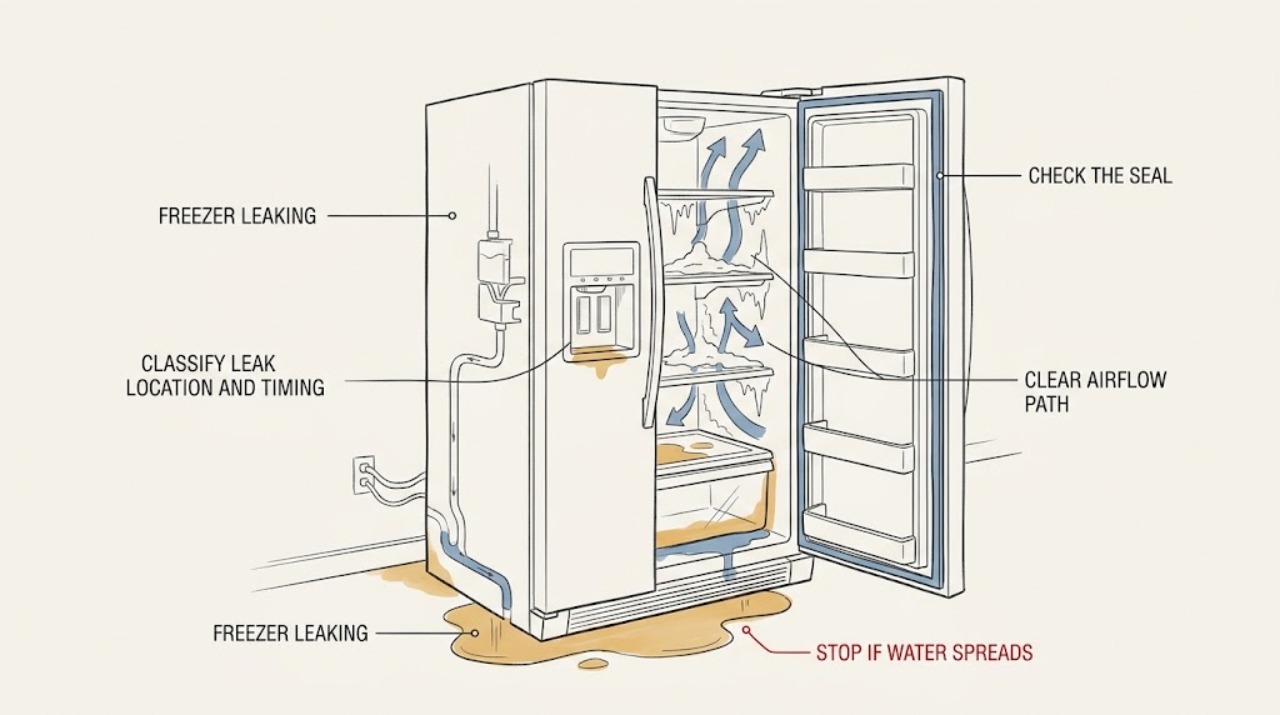
Frigidaire Freezer Leaking: Safe Checks and Service Signs
A leaking Frigidaire freezer may be showing condensation from a door or lid that is not sealing, meltwater from excess frost, a water connection or filter issue on a refrigerator-freezer model, or an ice-maker or dispenser leak. First locate whether water is on the floor, inside the compartment, around the door, or below an ice or water dispenser, and note when it appears.
-
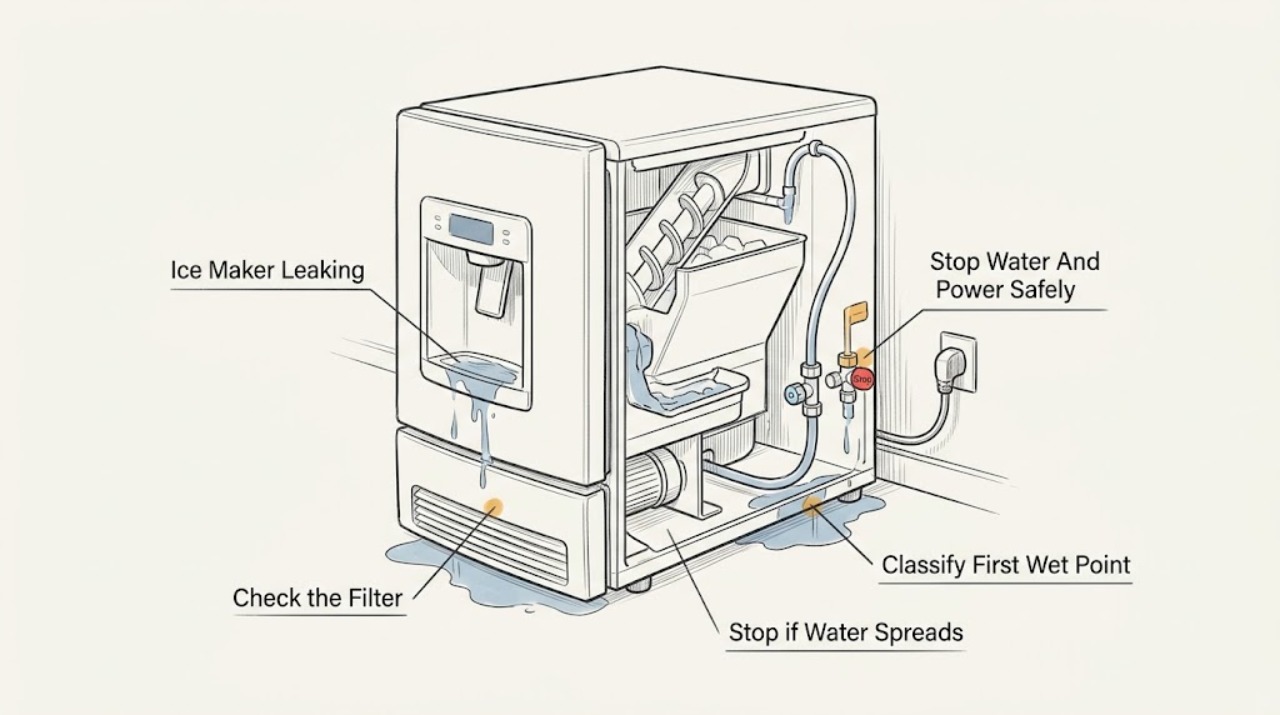
Frigidaire Ice Maker Leaking: Trace the Water Before Replacing Parts
If a Frigidaire ice maker is actively leaking, stop the water first at the refrigerator's accessible shutoff or household supply valve, and disconnect power only from a safe, dry location if water is near electrical parts.
-
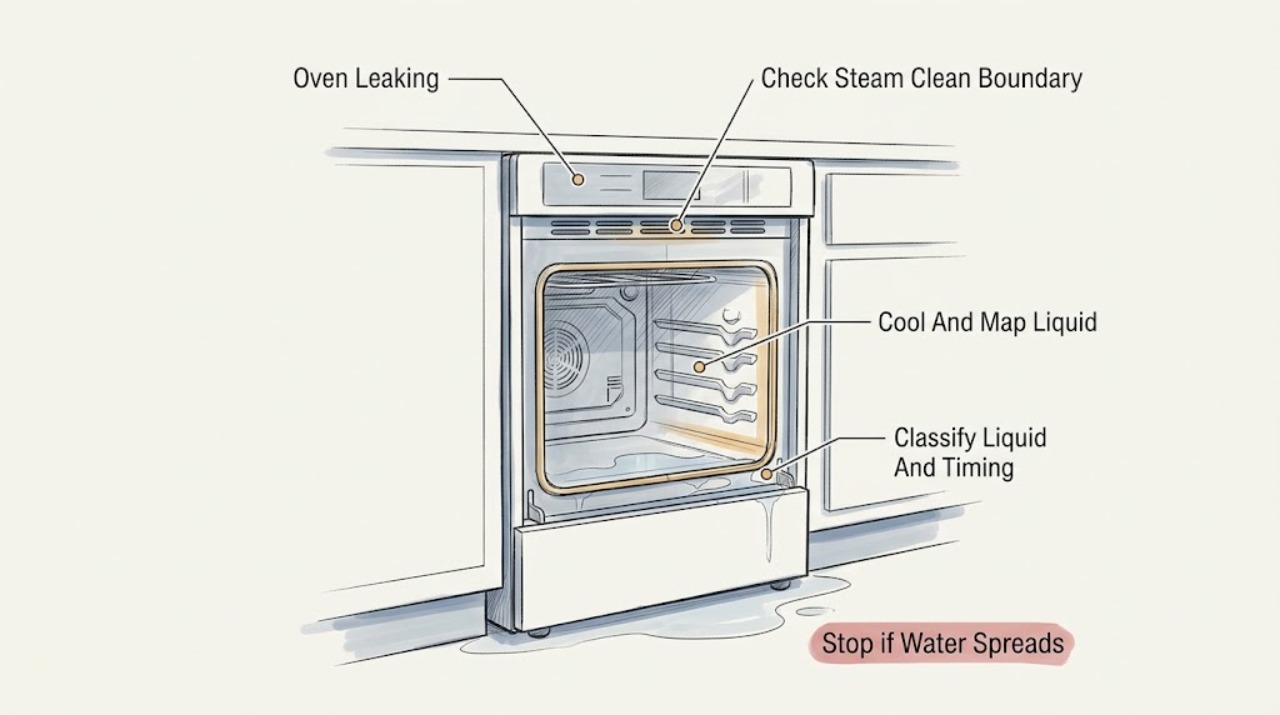
Frigidaire Oven Leaking
First turn the Frigidaire oven off, let it cool, and identify whether the liquid is a small amount of water from a recent Steam Clean cycle, food or grease from cooking, condensation near the vent or door, or an unexplained leak from beneath, behind, or around the controls.
-
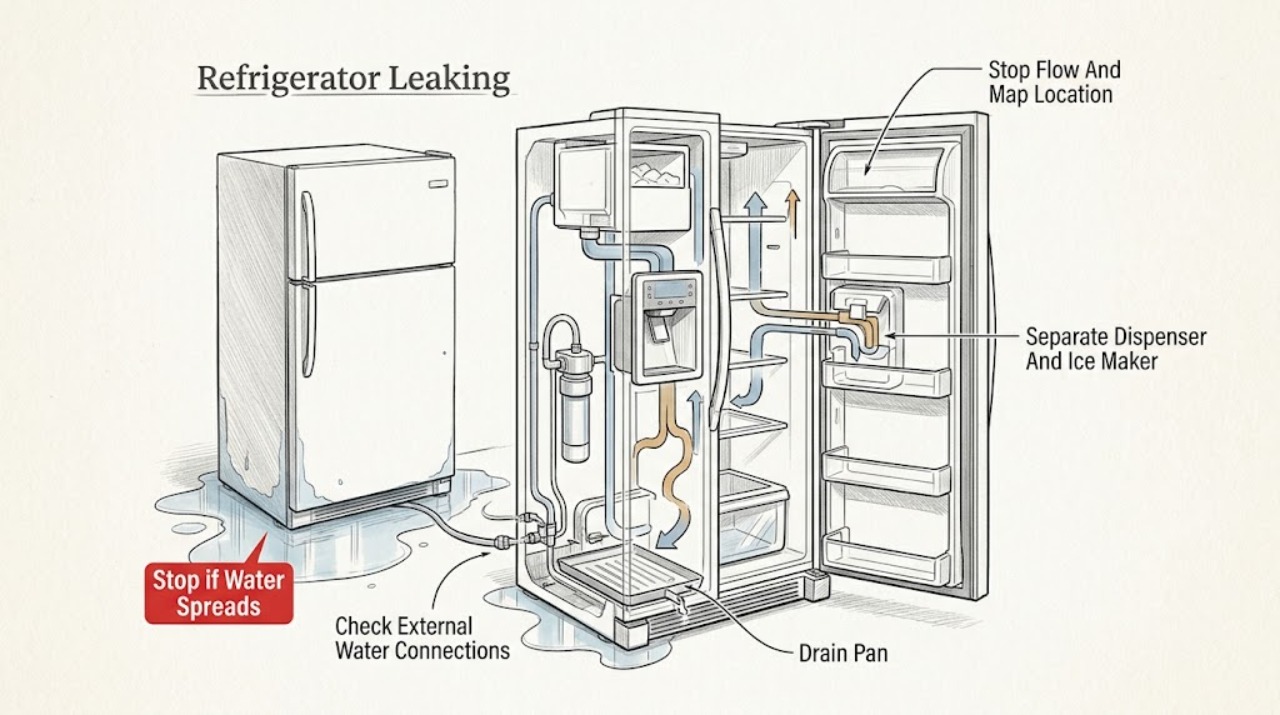
Frigidaire Refrigerator Leaking: Trace the Water by Source, Location, and Timing
Stop the water first if a refrigerator with an ice maker or dispenser is leaking continuously: close the accessible refrigerator water shutoff valve, keep water away from electrical parts, and wipe up the floor. Then trace the highest wet point rather than the largest puddle.
-
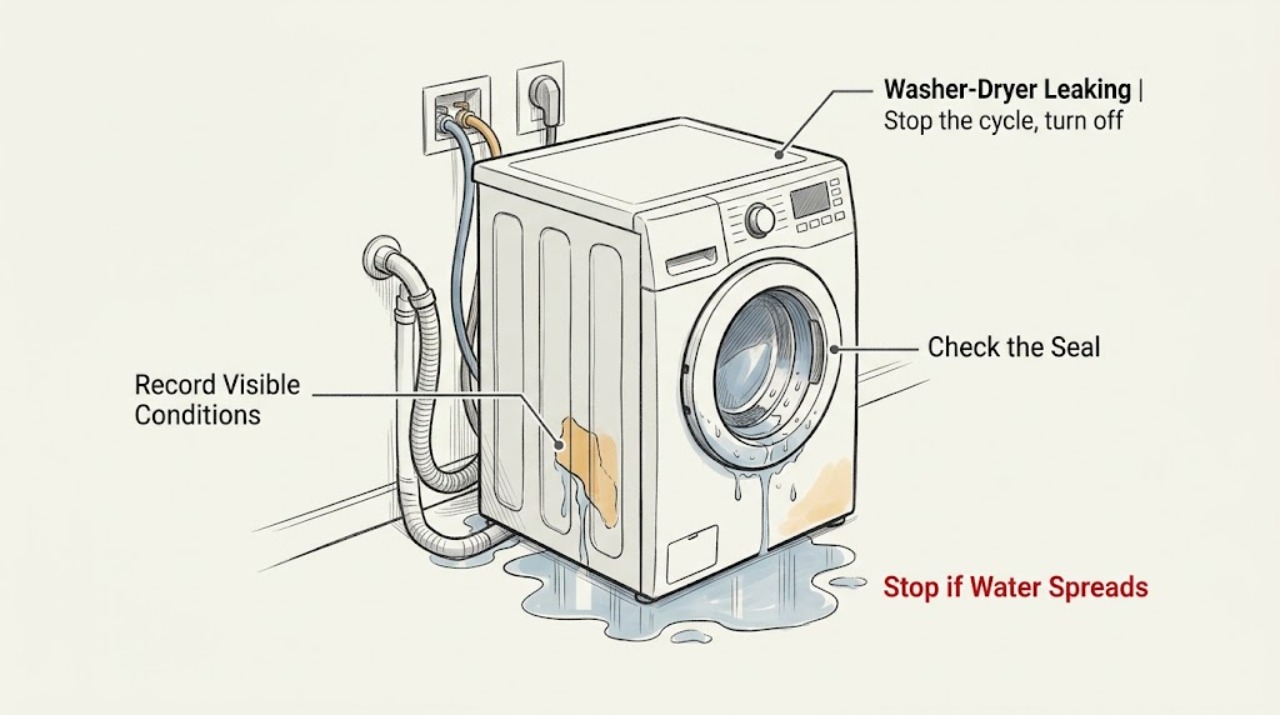
Frigidaire Washer-Dryer Leaking: Find the Source Before Reconnecting Water
Stop the cycle, keep people away from standing water near the appliance, and turn off the washer water supply; disconnect power only if the plug and area are safe to reach. Then note whether water comes from the front, back, underneath, the drain, or suds, and whether it appears during fill, wash, drain, or spin.
-
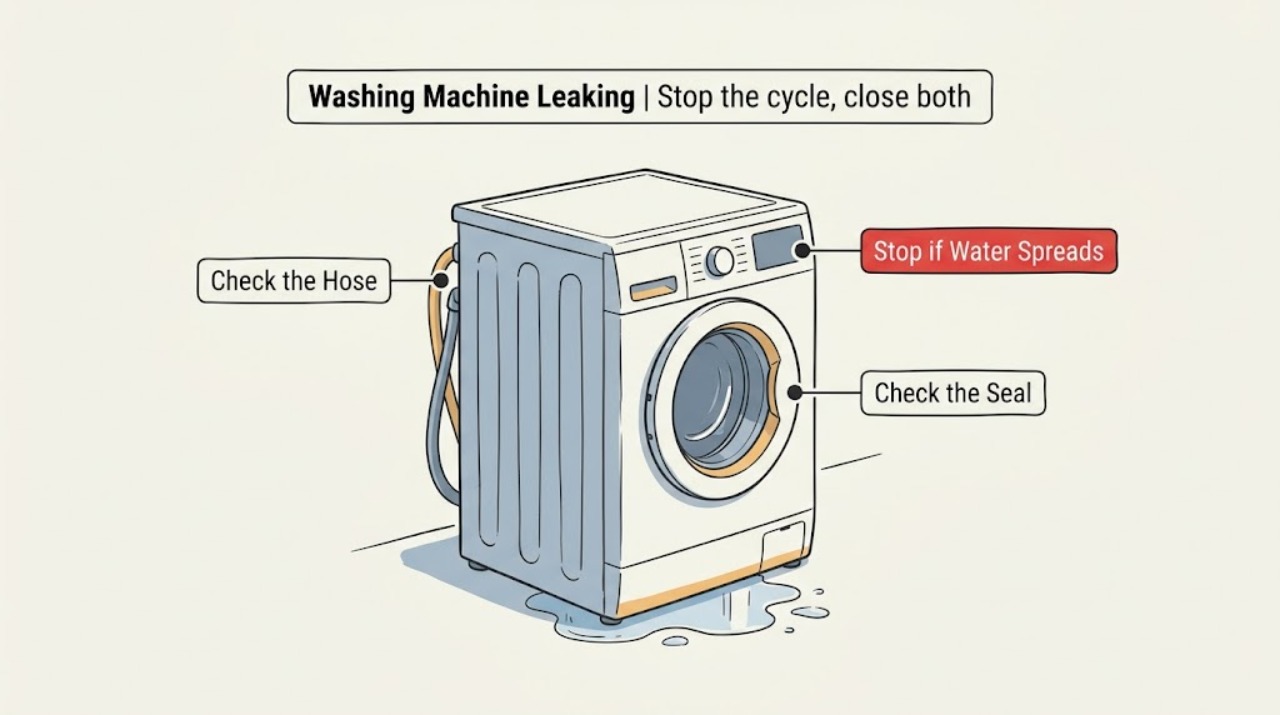
Frigidaire Washing Machine Leaking: Locate the First Wet Point
Stop the Frigidaire washing machine, close the hot and cold water valves, and disconnect power only from a dry, safe position. Wipe up enough water to identify where it first returns: the inlet hoses and connections, drain hose or standpipe, door or lid, detergent area, or underneath the cabinet.
-
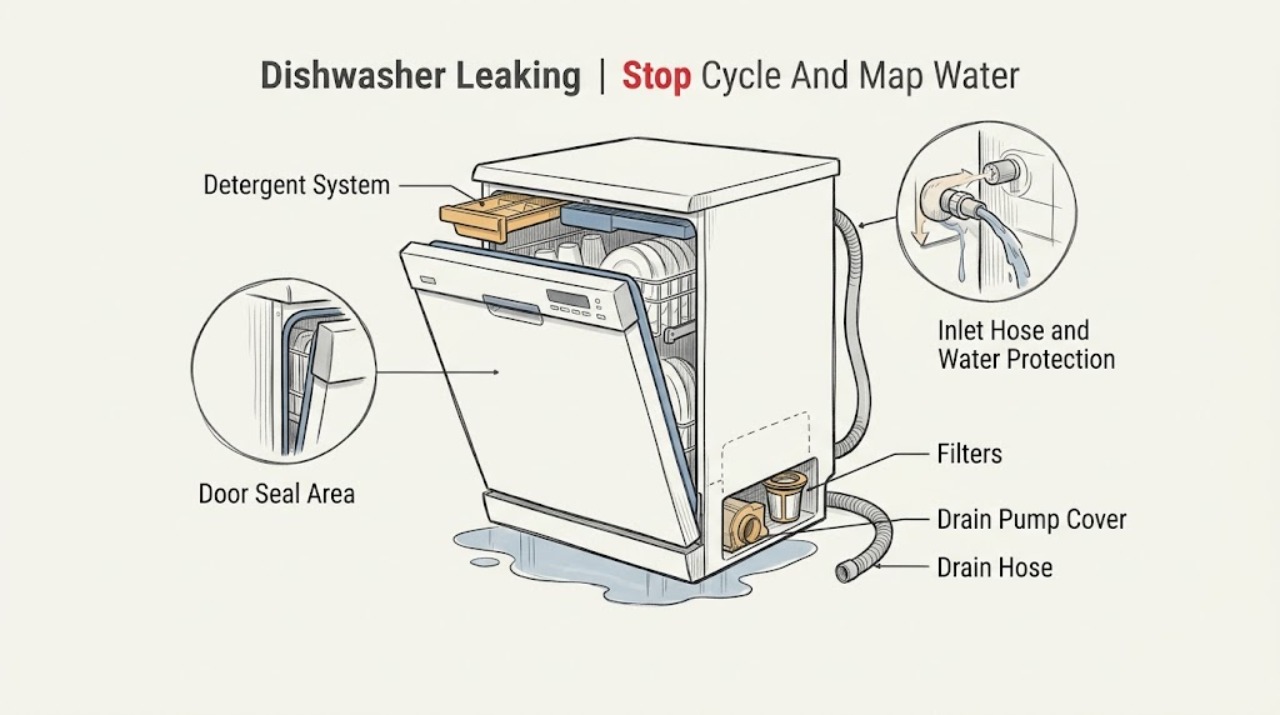
Gaggenau Dishwasher Leaking
Stop the cycle and identify where the water is coming from before running the Gaggenau dishwasher again. Water at the door can result from a projecting dish preventing closure; suds can result from an incompatible detergent such as hand soap; water from the base or a continuously filling appliance needs a stronger stop boundary.
-
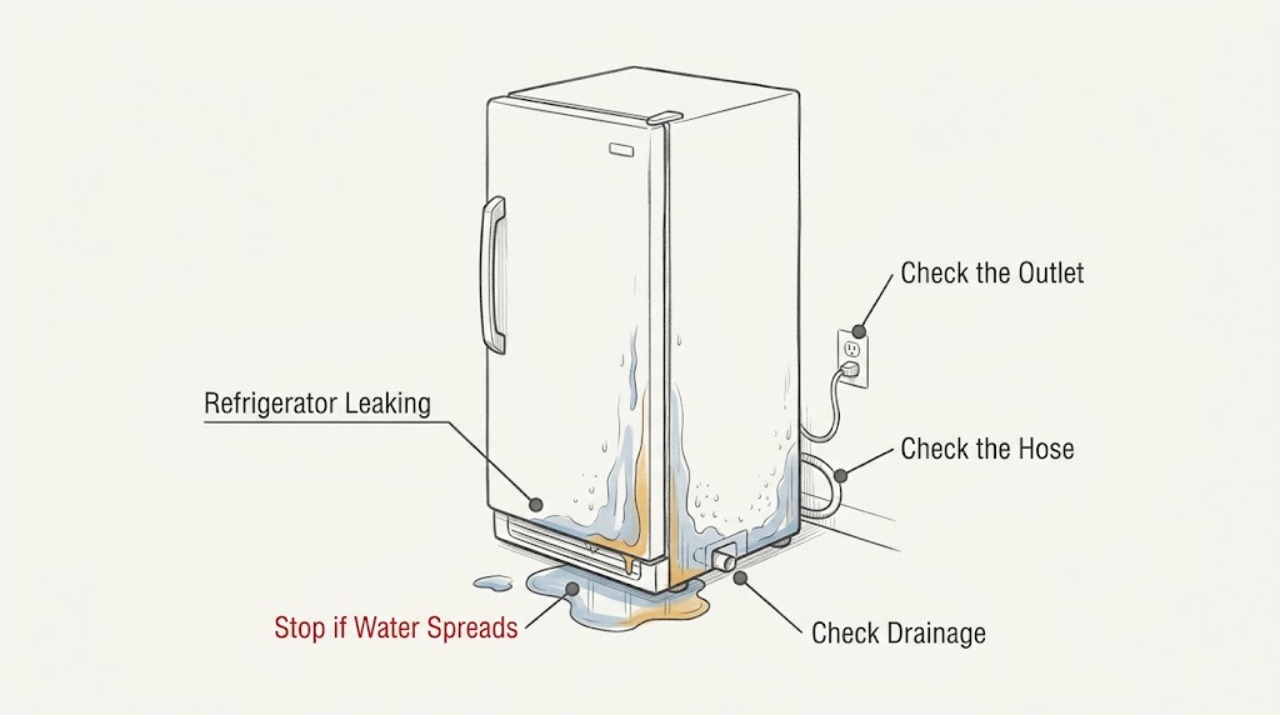
Gaggenau Refrigerator Leaking
First make the area safe and identify whether the water is coming from an external water connection, the inside rear drain path, the door area, or an unknown location. Gaggenau refrigerator families differ: only models equipped with a water dispenser or ice maker have the corresponding supply hose and connections.
-
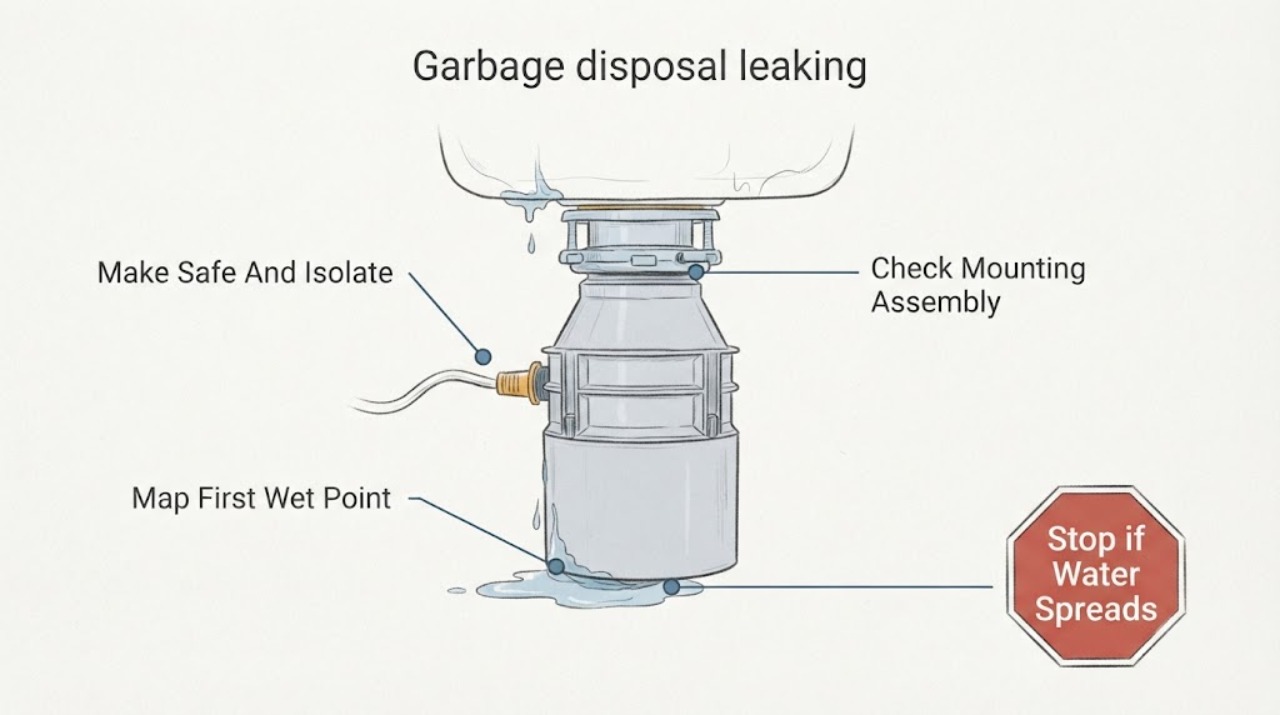
Garbage disposal leaking: find the first wet point before repairing it
A leaking garbage disposal should be traced to its first wet point before any repair: the common paths are the sink-side mounting assembly, dishwasher inlet, discharge gasket or elbow, adjacent plumbing, or a leak through the disposal body or motor joint.
-
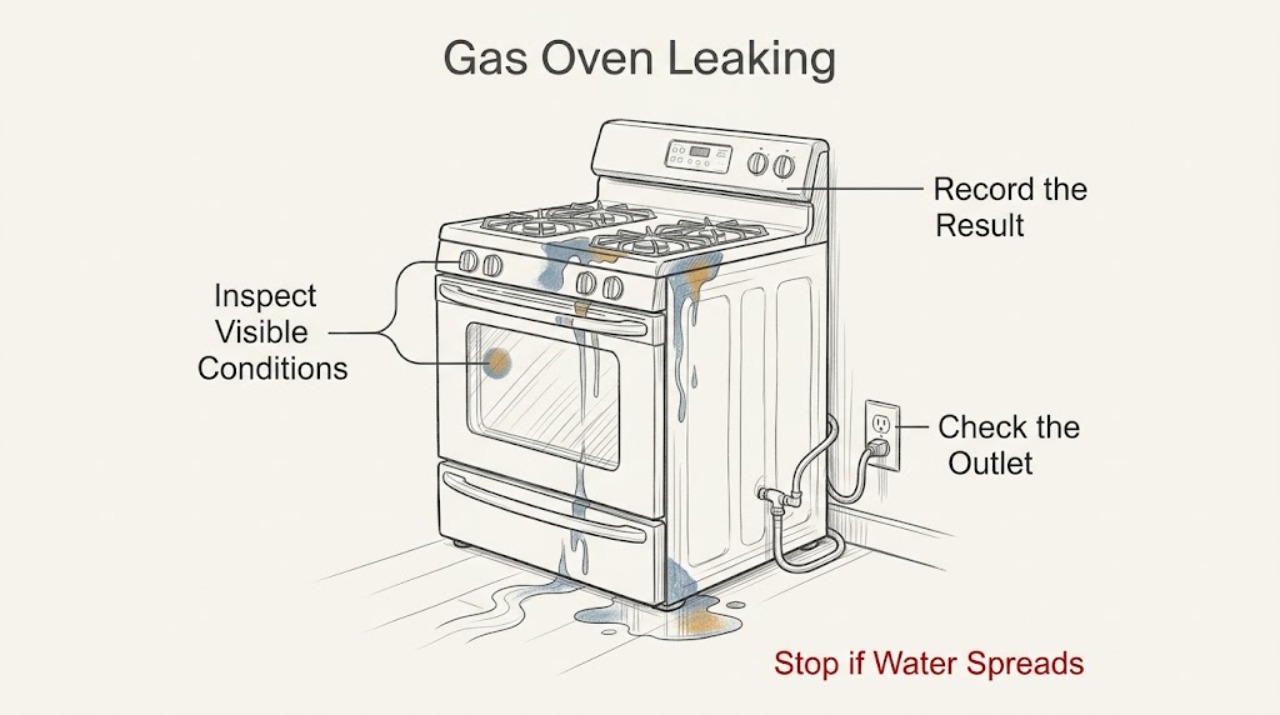
Gas Oven Leaking: Separate Gas, Liquid, Steam, and Door-Seal Risks
Treat a gas-oven leak as a safety triage problem, not a part-replacement problem. If you smell gas, hear hissing, see an abnormal flame, or suspect unburned gas, leave immediately without operating switches, flames, or a phone inside; contact the gas utility or emergency services from a safe location.
-
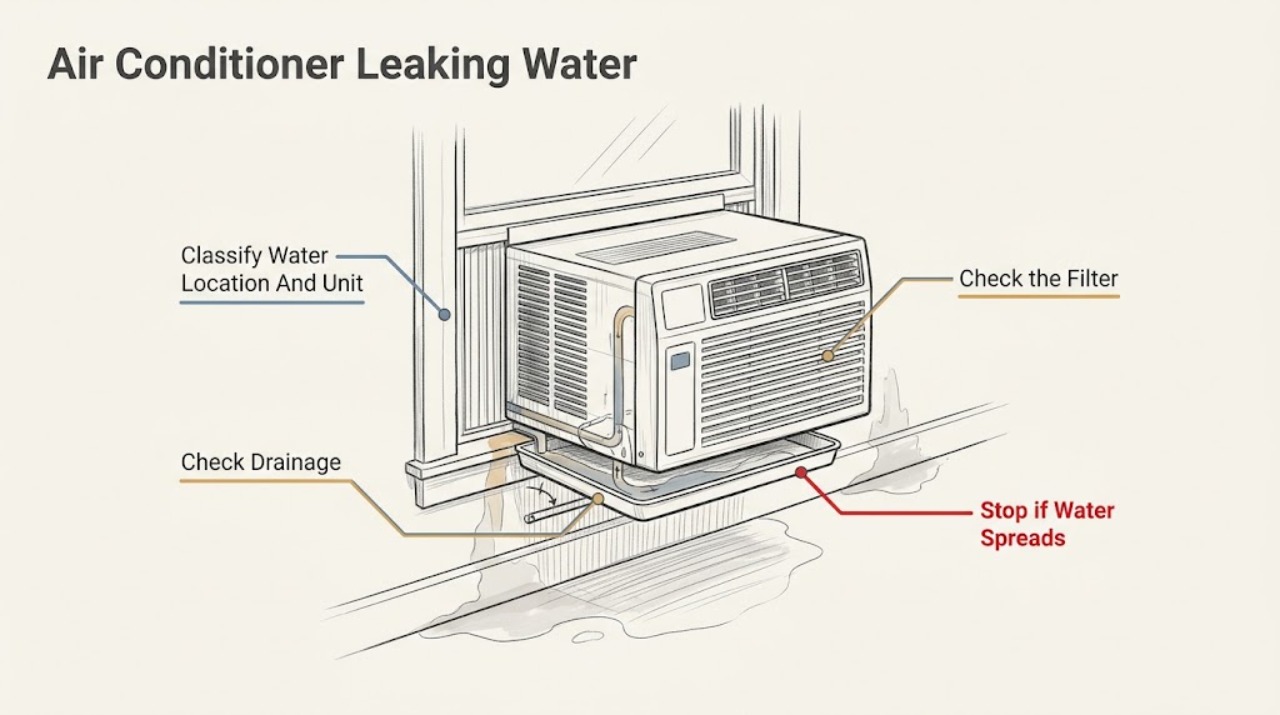
GE Air Conditioner Leaking Water: Tell Normal Outside Drainage from an Indoor Leak
First identify where the water lands. Water dripping from the outdoor side of a GE window room air conditioner can be normal: condensation and rain collect in the base pan and a rear fan slinger ring throws some water onto the condenser; GE says not to drill a drain hole or routinely remove a drain plug because that can reduce efficiency.
-
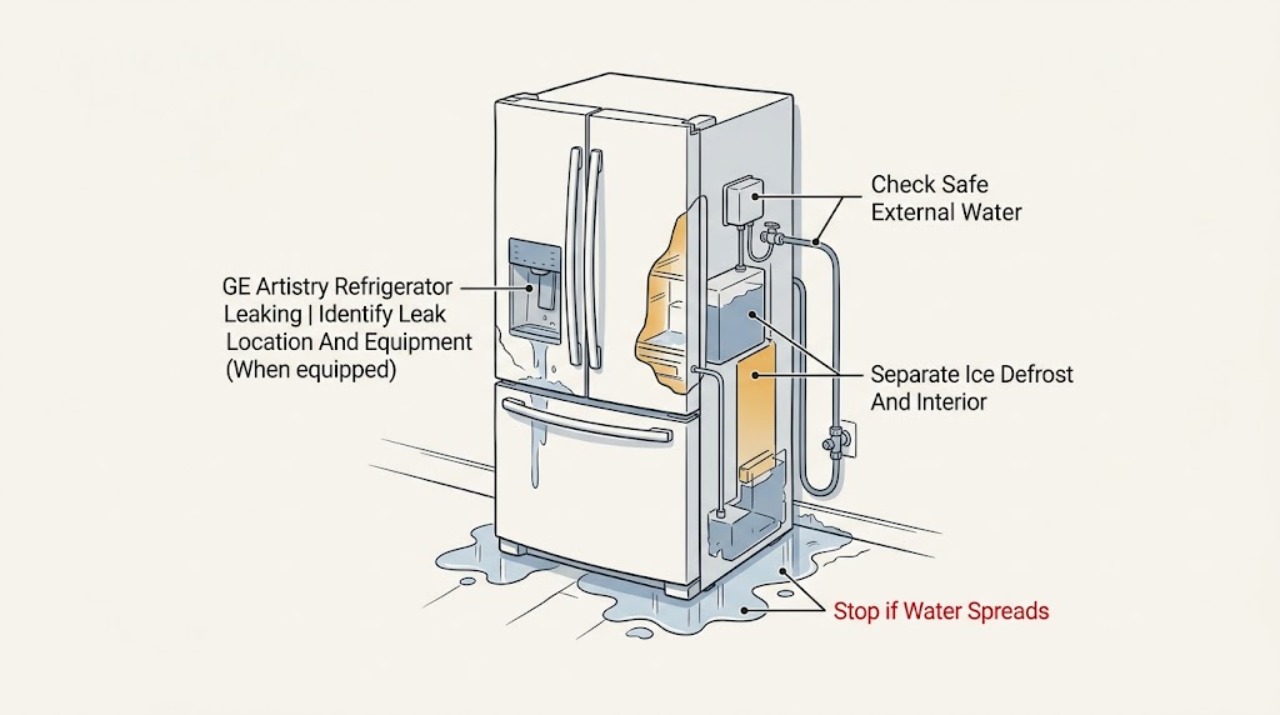
GE Artistry Refrigerator Leaking: Trace the Water Before It Reaches Electrical Parts
First identify where the water starts: under the refrigerator or at the rear connection, inside the fresh-food compartment, under the freezer, around an optional icemaker, or only below a dispenser on a different equipped model. The opened GE Artistry product page describes a bottom-freezer refrigerator with no dispenser and an optional icemaker, so do not assume every Artistry unit has the same water path.
-
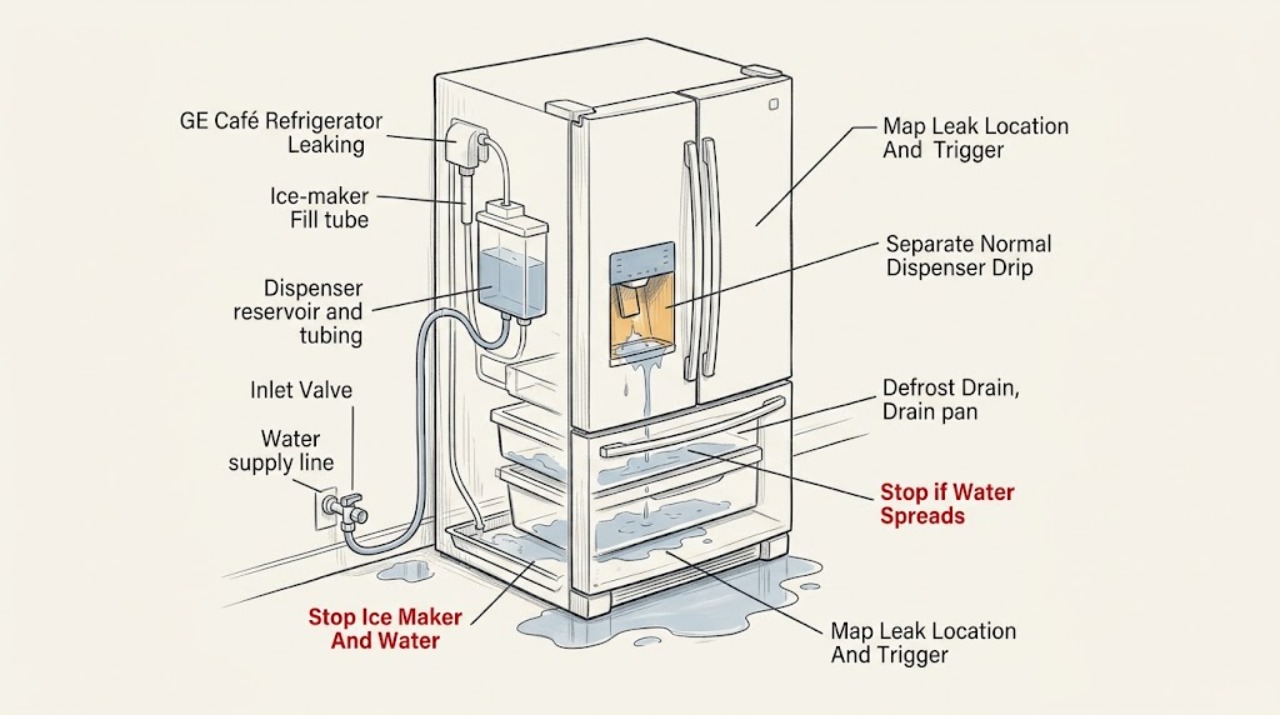
GE Café Refrigerator Leaking: Find the Source and Stop Water Safely
Trace the water to its highest visible point and note whether it appears after dispensing, ice making, defrost, or door opening. A few drops from a dispenser immediately after use can be normal, but dripping that continues long after the glass is removed needs service.
-
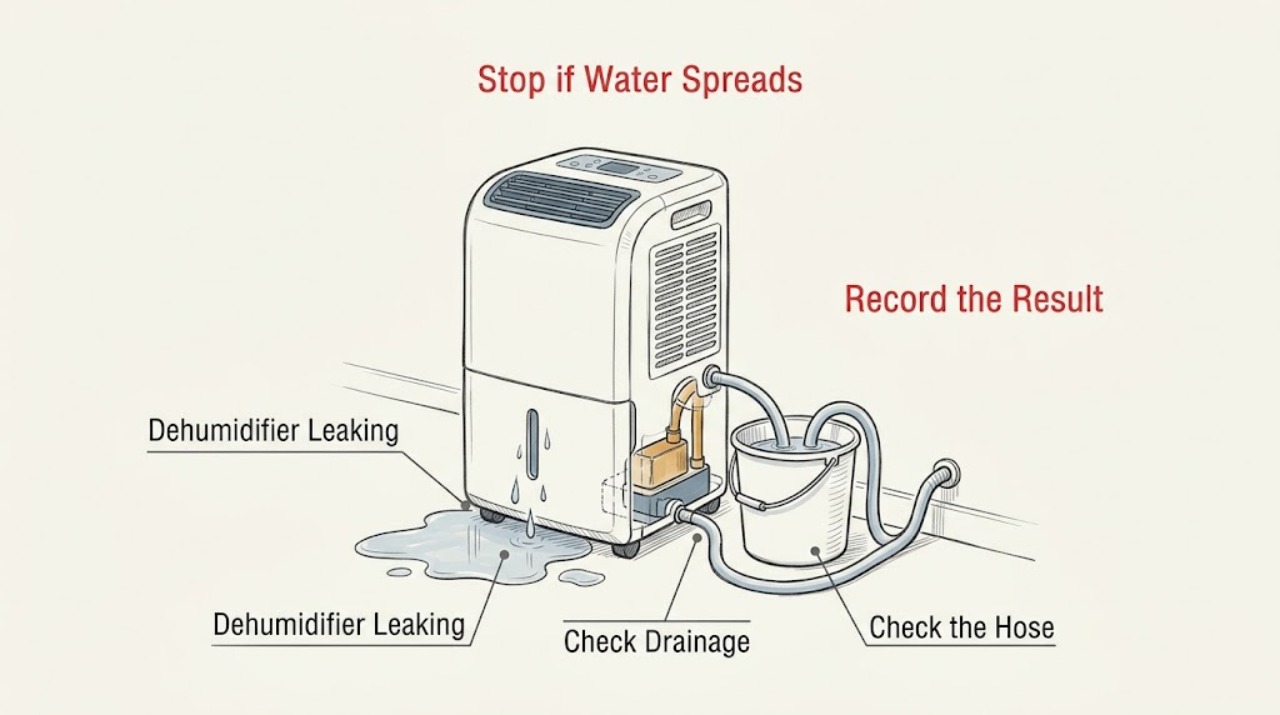
GE Dehumidifier Leaking
If a GE dehumidifier is putting water on the floor, first move water away from electrical connections and stop the appliance if the leak is near the cord or outlet. Then identify whether you intend to use the bucket, a gravity drain hose, or an internal pump: GE says a hose connection can leak when loose, and a hose should not be attached when the bucket is the chosen collection method.
-
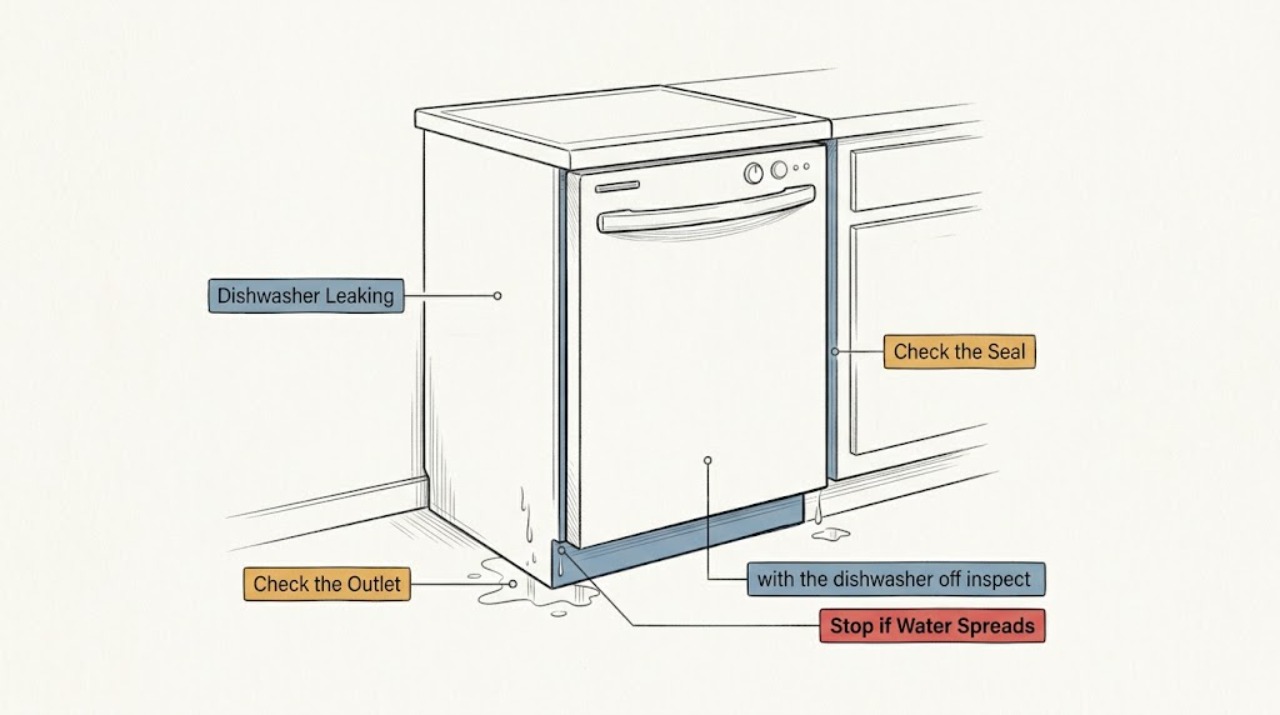
GE Dishwasher Leaking
If a GE dishwasher is leaking, stop the cycle and keep water away from the plug, outlet, and other electrical equipment. First locate the water: at the door, beneath the dishwasher, in the adjacent cabinet, or at the sink air gap.
-
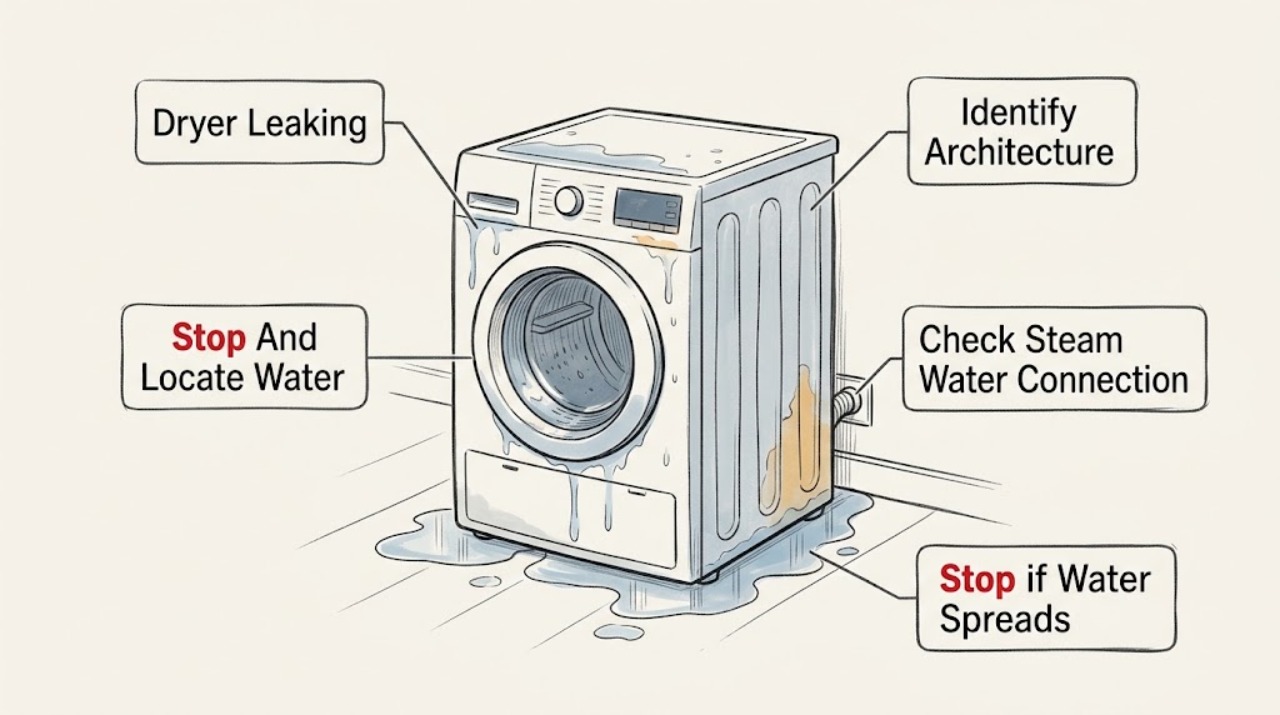
GE Dryer Leaking: Find the Water Source Before Service
A GE dryer leak has different likely paths depending on the dryer architecture and where the water appears. A ventless condenser dryer collects water in a tank or sends it through a drain hose, and GE says pushing that hose more than 4 inches into the standpipe can cause leaking.
-
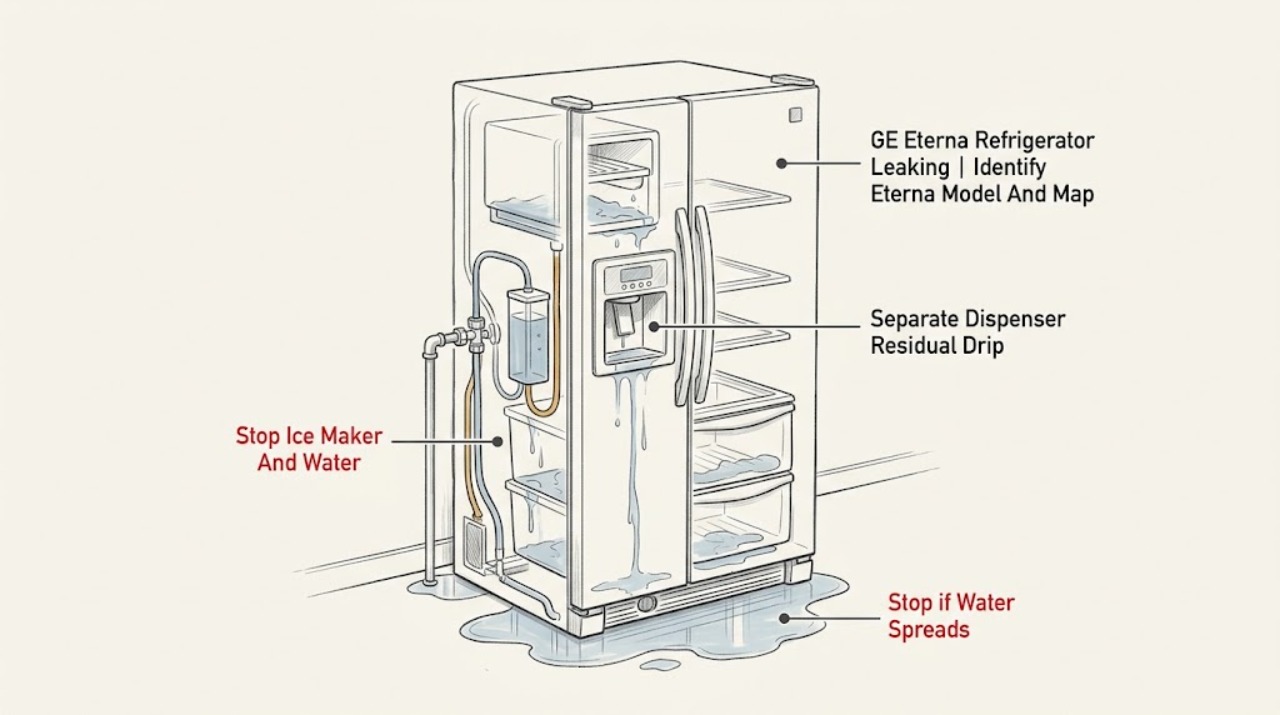
GE Eterna Refrigerator Leaking: Trace the Source and Stop Water Safely
GE describes Eterna as a legacy GE derivative appliance line that is no longer manufactured, so begin by photographing the model and serial label and finding the exact manual; do not assume a current GE or another Eterna configuration has the same drain or water path. Trace the leak to its highest visible point.
-
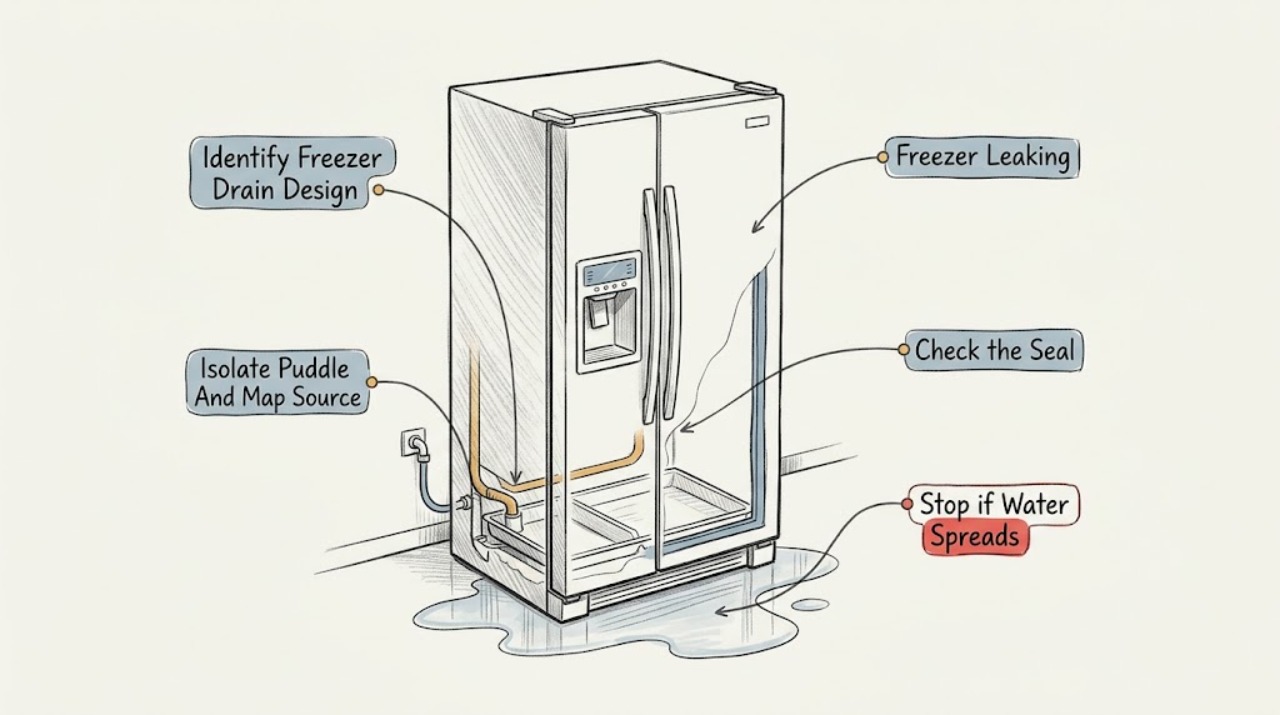
GE Freezer Leaking: Trace the Water Before It Reaches the Floor
A leaking GE freezer is usually a water-path problem, but the correct check depends on whether it is a self-defrost upright, a manual-defrost chest freezer, a bottom-freezer refrigerator, or a freezer with an ice maker. First protect people from the puddle, keep water away from outlets and wiring, and record where the water starts: inside the freezer floor, around the door, at the rear or base, or near an ice maker or supply line.
-
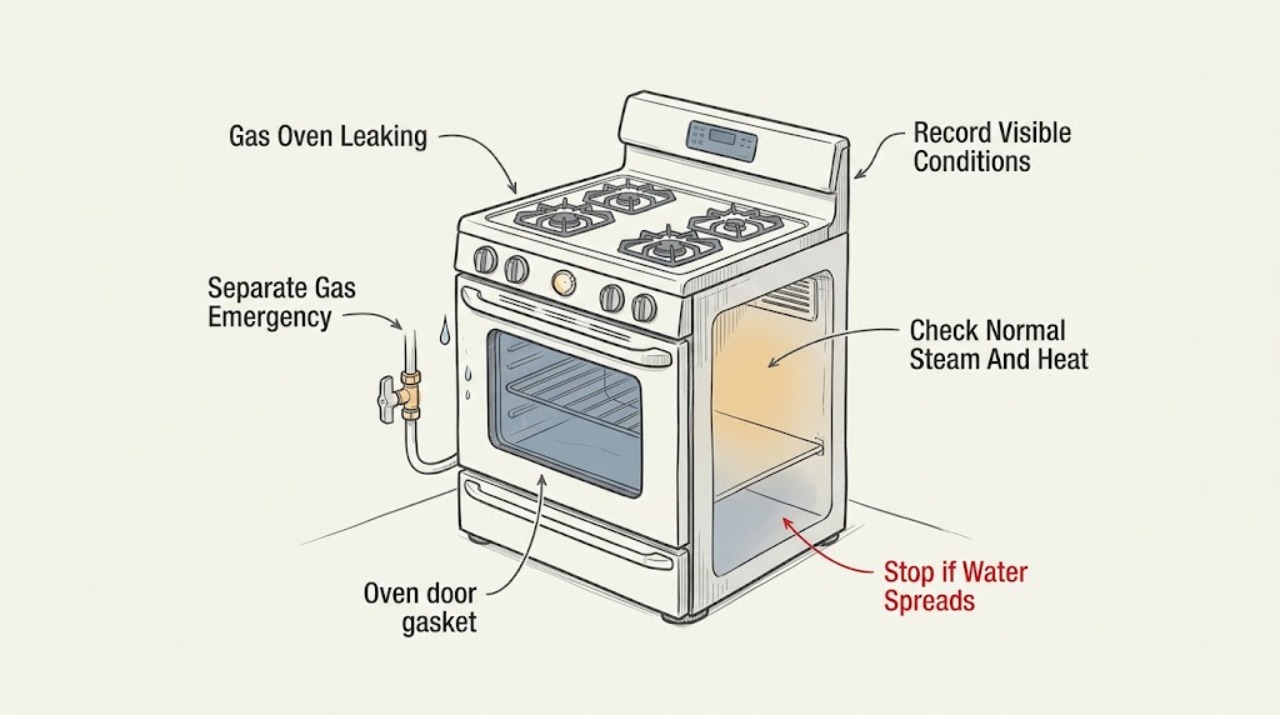
Ge Gas Oven Leaking
First identify what is leaking. A rotten-egg or unburned-gas odor, a hiss, or a suspected leak at the range means leave immediately, do not operate lights, switches, appliances, or a phone inside, and contact the gas supplier or emergency services from outside; do not move the range to inspect its connector.
-
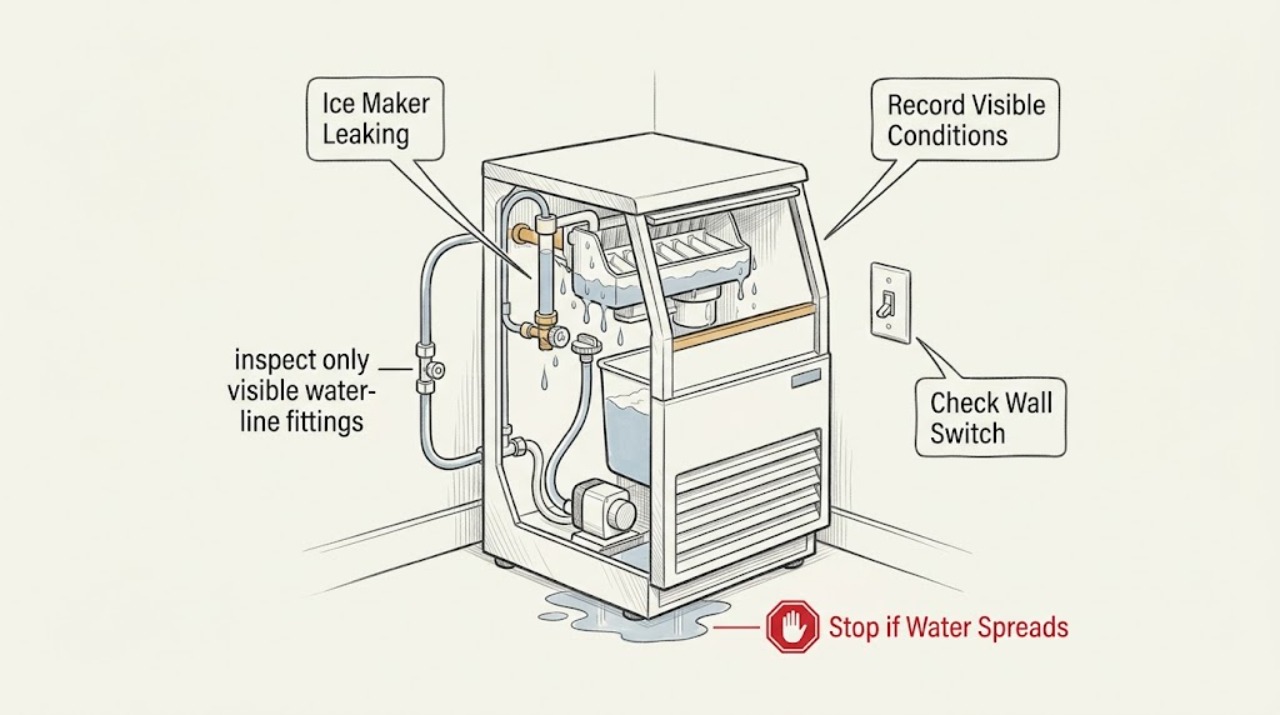
GE Ice Maker Leaking: Identify the Refrigerator, Stand-Alone, or Opal Water Path
First identify the product: GE's refrigerator icemaker guidance is not the same as its stand-alone ice maker guidance, and an Opal unit has its own troubleshooting path. If water is near a plug or outlet, stop the appliance and disconnect power only from a safe, dry position.
-
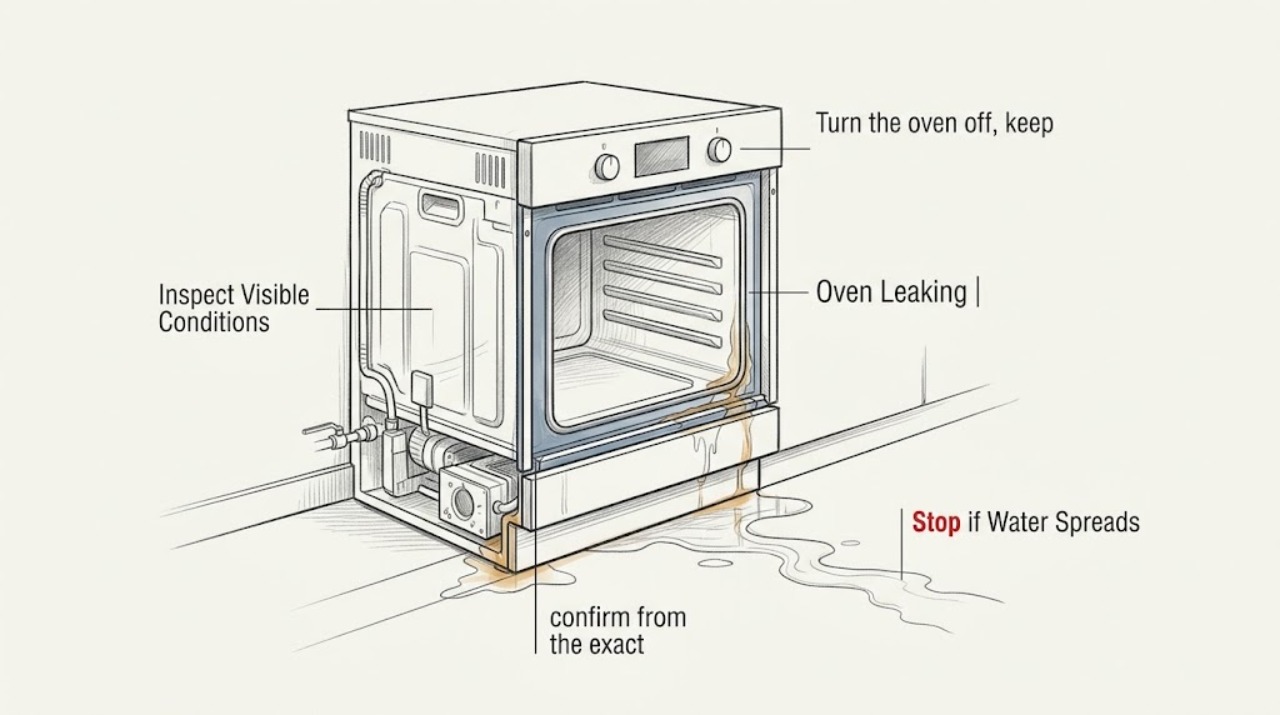
GE Oven Leaking: Tell Water, Steam, and Gas Problems Apart Safely
First identify what is leaking and where it appears. Water in or below the oven after a GE Steam Clean cycle can be expected because the cycle uses water and may leave moisture behind; wipe it up only when the oven is cool.
-
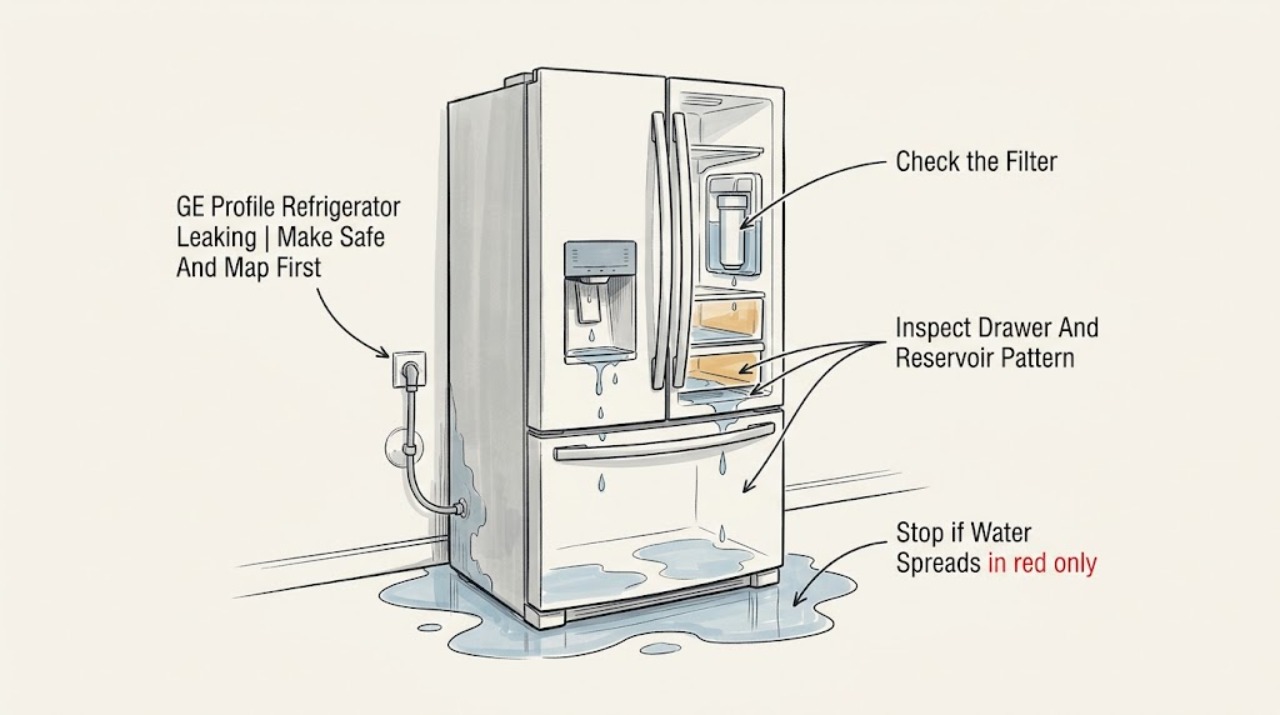
GE Profile Refrigerator Leaking: Trace the Water Before You Reset Anything
First contain the water and identify where it starts: dispenser recess, filter area, under fresh-food drawers, freezer floor, rear connection, or the floor in front. If water is near an outlet, cord, or other electrical part, stop using the refrigerator and isolate power only from a safe accessible point.
-
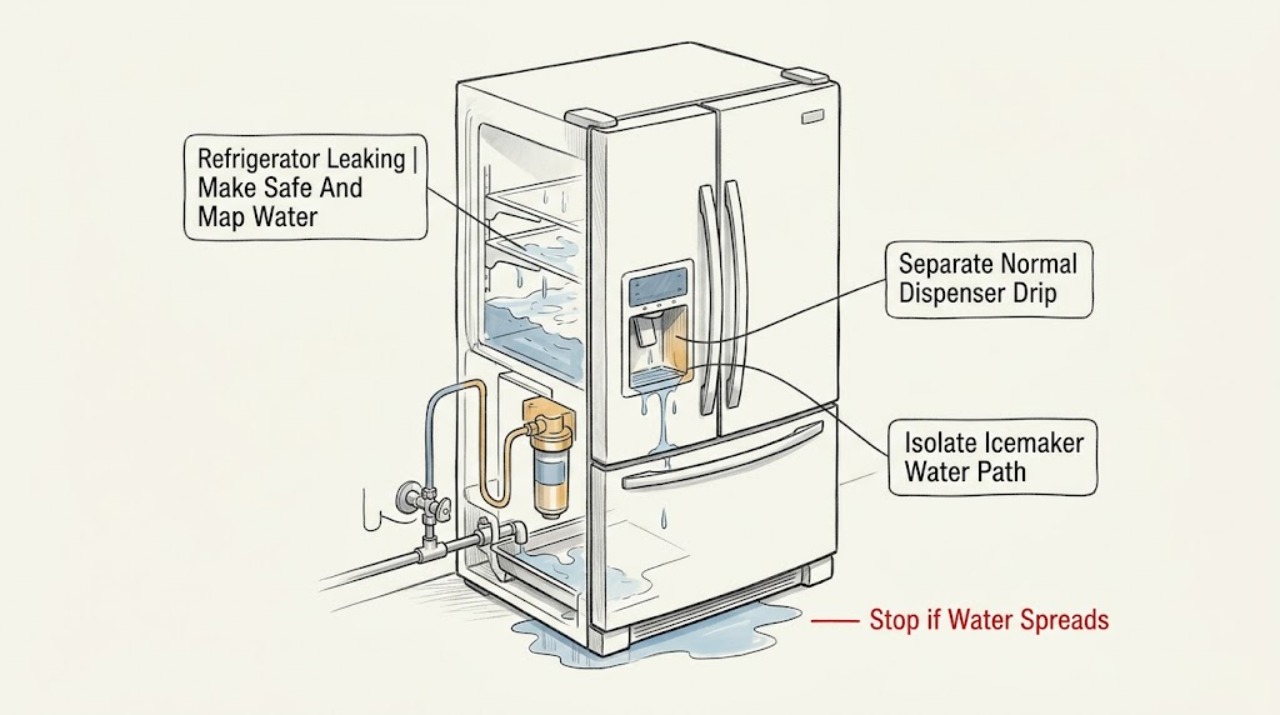
GE Refrigerator Leaking: Trace the Water Before It Reaches the Floor
First dry the visible water and trace where it appears: a few drops at the dispenser immediately after filling a glass can be normal, while water that continues long after dispensing is not. Ice on the freezer floor or under fresh-food vegetable pans points toward a clogged defrost drain, but GE says the owner-cleanable procedure is model and architecture dependent and most models need service.
-
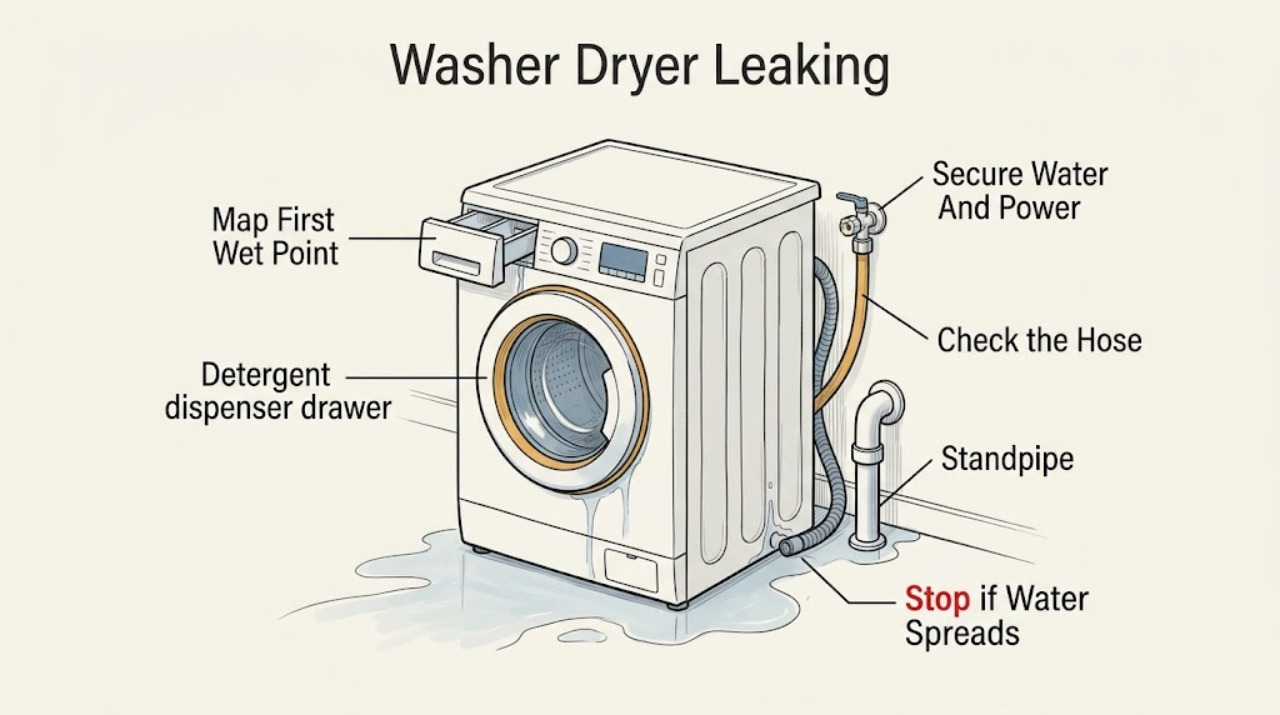
GE Washer Dryer Leaking: Locate the Water and Stop Safely
Start by locating where the water first appears: the door or gasket, dispenser, rear hose connections, drain hose or standpipe, or underneath the GE washer-dryer. GE says leak location changes the likely cause, and its guidance points to dirty or obstructed door seals, blocked dispenser ports, damaged or poorly installed hoses, household drain back-up, excess suds, or a water valve that lets water enter while the washer is off.
-
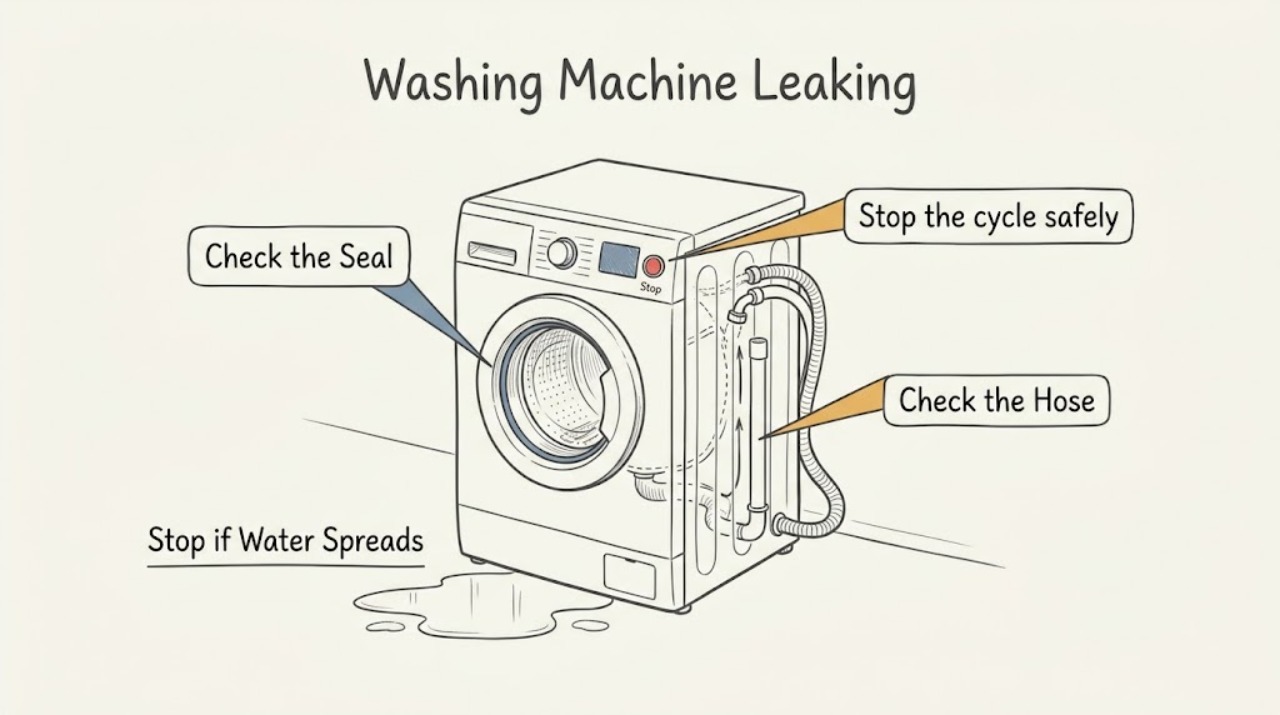
GE Washing Machine Leaking: Find the Source, Shut Off Water, and Check the Seal
When a GE washing machine leaks, stop the cycle and identify whether water is coming from the front door or dispenser, the rear hoses or drain, underneath the cabinet, or a top-load overflow path. For flooding, GE says to pause or turn the washer off at the controls or breaker—never unplug while standing in water—then shut off the household water valves once power is safely off.
-
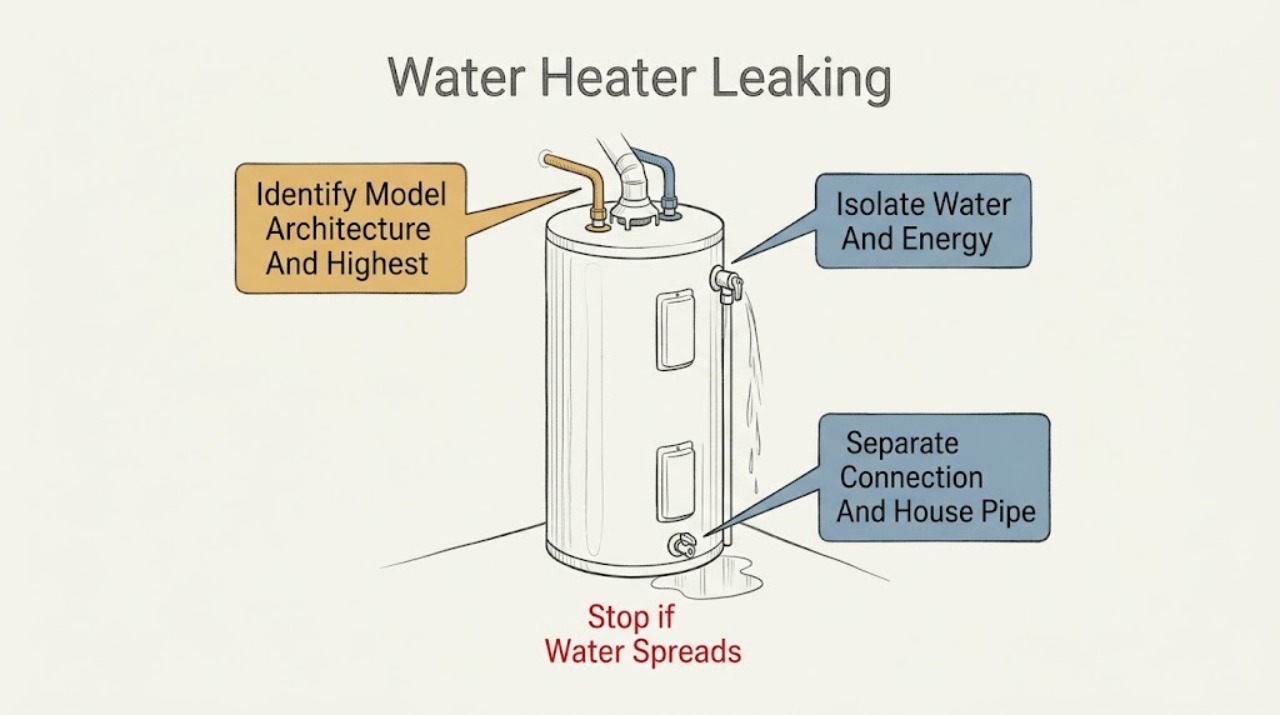
GE Water Heater Leaking: Find the Water Source Before It Causes Damage
Treat an active GE water-heater leak as a water, scald, gas, and electrical hazard before looking for a part. From a safe, dry position, note the complete model, whether it is gas, standard electric, heat-pump/GEOSPRING, tankless, or point-of-use, and where the first drop appears: hot/cold connection, temperature-and-pressure relief discharge, drain valve, top or side fitting, bottom seam, condensate path, or an external house pipe.
-
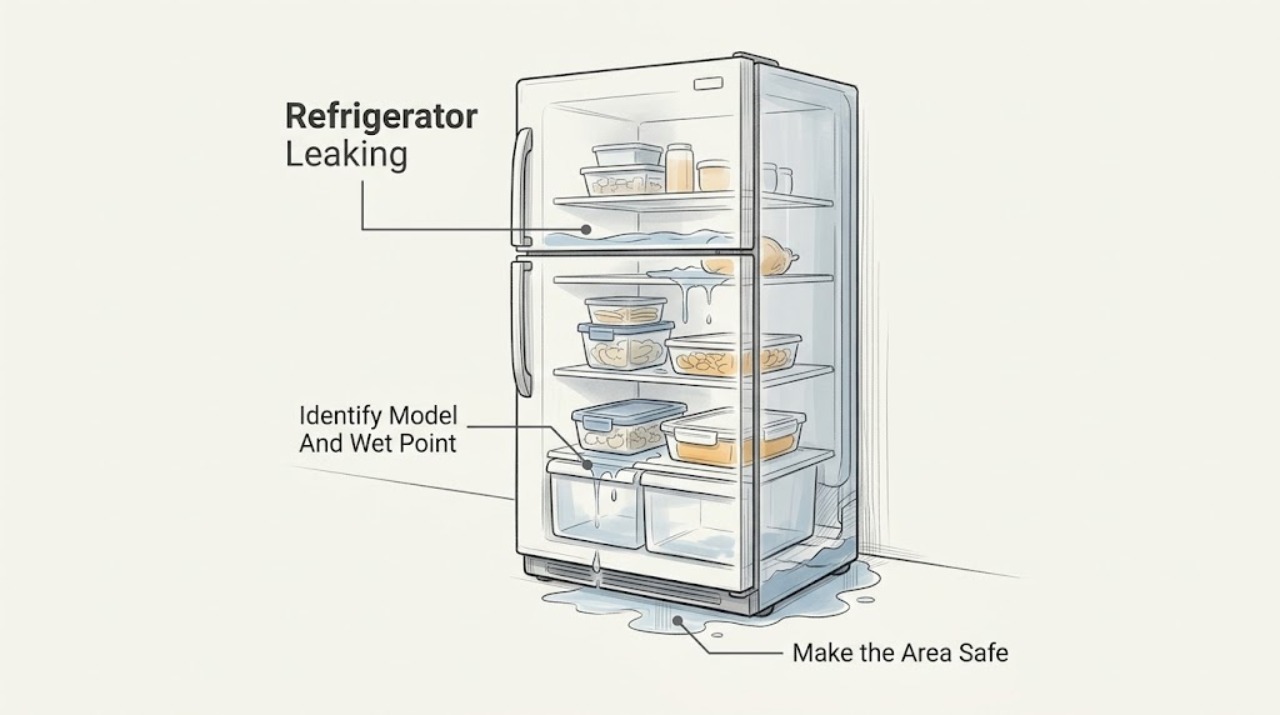
Gladiator Refrigerator Leaking: Trace the Water Before Moving the Unit
First determine where the water starts: inside the refrigerator or freezer, beneath the front, behind the cabinet, or around a water connection. Gladiator manuals say water dripping into the defrost drain pan during automatic defrost is normal, but water escaping onto the floor is not.
-
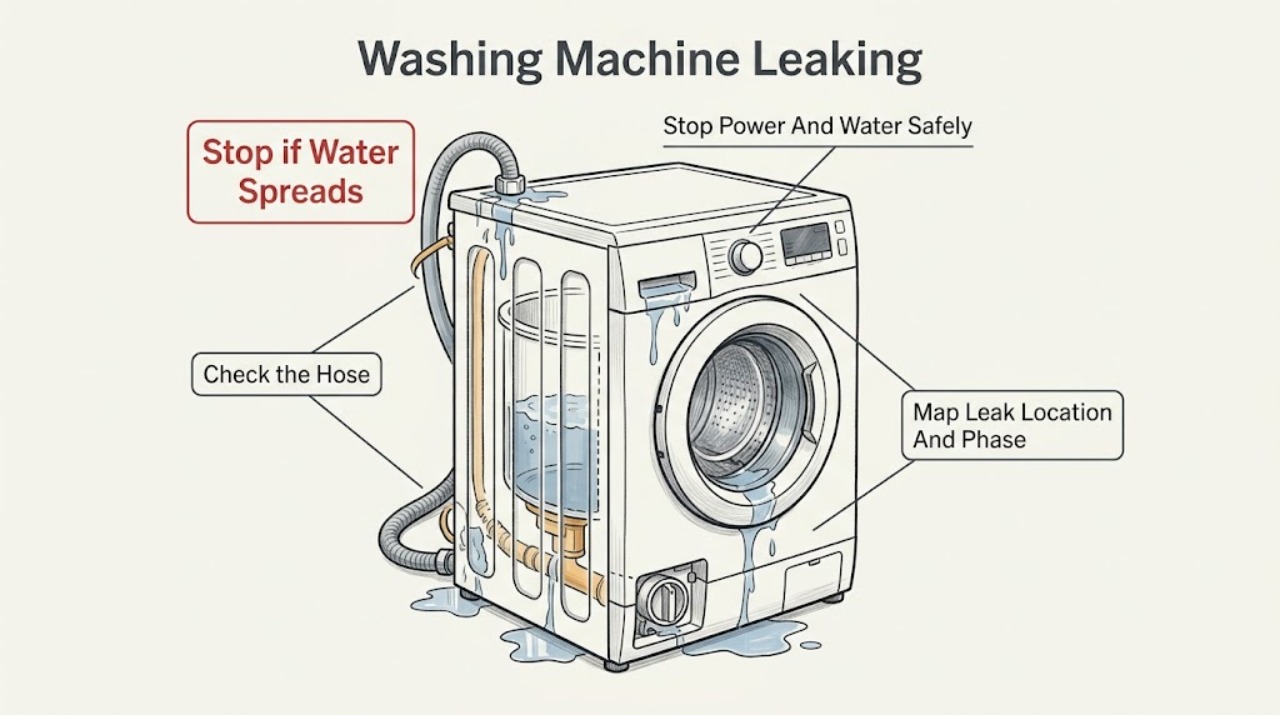
Gorenje Washing Machine Leaking: Locate the Water Before Reconnecting Power
A leaking Gorenje washing machine should be stopped before you search for the source. From a dry position, switch off the appliance, disconnect power only when the plug and area are dry and safely reachable, and close the water tap if water continues entering or the machine fills while off.
-
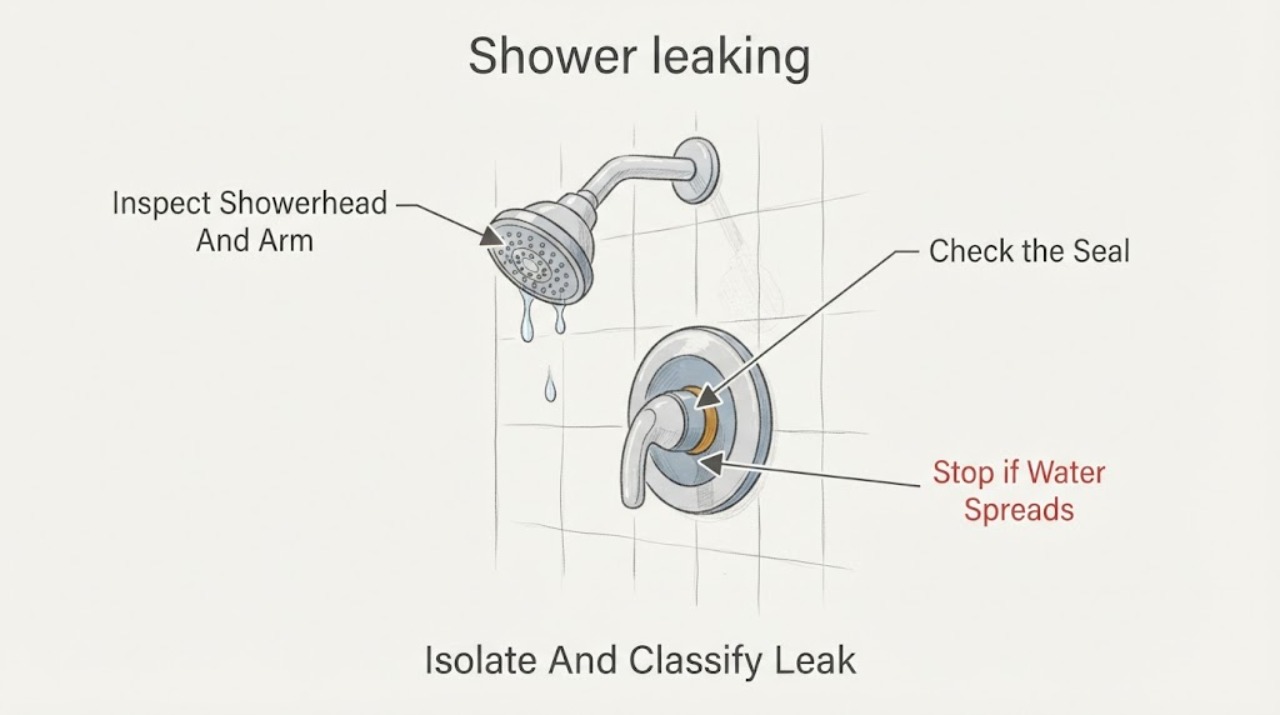
GROHE shower leaking: What to Check and What to Do Next
A leaking GROHE shower can be coming from the showerhead outlet, hose seals, threaded connection, hand-shower connection, mixer or handle, tub diverter, or a concealed connection behind the wall. First stop the water and identify whether it leaks with the water off, only while the shower is running, at the hose ends, from the showerhead, or behind the trim.
-
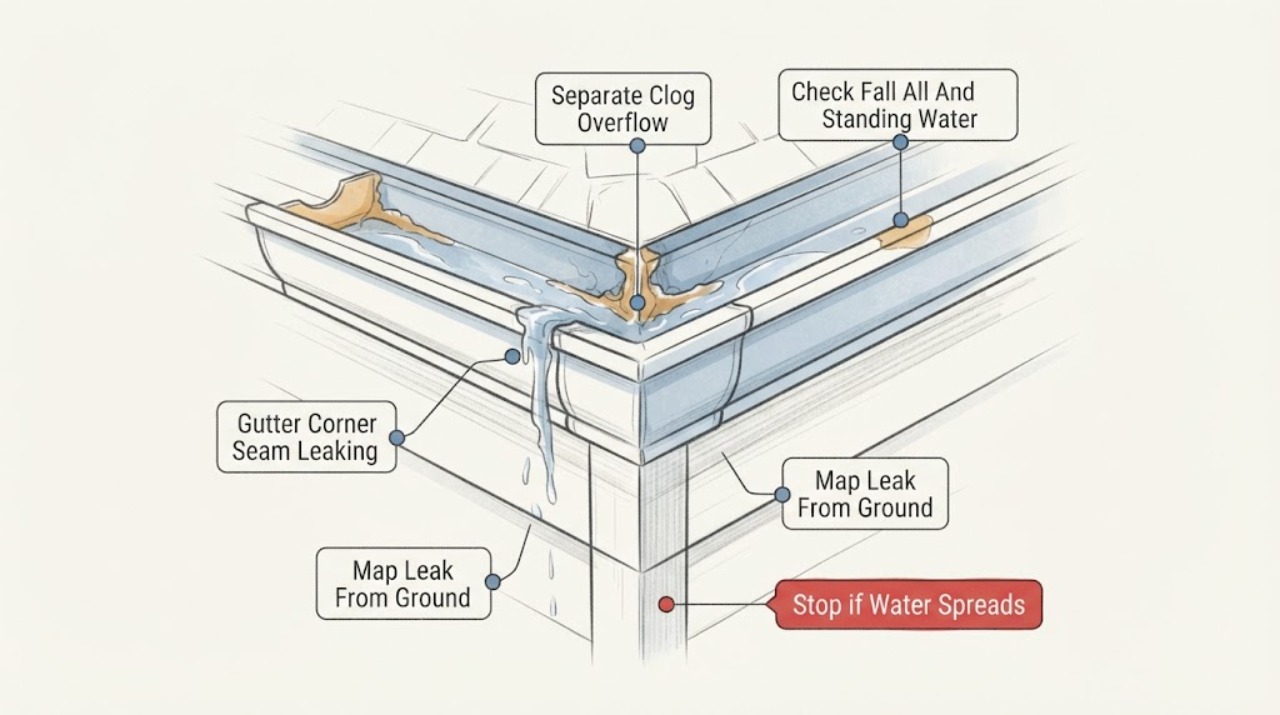
Gutter Corner Seam Leaking: Is It Sealant Failure or a Bigger Drainage Problem?
A leaking gutter corner can be a failed miter seal, but water at the corner can also be caused by a clog, overflow, incorrect fall, a shifted or poorly fitted miter, loose fasteners, or water arriving from the roof above. Observe the gutter and downspout from the ground during and after rain, keep off wet roofs and unsafe ladders, and have the joint repaired only after its fit, support, drainage path, and sealant compatibility are understood.
-
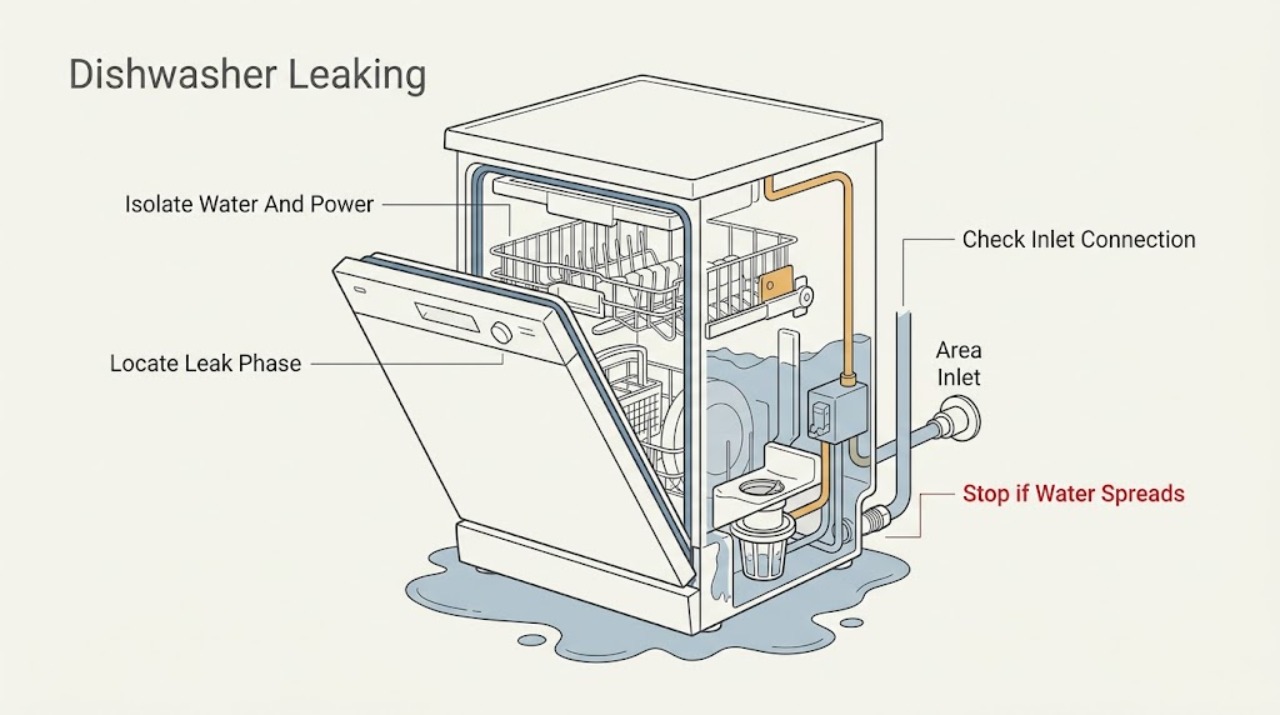
Haier Dishwasher Leaking: Find the Water Path Before It Causes Damage
Stop the program and first determine whether water is coming from an accessible inlet connection, drain hose or sink connection, the door area, excess foam, or beneath the built-in cabinet. Haier's dishwasher manual says to unplug the appliance and turn off the water supply before cleaning or maintenance, and says a malfunctioning appliance should be switched off, have its water supply turned off, and not be tampered with.
-
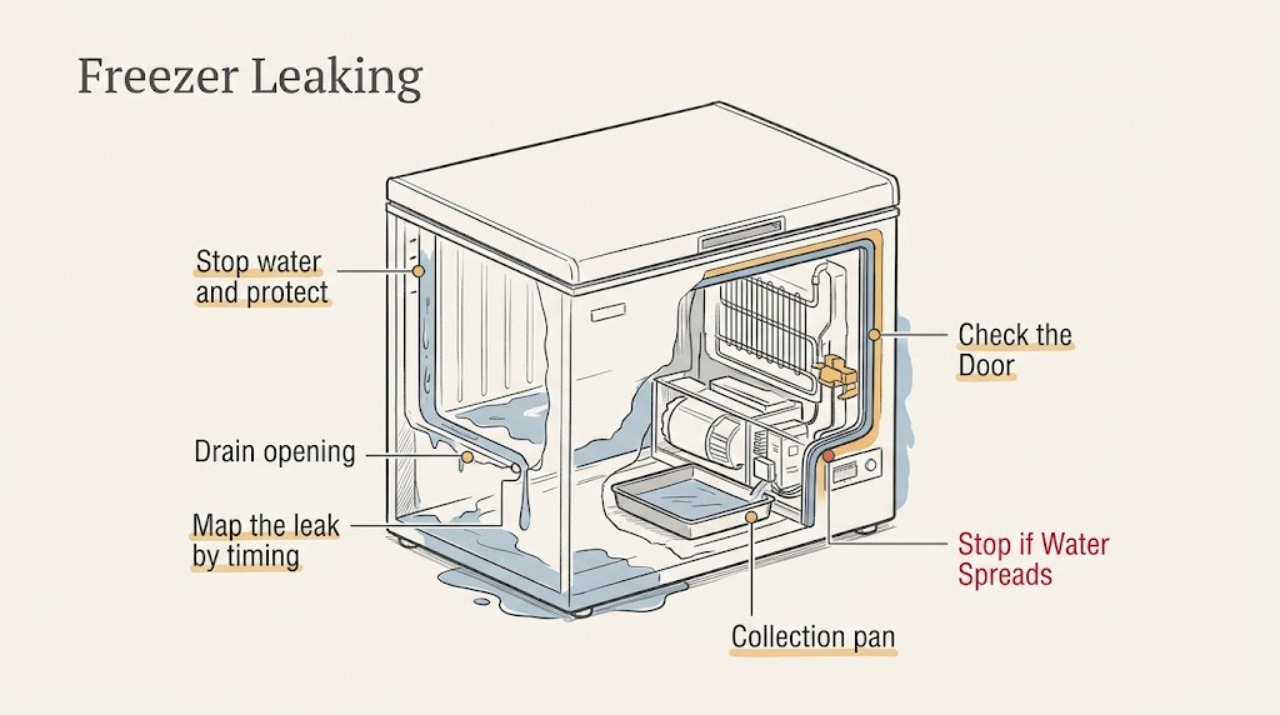
Haier Freezer Leaking
Keep water away from the plug, outlet, controls, and compressor area. If water is near an electrical connection, the cord is damaged, the cabinet was flooded, or cooling has stopped, disconnect power only from a safe dry location and arrange service.
-
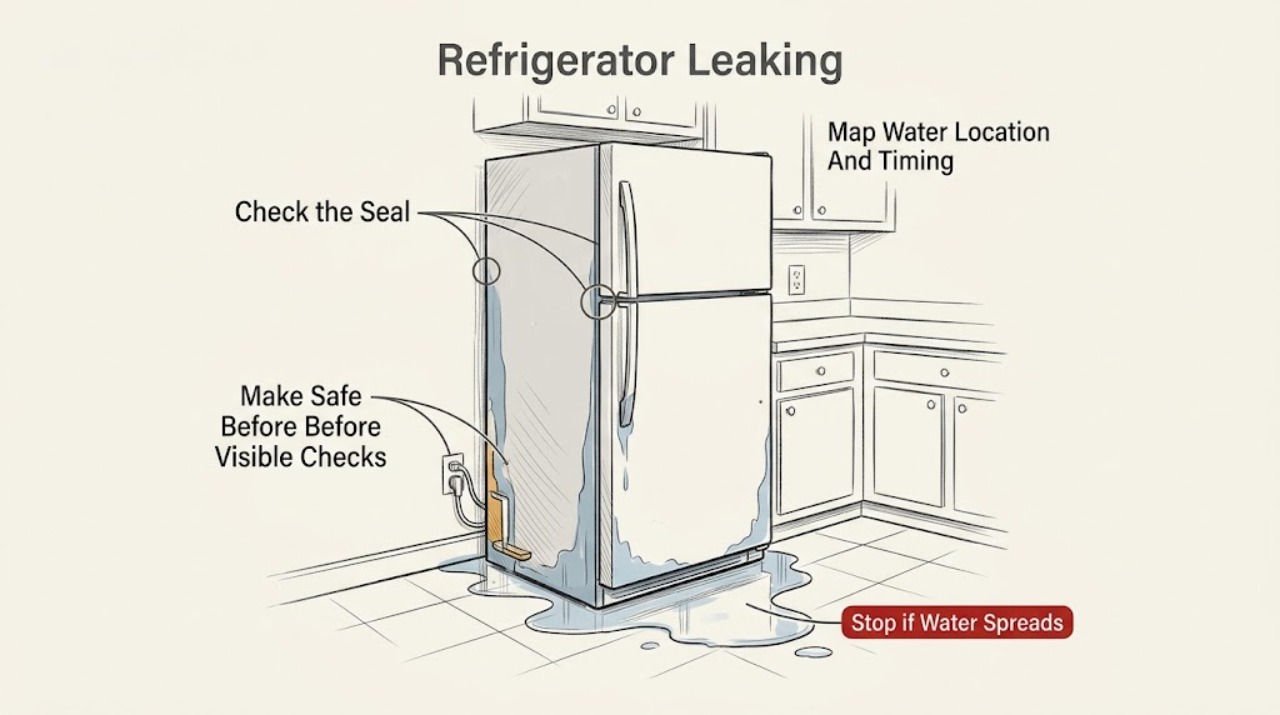
Haier Refrigerator Leaking: Find the Water Path Before It Reaches Electrical Parts
First locate the water rather than assuming the refrigerator itself has one common leak: moisture around a door points to a door-gasket gap or condensation, while water on the floor in front of a Haier refrigerator can come from an ice-maker water line or rear water valve if equipped, or from a clogged defrost-drain tube. Check only dry, visible areas and the exact model manual.
-
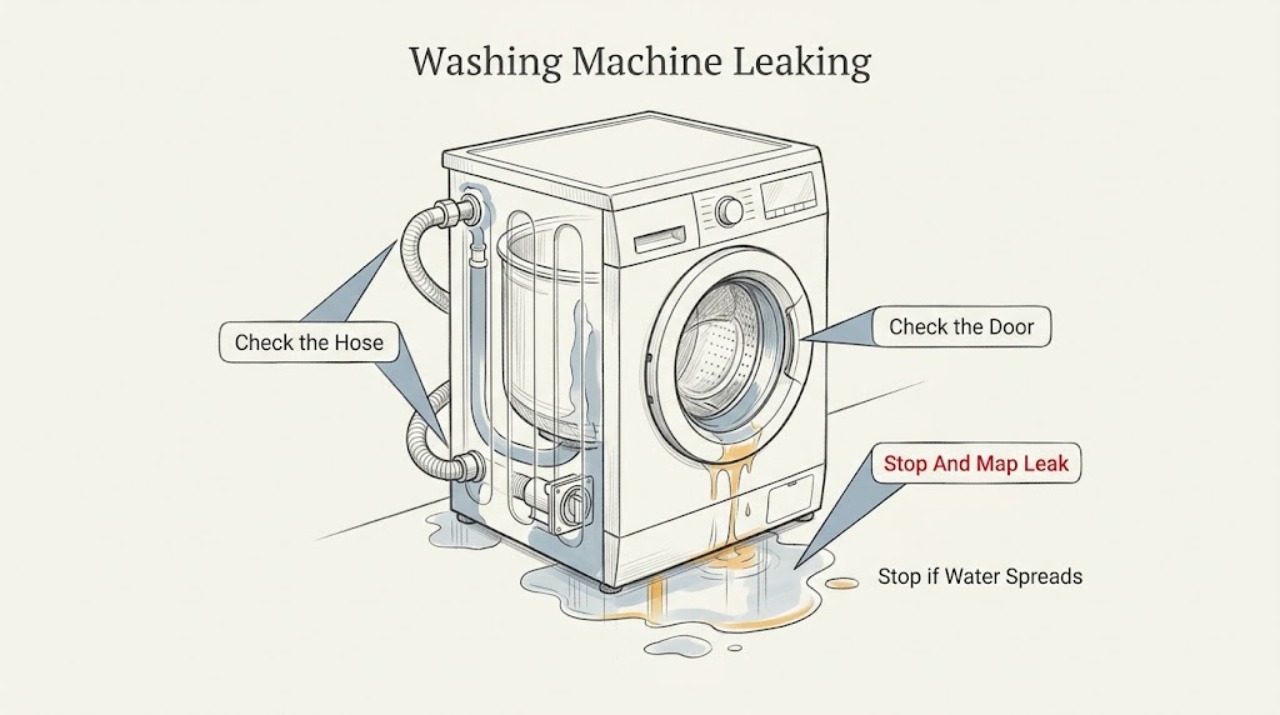
Haier Washing Machine Leaking: Find the Source Safely
Stop the cycle, keep clear of any water near the plug or outlet, close the water taps, and identify when and where the leak begins before moving the washer. A leak at the rear during filling points to an inlet hose, faucet connection, or valve area; a front leak can come from the door seal or detergent drawer; a leak during draining or spinning points to the drain hose, filter, pump path, or an internal tub seal.
-
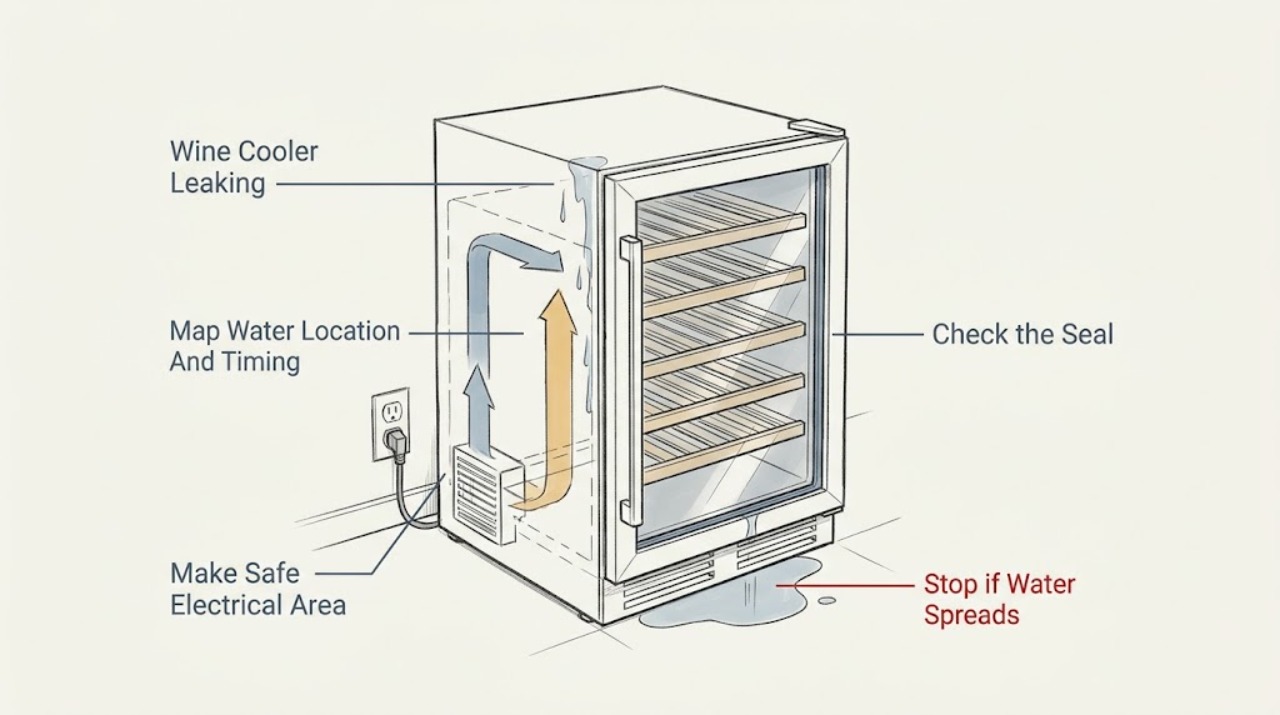
Haier Wine Cooler Leaking: Separate Condensation From a Cabinet Leak
Start by deciding whether the water is condensation or a true cabinet leak. Haier says moisture inside a wine cellar can occur during high humidity or prolonged/frequent door opening, and directs owners to make sure the door seals properly and clean it if necessary.
-
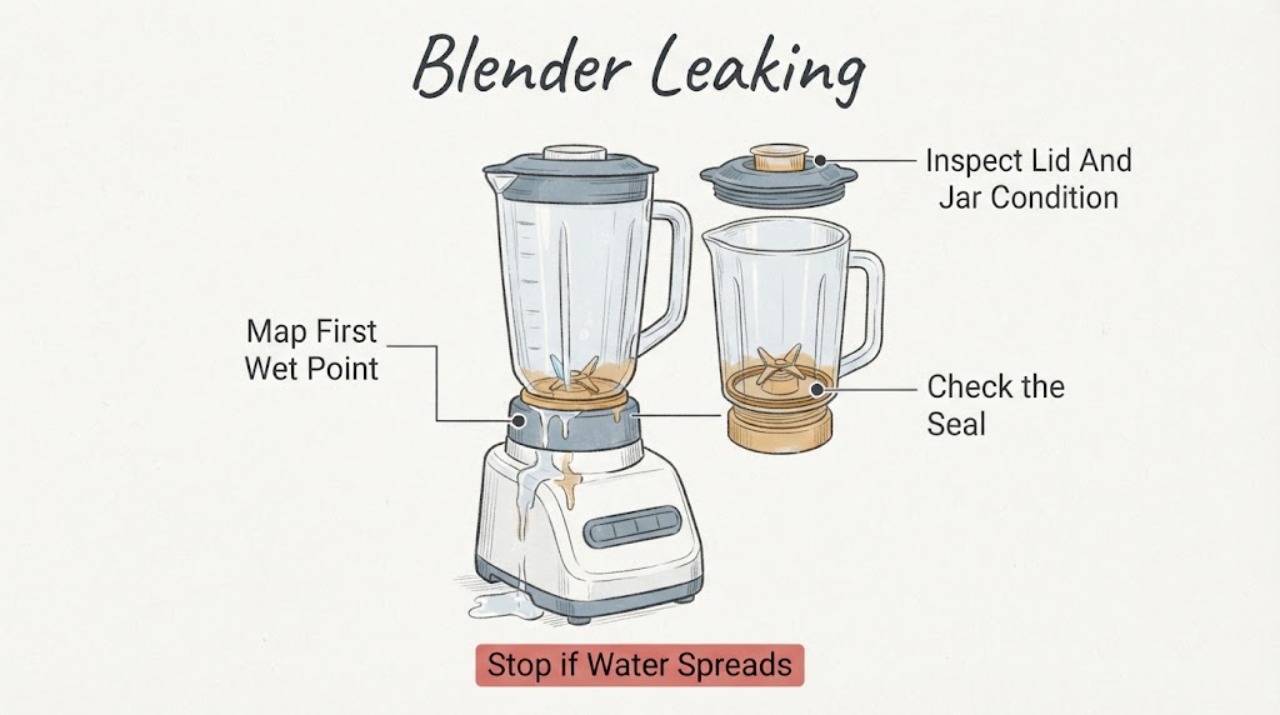
Hamilton Beach Blender Leaking
If a Hamilton Beach blender is leaking, unplug it and identify the first wet point before running it again: the lid or filler cap, the jar seam or collar, the bottom around the cutting assembly, a personal jar, or the motor base. Hamilton Beach's use-and-care troubleshooting lists a loose cutting assembly, a lid or filler cap that is not seated, and a gasket that is damaged, twisted, or missing as leak causes.
-
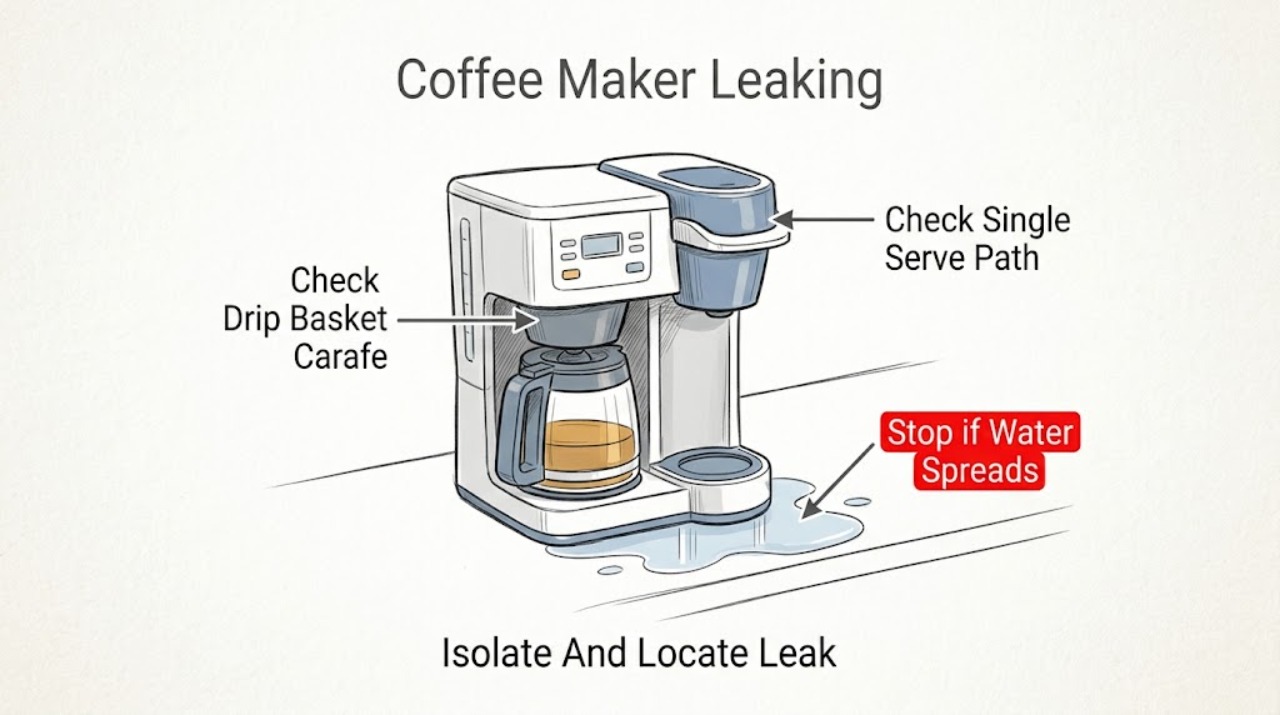
Hamilton Beach Coffee Maker Leaking: Find the Leak by Brew Path Before Replacing Parts
Unplug the coffee maker, keep hot coffee and wet electrical parts away from your hands, and identify where the liquid first appears. On a traditional drip side, Hamilton Beach points to an overfilled reservoir, a basket or carafe that is not seated, an unsuitable or collapsed paper filter, too many grounds, or coffee grounds between sealing surfaces.
-
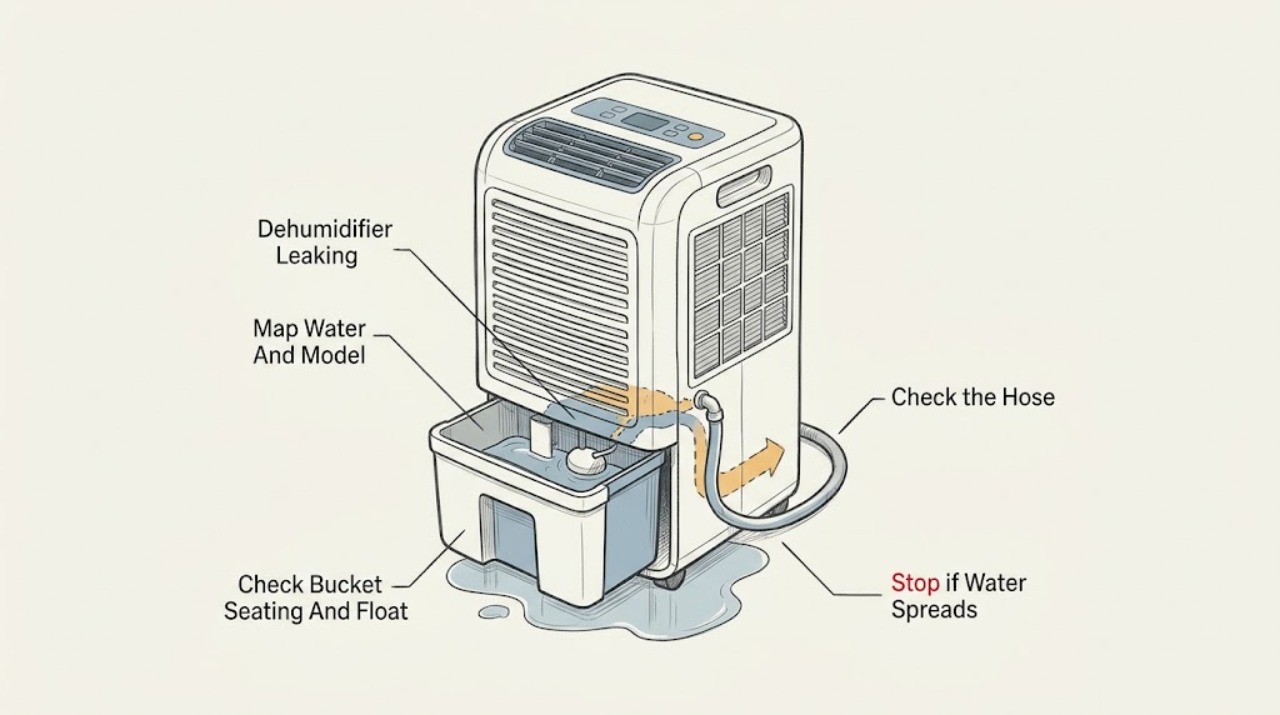
Hisense Dehumidifier Leaking: Trace the Bucket, Hose, or Cabinet
Treat a Hisense dehumidifier leak as a water-and-electricity hazard first. From a dry position, switch it off and unplug it before removing the bucket or changing a hose; do not operate it in standing water or with water at the outlet, cord, or controls.
-
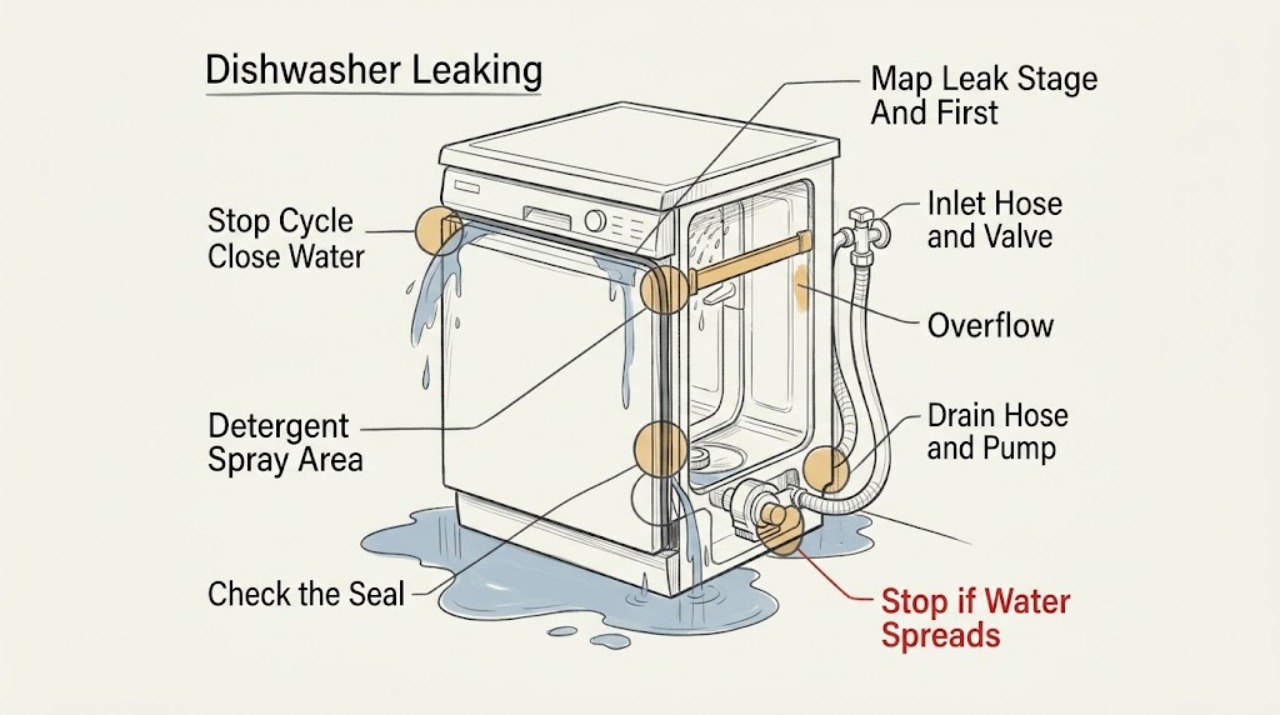
Hisense Dishwasher Leaking: Find the Leak Stage Before Checking Parts
Stop the program and close the dishwasher's water tap before investigating a continuing leak. If water is near electrical connections, keep hands dry and do not reach for the plug; isolate power only from a safe, accessible control and call qualified service.
-
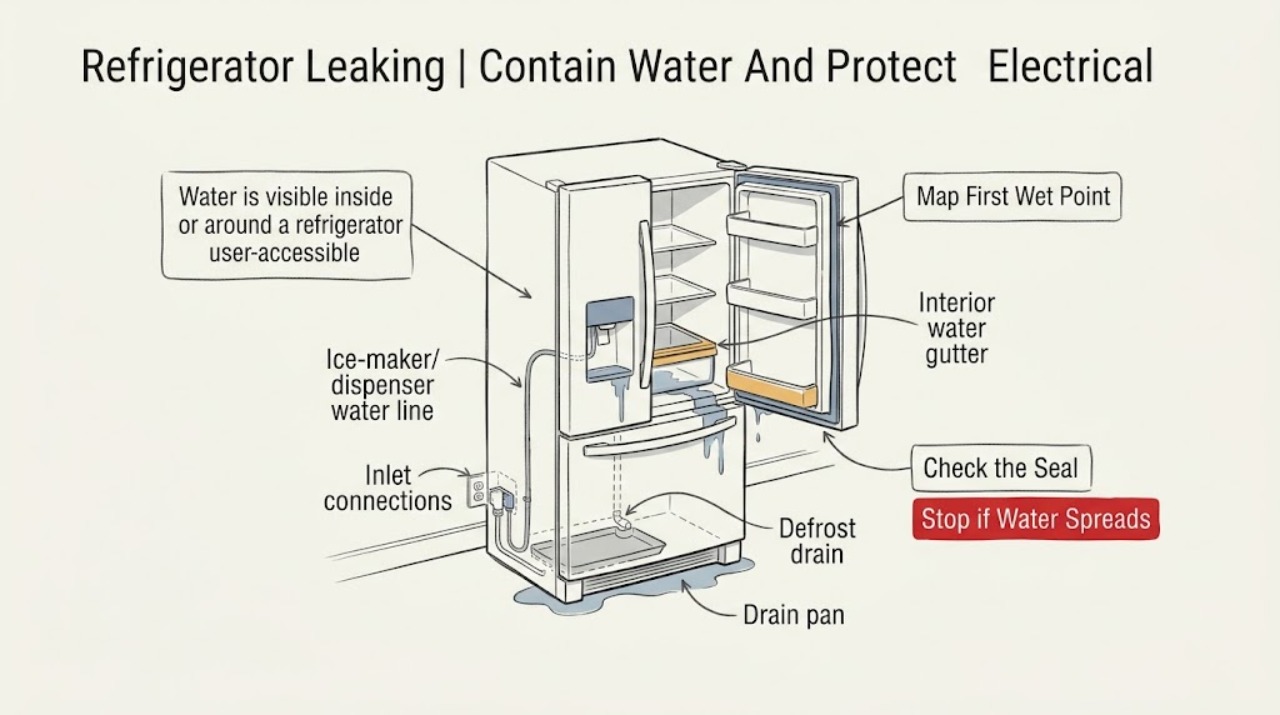
Hisense Refrigerator Leaking: Trace the Water to the Door, Drain, or Supply Line
First stop the water source and protect the electrical supply: stop using the refrigerator if water reaches the plug, outlet, wiring, or a damaged cord, and do not touch a wet connection. Record where the first water appears.
-
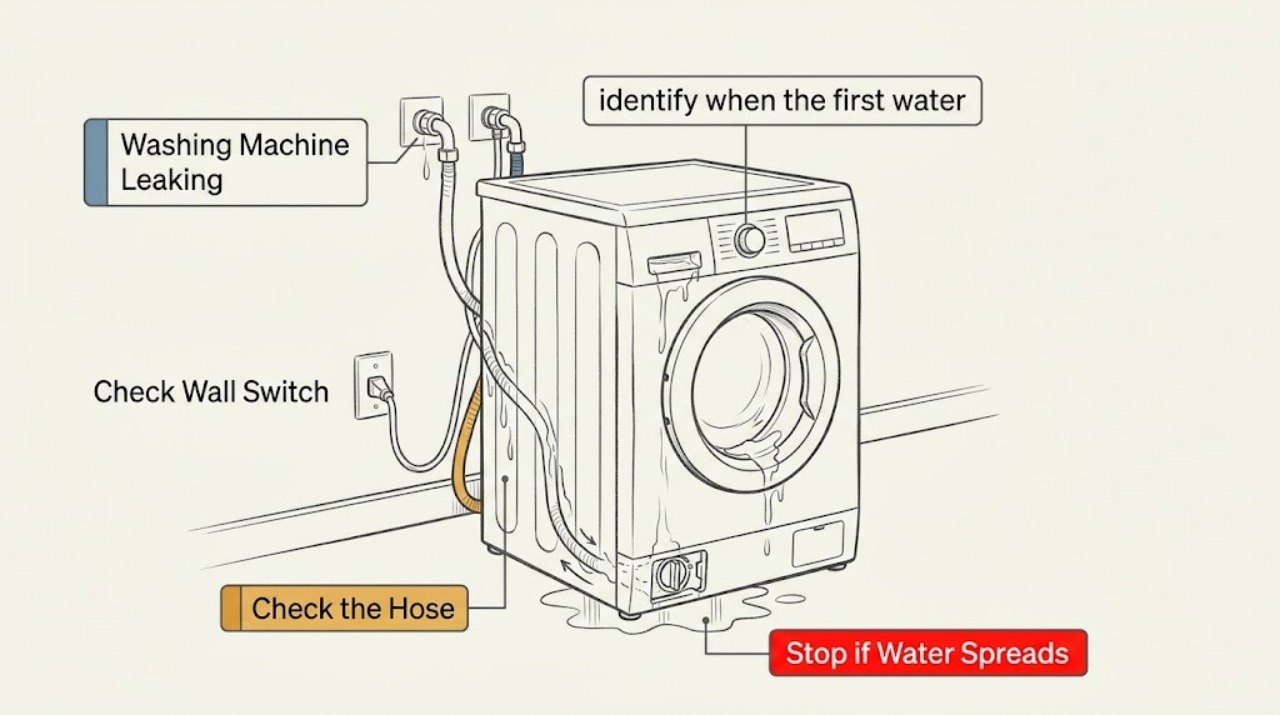
Hisense Washing Machine Leaking
Stop a leaking Hisense washing machine immediately. From a dry position, stop the cycle or switch the appliance off, then close the household water tap; do not unplug while standing in water or touch a wet outlet, cord or control.