
Plumbing guides
Faucets Repair Guides – Page 2
Faucet guidance for leaks, low flow, handles, cartridges, and aerators.
Published faucets guides
Choose the guide that best matches the equipment and symptom you are seeing.
-
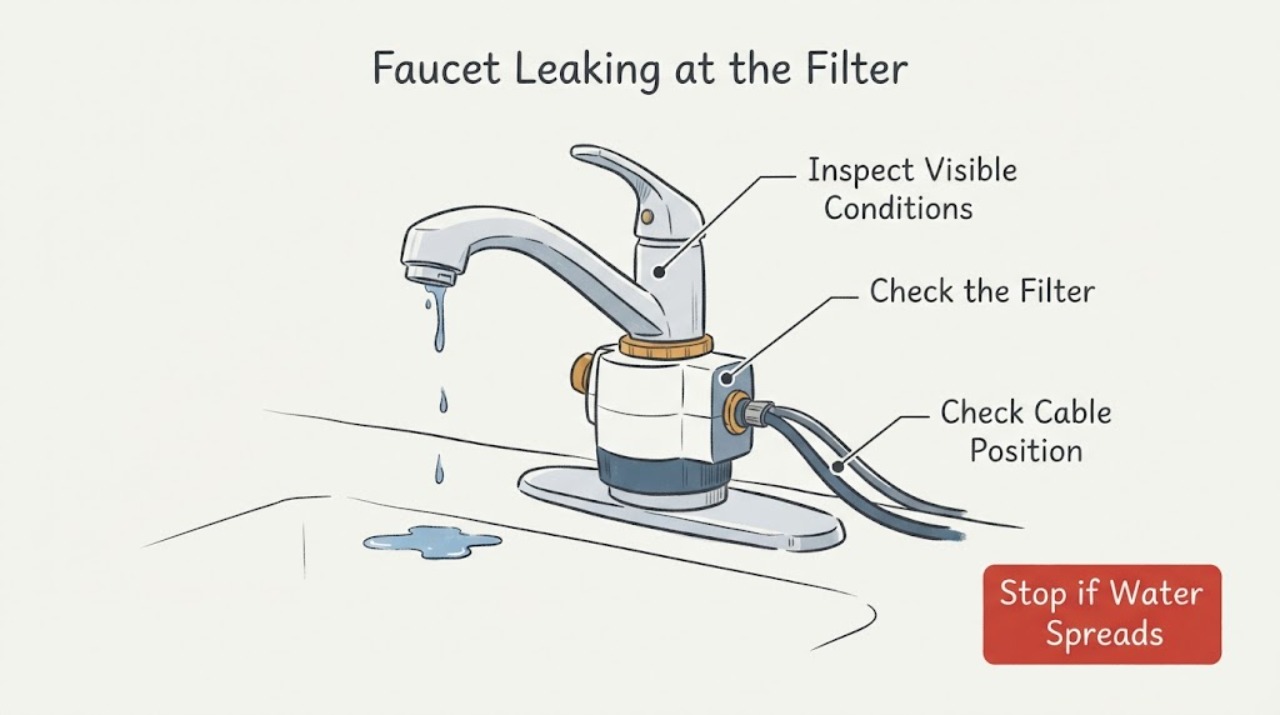
Faucet Leaking at the Filter: Check the Aerator, Housing, and Connections
First identify which filter-related part is leaking: the aerator or screen at the spout, a dedicated filtered-water outlet, an under-sink filter housing, or its tubing and fittings. Dry the visible area, open only the affected hot or cold function briefly if safe, and find the first wet point; then turn off the appropriate supply before touching a filter or connection.
-
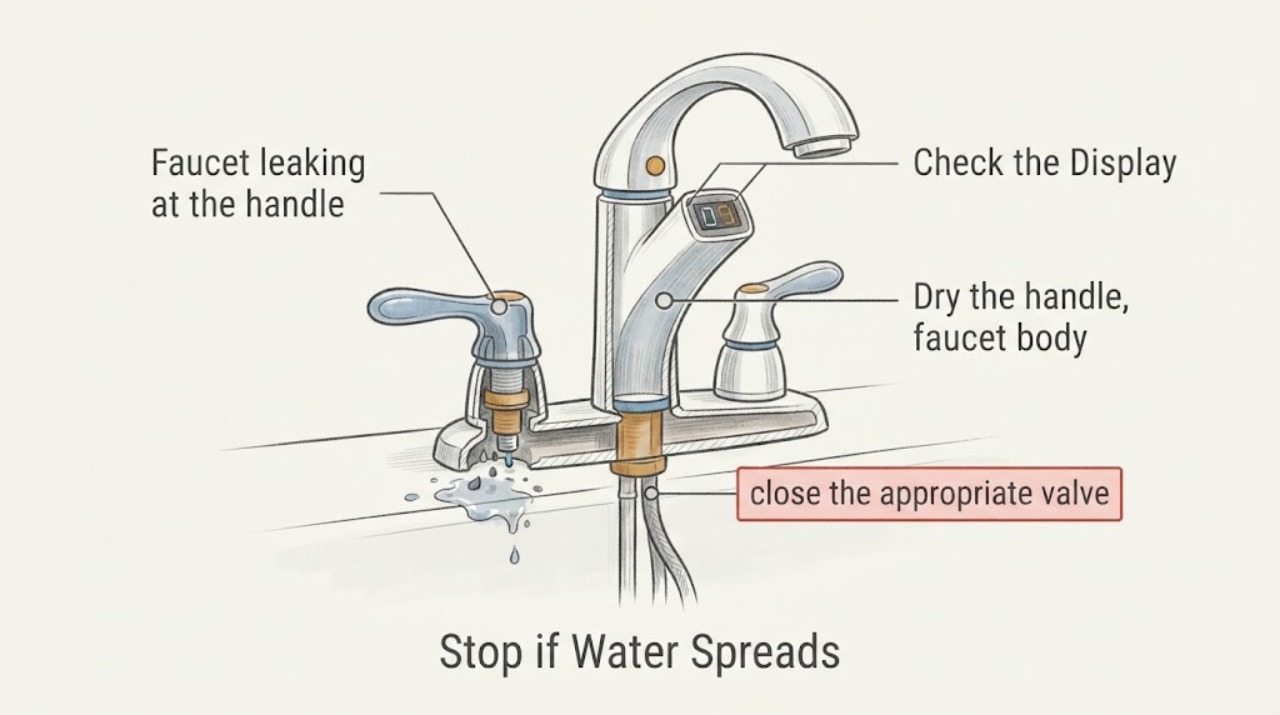
Faucet leaking at the handle, one or two handles affected: What to Check and What to Do Next
Water appearing around a faucet handle usually points to the valve cartridge in a single-handle faucet or a stem, cartridge, or seal under one of the handles in a two-handle faucet. First dry the faucet and identify whether water starts only when the handle moves, whether one or both handles are involved, and whether the trail actually begins at the spout base or a supply connection.
-
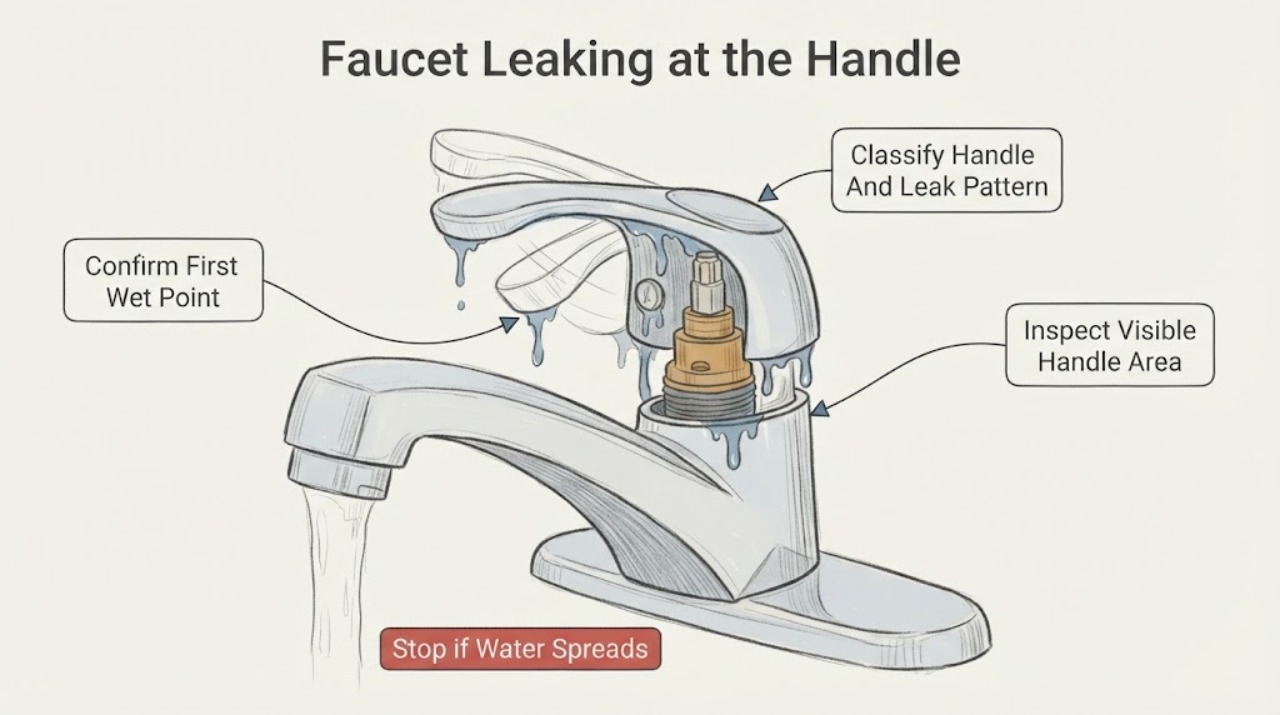
Faucet Leaking at the Handle: Water Appears When It Moves
Water that appears around a faucet handle only while the handle moves usually means water is escaping from the control assembly or a seal, but first confirm that it is not running down from the spout, base, supply connection, or under the sink. Dry the faucet, operate the handle normally once, and watch the first wet point without forcing a stiff or loose control.
-
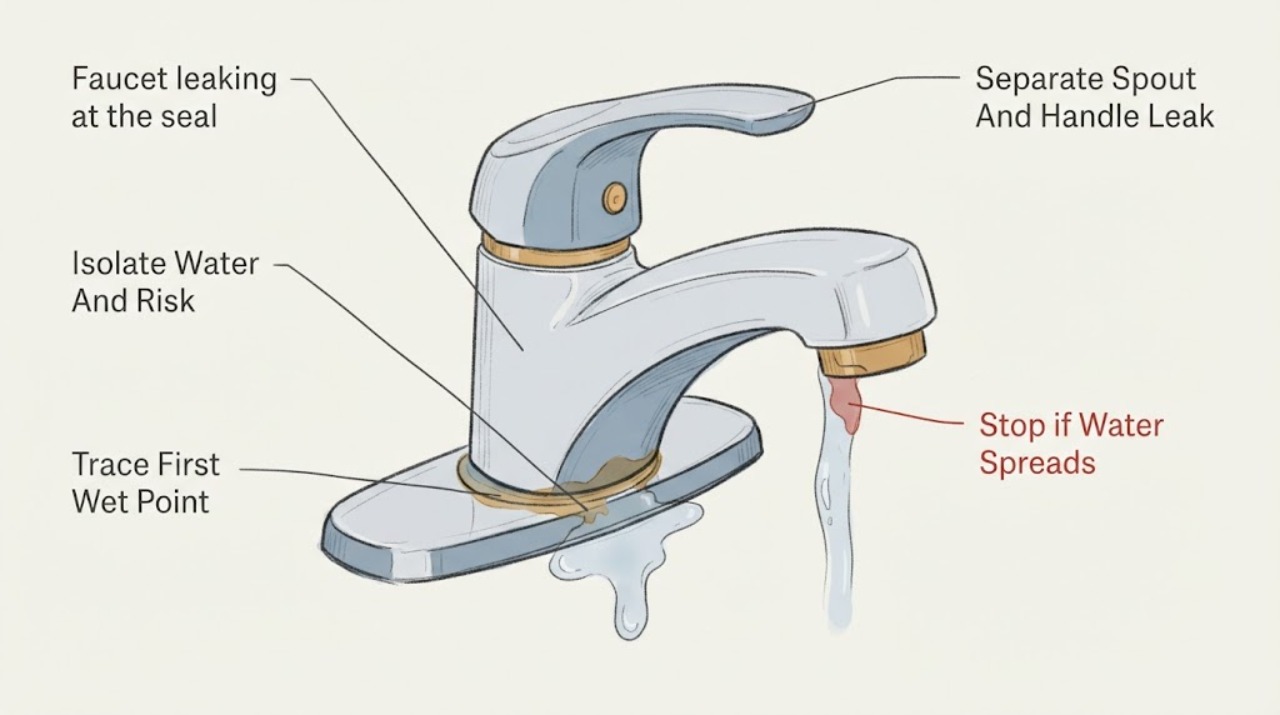
Faucet leaking at the seal: trace the first wet point safely
A faucet leak assigned to the seal is diagnosed by the first place that becomes wet, not by choosing a replacement part from the drip location alone. Turn off the faucet and, if the leak is more than a small controlled drip, close the hot and cold shutoff valves under the fixture.
-
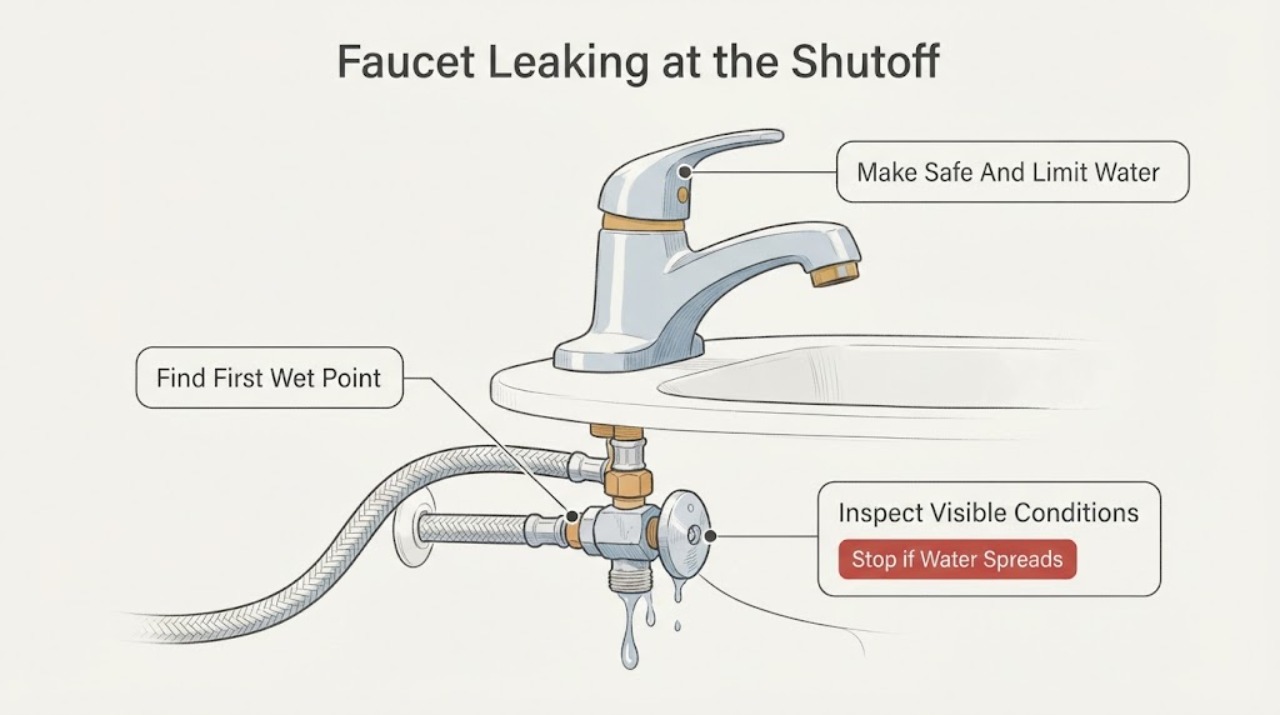
Faucet Leaking at the Shutoff Valve: Find the First Wet Point Safely
A faucet leak reported at the shutoff valve can actually begin at the valve stem or packing area, the valve body, the compression or threaded connection, the supply hose, or the wall/floor pipe and only run down to the valve. Dry the area, watch for the first new wet point, and note whether the faucet-side shutoff stops the flow.
-
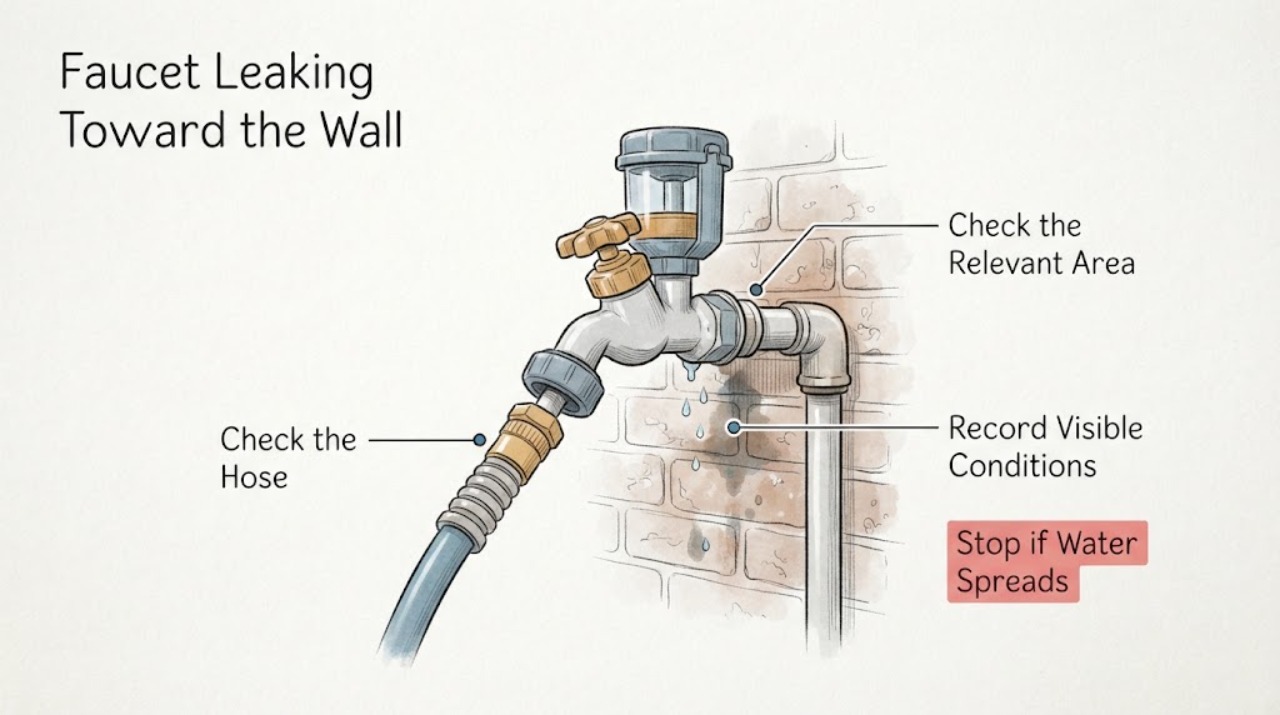
Faucet Leaking Toward the Wall: Safe Outdoor Faucet Checks
When an outside faucet leaks toward the wall, stop using that faucet and find the indoor shut-off for its branch if one is available. Dry the area and observe only from a safe position to identify whether water starts at the spout, handle, hose connection, anti-siphon device, or where the faucet enters the wall.
-
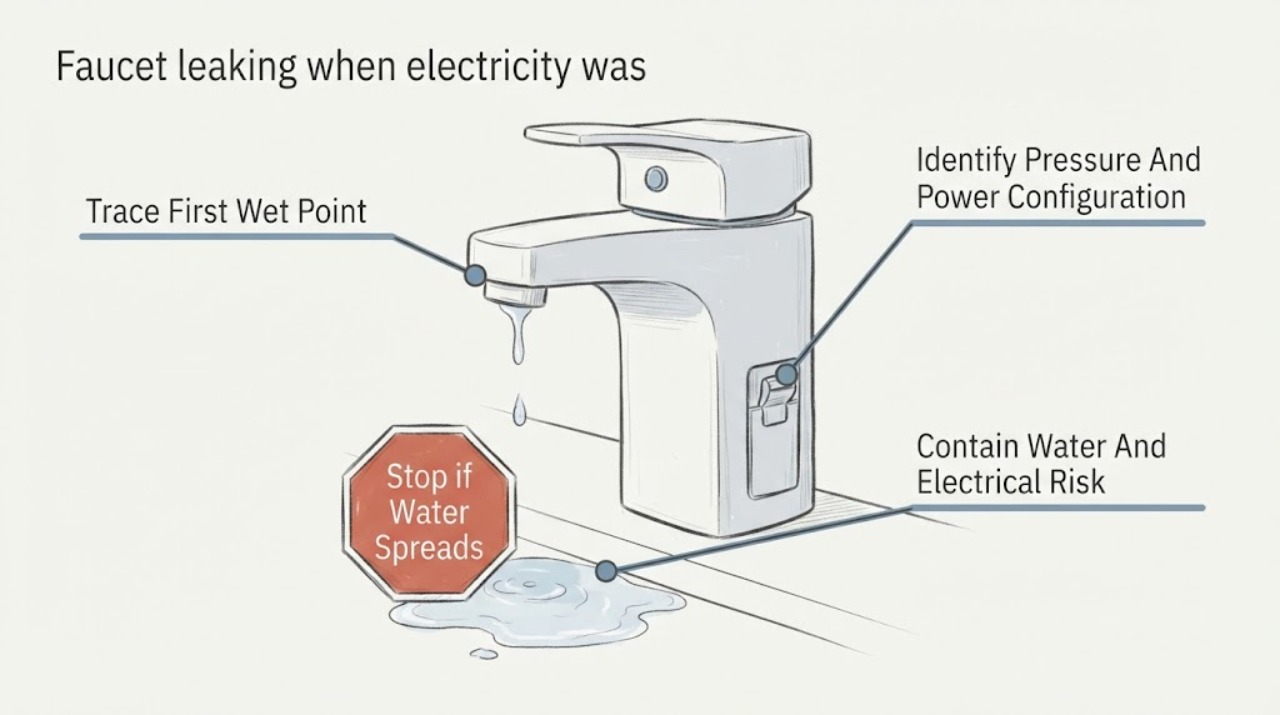
Faucet leaking when electricity was restored: isolate the water and trace the first wet point
If a faucet starts leaking when electricity is restored, first determine whether the fixture actually uses household power or whether the restoration simply re-pressurized a well pump or booster system. Many touch faucets use batteries and can operate during a power outage, while some touchless models use a powered control or solenoid; an ordinary manual faucet does not make or stop water flow because household electricity returned.
-
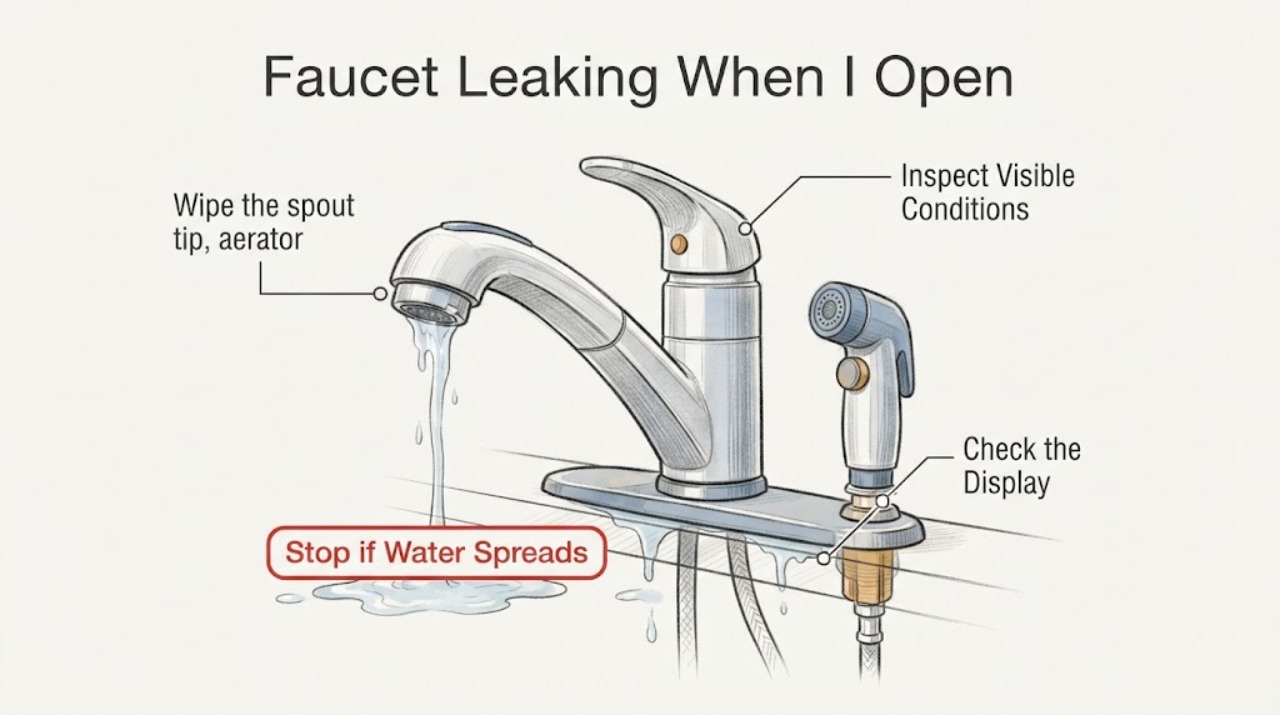
Faucet Leaking When I Open It: Find the First Wet Point
Turn the faucet off, wipe it completely dry, and open it briefly while watching the first place that becomes wet. Water at the outlet tip or aerator points to the outlet or its seal; water around a handle or the base points to a valve, cartridge, or body seal; water under the sink points to a hose, shutoff, or connector.
-
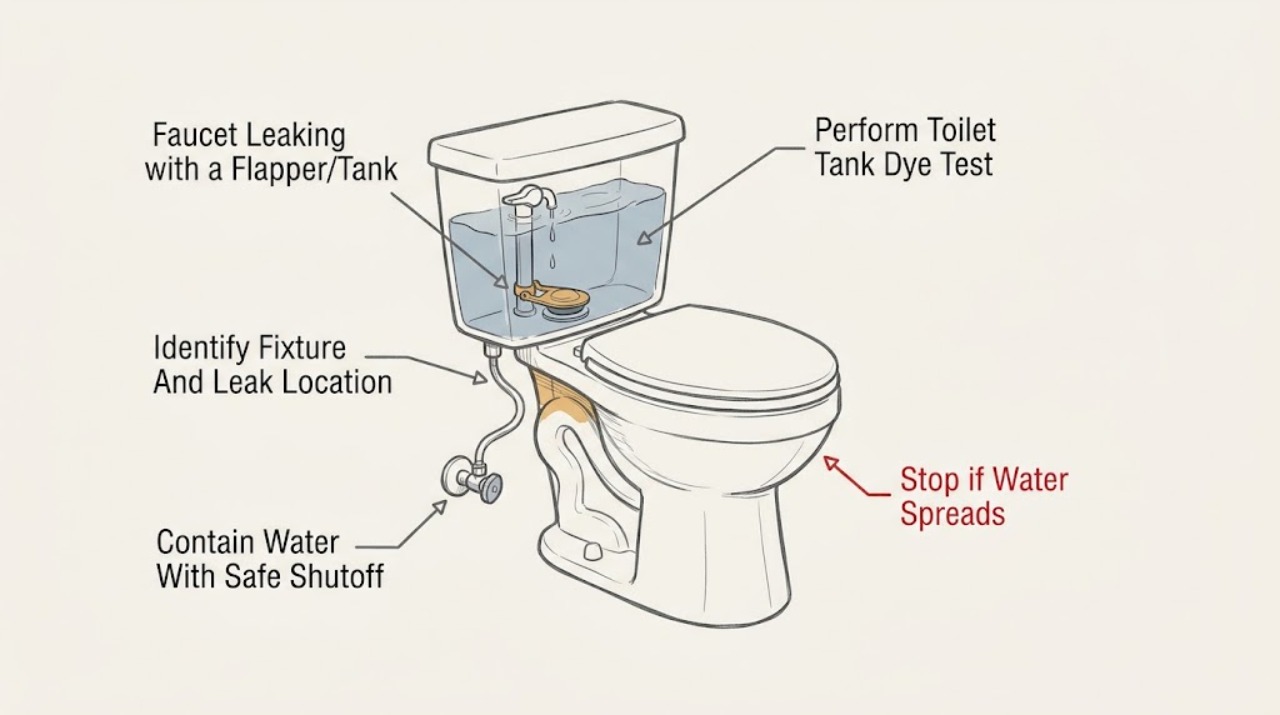
Faucet Leaking with a Flapper/Tank Note: Identify the Fixture Before Shutting Water Off
The words faucet and flapper/tank describe different fixtures, so identify the leaking fixture first. A rubber flapper and tank normally indicate a toilet: water may run from the tank into the bowl, rise into the overflow tube, or leak outside at the tank, supply connection, or floor.
-
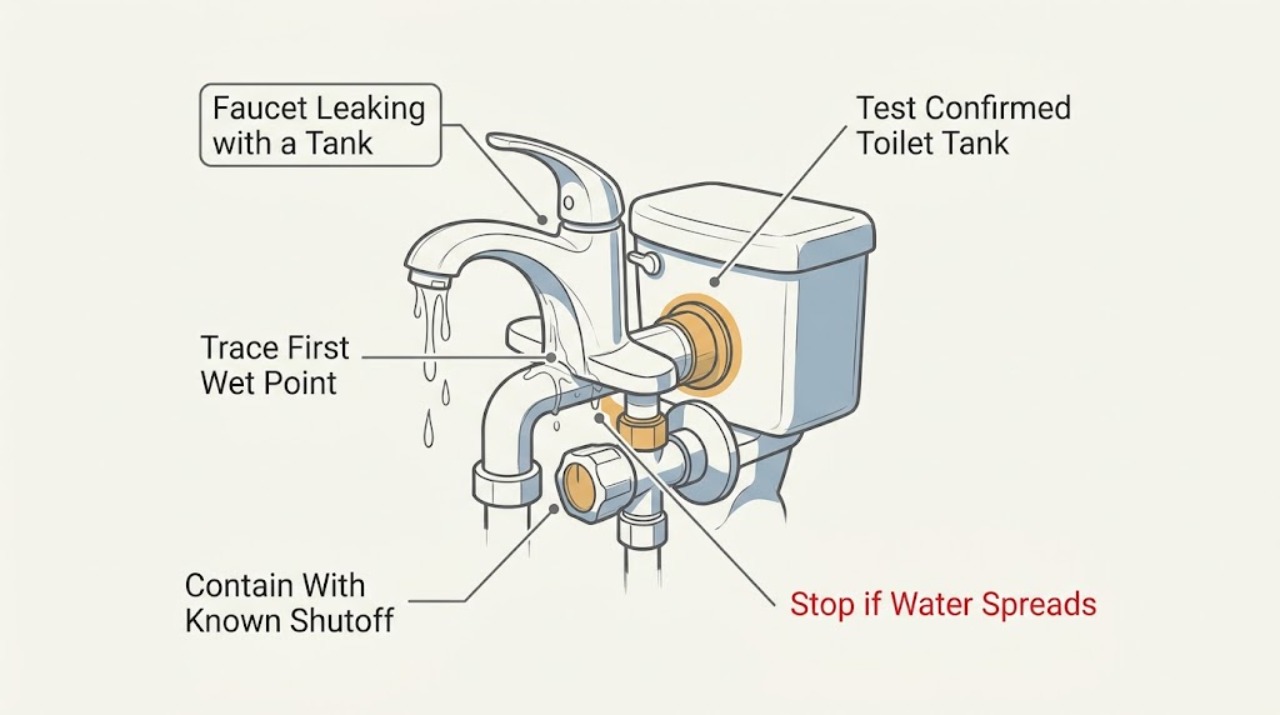
Faucet Leaking with a Tank: Identify the Fixture Before Replacing a Part
The request identifies a leaking faucet and a tank, but a tank may mean a toilet tank, a storage or filter tank, or a faucet's supply-side container. First trace the first wet point and confirm the fixture.
-
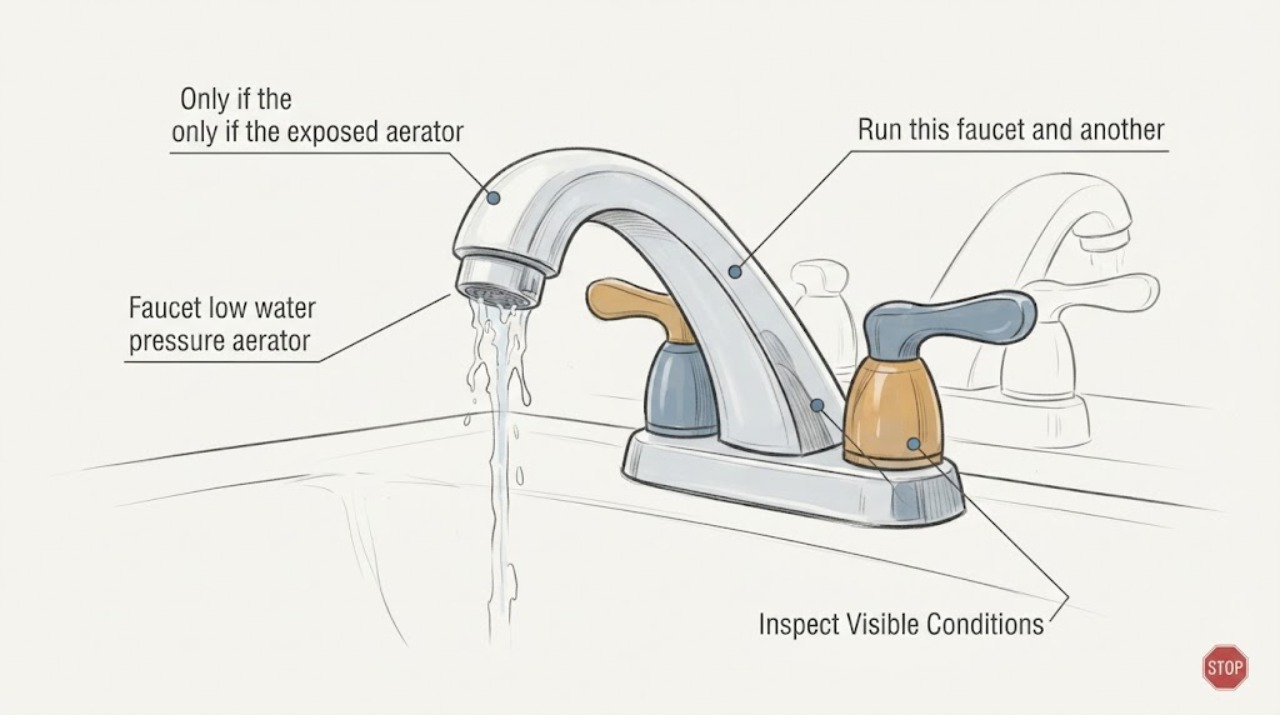
Faucet low water pressure aerator has debris: What to Check and What to Do Next
If one faucet has low flow and its aerator has visible debris, the debris may be restricting the screen or flow limiter. First compare another faucet and compare hot and cold flow so you do not mistake a house-wide supply problem for an aerator blockage.
-
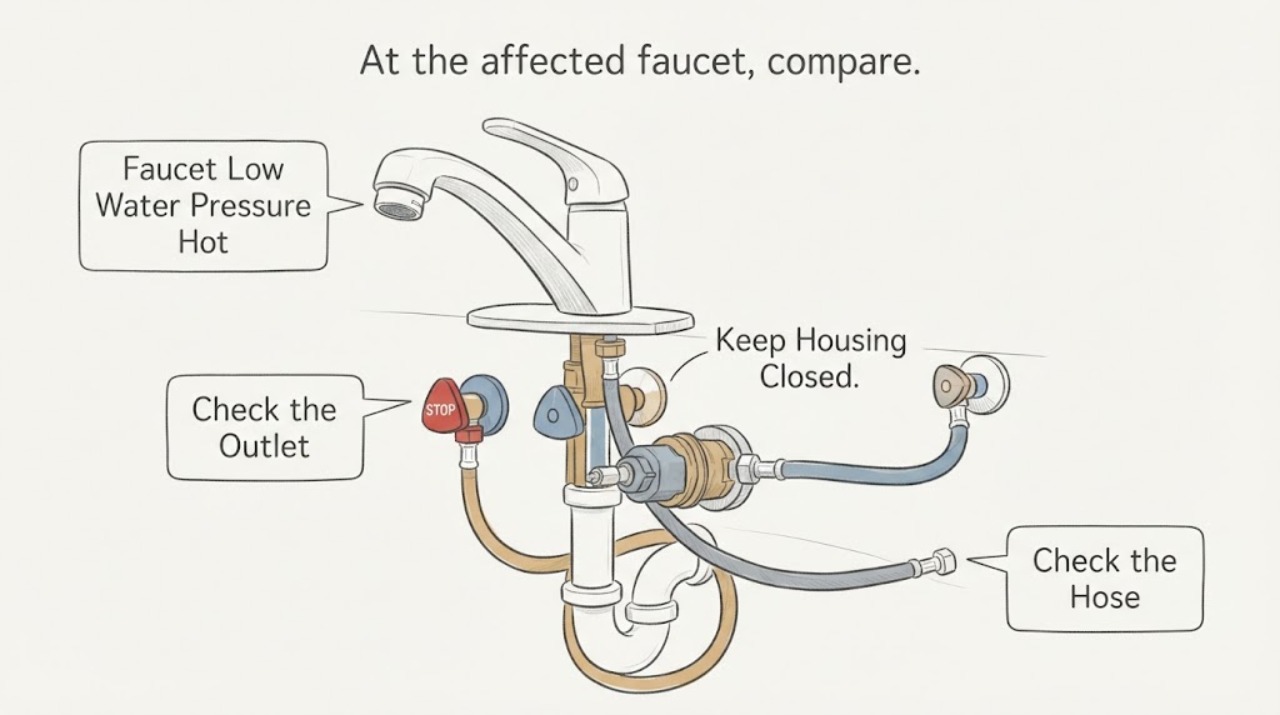
Faucet Low Water Pressure Hot or Cold Side May Differ: What to Check and What to Do Next
First compare the faucet with another fixture and compare hot flow with cold flow at the same faucet. Low flow on only one side points toward that side's shutoff, supply hose, cartridge, valve, or a localized obstruction; low flow on both sides points more toward the aerator, faucet body, common supply, or house pressure.
-
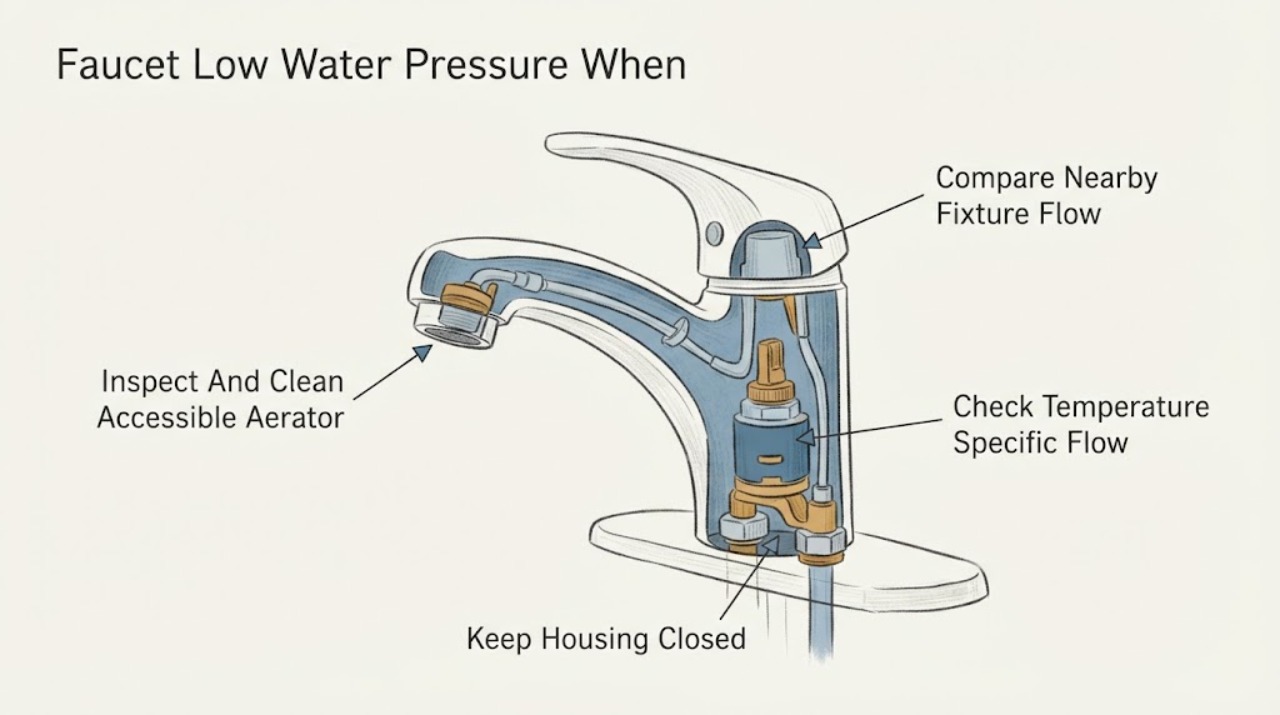
Faucet Low Water Pressure When Only One Fixture Is Affected: What to Check and What to Do Next
When only one faucet has low flow, the restriction is more likely local to that fixture than to the home's main supply, but compare another nearby faucet before assuming that. With the water running normally, note whether both hot and cold sides are weak or only one temperature is weak.
-
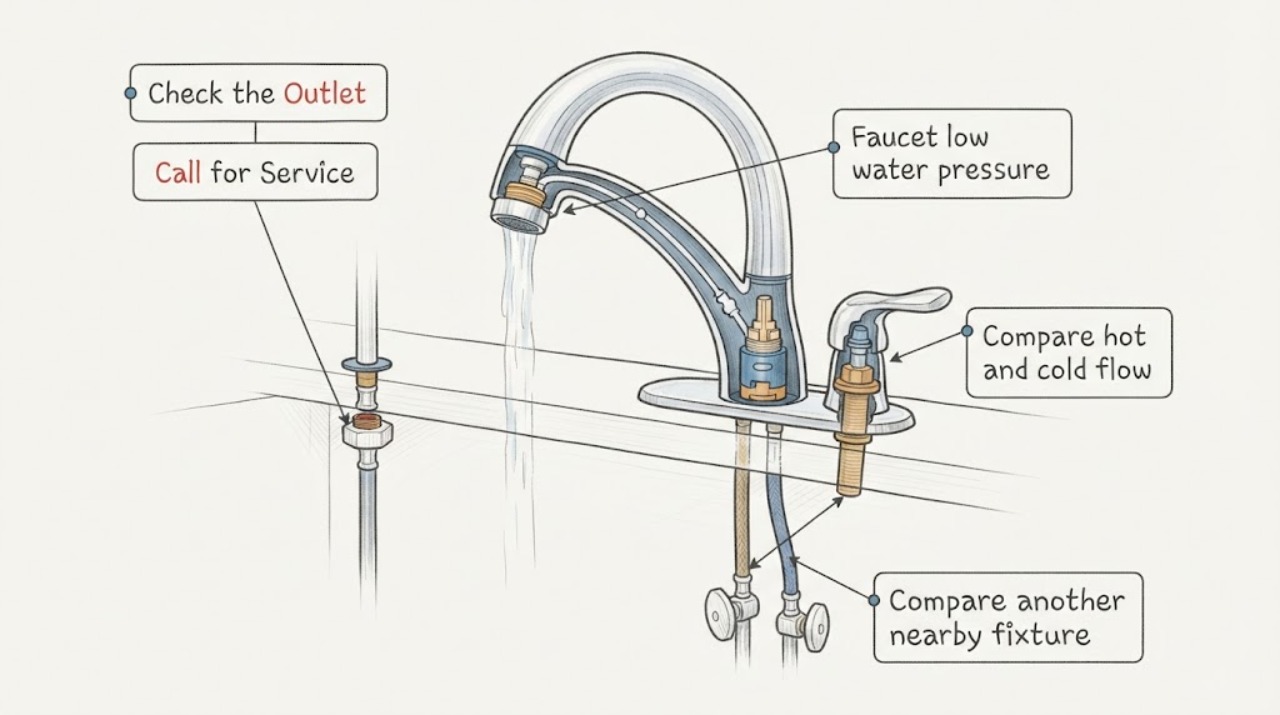
Faucet low water pressure: What to Check and What to Do Next
Start by comparing the faucet's hot and cold flow, then compare another nearby fixture and inspect only visible outlet, hose, and valve conditions. Weak flow from one side often points toward that side's supply or cartridge; weak flow from both sides can involve the aerator, cartridge, diverter, supply, or a broader water problem.
-
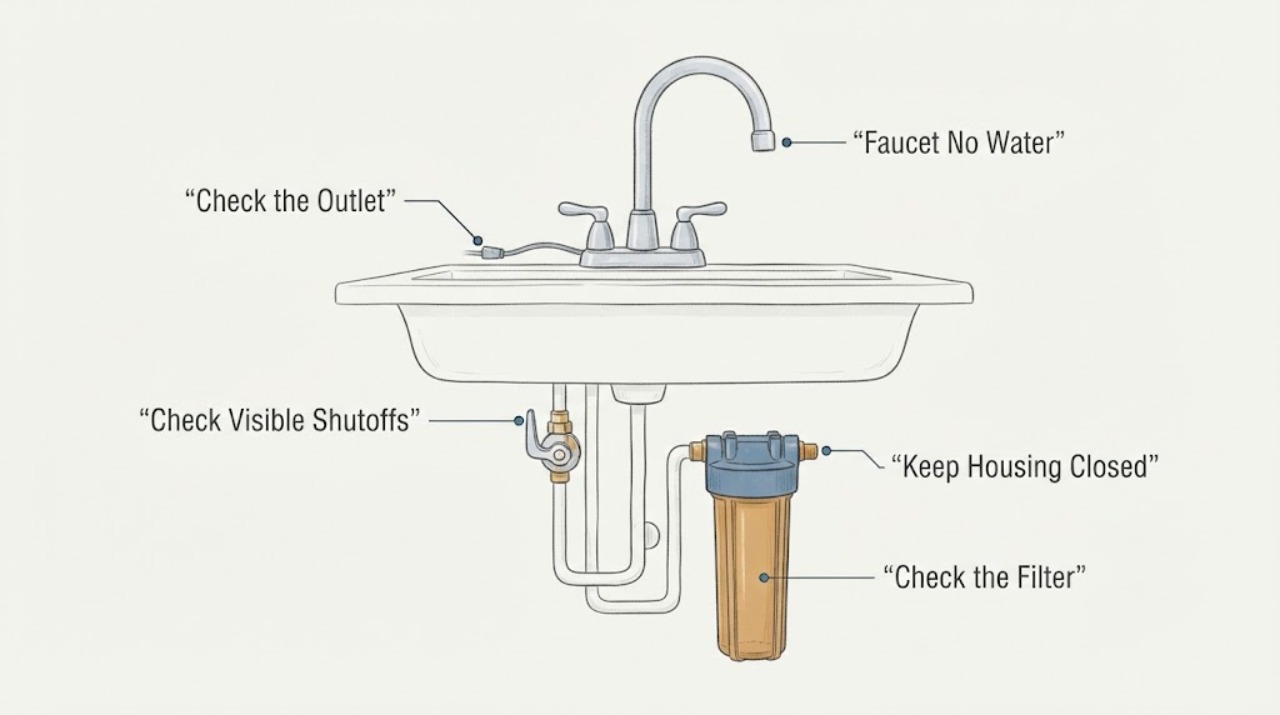
Faucet No Water: Check the Filter, Shutoff, and Supply Path
When a faucet has no water, first compare it with another faucet and test hot and cold separately. A blocked aerator or faucet-mounted filter can stop one outlet, but a closed shutoff, kinked supply line, cartridge, diverter, under-sink filter housing, or building-wide supply problem can look similar.
-
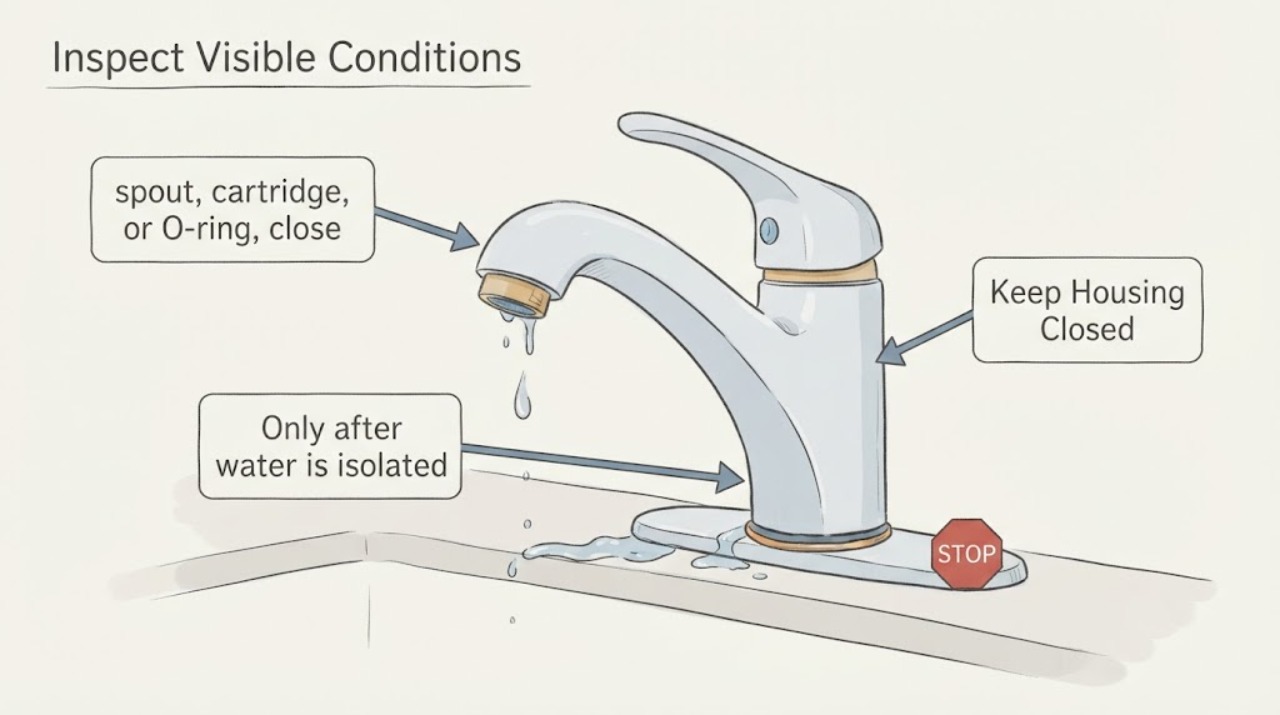
Faucet o ring dripping: What to Check and What to Do Next
A dripping faucet may have a worn, flattened, dirty, or incorrectly fitted O-ring, but a drip from the spout can also come from a cartridge or valve and a leak at the base or supply connection has a different cause. Locate the water first.
-
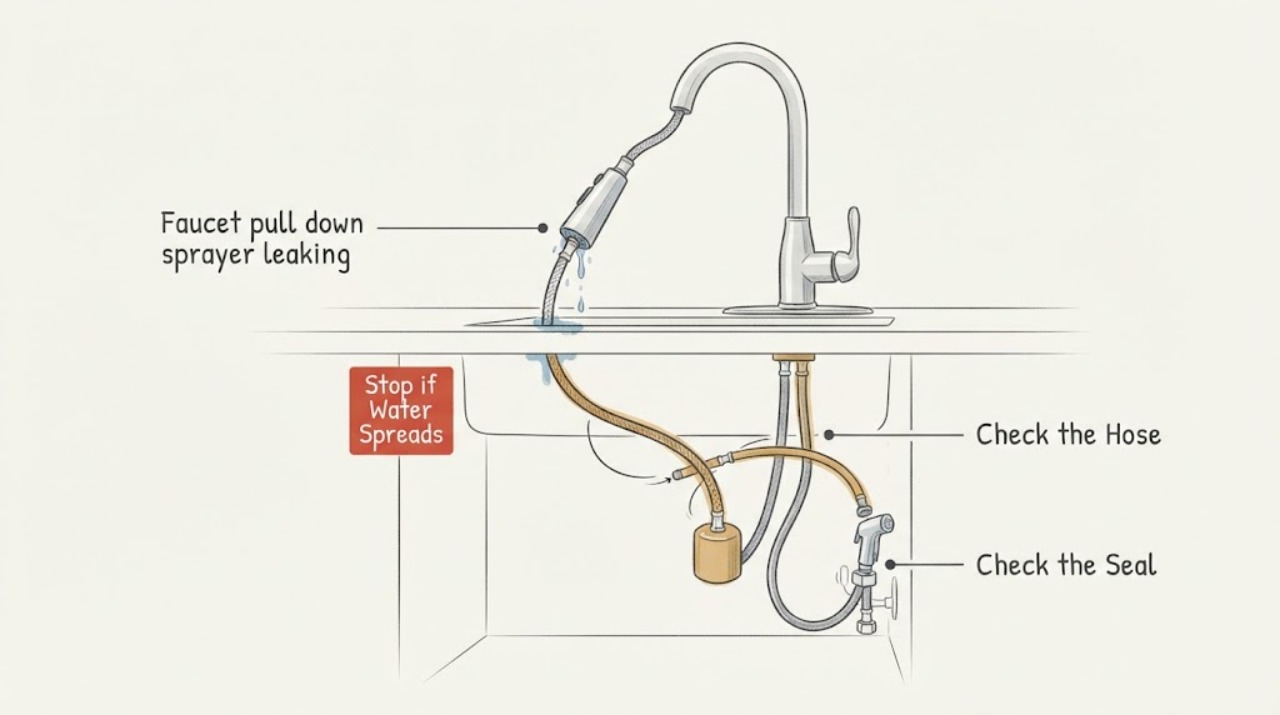
Faucet pull down sprayer leaking hose retracts poorly: What to Check and What to Do Next
A pull-down wand can leave a small amount of water in its long flexible hose after shutoff, but an active leak, water under the sink, a cracked wand or hose, or a connection that leaks while the faucet runs needs attention. Dry the cabinet, place a container under visible connections, and identify whether water comes from the wand-to-hose joint, hose, quick connection, faucet base, or spout.
-
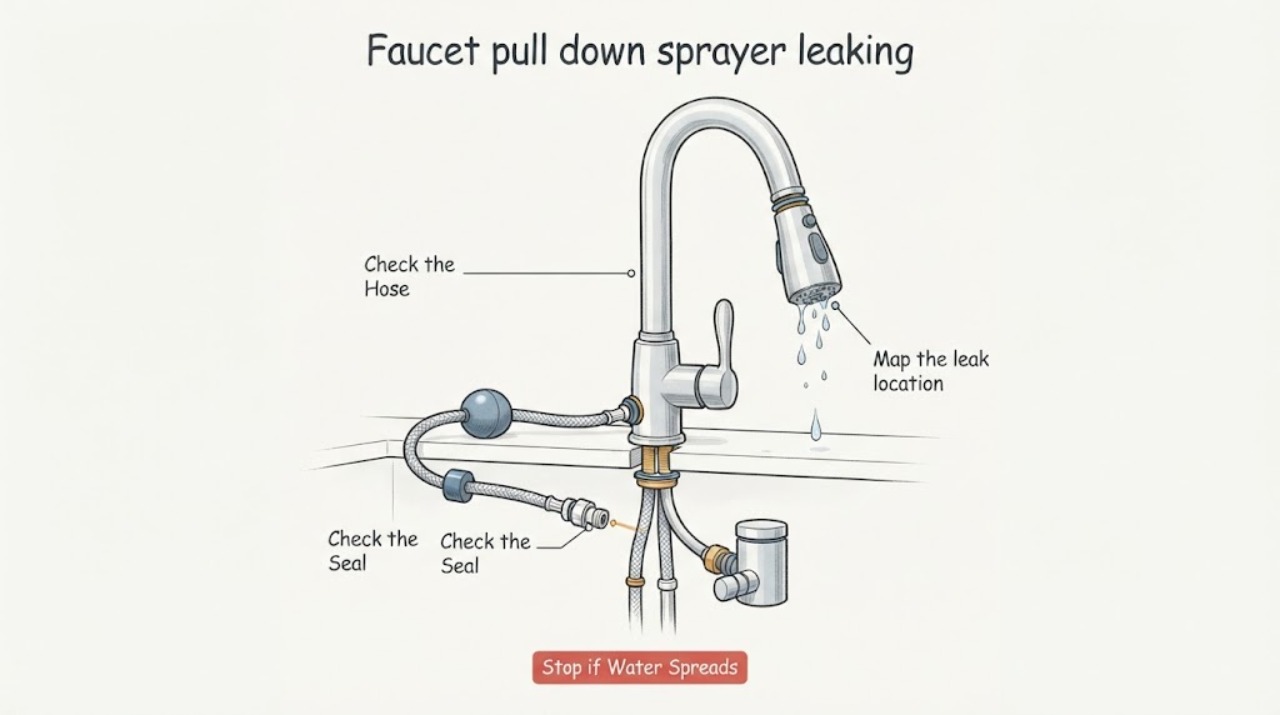
Faucet pull down sprayer leaking: What to Check and What to Do Next
First locate where the pull-down sprayer leaks: at the wand, hose, quick connection under the sink, faucet body, or diverter path. From a dry position, inspect the wand, hose routing, visible fittings, and cabinet contents without pulling hard or opening the faucet.
-
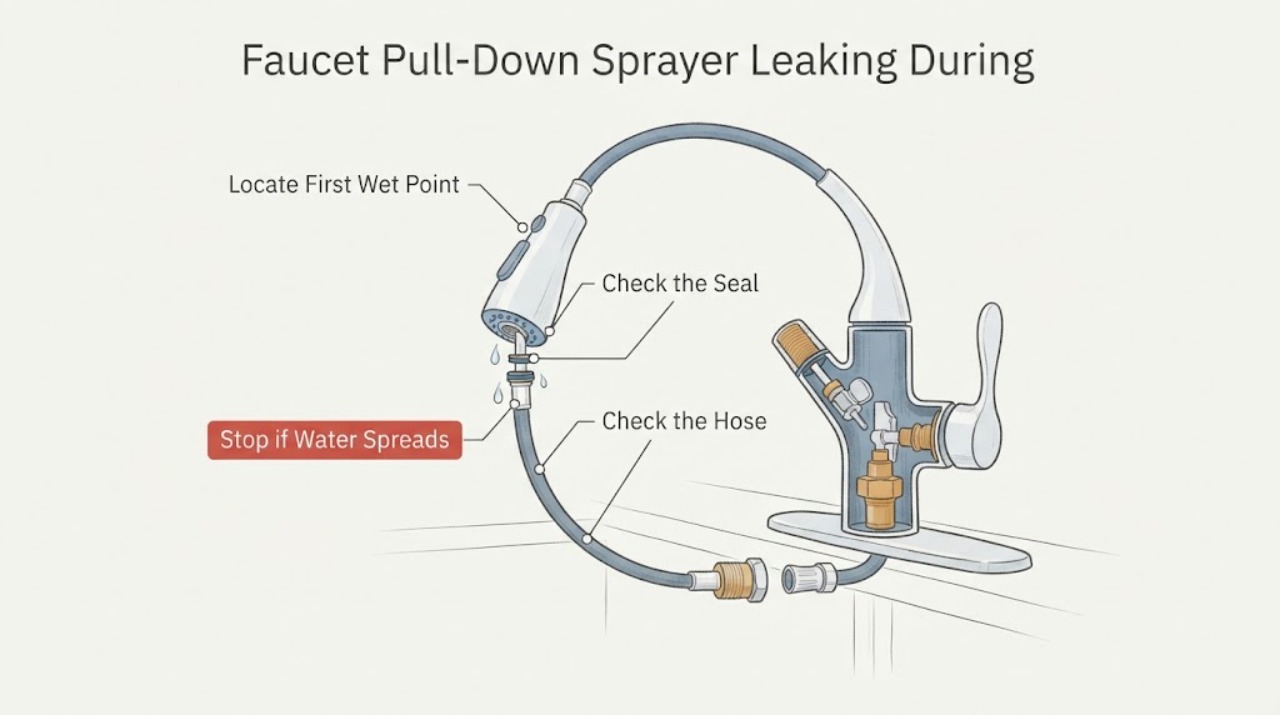
Faucet Pull-Down Sprayer Leaking During Spray Use: What to Check and What to Do Next
A leak that appears only when the pull-down sprayer is in use is usually somewhere in the pressurized spray path: the sprayhead-to-hose seal or connection, the wand or hose, an under-sink quick connection, or a diverter and spout path. First find the first wet point rather than tightening everything.
-
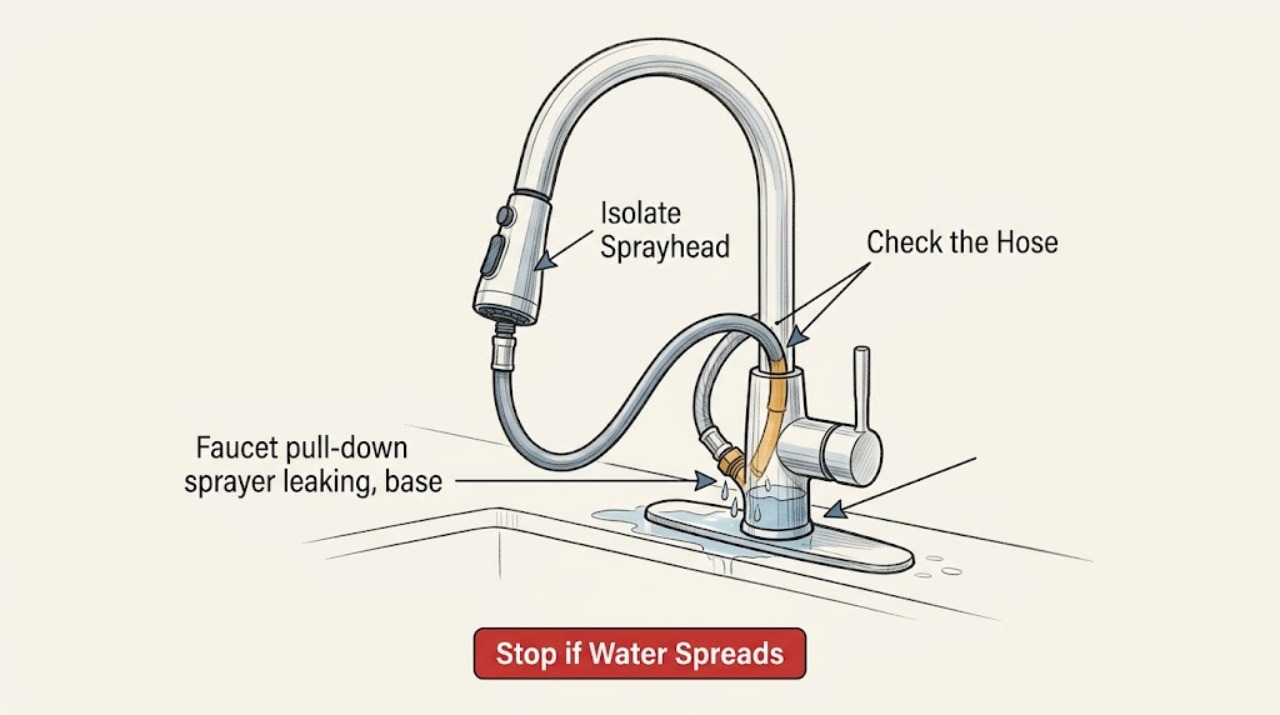
Faucet pull-down sprayer leaking, base dry or wet: What to Check and What to Do Next
A pull-down faucet can leak at the sprayhead, the hose connection under the sink, the spout or handle seals, or a supply connection; the wet or dry base is a useful location clue, not a diagnosis. Dry the faucet and hose, make a short test while watching the sprayhead and the cabinet, then turn both hot and cold supplies off before disconnecting any hose or connection.
-
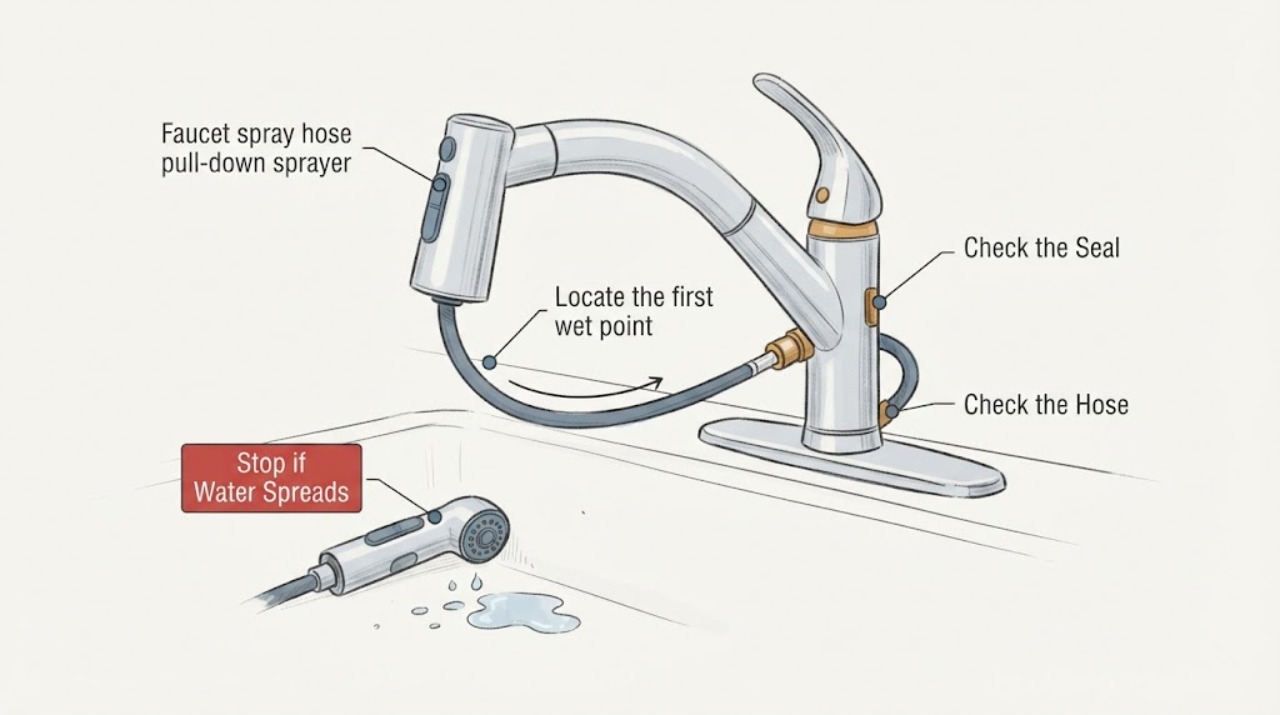
Faucet spray hose pull-down sprayer leaking: What to Check and What to Do Next
First find where the water starts: the spray wand face or body, the wand-to-hose joint, the hose or quick-connect below the deck, or the faucet body. Put a towel or container under the connections, turn off the faucet's hot and cold supplies before loosening anything, and identify the faucet model.
-
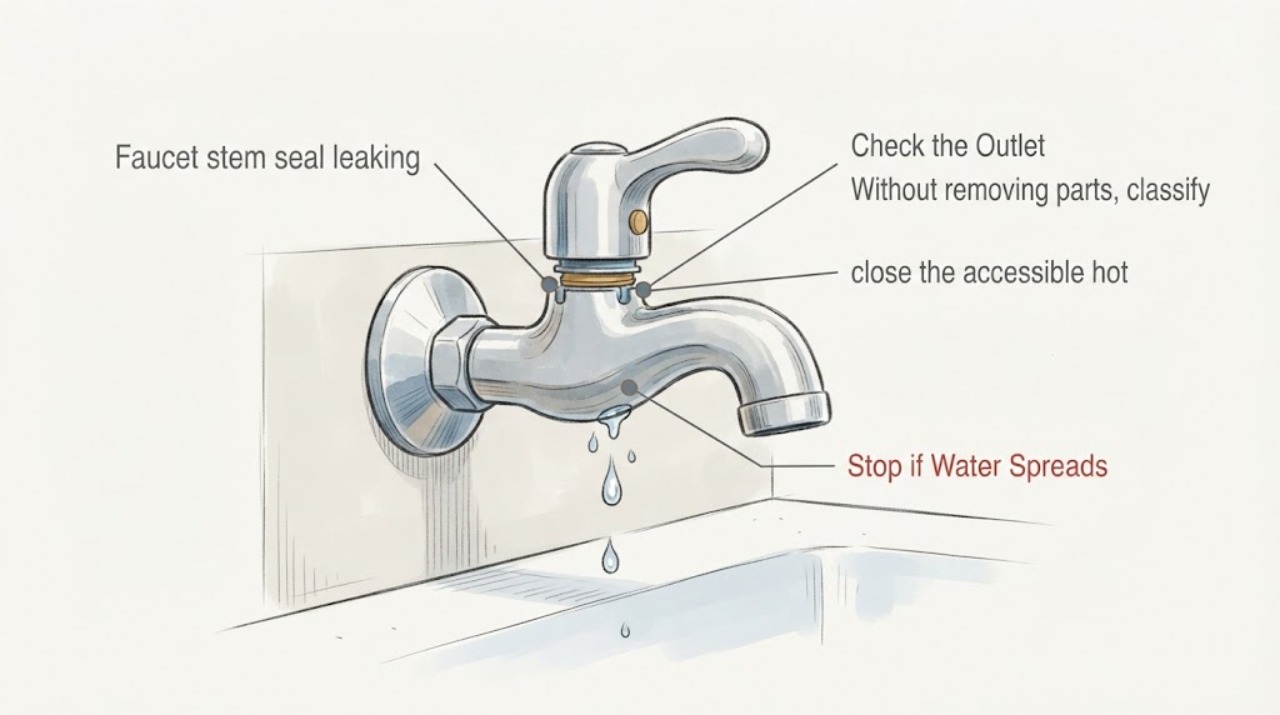
Faucet stem seal leaking at handle: What to Check and What to Do Next
A leak at a faucet handle can involve the stem seal, a cartridge, the spout, or the faucet base, so do not assume an O-ring or stem is the right repair from the wet spot alone. First locate the first point that becomes wet and note whether it happens only while that handle is open or continues with the handle closed.
-
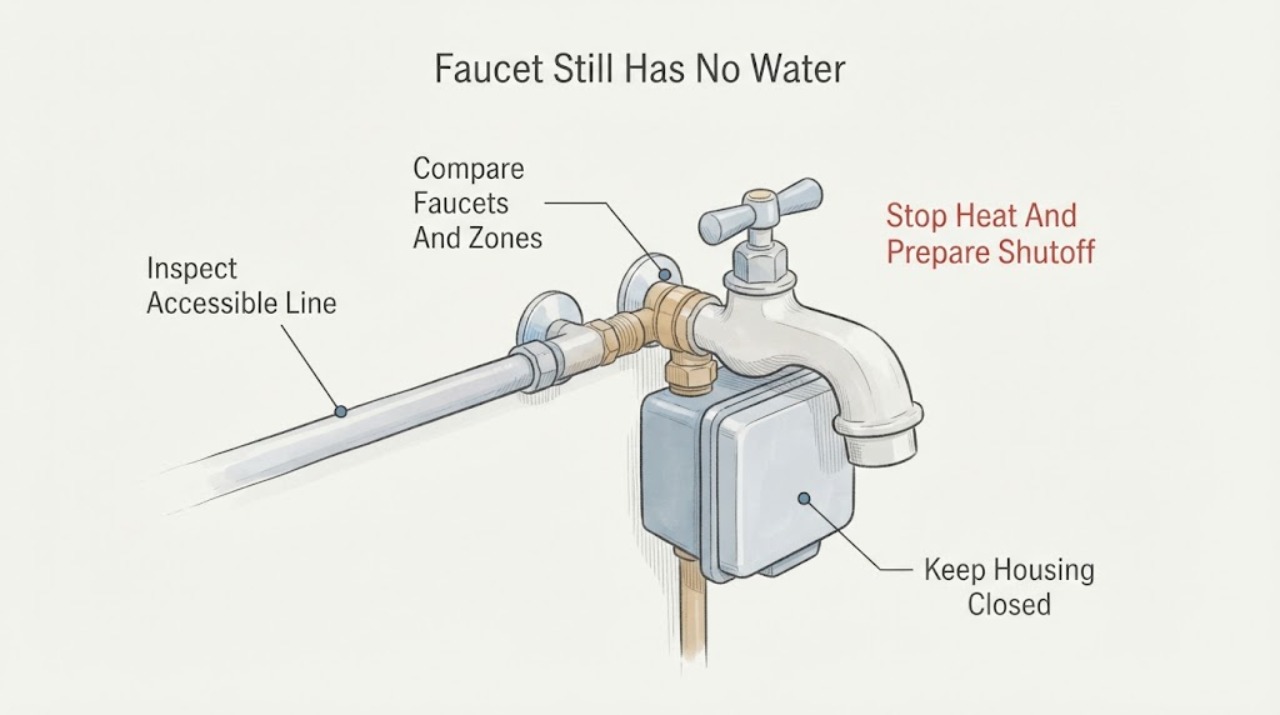
Faucet Still Has No Water After Applying Heat: Check for a Burst or Frozen Supply Line
Stop the heat treatment first; do not keep heating a faucet or pipe simply because water has not returned. If the faucet was dry or only trickled during freezing weather, the restriction may be in the supply line under the sink, in an exterior wall, at the service entry, or near the water heater.
-
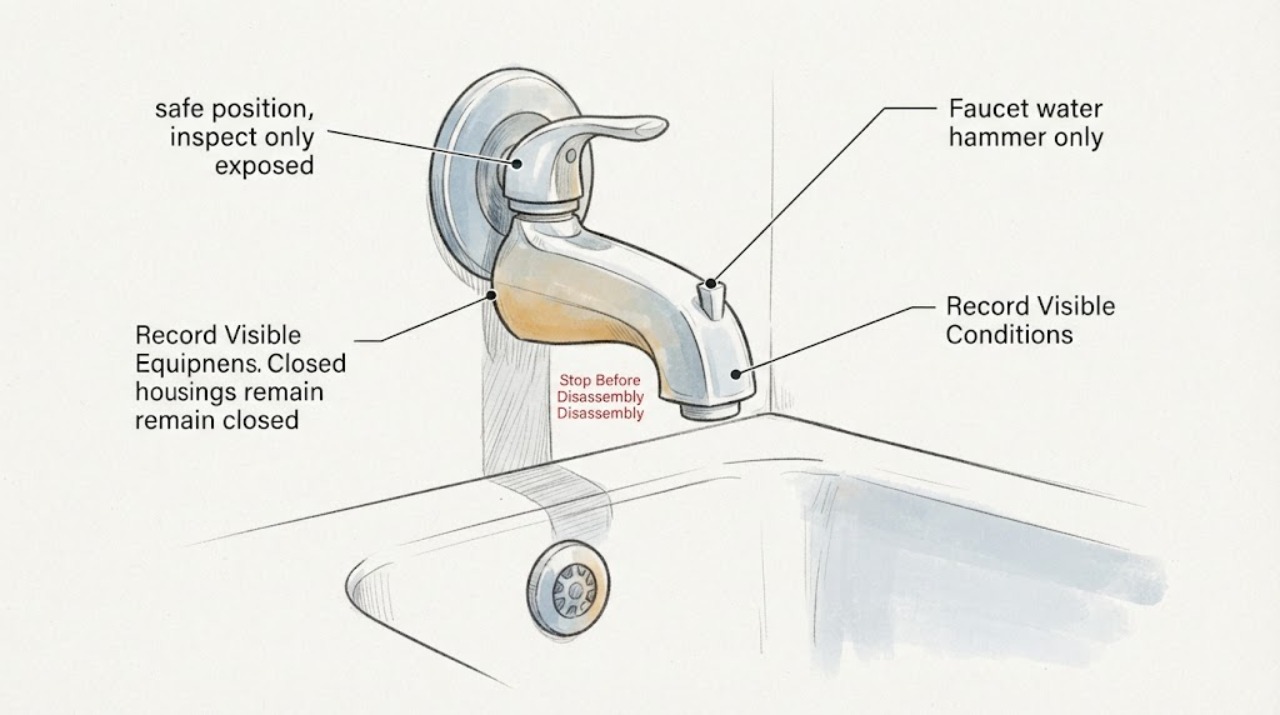
Faucet water hammer only in the bathtub: trace the local pipe noise safely
When a water hammer occurs only at the bathtub, first note whether one sharp knock happens as the faucet closes or whether the pipes keep vibrating. A quick valve closure, a loose local pipe support, a worn faucet washer or seal, a restriction, or a local pressure issue can all make a bathtub branch louder than the rest of the home.
-
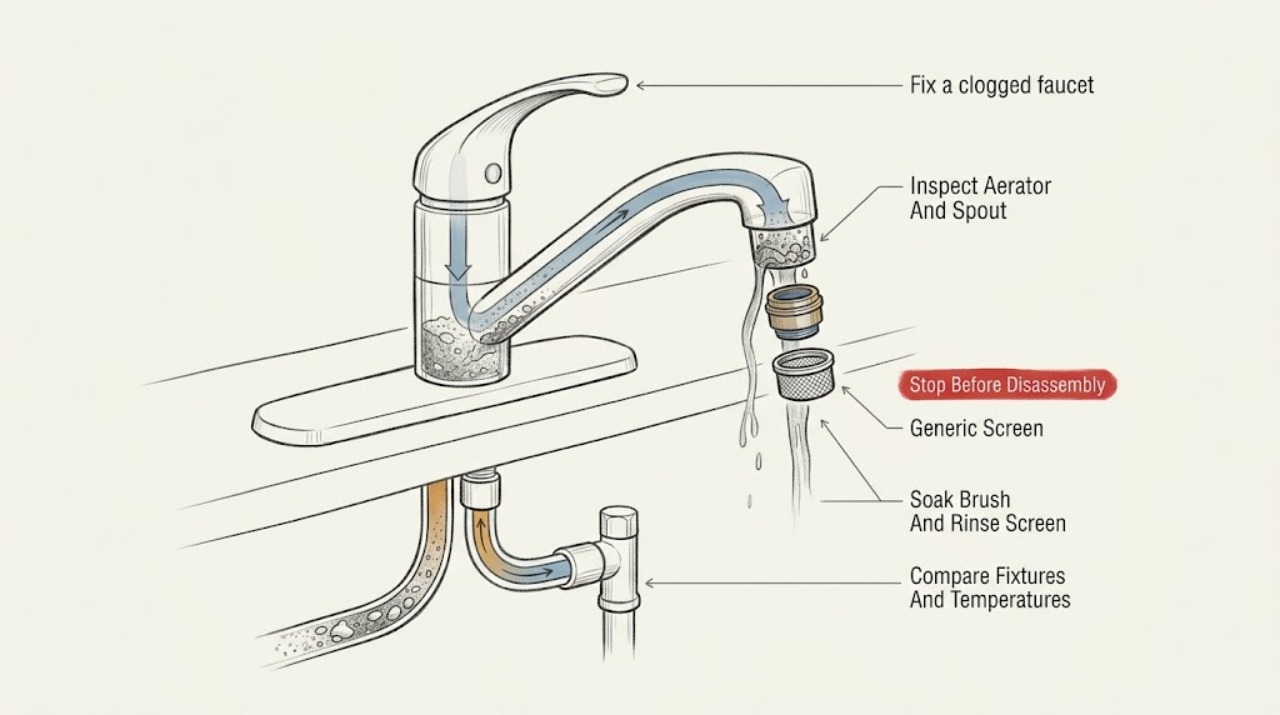
How to fix a clogged faucet: Check the aerator and water supply safely
A faucet that has weak or uneven flow is often restricted at the small screen, or aerator, on the end of the spout. First compare this faucet with the other faucets and compare hot with cold: a problem at one faucet points toward its aerator or local plumbing, while reduced flow everywhere points toward a valve, filter, pressure, leak, or supply problem.
-
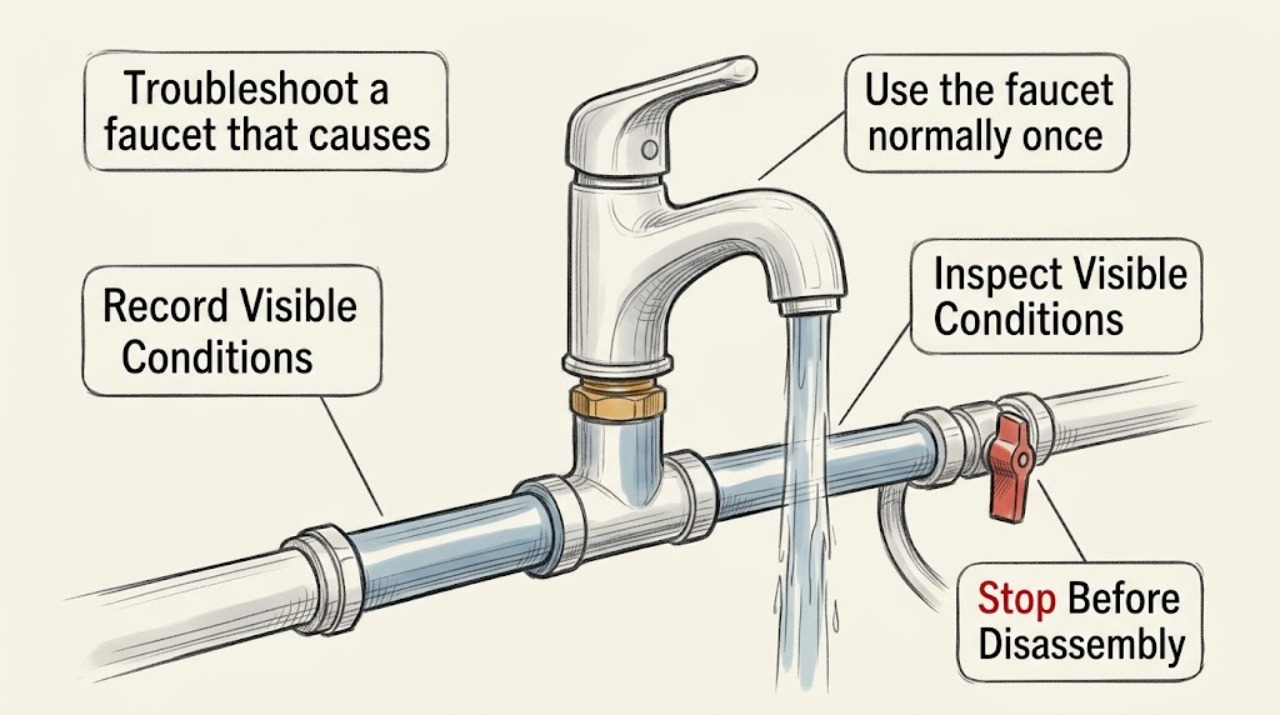
How to troubleshoot a faucet that causes water hammer
A bang that happens immediately when a faucet closes is usually a pressure shock in the water-supply piping, especially when a quick-closing valve stops moving water abruptly. First separate that trigger from a noise that occurs only while water is draining, then note whether the sound is limited to one faucet or affects several fixtures.
-
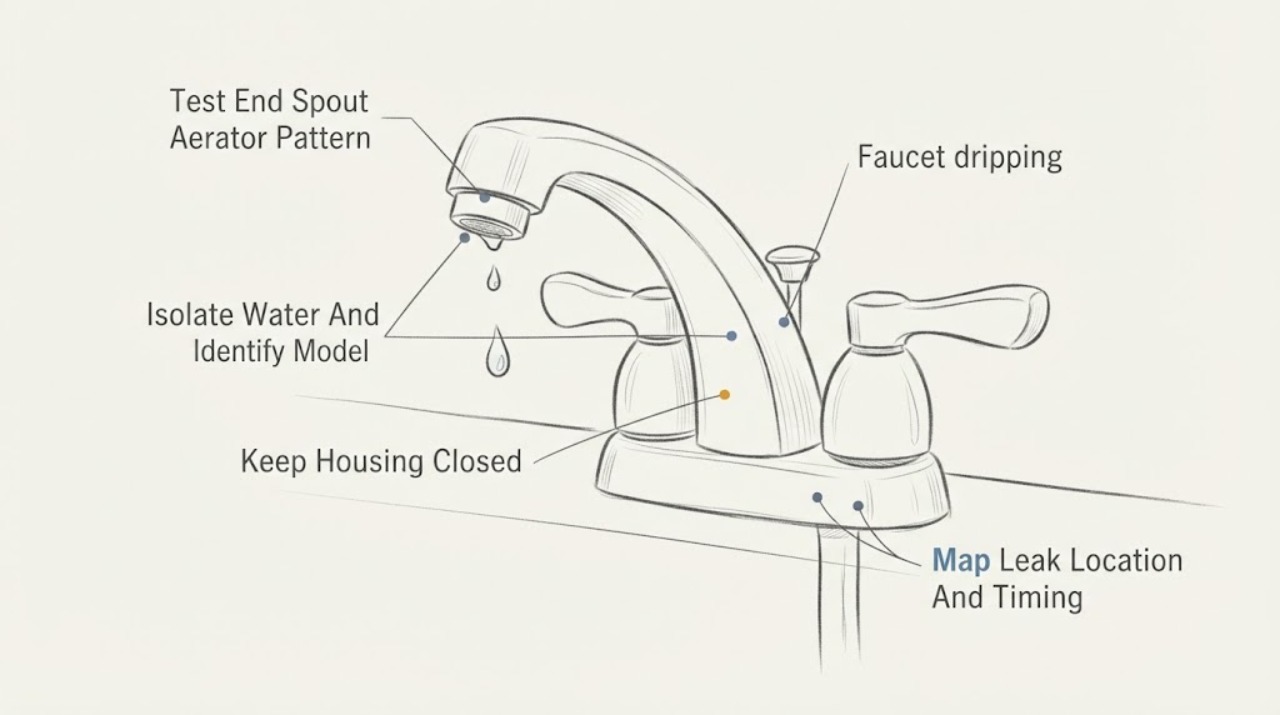
Kohler faucet dripping: What to Check and What to Do Next
Start by locating exactly where the Kohler faucet drips and whether it stops shortly after the handle closes. A few drips from the spout for a minute or two can be water draining through an aerator; a drip that continues all day after shutoff points more toward a worn or contaminated valve or cartridge.
-
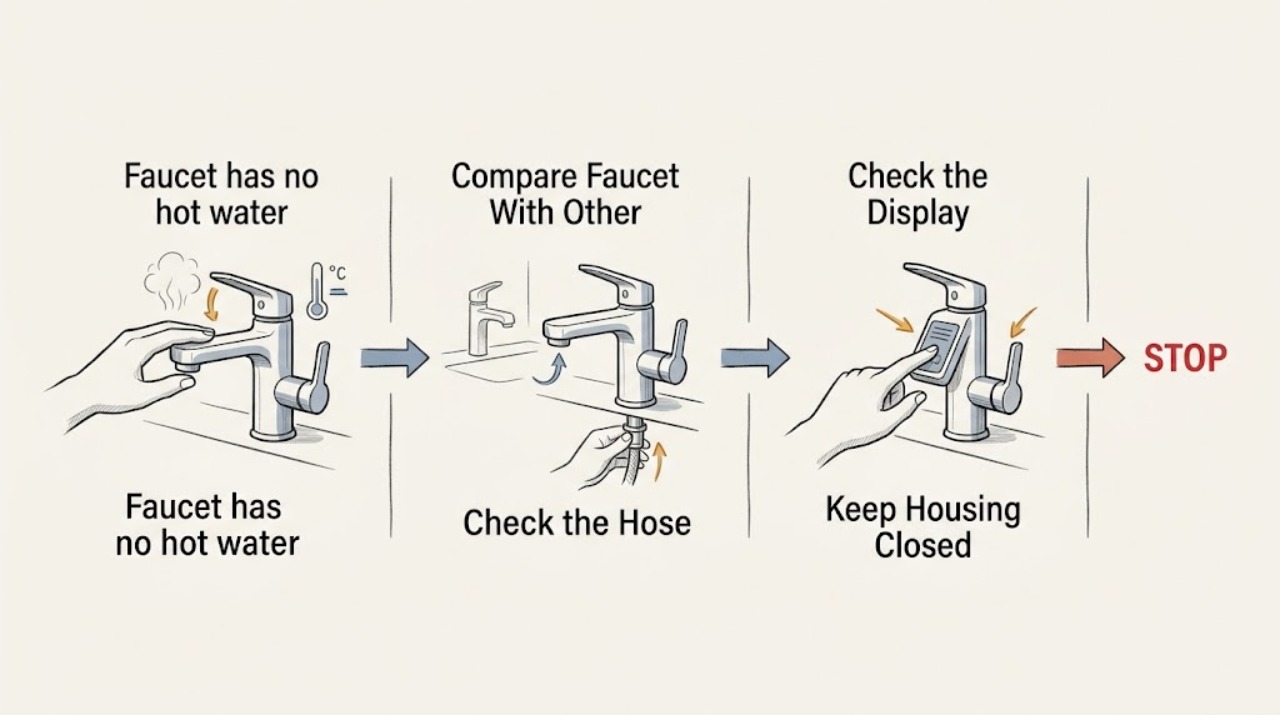
Kohler faucet has no hot water: What to Check and What to Do Next
First compare the Kohler faucet with another hot-water fixture. If other fixtures are hot, the fault is likely at this faucet's hot angle stop, supply hose, kink, cartridge or valve, check valve, sensor, or mixing path; if the whole home is cold, troubleshoot the water heater or house hot-water supply instead.
-
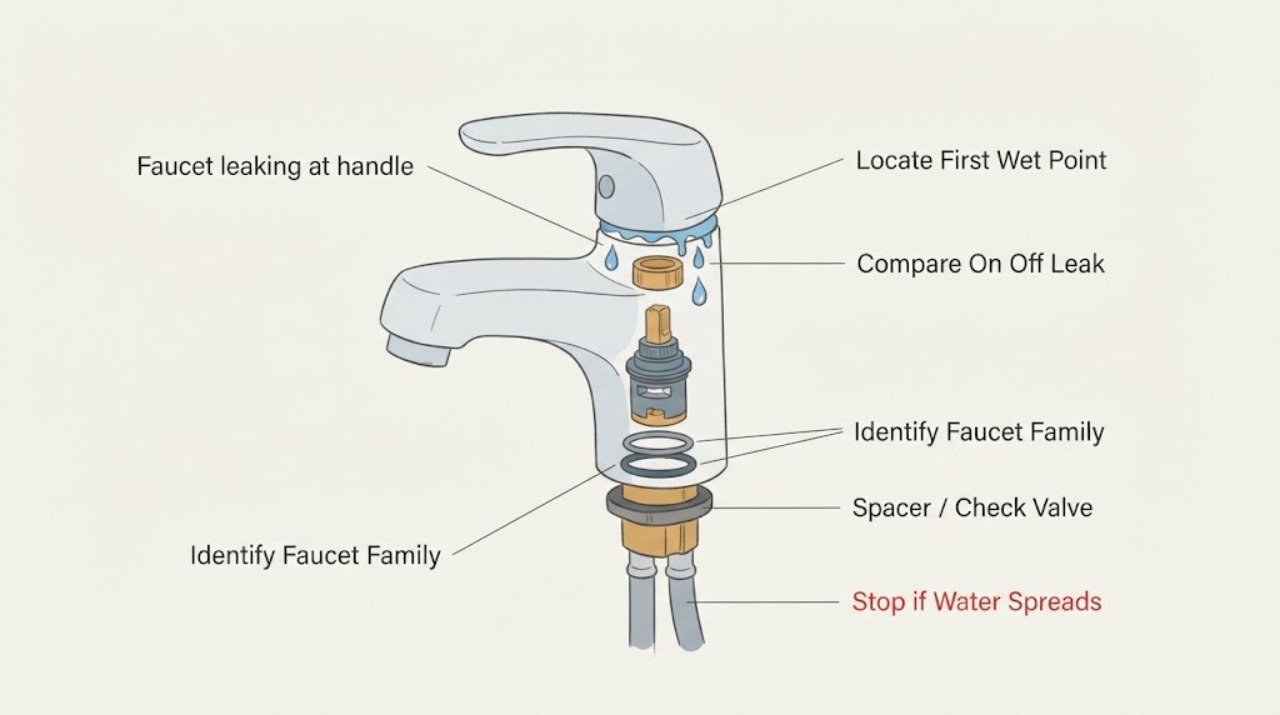
Kohler faucet leaking at handle: What to Check and What to Do Next
A Kohler faucet that leaks at the handle needs the leak path identified before a part is chosen. Dry the area, operate the faucet, and watch whether water appears under the handle only while the faucet is on, while it is off, or from a nearby supply or deck connection.
-
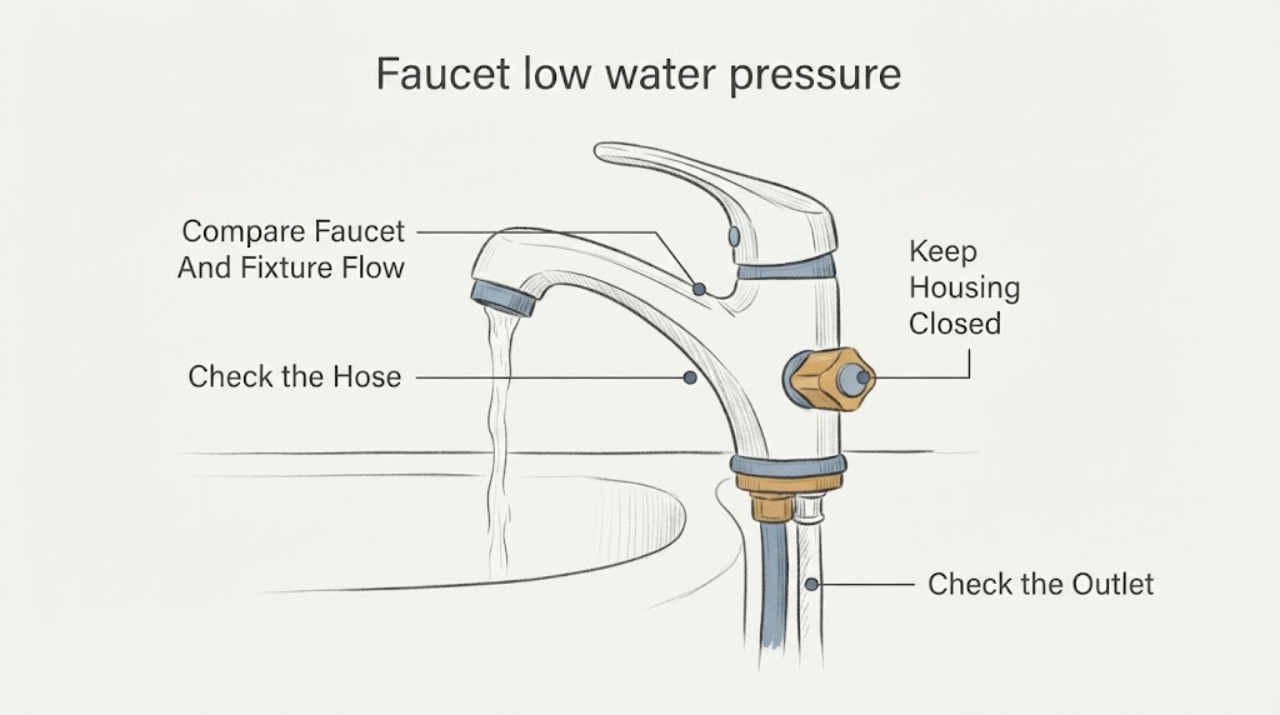
Kohler faucet low water pressure: What to Check and What to Do Next
First determine whether low flow affects only the Kohler faucet, only hot or cold water, or every fixture. Then confirm both under-sink supply stops are fully open, inspect the hot and cold hoses for kinks, and check whether the handle is reaching the full-open position.
-
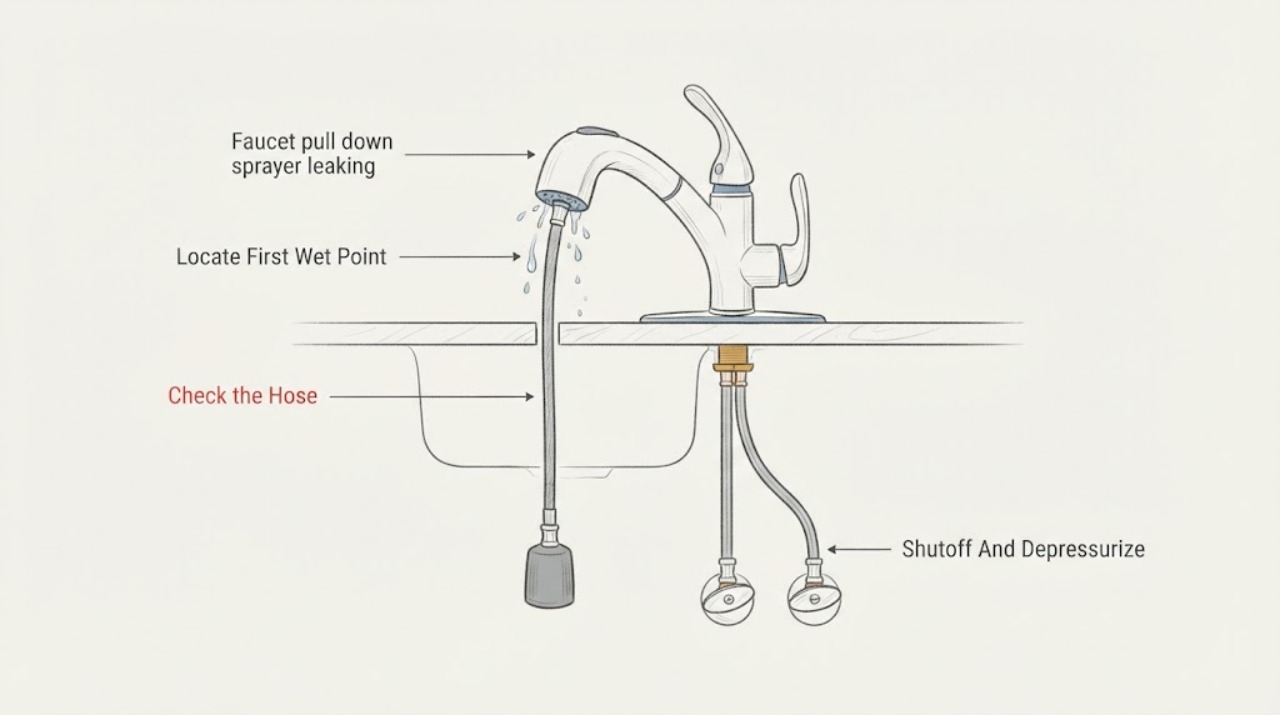
Kohler faucet pull down sprayer leaking: What to Check and What to Do Next
First identify whether water escapes at the sprayhead-to-hose connection, from the sprayhead face or body, along the pull-down hose below the counter, or at a supply connection. If water is spreading, close the hot and cold faucet shutoffs under the sink without force, open the faucet briefly to release residual pressure, and place a towel or bucket below the connections.
-
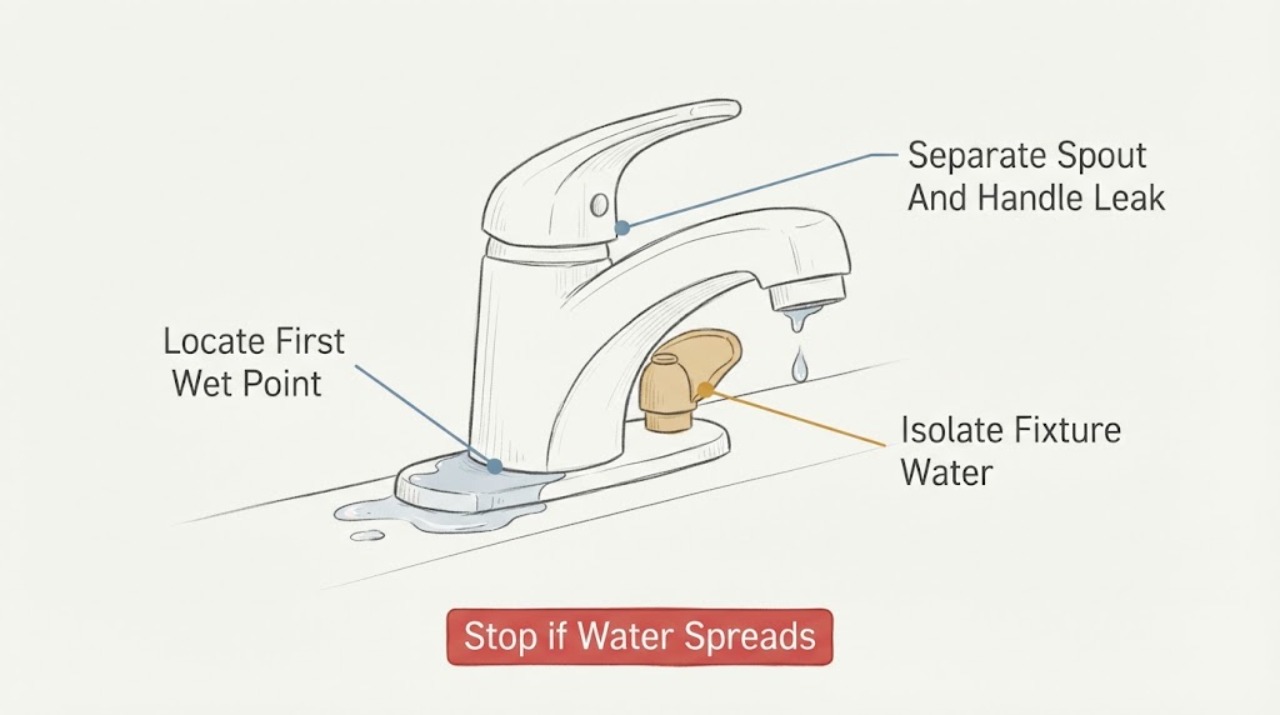
Leaking faucet: find the leak and choose the right next step
First dry the faucet and observe where water returns: the spout with the handles off, around a handle or base, at an under-sink supply connection, or from the faucet body and hose.
-
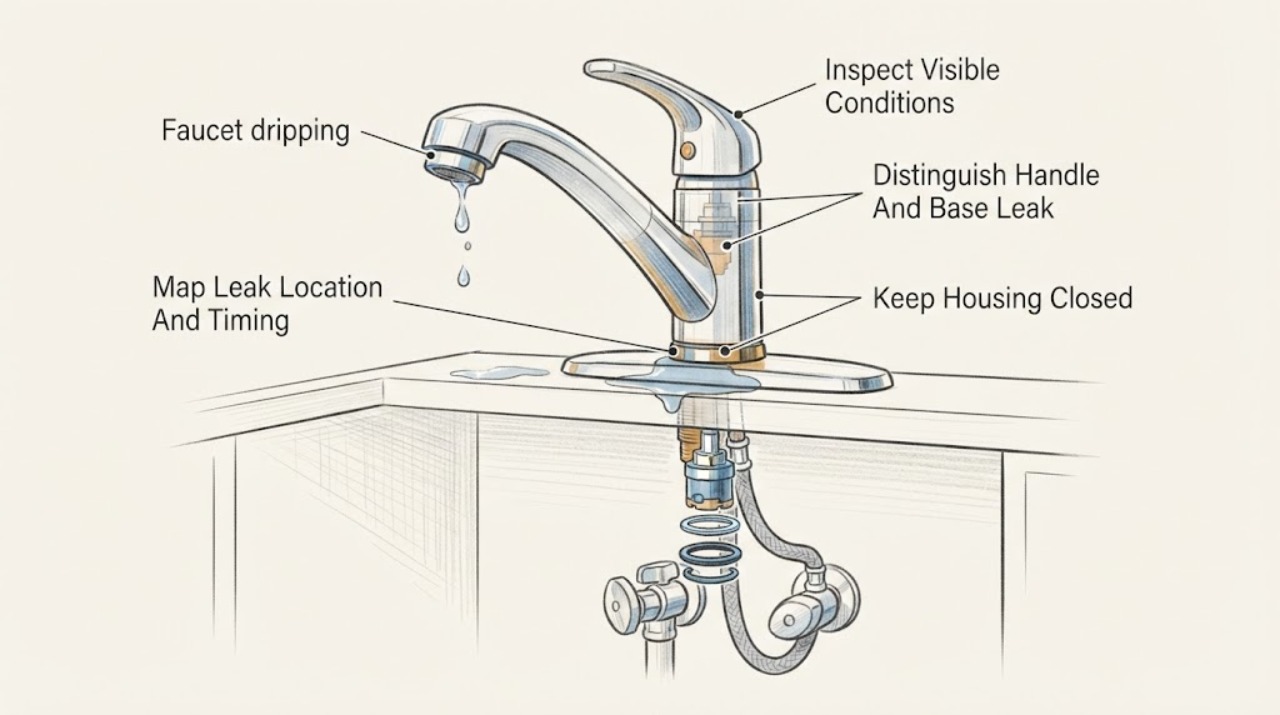
Moen faucet dripping: What to Check and What to Do Next
A dripping Moen faucet is diagnosed first by where the water appears and when it appears. A drip from the spout with the handle off commonly points to the cartridge or its seals; water around the handle or spout base can also travel from a cartridge, O-ring, or handle assembly.
-
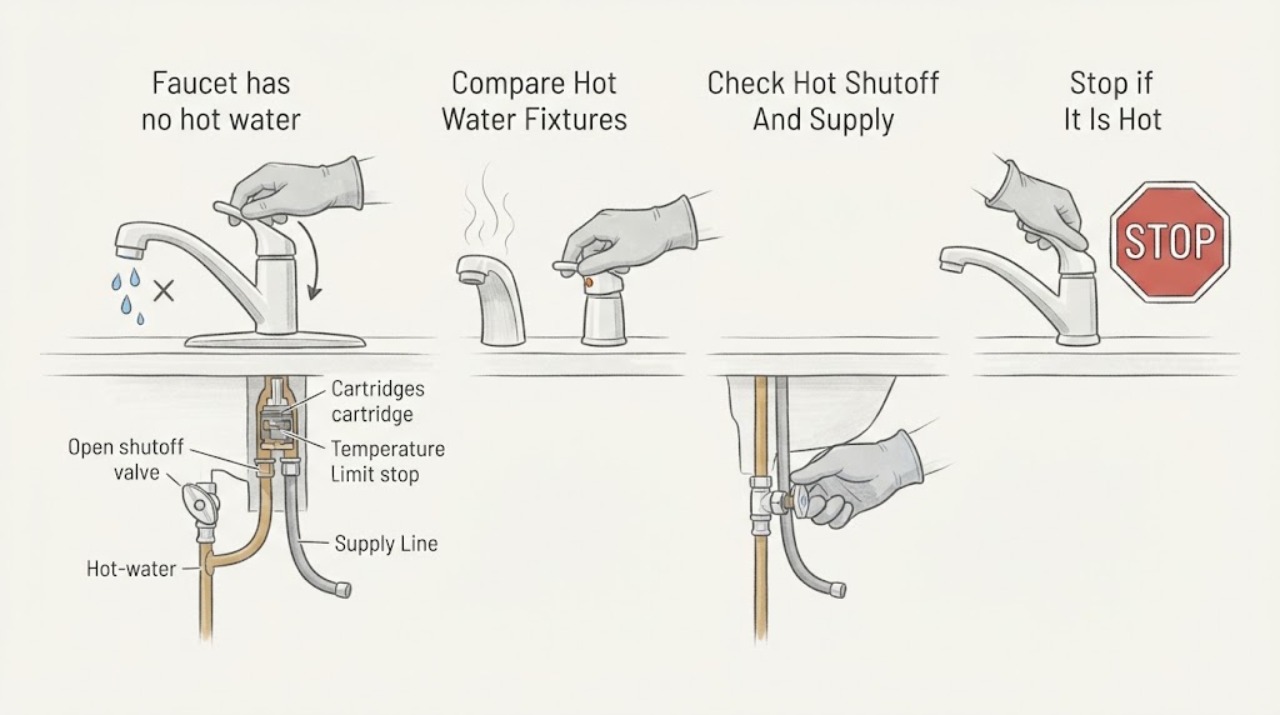
Moen faucet has no hot water: What to Check and What to Do Next
If a Moen faucet has no hot water, first compare it with another hot-water fixture. If every fixture is cold, the water-heating system or home hot-water supply needs attention; if only this faucet is affected, check the hot shutoff valve, the hot supply line, and whether the faucet delivers normal cold flow.
-
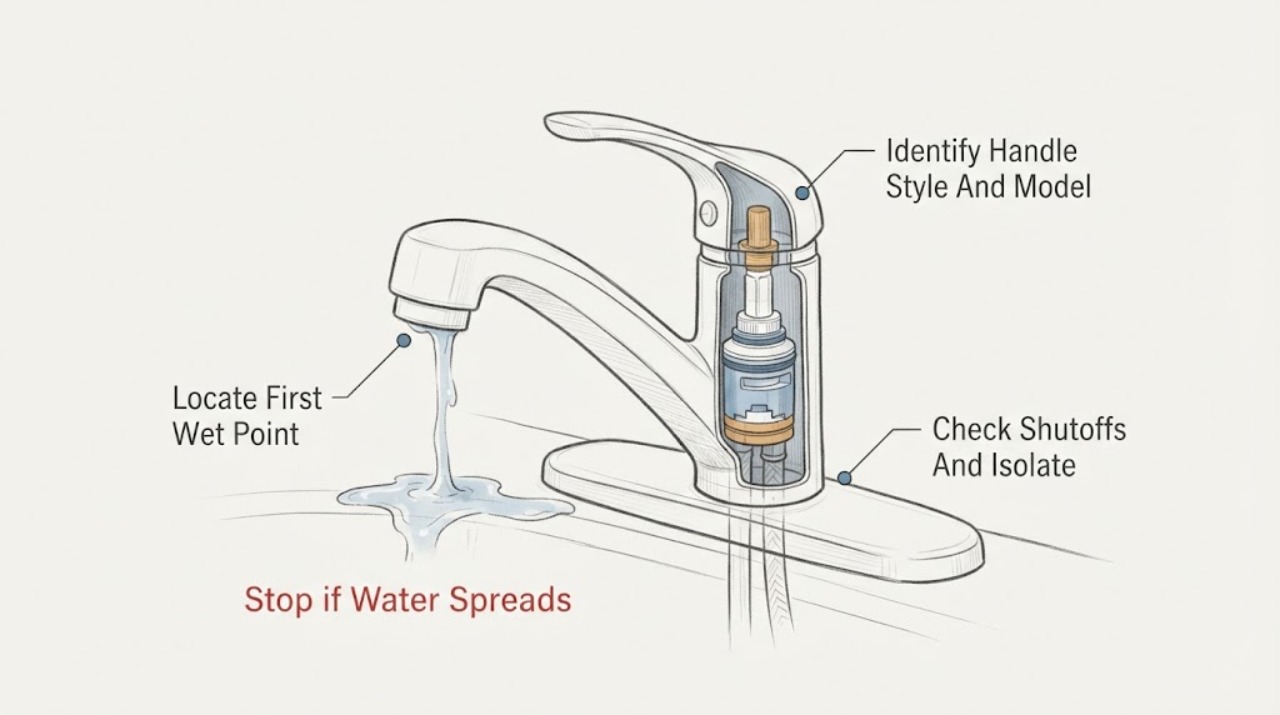
Moen Faucet Leaking at Handle: What to Check and What to Do Next
Water coming from a Moen faucet handle is usually a cartridge or handle-seal problem, but first confirm where the water starts. Dry the handle, spout, and base, wrap a paper towel around the handle, and turn the faucet on briefly.
-
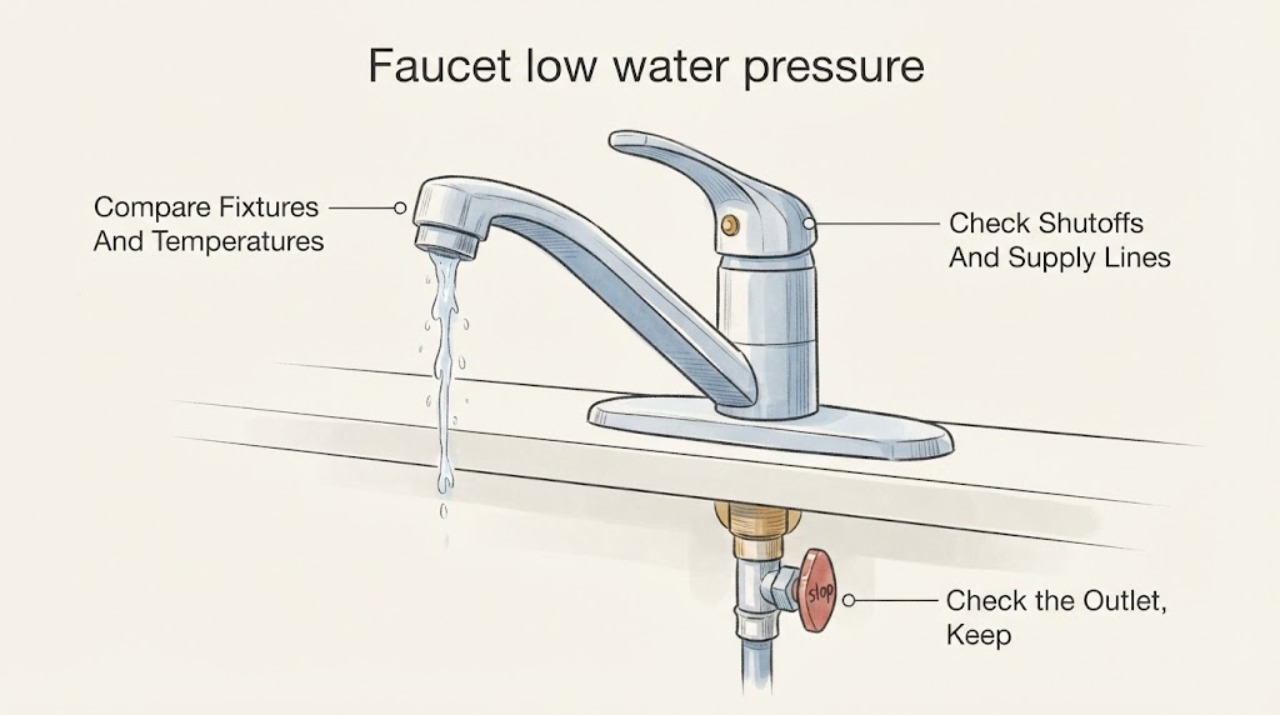
Moen faucet low water pressure: What to Check and What to Do Next
A Moen faucet with low flow may have debris in the aerator, wand screen, in-line filter, cartridge, or diverter, but a partially closed shutoff valve, kinked supply line, leak, or whole-home pressure problem can look similar. First compare the affected faucet with another fixture and determine whether both hot and cold sides are weak.
-
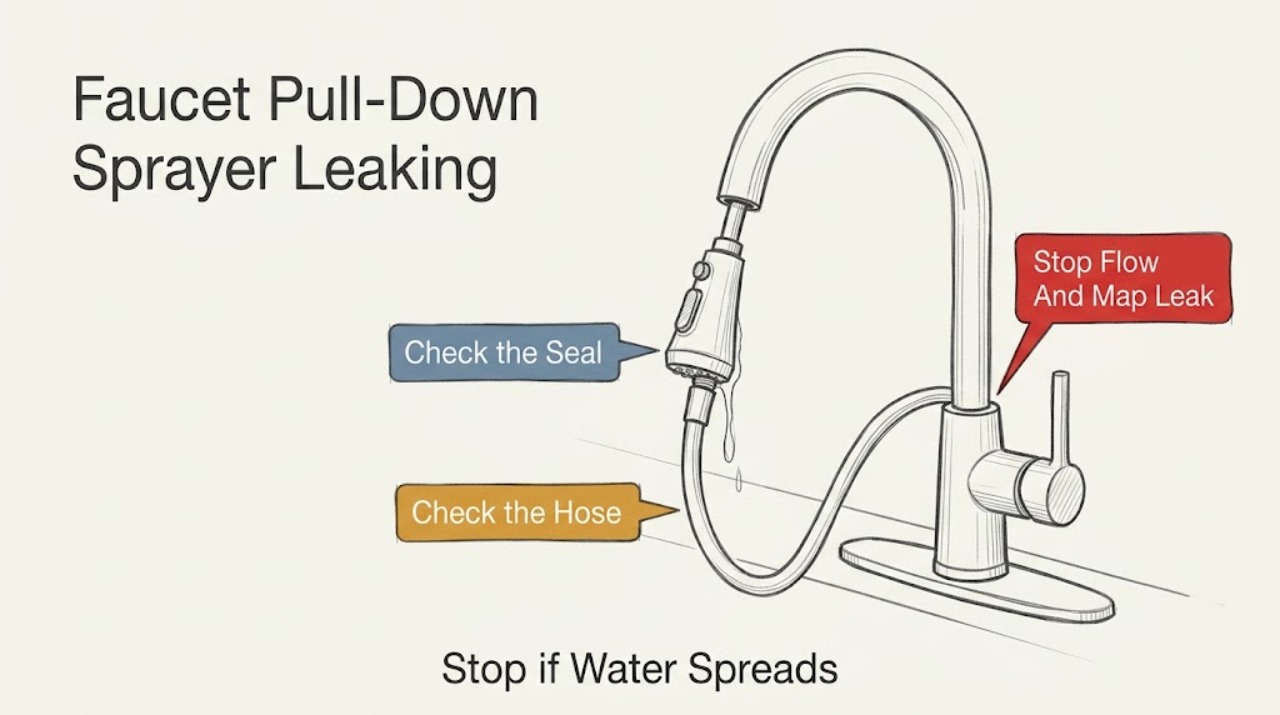
Moen Faucet Pull-Down Sprayer Leaking: What to Check and What to Do Next
First identify whether water is coming from the spray-wand connection, the braided hose, the spout receptor or faucet base, or the spray outlet after shutoff. With the handle off, wipe only the accessible area dry and avoid disconnecting a pressurized hose.
-
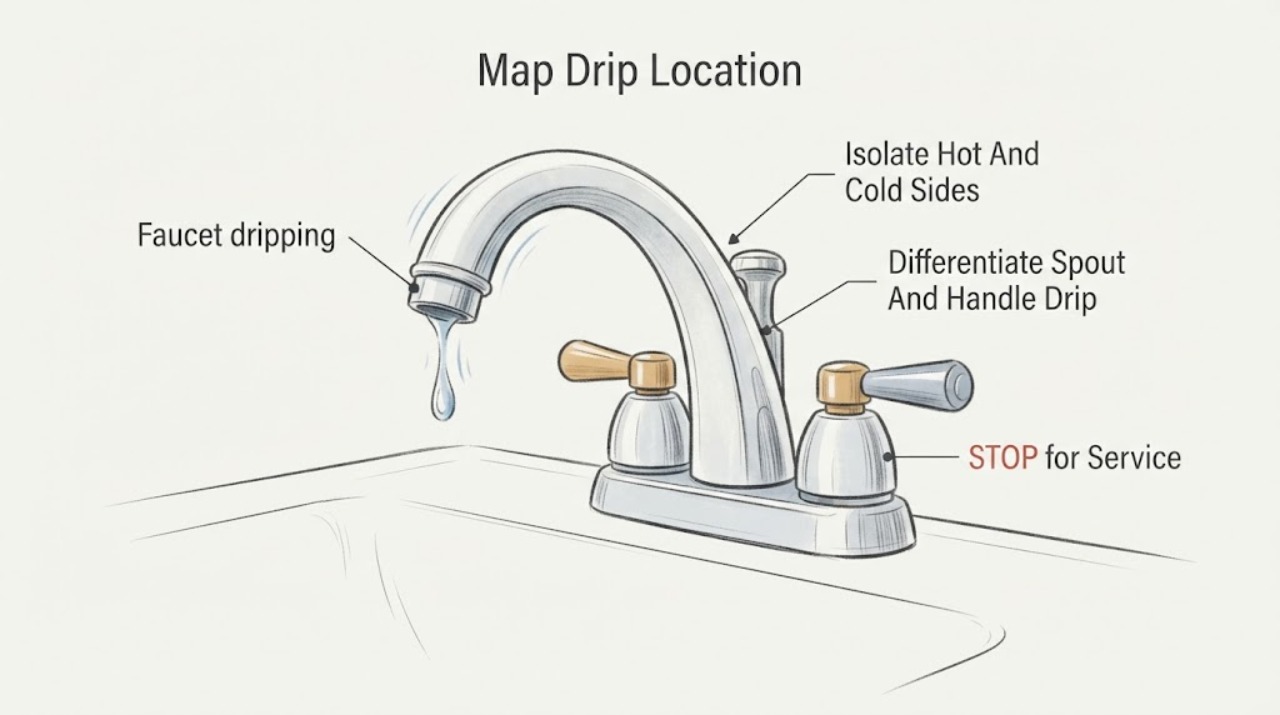
Pfister faucet dripping: What to Check and What to Do Next
Start by identifying where the Pfister faucet is dripping: from the spout after shutoff, beneath a handle, around the base or under the counter, at a supply connection, or from a pull-down spray hose. Close the appropriate hot and cold angle stops before disassembly, dry the area, and reopen one side at a time only when it is safe to test.
-
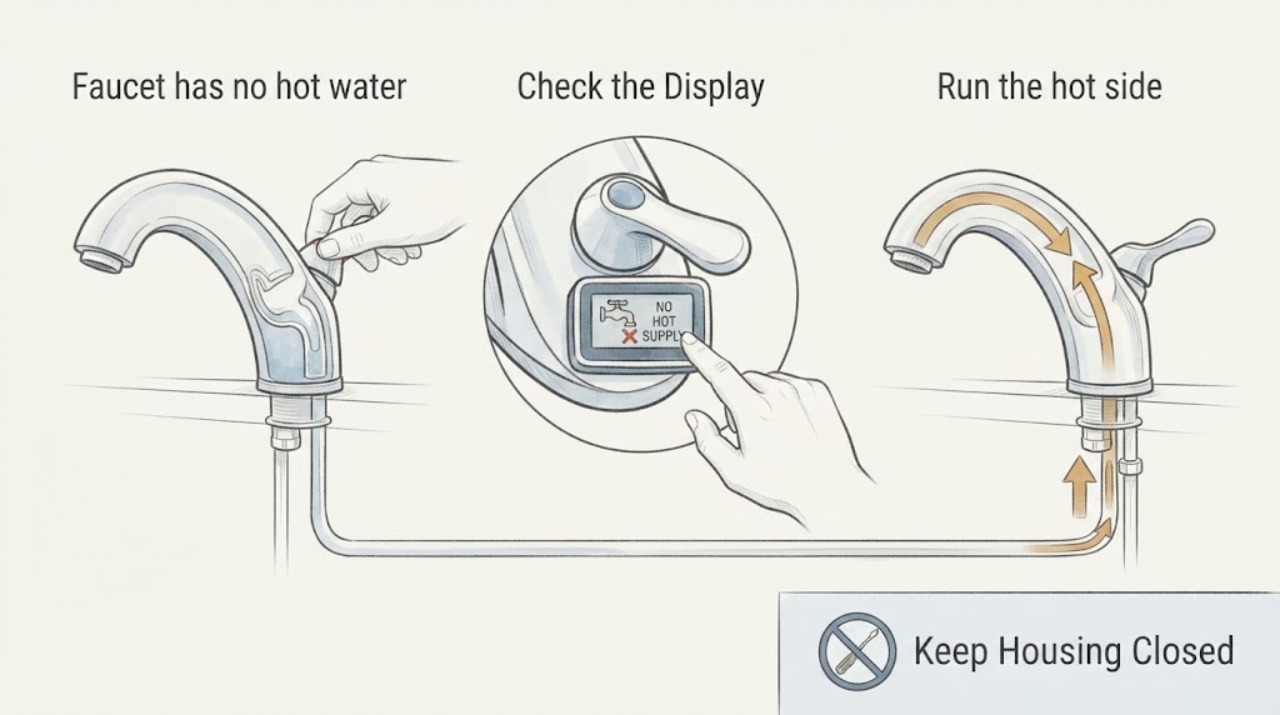
Pfister faucet has no hot water: What to Check and What to Do Next
If a Pfister faucet has no hot water, first determine whether the problem affects only that faucet or every hot-water fixture. A closed or restricted hot angle stop, kinked supply line, clogged inlet screen or aerator, stuck or incorrectly installed cartridge, temperature-limit setting, cross-connection, or a water-heater problem can all produce cool water at the spout.
-
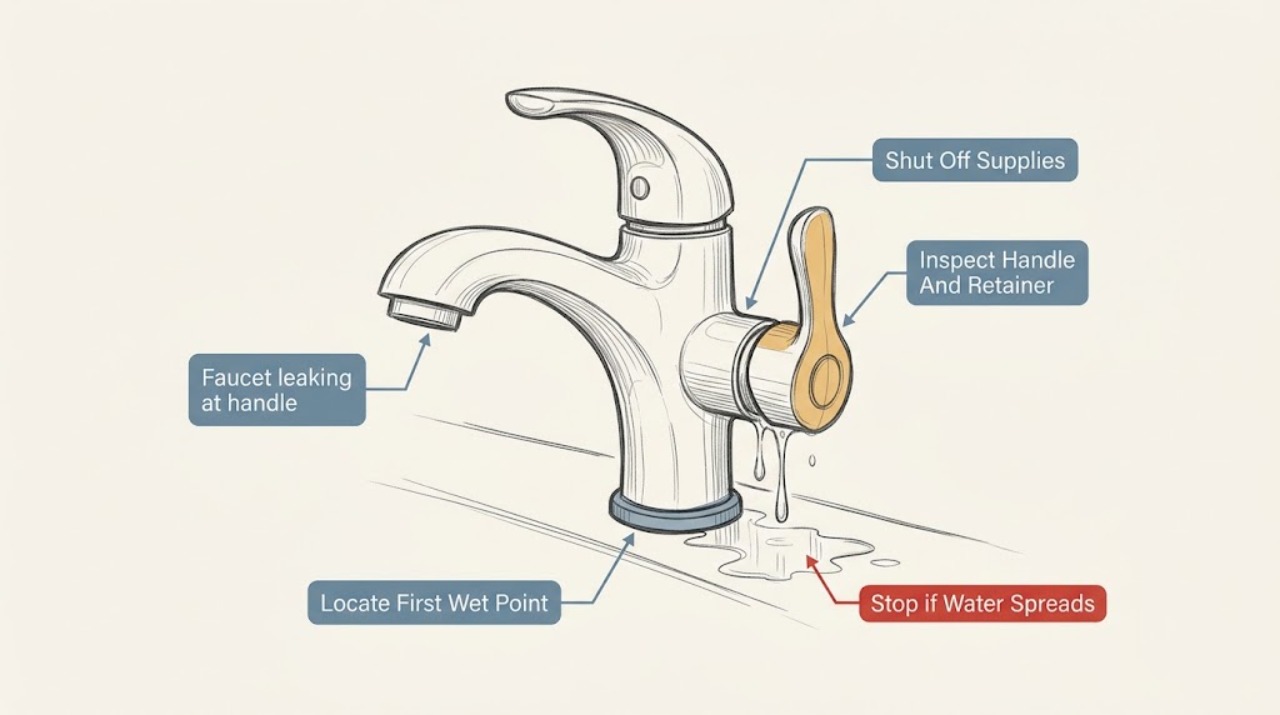
Pfister faucet leaking at handle: What to Check and What to Do Next
A Pfister faucet leaking under or around the handle usually needs the leak location separated from a leak at the spout, hose, supply line, or underbody. Dry the faucet and connections, run water briefly, and watch the first place that becomes wet.
-
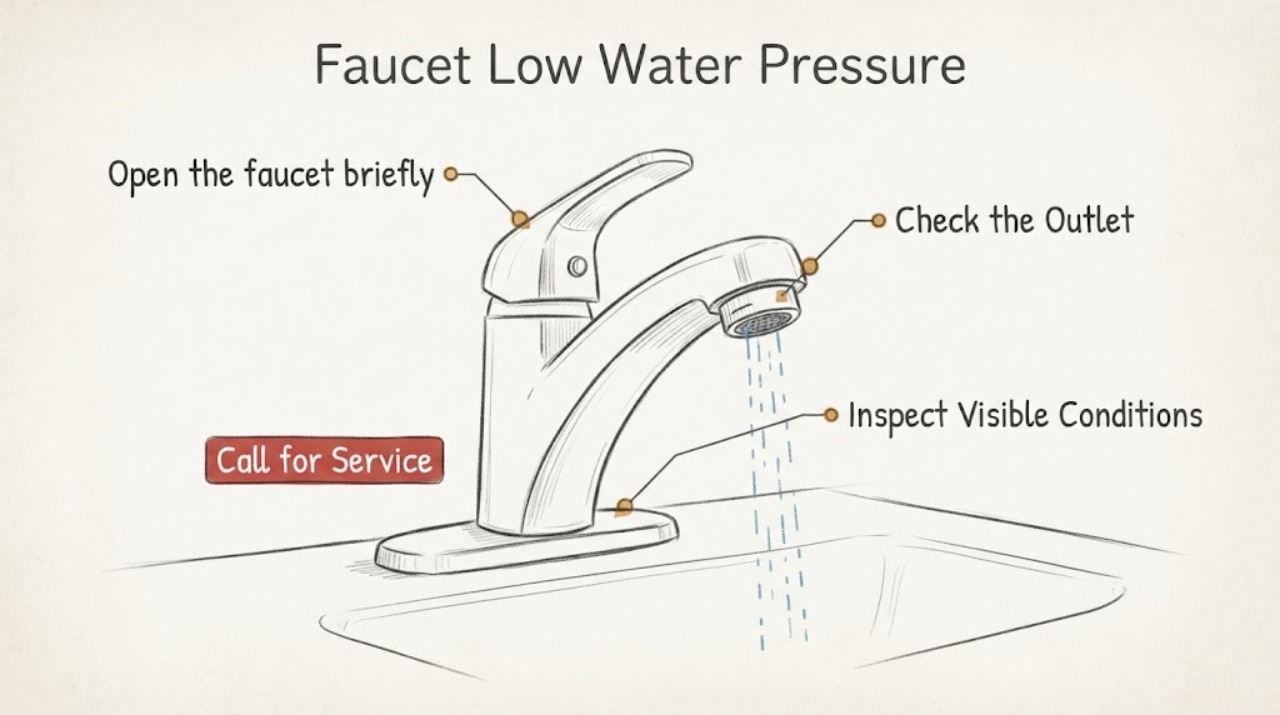
Pfister Faucet Low Water Pressure: What to Check and What to Do Next
Low flow at one Pfister faucet is often caused by debris or mineral buildup in the aerator, sprayhead, inlet screens, supply hose, or cartridge. First compare hot and cold flow and check another fixture: a problem at only one outlet points toward the faucet or its local supply, while several fixtures being weak points toward a house or utility supply issue.
-
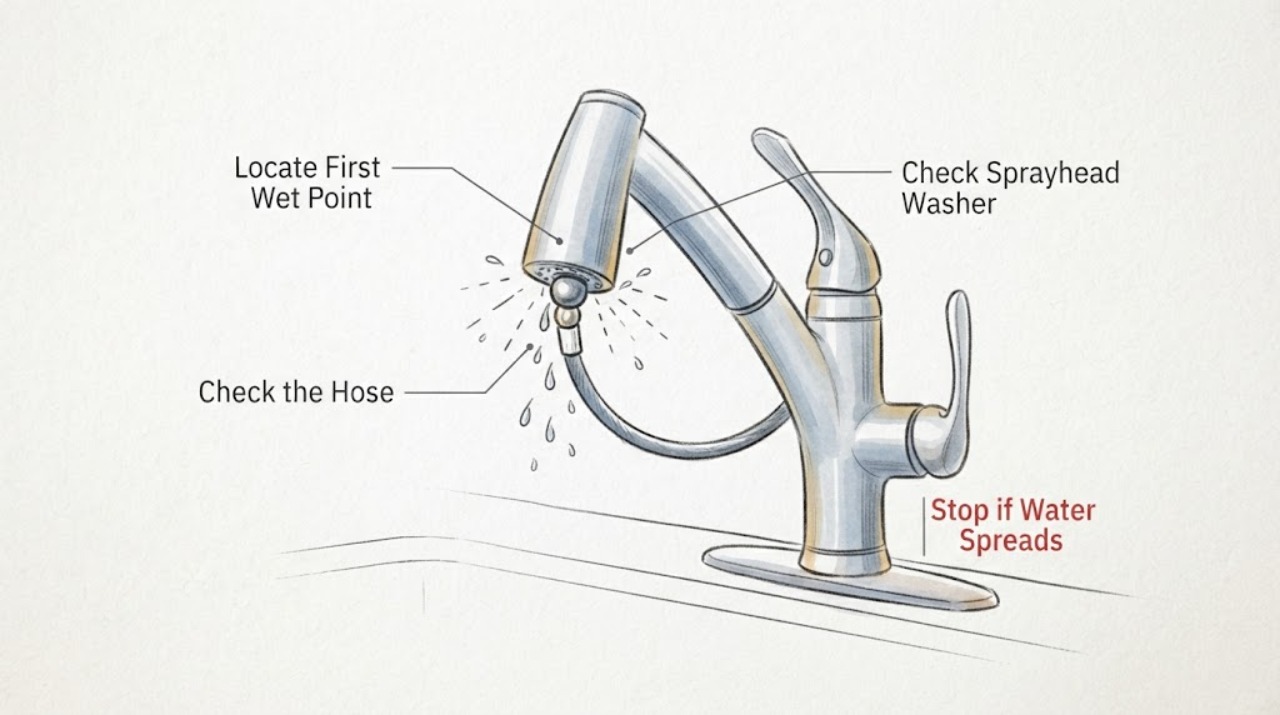
Pfister faucet pull-down sprayer leaking: What to Check and What to Do Next
A Pfister pull-down sprayer leak is easiest to diagnose by location. Water at the sprayhead or ball joint can come from a missing or displaced washer, a loose ball-joint piece, or a sprayhead that needs replacement.