
Repair service
Roofing Guides
Roofs, shingles, flashing, and gutters.
Published roofing guides
Choose the guide that best matches the service and problem you are seeing.
-
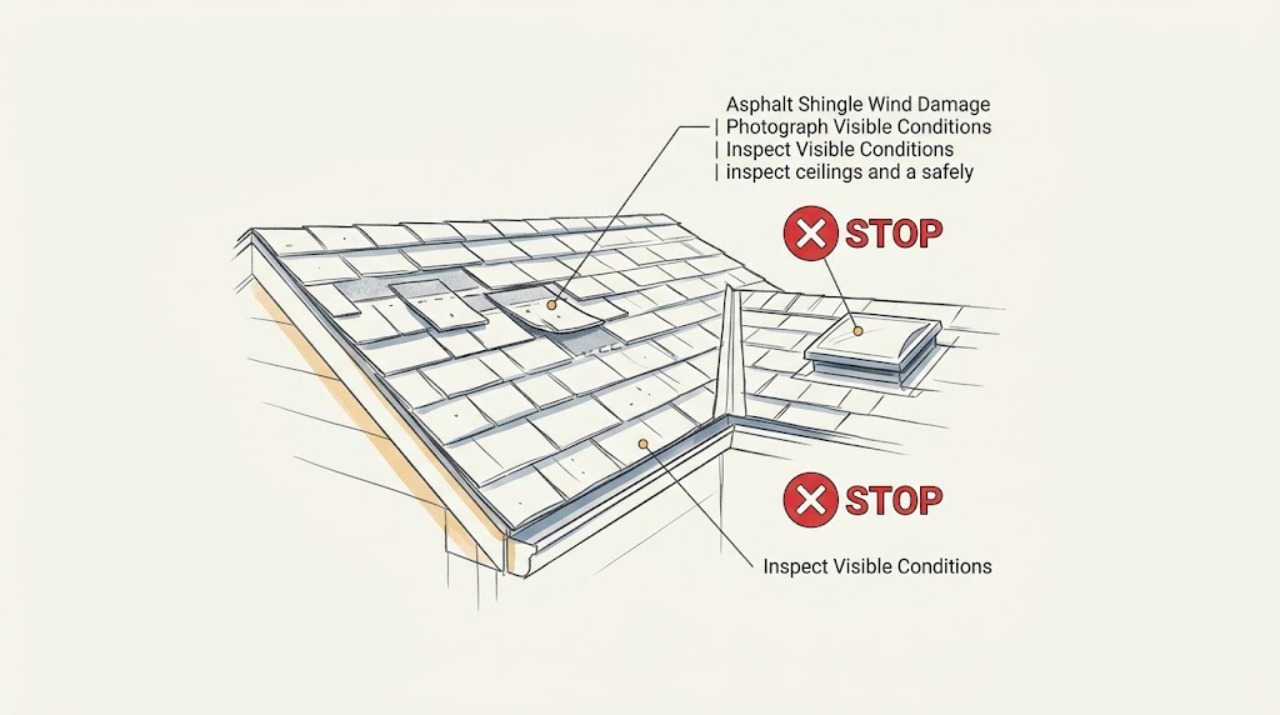
Asphalt Shingle Wind Damage: Lifted, Creased, or Missing Tabs
A lifted, creased, or missing asphalt-shingle tab after strong wind is a roof-cover failure, not just a cosmetic defect. A tab that is merely unsealed may be repairable by a qualified roofer under the shingle manufacturer's instructions, but a crease, tear, puncture, missing piece, or exposed underlayment usually calls for shingle replacement and an inspection of the roof deck and neighboring courses.
-
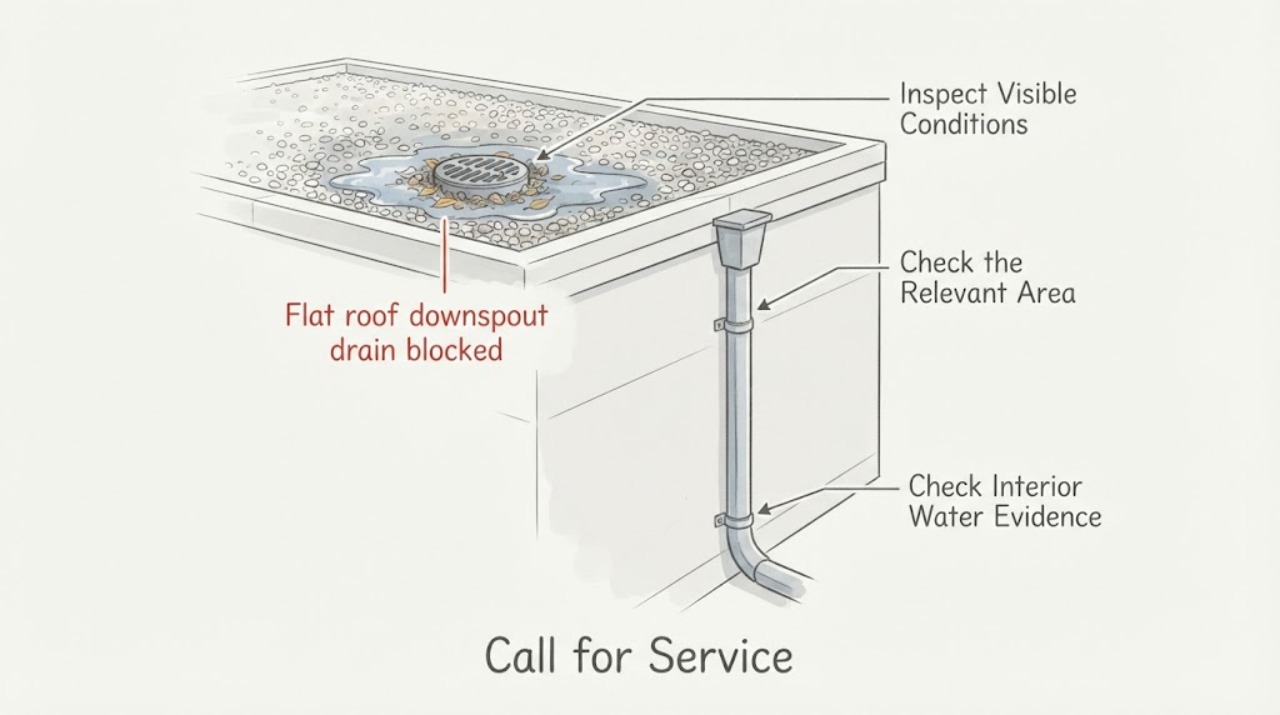
Flat roof downspout drain blocked: What to Check and What to Do Next
Treat a blocked flat-roof downspout as a drainage and water-intrusion concern, not a DIY roof-access job. From a dry, protected position, look for water failing to leave the visible outlet, overflow around the wall or downspout, and new interior stains.
-
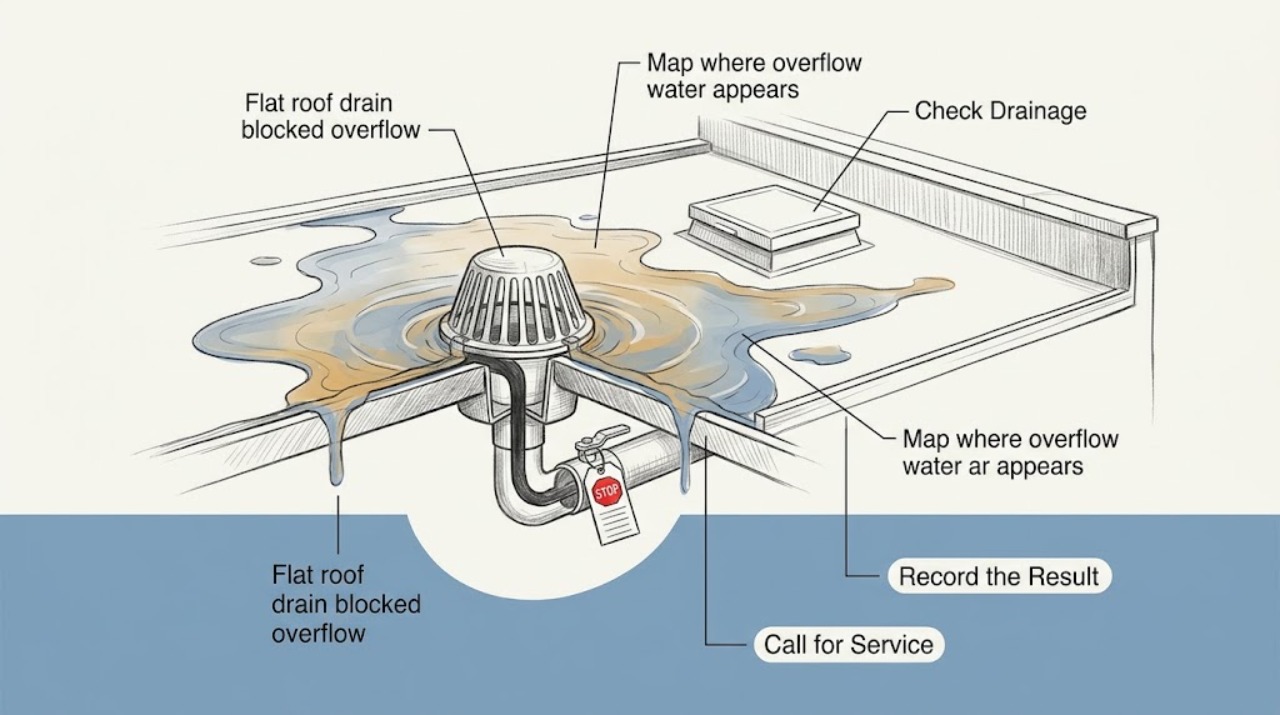
Flat roof drain blocked overflow: What to Check and What to Do Next
A blocked flat-roof drain with overflow is a water-routing and leak-escalation problem, not a routine rooftop cleaning task. From the ground or a dry interior location, record where water emerges, whether an overflow scupper or outlet is carrying it, which ceiling or wall area shows water, and how long the condition lasts after rain stops.
-
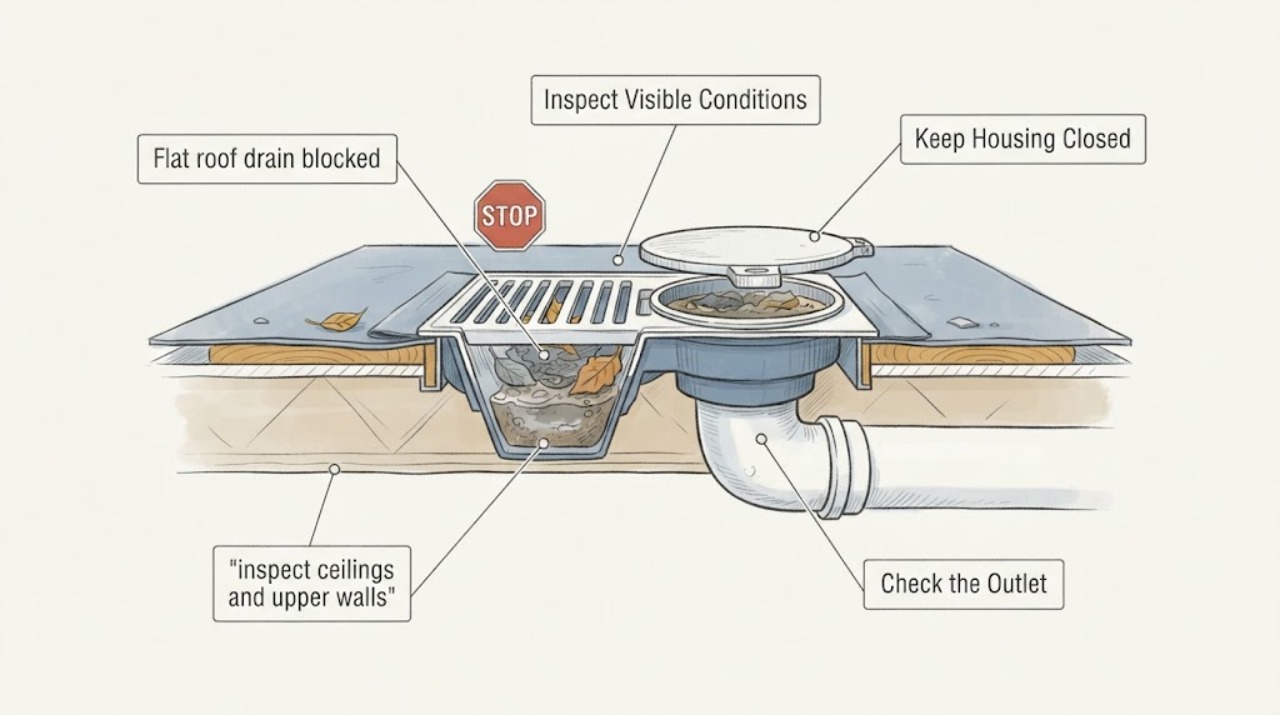
Flat roof drain blocked: What to Check and What to Do Next
A blocked drain on a flat or low-slope roof can leave water or snow melt ponded against a membrane, parapet, or roof structure. Do not climb onto the roof, use a ladder, clear a drain, probe a membrane, or alter a roof detail.
-
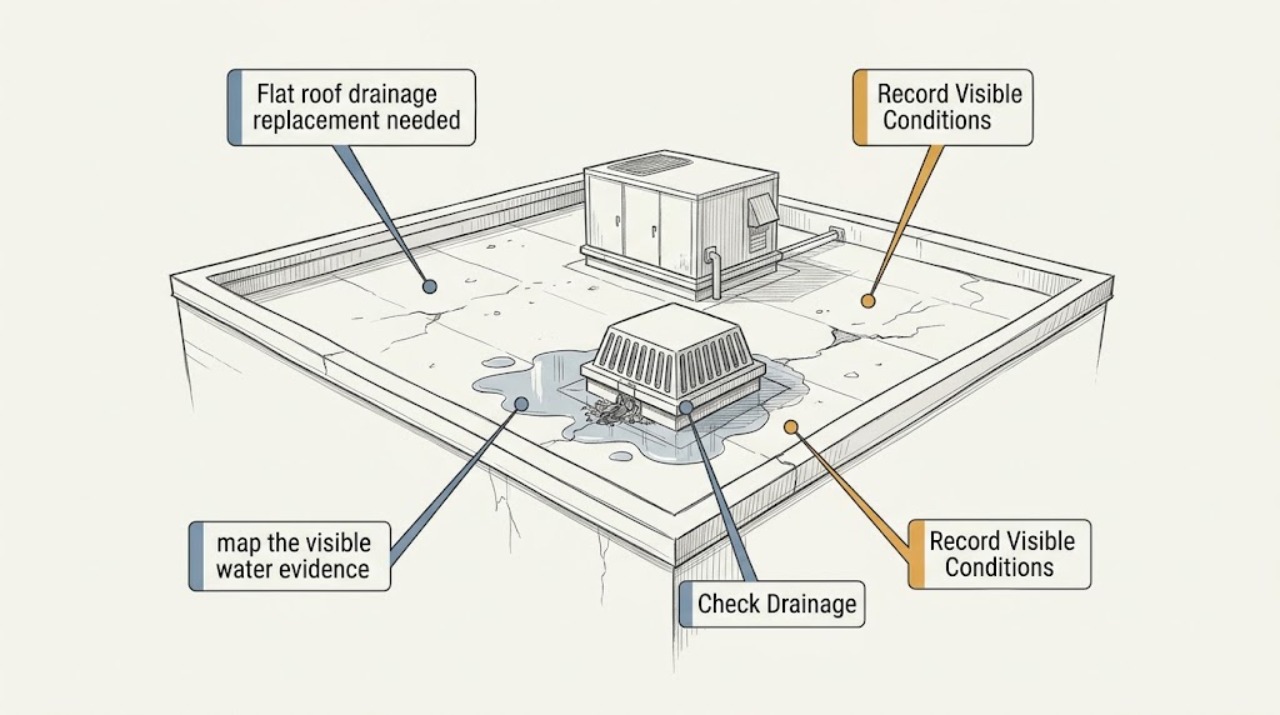
Flat roof drainage replacement needed: What to Check and What to Do Next
A flat roof that needs drainage replacement should be assessed by a roofing professional; a homeowner should not climb onto the roof, enter ponded water, open a drain, disturb the membrane, or apply a temporary patch. From a safe interior or ground location, record where water appears, whether a drain or overflow discharges, whether the roof or ceiling sags, whether leaks follow rain or snow, and whether the issue repeats.
-
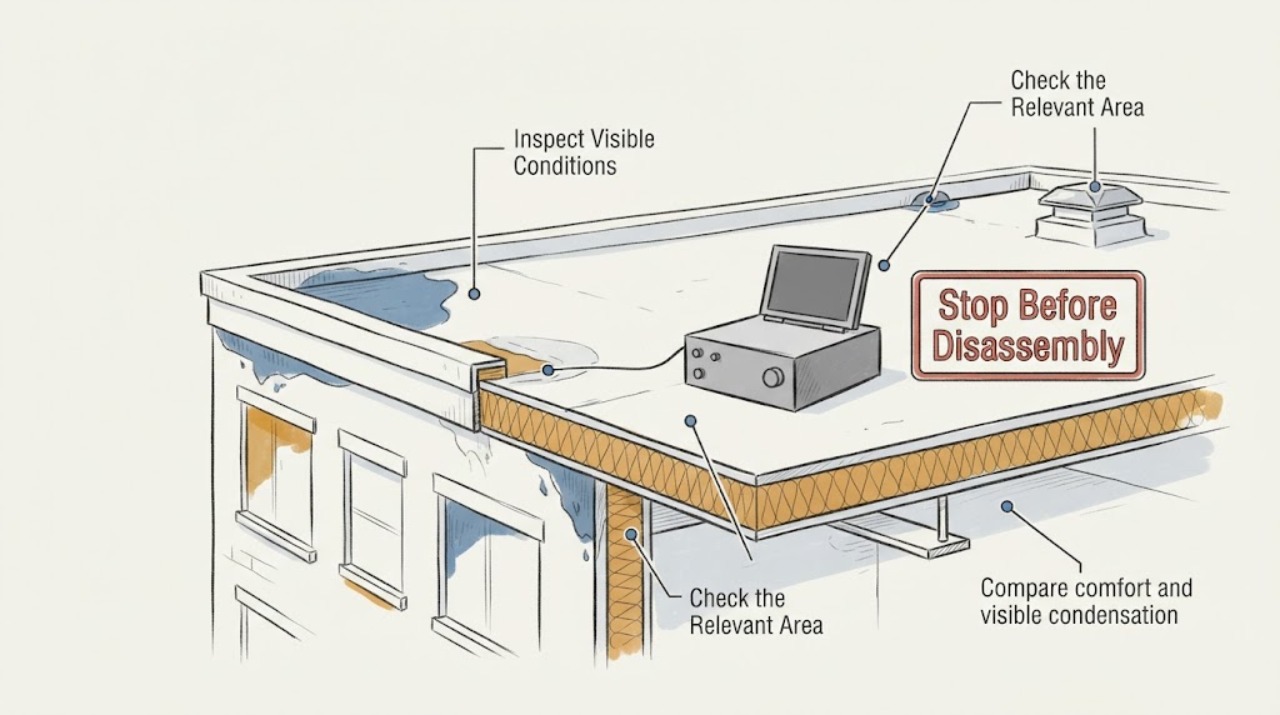
Flat roof insulation replacement needed: What to Check and What to Do Next
Flat-roof insulation replacement is a roof-assembly project, not a safe cosmetic patch. From the ground and finished interior only, document uneven room temperatures, ceiling or wall staining, condensation, damp or musty areas, visible roof-edge changes, and energy or moisture patterns.
-
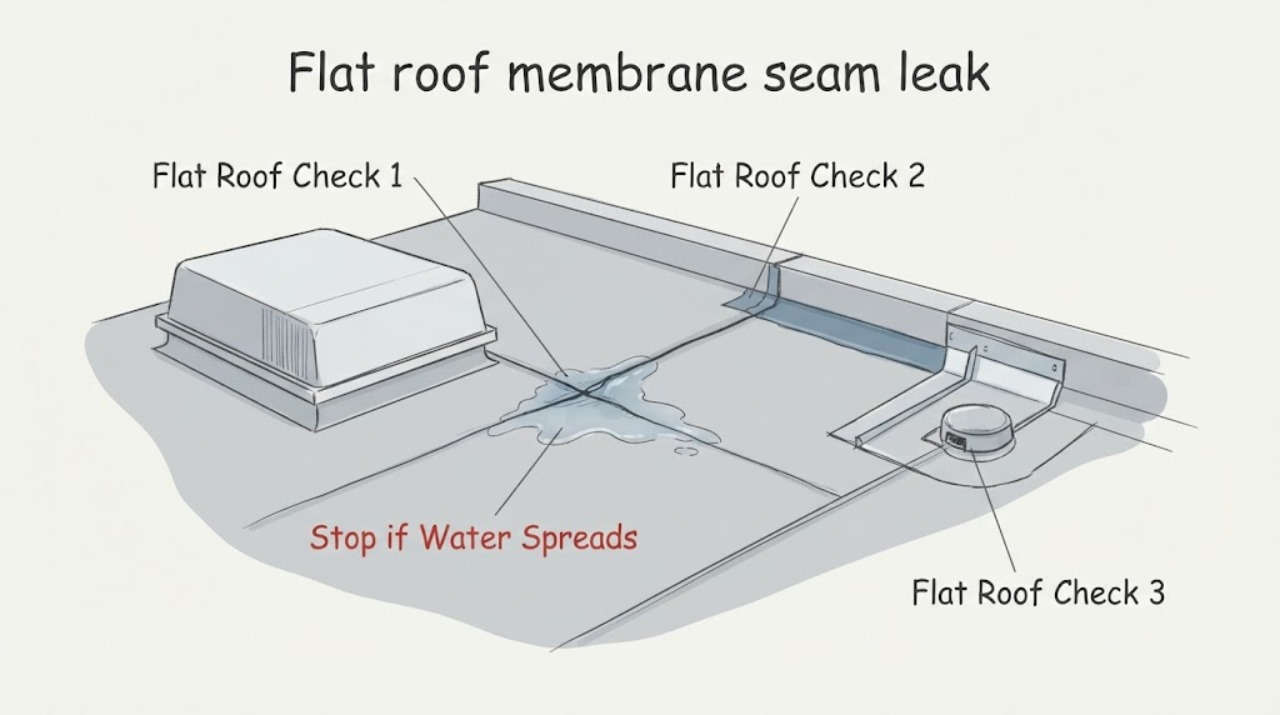
Flat roof membrane seam leak: What to Check and What to Do Next
Treat a suspected flat-roof membrane seam leak as a professional roofing inspection, not a DIY roof walk or patch. From inside and from stable ground, document when water appears, where the ceiling or wall is wet, and whether visible roof edges, drains, scuppers, or flashing show ponding or damage.
-
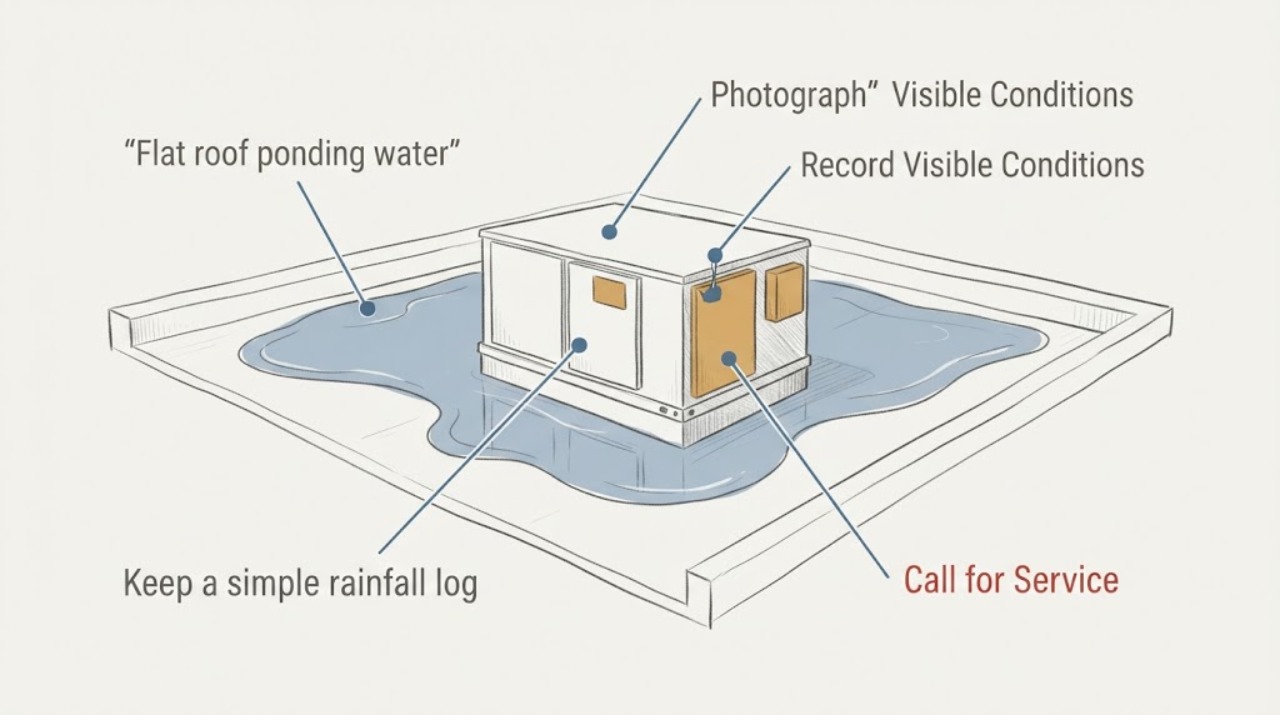
Flat roof ponding water: What to Check and What to Do Next
Do not go onto a flat roof to inspect standing water, clear a roof drain, probe the membrane, or apply a patch. From inside and at ground level, document where and when water appears: look for ceiling stains, active drips, bulging drywall, wet insulation or finishes, exterior overflow, and drainage changes during or after rain.
-
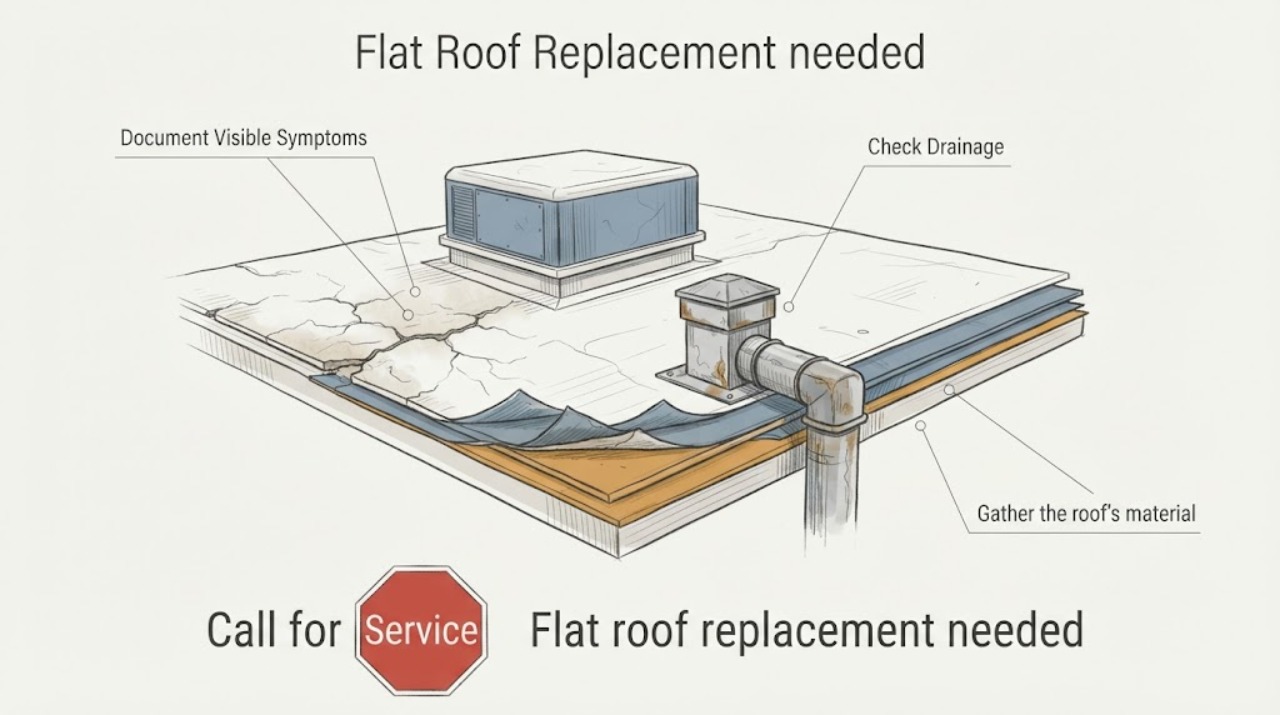
Flat roof replacement needed: What to Check and What to Do Next
A flat or low-slope roof that appears to need replacement should be evaluated by a qualified roofing professional rather than patched from the surface by a homeowner. From inside and from the ground, document active leaks, ceiling or wall damage, ponding, blocked drainage, exposed membrane, and repeated repair areas.
-
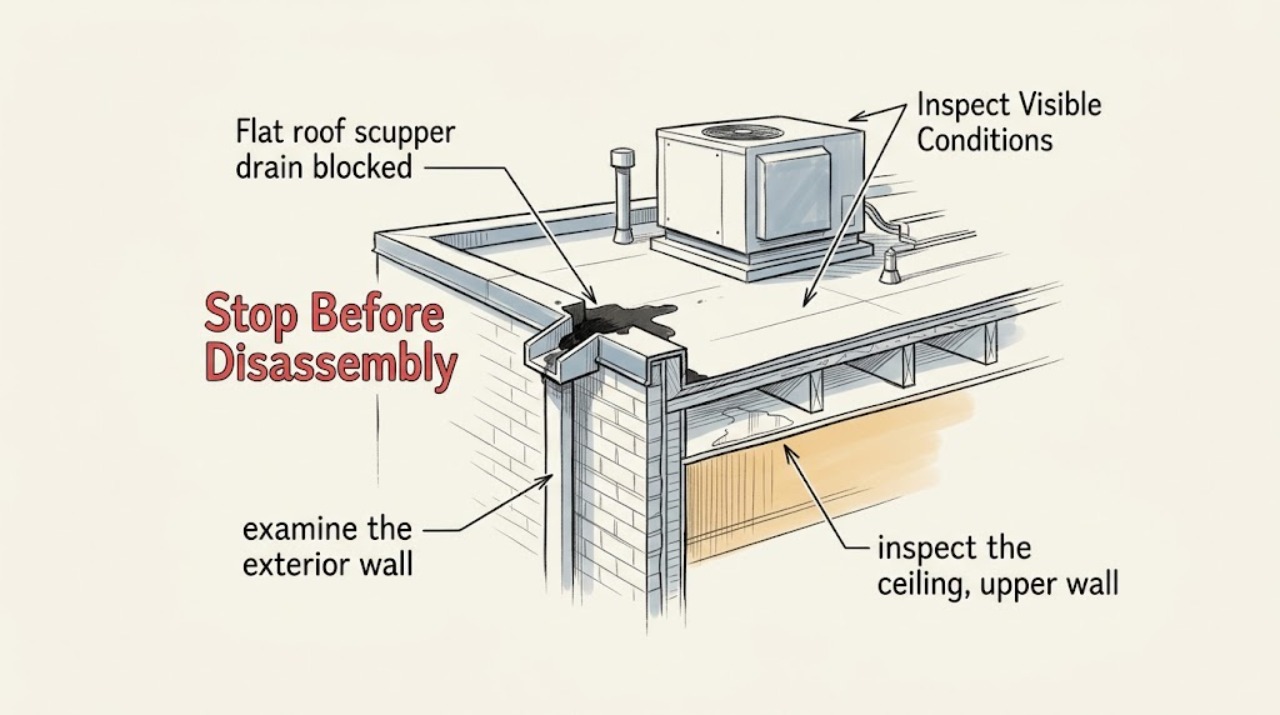
Flat roof scupper drain blocked: What to Check and What to Do Next
Do not climb onto a flat roof to clear a blocked scupper. From a safe ground-level or interior position, record whether water exits the scupper, whether the wall below it shows overflow staining, whether ponding is visible without approaching the roof edge, and whether ceilings or walls inside are damp or bulging.
-
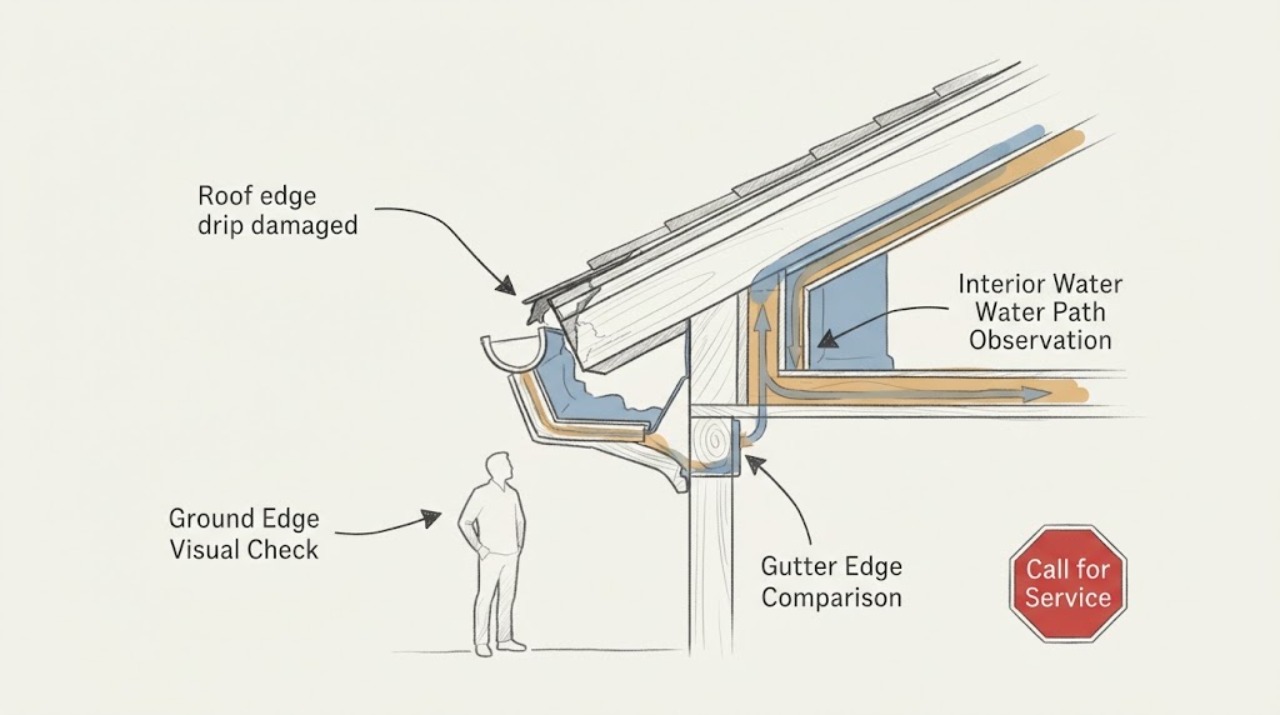
Roof edge drip damaged: What to Check and What to Do Next
Do not climb onto the roof, use a ladder, pry at sheet metal, remove a gutter, or inspect during wind, lightning, ice, or active storms. From safe ground or a window on a dry, calm day, document whether the edge metal looks bent, missing, displaced, or separated and whether water is appearing at the ceiling, upper wall, fascia, soffit, or gutter.
-
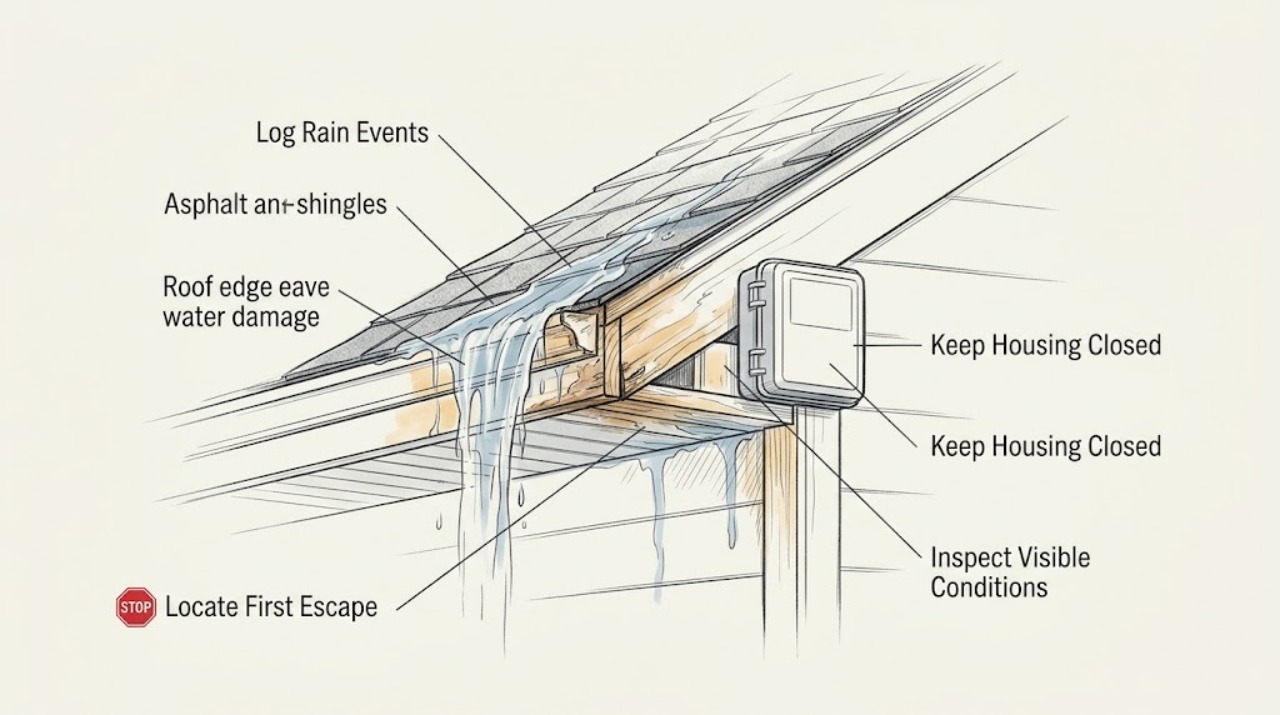
Roof edge eave water damage repeated overflow: What to Check and What to Do Next
Repeated overflow at a roof edge can damage the fascia, soffit, siding, wall, or interior even when the gutter looks intact between storms. For each safe rain event, record when overflow begins, whether it starts at a valley or upper-roof discharge, the gutter lip or seam, the downspout connection, or the roof edge itself, and where the water lands.
-
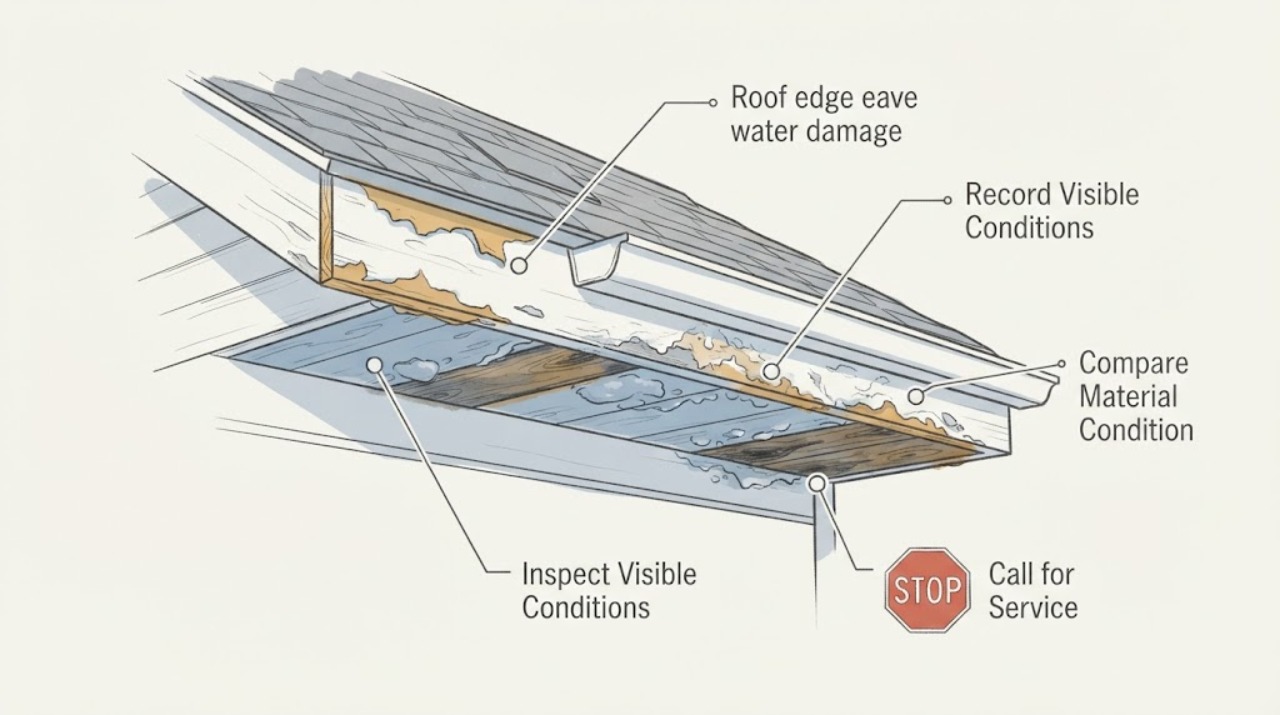
Roof edge eave water damage peeling paint: What to Check and What to Do Next
Peeling paint at a roof-edge eave is not automatically a cosmetic problem. From a safe ground-level or already accessible interior viewpoint, record where it starts and whether it follows rain, gutter overflow, a roof-to-wall transition, or a persistently damp area.
-
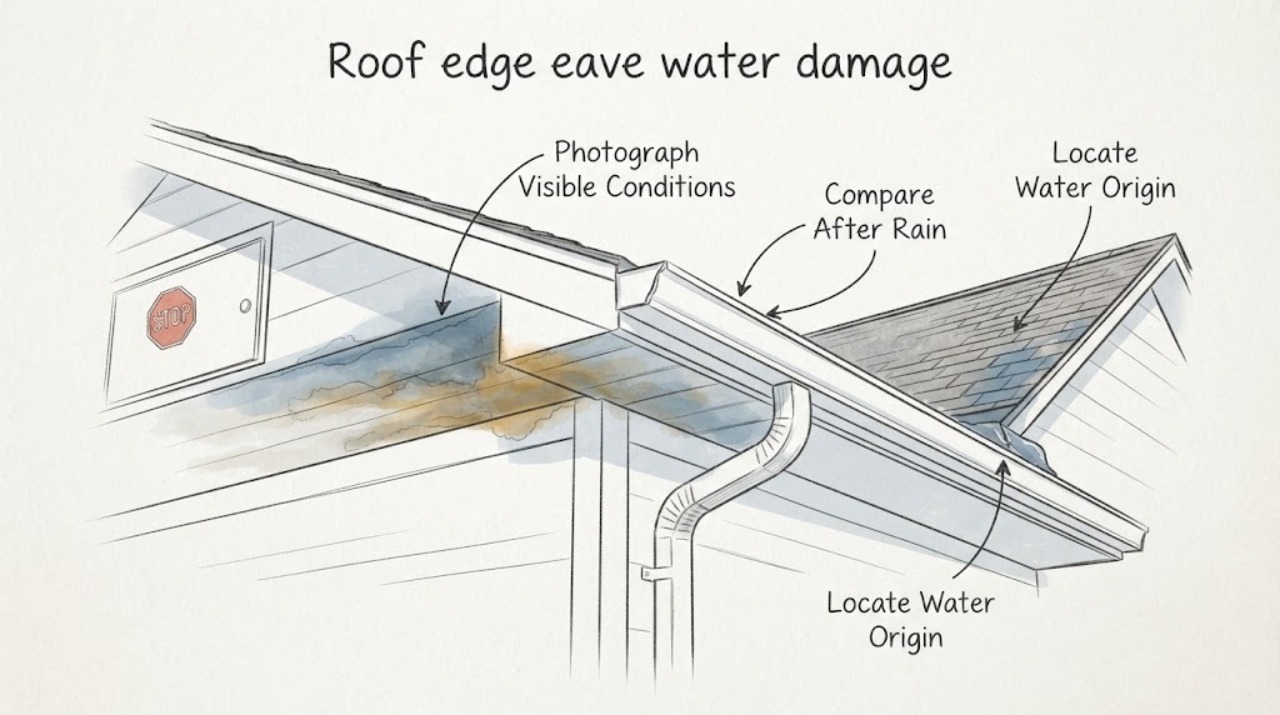
Roof edge eave water damage staining: What to Check and What to Do Next
A stain at the roof edge or eave is evidence to document, not proof that an active leak is happening now. Photograph it from the ground and from safe interior living areas, then compare the same spot after rain: an old, dry, unchanged mark follows a different path from one that darkens, feels damp, spreads, or develops a musty odor after a storm.
-
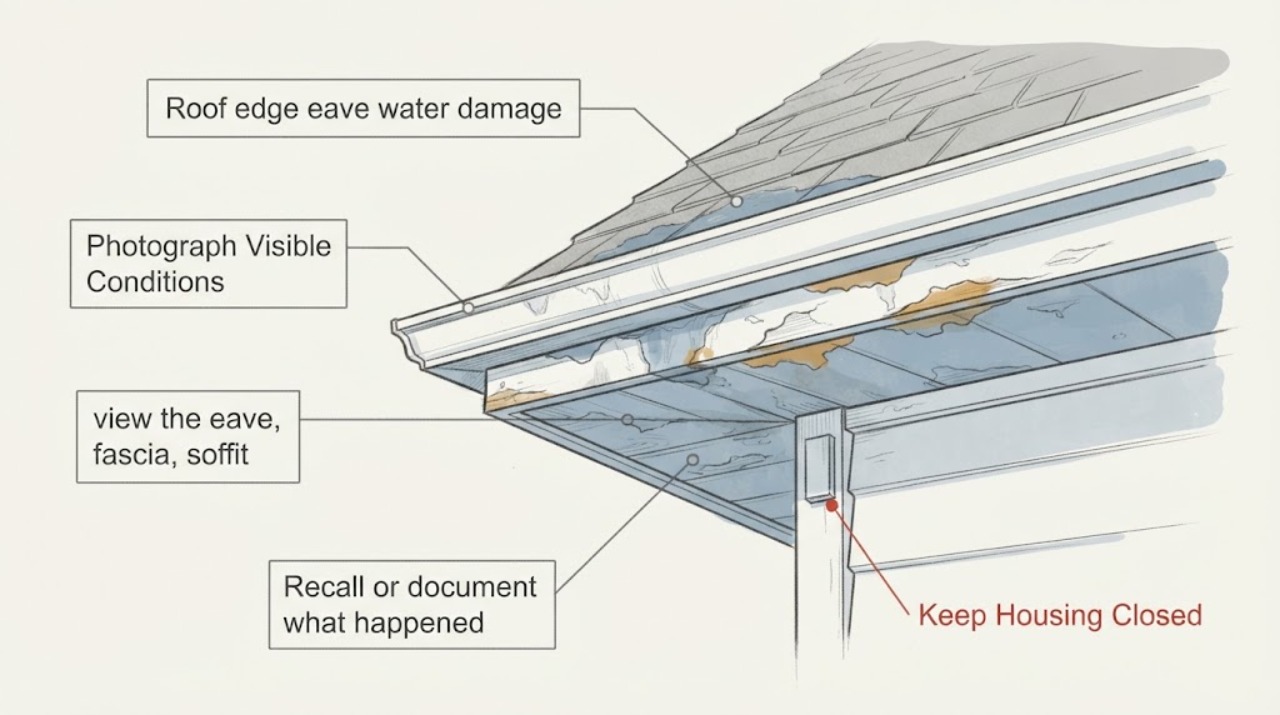
Roof edge eave water damage: What to Check and What to Do Next
Treat eave water damage as a roof-and-drainage inspection need, not a caulk or soffit replacement job. From inside and from safe ground-level positions, photograph ceiling or wall stains, observe soft-looking or sagging eave and fascia materials without touching or probing, record gutter overflow history, and note whether moisture is active or follows rain.
-
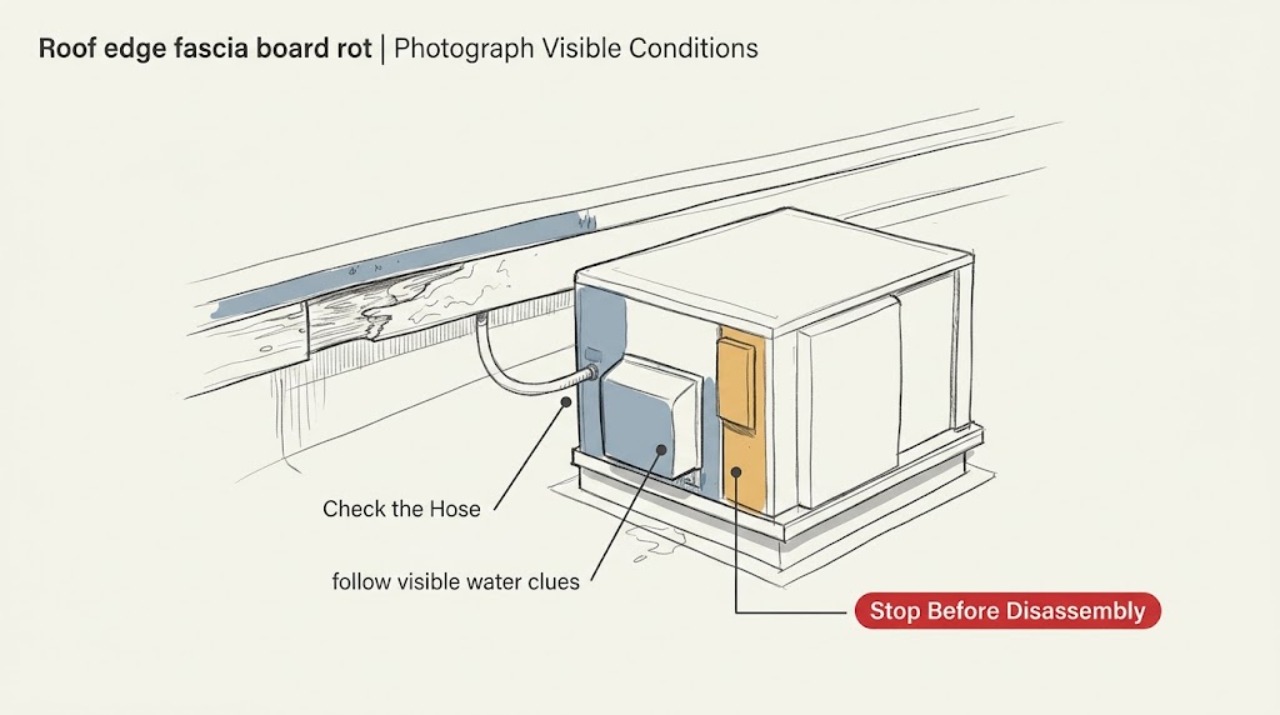
Roof edge fascia board rot paint failure: What to Check and What to Do Next
Peeling or failed paint at a roof-edge fascia does not by itself prove wood rot. From the ground, first note whether the finish is dry and flaking or whether the board looks swollen, soft, sagging, or repeatedly wet after rain.
-
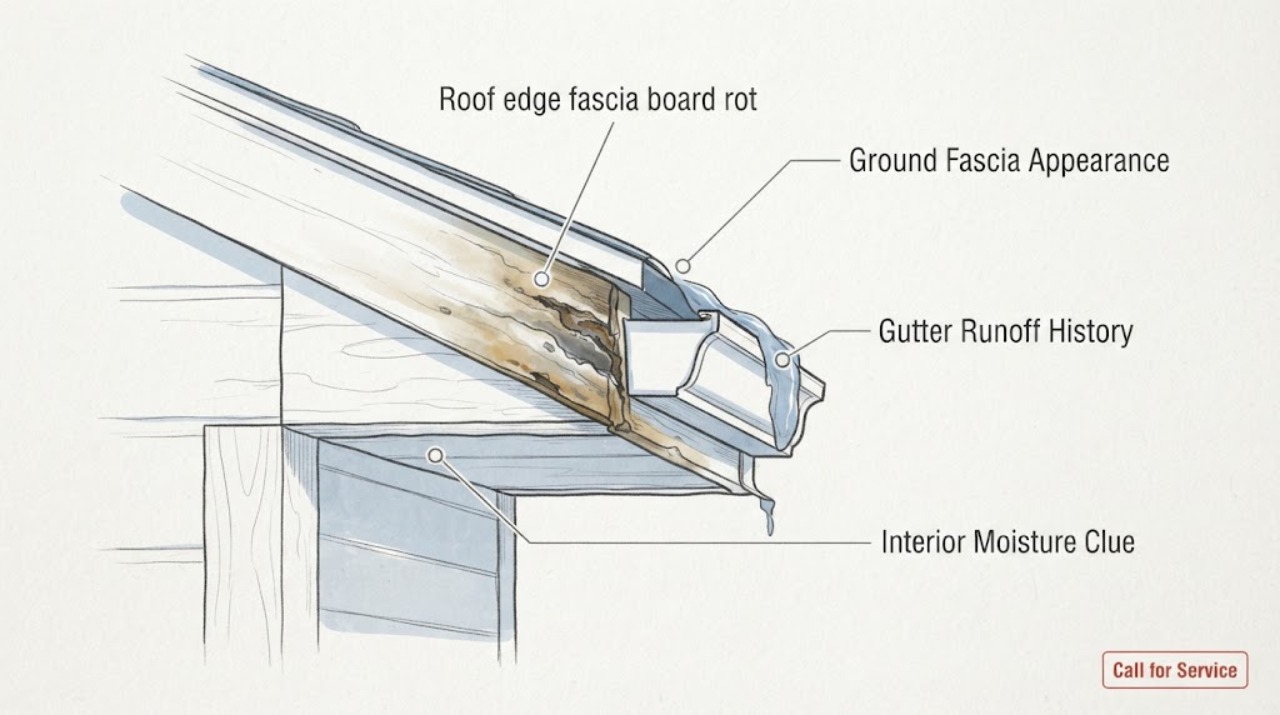
Roof edge fascia board rot: What to Check and What to Do Next
Treat suspected fascia rot as a water-entry and structural-condition question, not a trim-painting project. From safe ground or a window, record visible discoloration, swelling, separation, gutter sagging, runoff, and any interior stain or dampness; do not probe the wood, pull the gutter, cut the fascia, climb, or inspect during a storm.
-
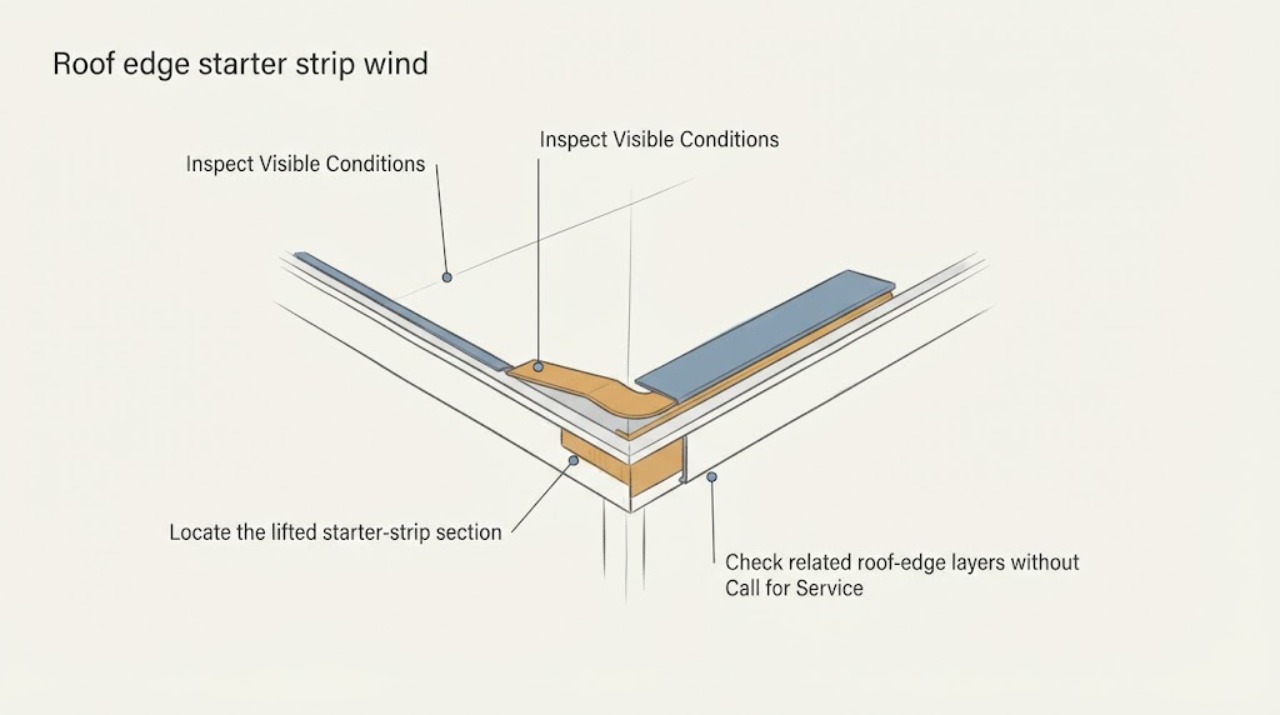
Roof edge starter strip wind lift: What to Check and What to Do Next
Do not climb onto the roof or try to press, nail, cement, or reseal a wind-lifted starter strip. From the ground, observe whether the lifted material is at an eave or rake, whether the overlying first shingle course or drip edge is also displaced, and whether loose pieces, exposed underlayment, or water entry are visible.
-
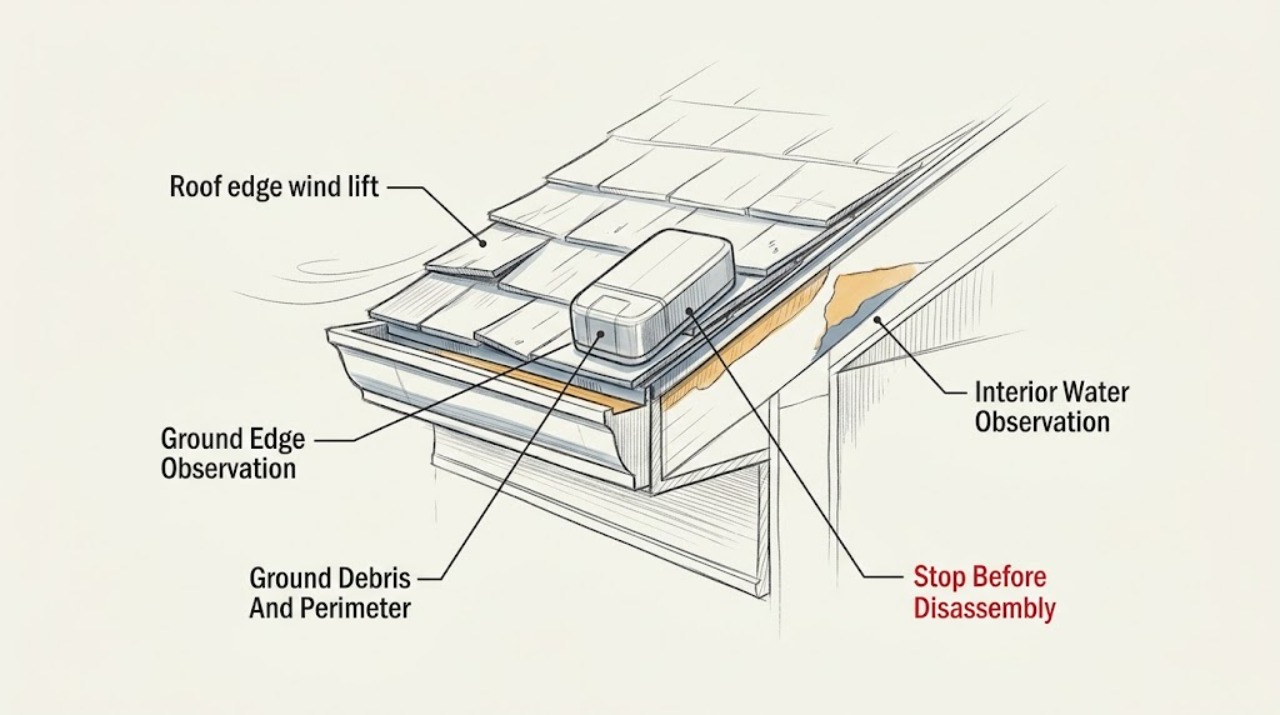
Roof edge wind lift: What to Check and What to Do Next
Do not climb onto the roof or touch lifted material. After the storm and wind have fully passed, document what is visible from the ground and from safe interior rooms: raised or missing edge shingles, displaced flashing or fascia, debris on the ground, ceiling or wall staining, dampness, drafts, and any change after rain.
-
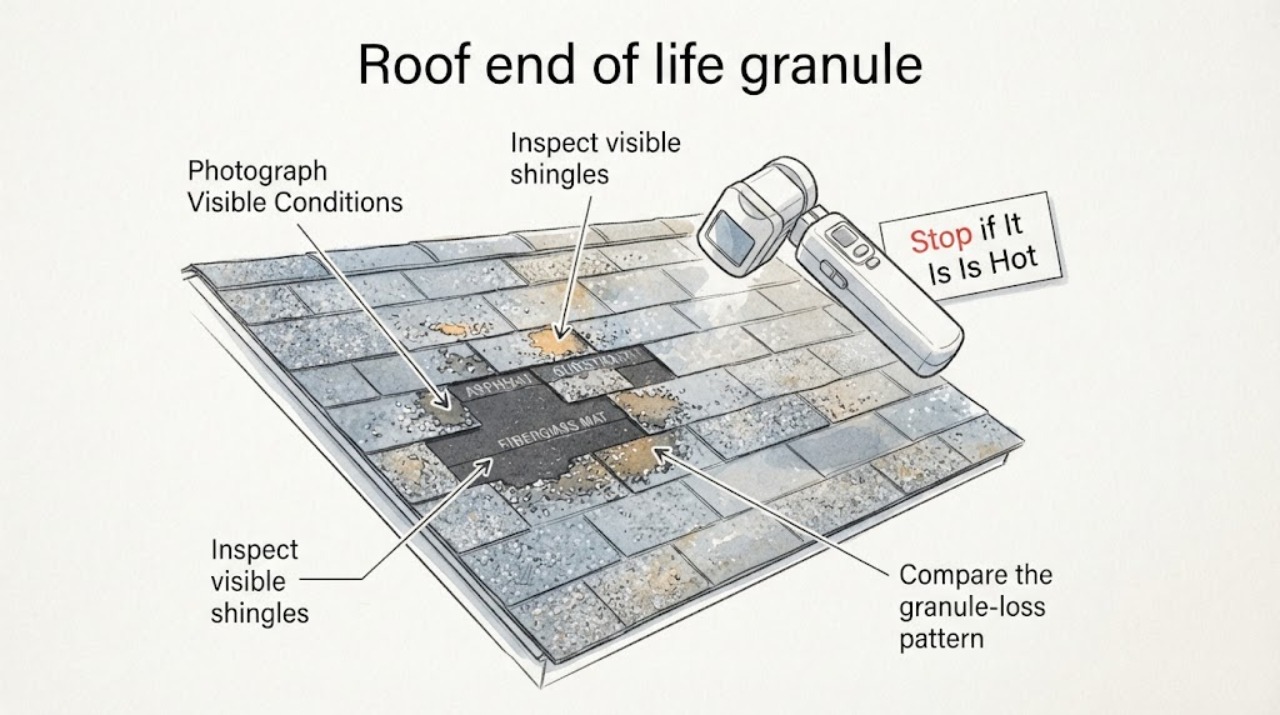
Roof end of life granule loss: What to Check and What to Do Next
Granules in a gutter do not by themselves prove that a roof has reached end of life: a new roof can shed some loose granules, and a storm or foot traffic can remove them locally. The stronger end-of-life pattern is widespread or growing bald areas that expose the shingle surface, combined with brittleness, curling, cracking, missing shingles, leaks, or a roof near the end of its expected service period.
-
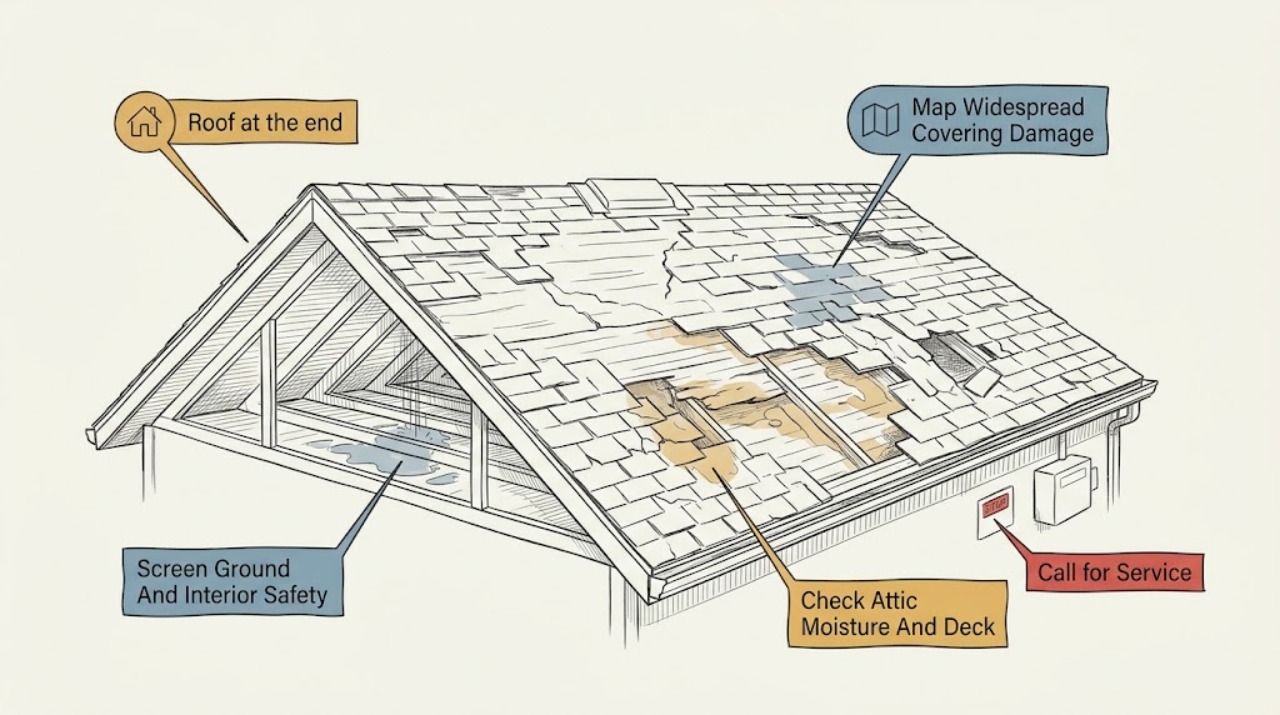
Roof at the end of its life with widespread damage: What to Check and What to Do Next
A roof with widespread missing, cracked, curled, brittle, or granule-shedding covering, recurring leaks, sagging, or decay is not a good candidate for patch-by-patch guessing. Start from the ground and from safe interior areas: document the roof age and repair history, photograph each damaged slope, check the attic and ceilings for moisture or structural signs, and keep people away from sagging or unsound areas.
-
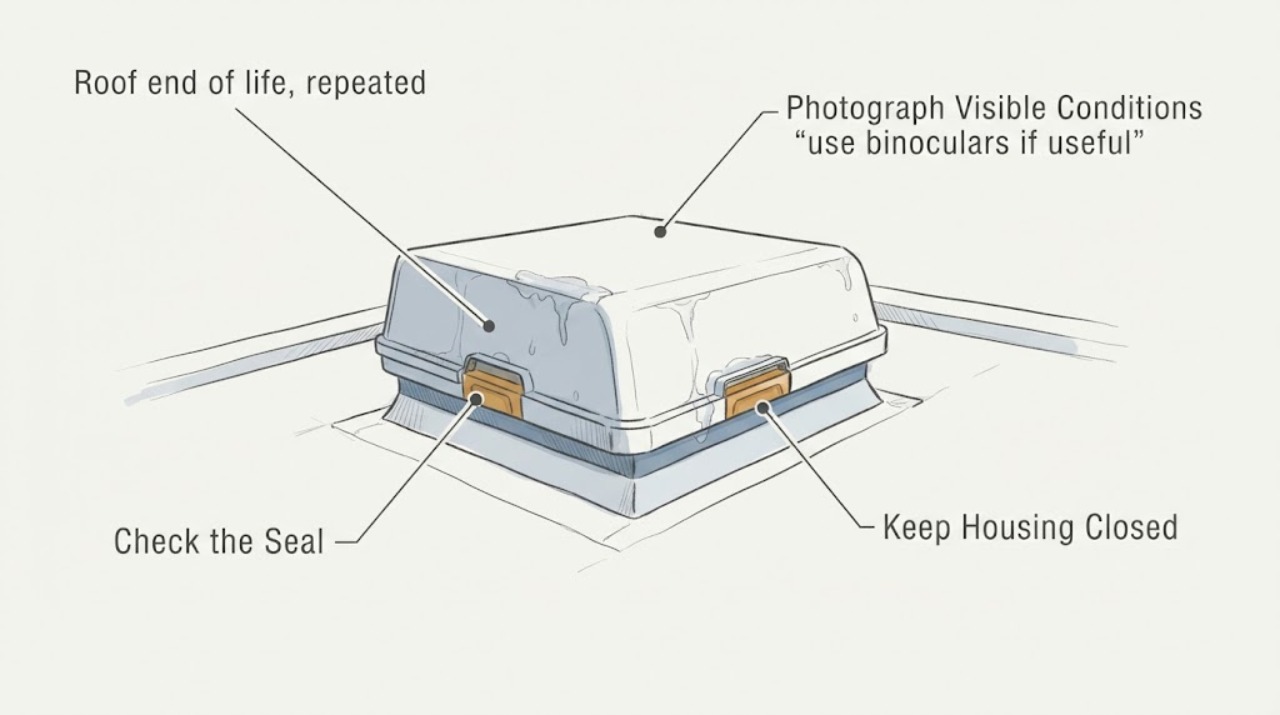
Roof end of life, repeated leaks: What to Check and What to Do Next
Repeated roof leaks are a reason to stop treating each stain as an isolated patch and have the whole roof system assessed. From inside, record where and when water appears; from the ground, look for missing, curling, cracked, or heavily worn covering, sagging, damaged flashing, and gutter or drainage problems.
-
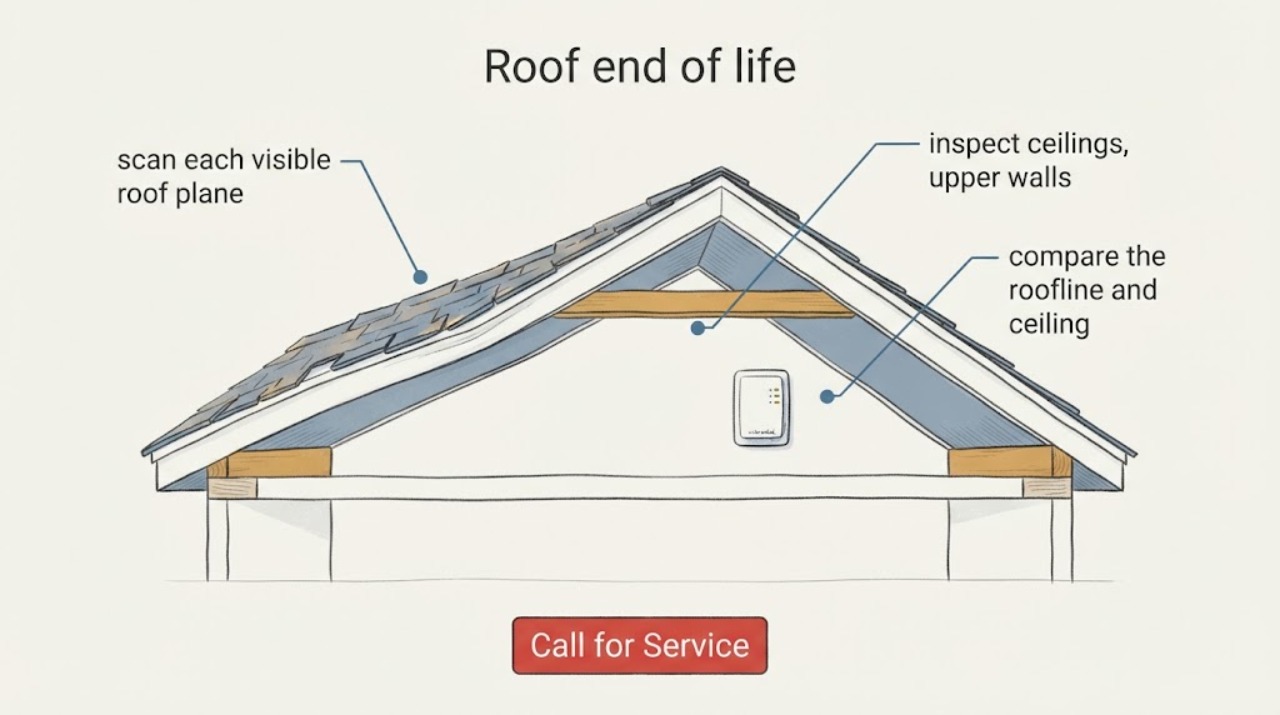
Roof end of life: What to Check and What to Do Next
A roof that appears near the end of its useful service should be assessed as a system, not judged from one missing shingle or a generic age claim. From the ground and from safe interior locations, document wear in several roof areas, repeated leaks or stains, sagging or other deformation, patch history, and any loose material or nearby utility hazard.
-
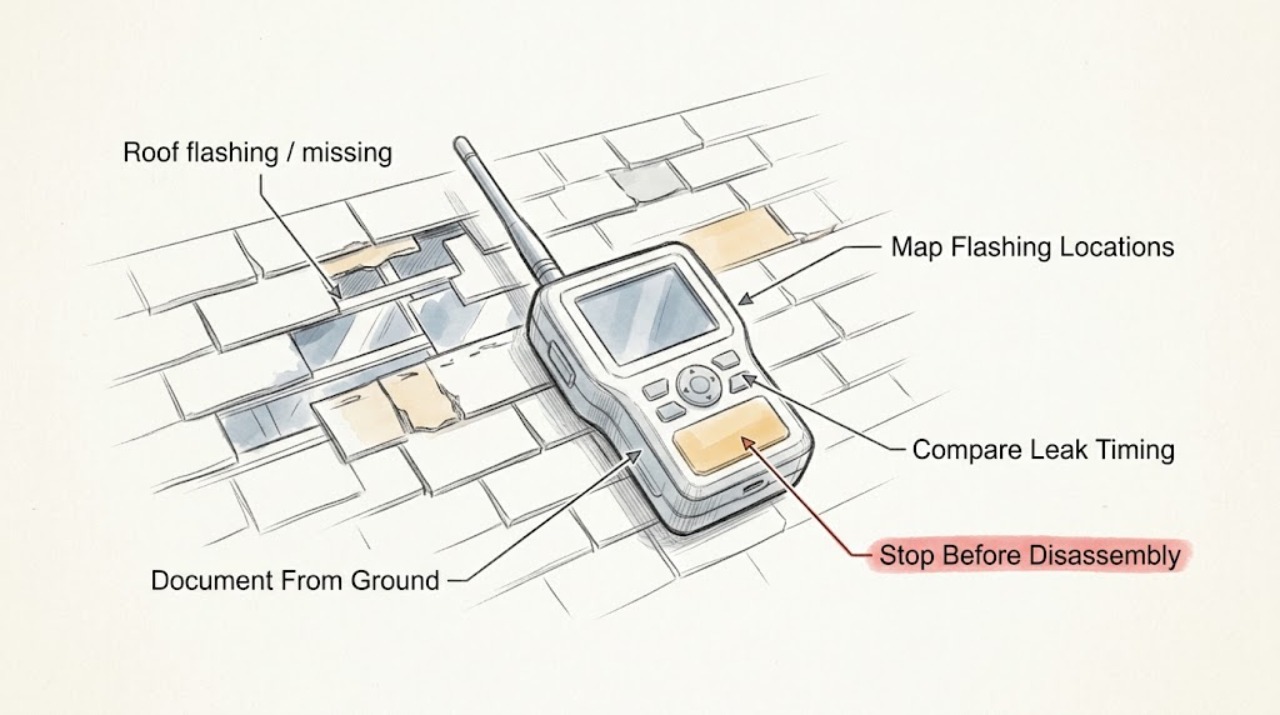
Roof flashing / missing or damaged shingles: What to Check and What to Do Next
Treat missing or damaged shingles and questionable flashing as a roof-water-entry problem until a qualified roofer confirms otherwise. From the ground and from safe interior locations, document missing or shifted shingles, exposed metal, stains, dampness, and when the symptom appears.
-
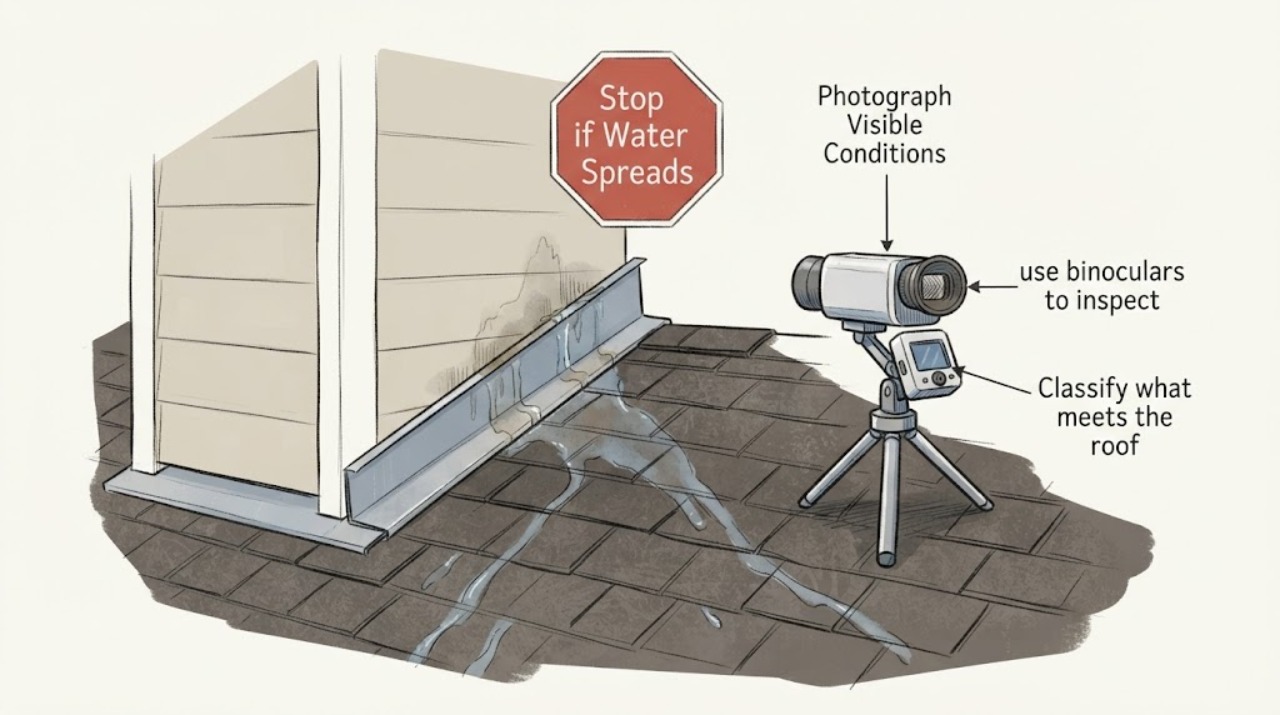
Roof flashing leak at junction: What to Check and What to Do Next
A leak at a roof junction is often caused by failed or incorrectly layered flashing where a roof meets a wall, chimney, dormer, vent, or another roof plane, but water can travel from a higher point before it appears indoors. From inside, map the stain or drip without opening the roof; from the ground, use binoculars to look for displaced shingles, missing step or kick-out flashing, open laps, or damaged flashing at the junction.
-
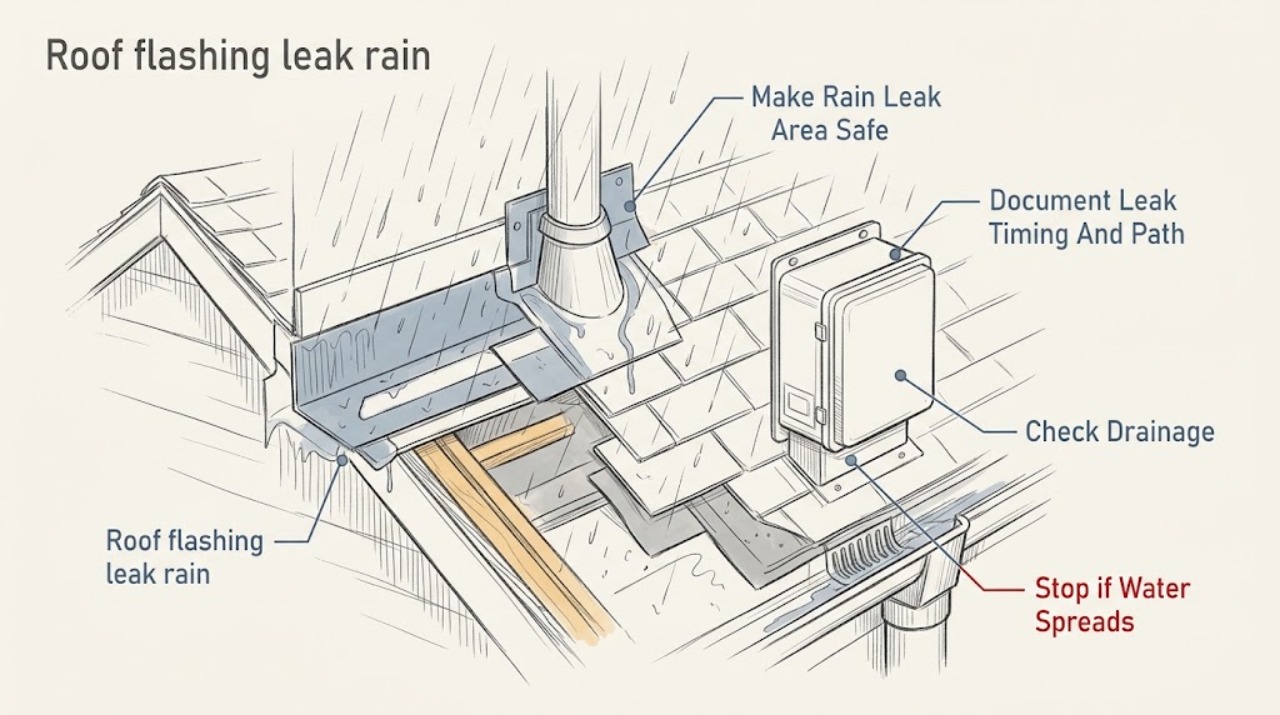
Roof flashing leak rain: What to Check and What to Do Next
A roof flashing leak that appears during rain needs source tracing and a weather-safe repair, not a bead of interior caulk or a guessed patch. From the ground, document where the ceiling or wall becomes wet, when the drip starts, and whether the location is near a roof-wall intersection, chimney, skylight, plumbing vent, HVAC curb, valley, or gutter.
-
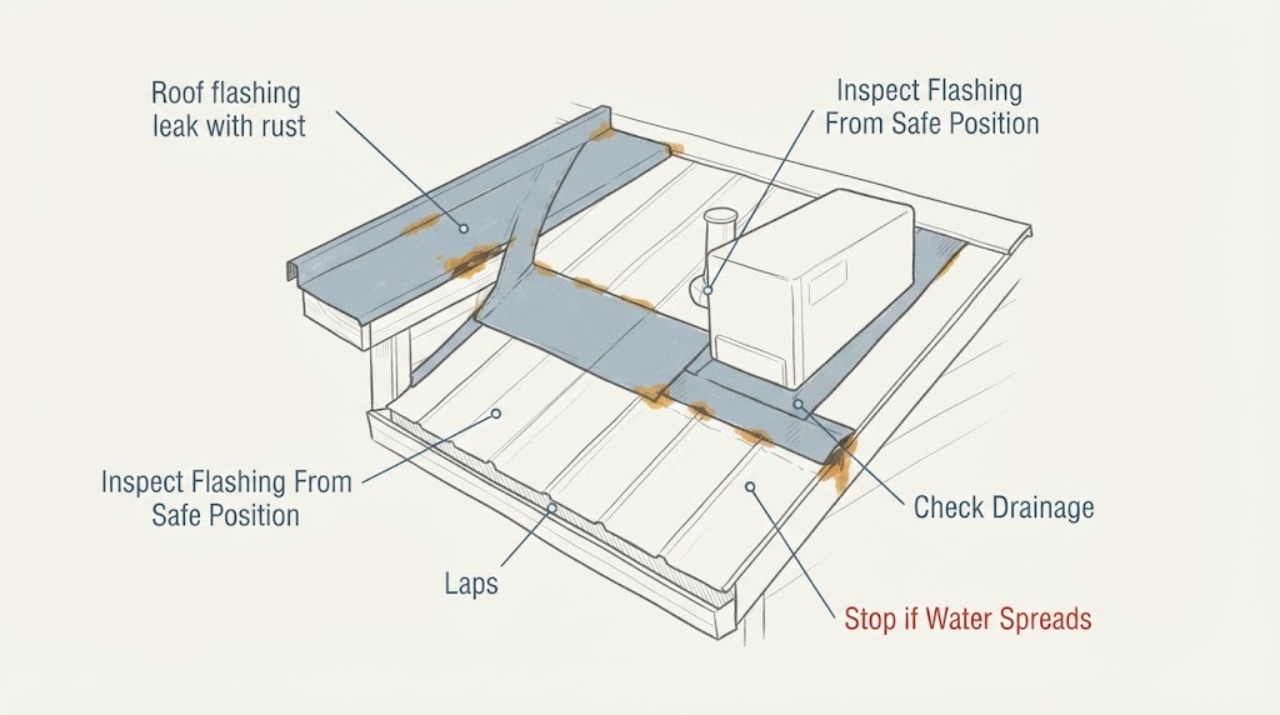
Roof flashing leak with rust or a gap: What to Check and What to Do Next
Rust, an open lap, a gap, loose fastener, or failed seal at roof flashing can let water behind the roof covering or into a wall, but the visible stain inside is not always directly below the entry point. From inside, document the stain or damp area only where access is safe; from the ground, look for rust, open seams, loose flashing, damaged roof covering, missing caulk, debris, and a gap at a wall, chimney, skylight, or pipe penetration.
-
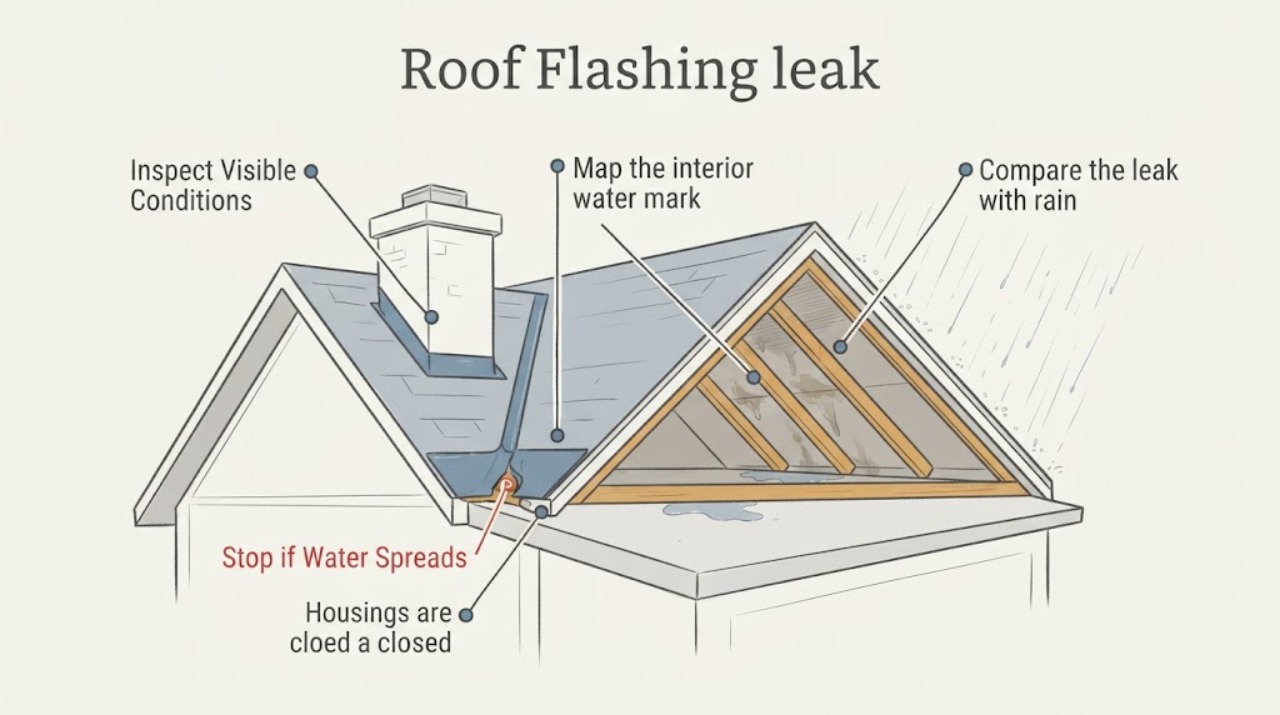
Roof flashing leak: What to Check and What to Do Next
A roof flashing leak is a water-intrusion problem at a roof-to-wall joint, valley, chimney, vent, skylight, or other penetration, but the wet spot inside may be displaced from the entry point. From the floor or a safe window, record the exact ceiling or wall location, when it appears relative to rain and wind, visible moisture or staining, and nearby gutter or downspout behavior.
-
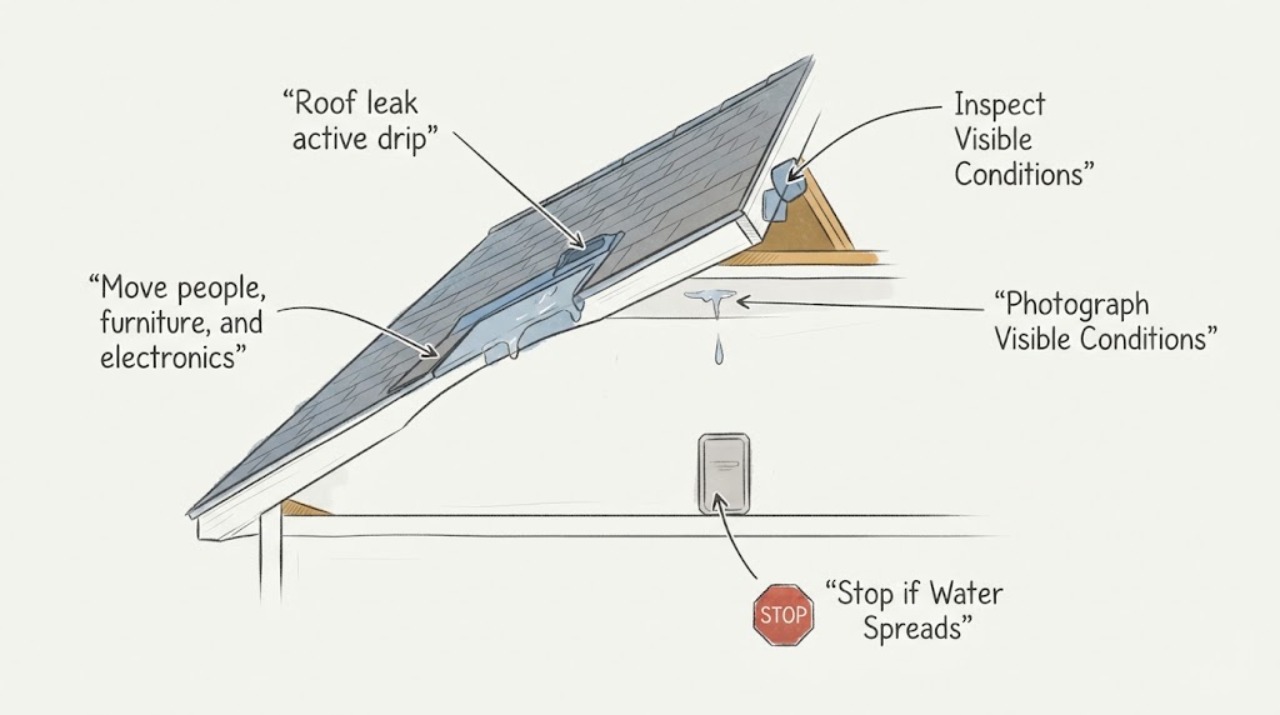
Roof leak active drip: What to Check and What to Do Next
An active drip needs immediate damage control and a professional roof assessment; it is not safe to diagnose by walking on the roof or poking through the ceiling. Move people and valuables away, place a container under the drip only if the floor and surroundings are safe, and look for nearby electrical fixtures, outlets, or equipment that could be wet.
-
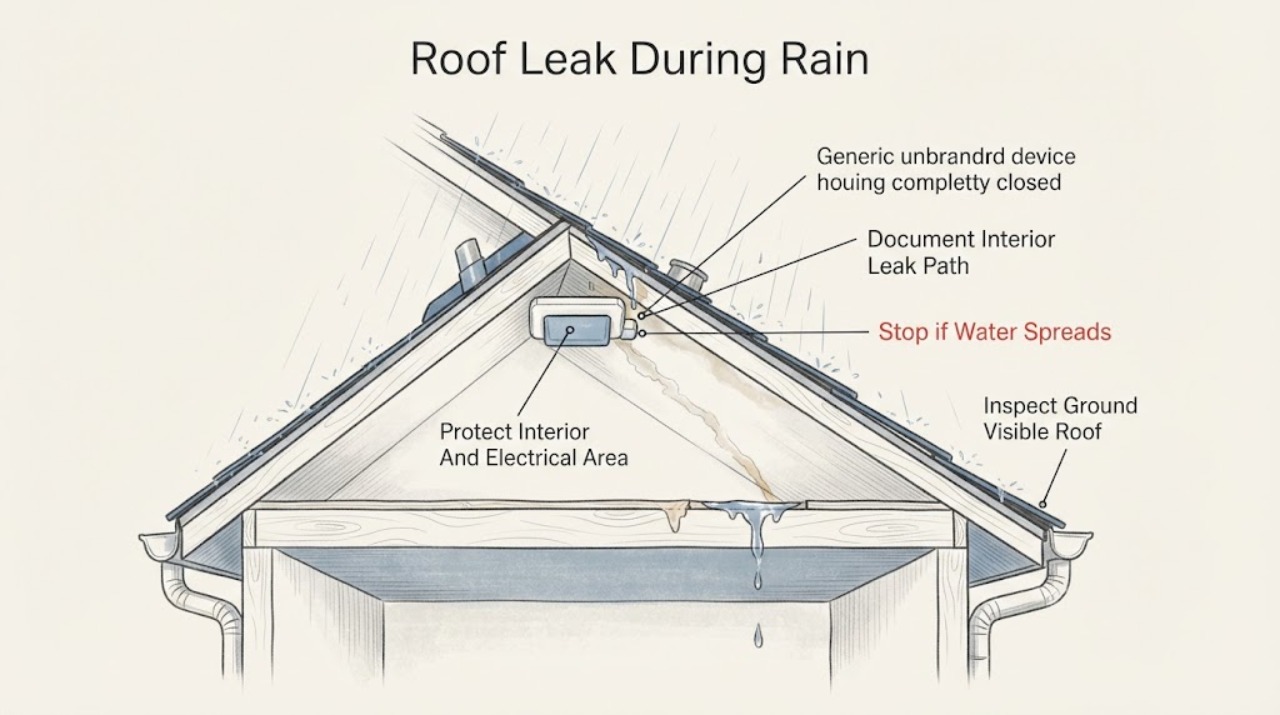
Roof Leak During Rain: What to Check and What to Do Next
A roof leak that appears during rain should be managed from inside and from the ground, not by climbing onto a wet roof. Keep people away from ceiling areas that sag, active electrical equipment, and any unstable ceiling or attic surface.
-
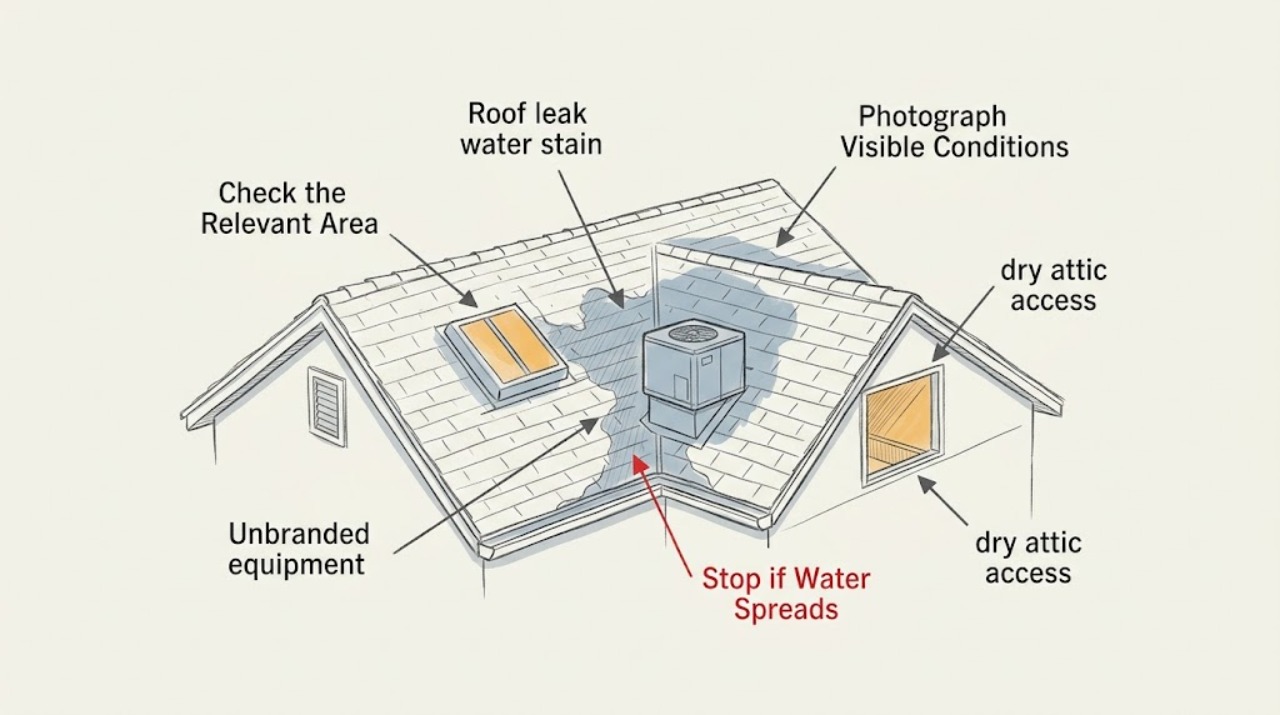
Roof leak water stain: What to Check and What to Do Next
A brown or yellow ceiling stain can indicate a roof leak, but water can also come from plumbing, condensation, or an HVAC drain. First keep clear of a bulging ceiling and water near electrical fixtures, contain any drip from a dry floor position, and photograph the stain.
-
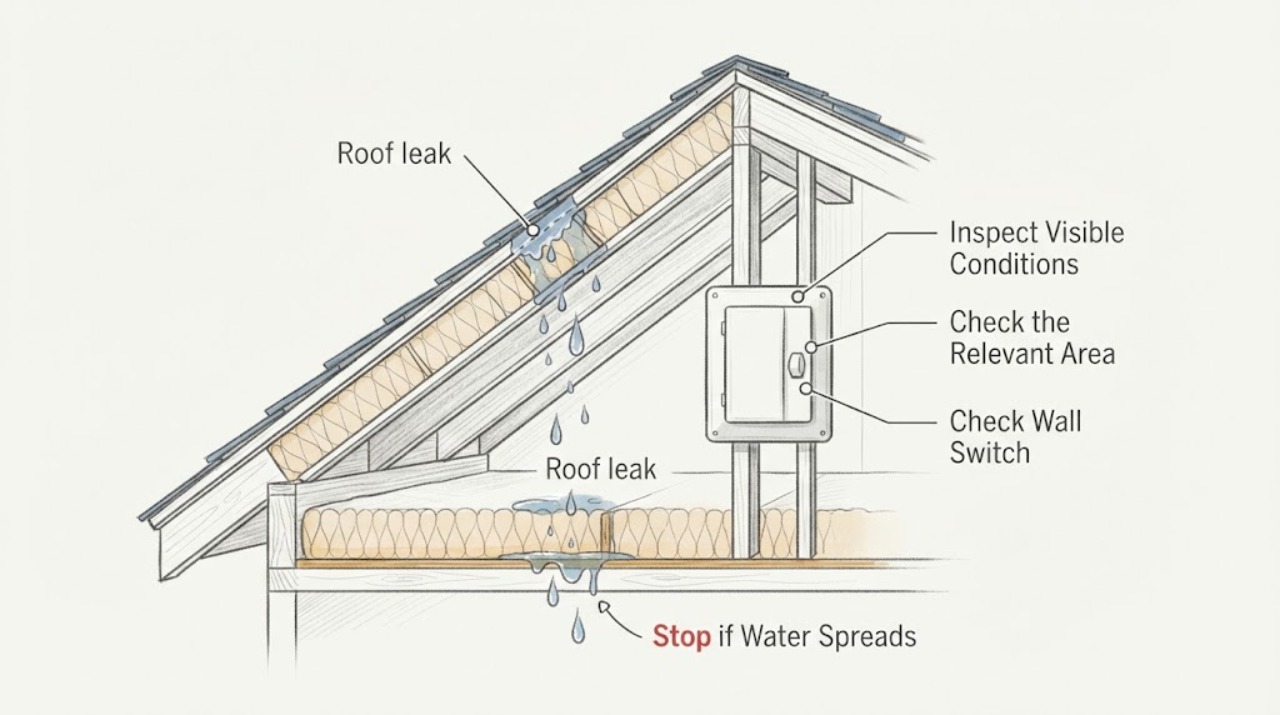
Roof leak: What to Check and What to Do Next
Treat a roof leak as an active water-intrusion and safety problem, not a reason to climb onto the roof. From inside on dry flooring and from ground level outside, record when water appears, where the ceiling or wall is changing, how the pattern relates to rain or wind, and whether electrical equipment or a ceiling surface is involved.
-
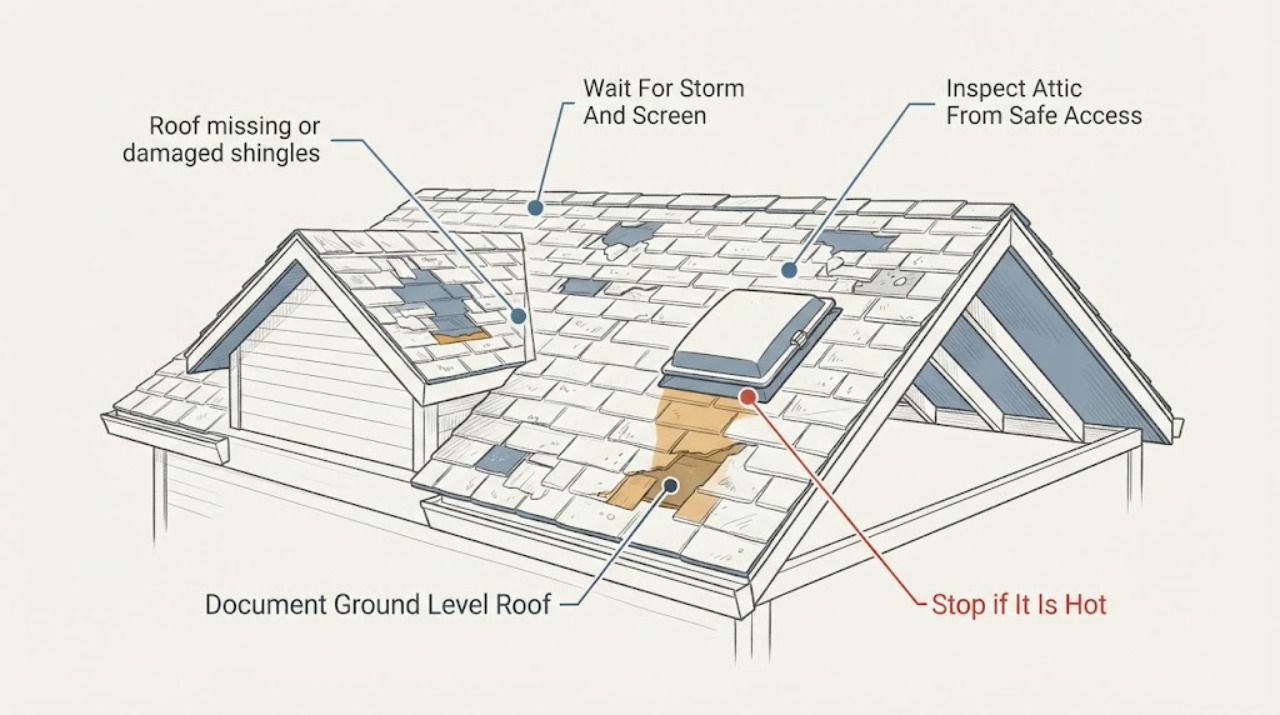
Roof missing or damaged shingles hail damage: What to Check and What to Do Next
After hail, missing shingles need prompt weather protection, but a dented gutter or a few loose granules do not by themselves prove that every shingle needs replacement. Stay indoors until the storm and lightning have passed.
-
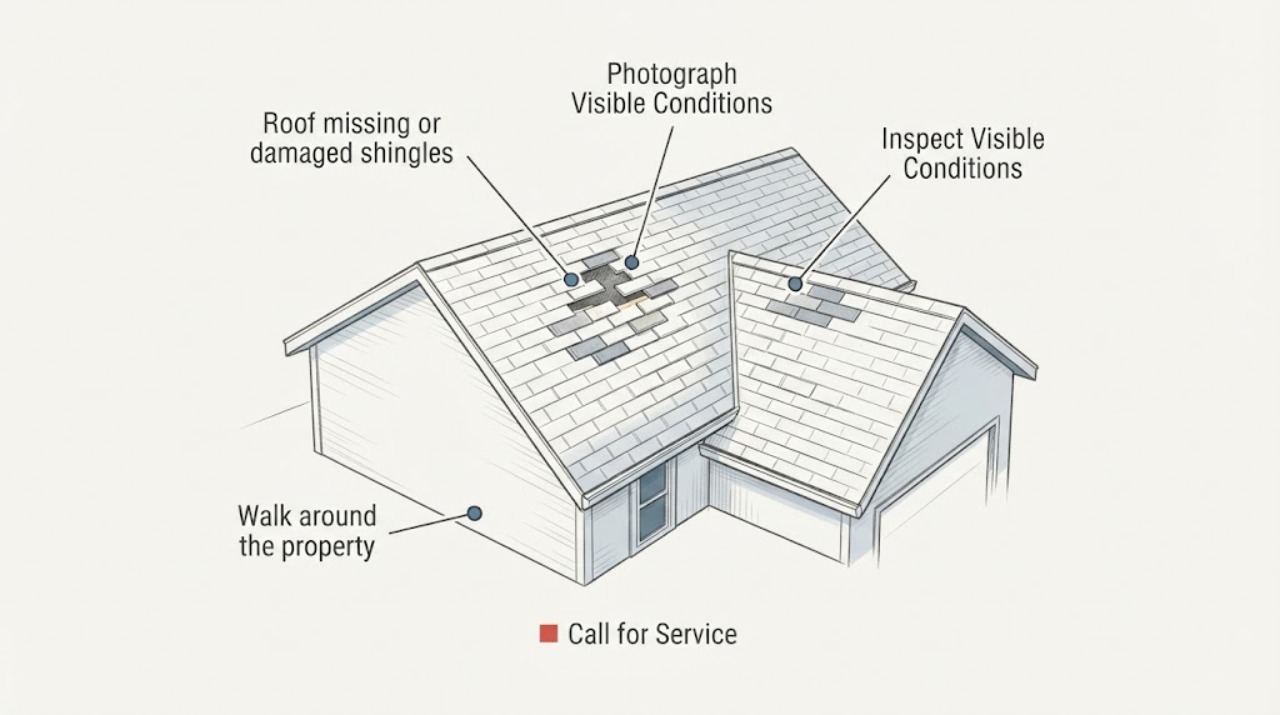
Roof missing or damaged shingles visible gap: What to Check and What to Do Next
A visible gap from a missing or badly damaged shingle can let wind-driven rain reach the roof layers, so document it and arrange a roofing inspection promptly. Stay on the ground or at a safe interior observation point: use binoculars or a camera from the ground to record the gap, then check ceilings and a safely reachable attic area for stains, dampness, daylight, sagging, or active dripping.
-
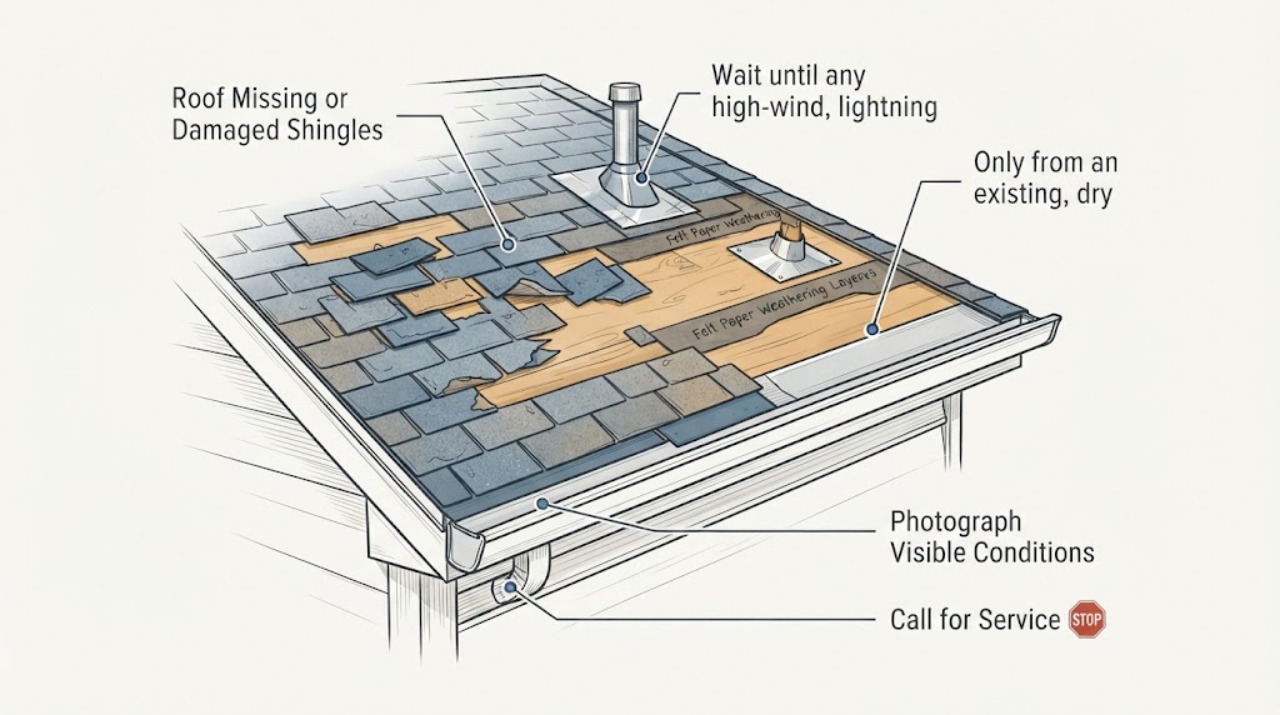
Roof Missing or Damaged Shingles Wind Damage: What to Check and What to Do Next
High winds can lift, crease, tear, or remove shingles, especially at roof edges, and can also disturb flashing, soffits, fascia, or penetrations. Wait until the storm and any warning have ended, then document the roof only from the ground and, if it is genuinely safe, look from an existing attic access point for daylight, wet insulation, water tracks, or a sagging ceiling.
-
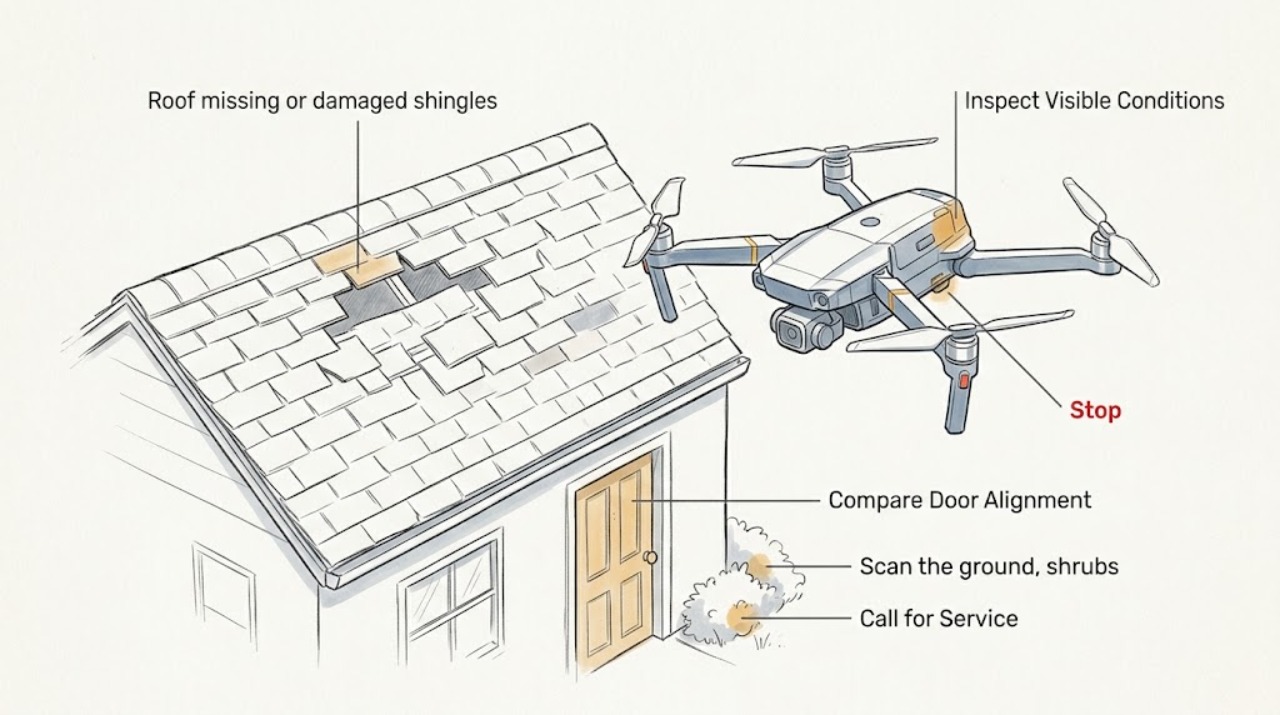
Roof missing or damaged shingles: What to Check and What to Do Next
Do not climb onto a roof or ladder to confirm missing or damaged shingles. From a dry, safe position on the ground and from inside the home, look for missing patches, lifted or curled shingles, exposed underlayment, fallen pieces, ceiling stains, active drips, or a sagging ceiling.
-
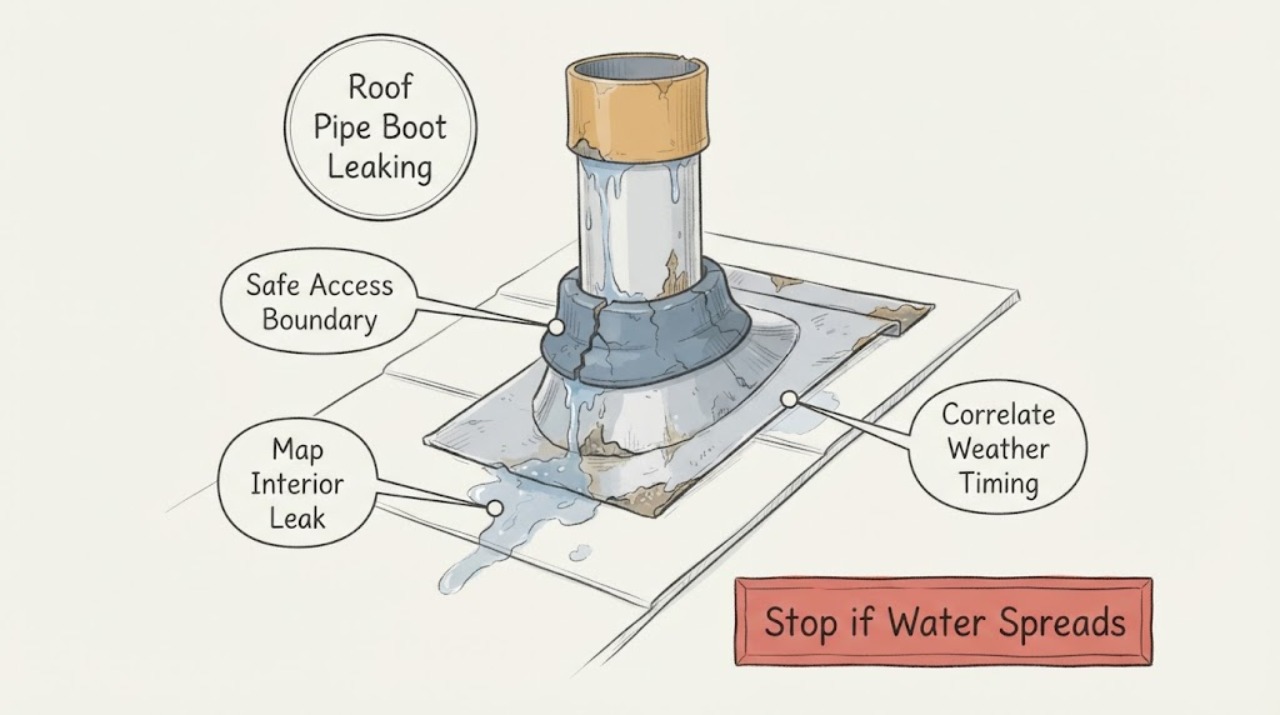
Roof Pipe Boot Leaking: Cracked Rubber Collar Flashing Repair & Perma-Boot
A cracked rubber collar on a plumbing vent pipe boot is a likely leak path, but water at the ceiling is not proof that the collar is the only failed layer. From the ground or another stable, dry location, document the pipe location, leak timing, and visible collar, flange, shingle, and interior ceiling clues.
-
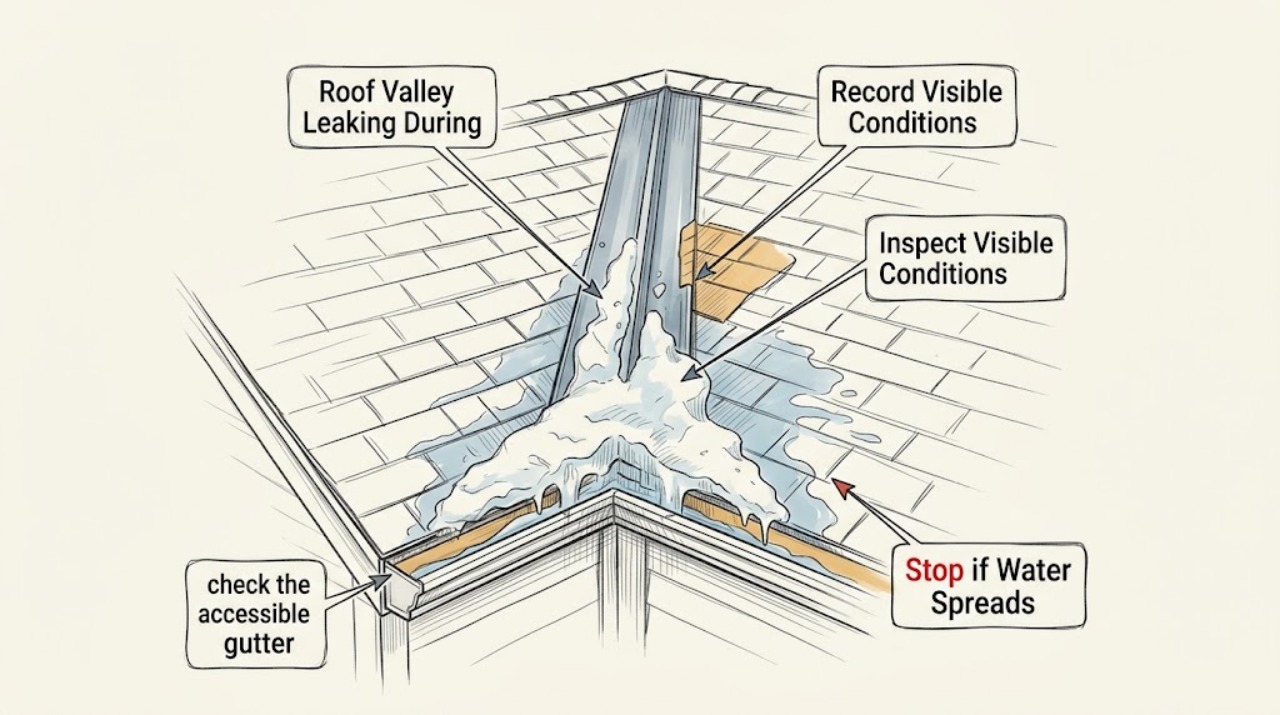
Roof Valley Leaking During an Ice Dam: Check the Metal Flashing
A roof valley that leaks during an ice dam is usually experiencing meltwater backup under the roofing, a damaged or open metal valley-flashing detail, or both. Do not assume the visible metal is the only failure: first establish whether the leak follows a freeze-thaw event, then have a qualified roofer inspect the valley lining, laps, fasteners, adjacent shingles, and underlayment after the roof is safe to access.
-
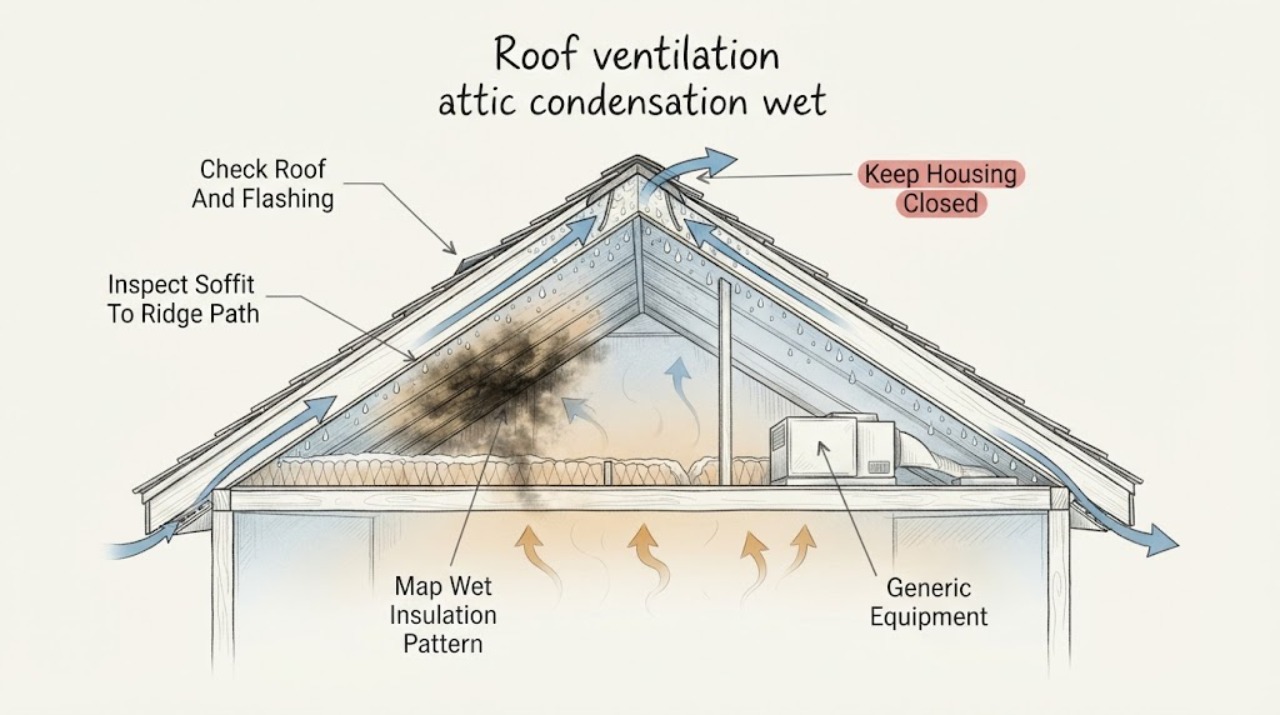
Roof ventilation attic condensation wet insulation: What to Check and What to Do Next
Wet attic insulation is a symptom, not proof that the roof needs more vents. First determine whether the moisture is localized after rain, concentrated near the eaves or roof penetrations, or spread across the underside of the roof deck after cold or humid weather.
-
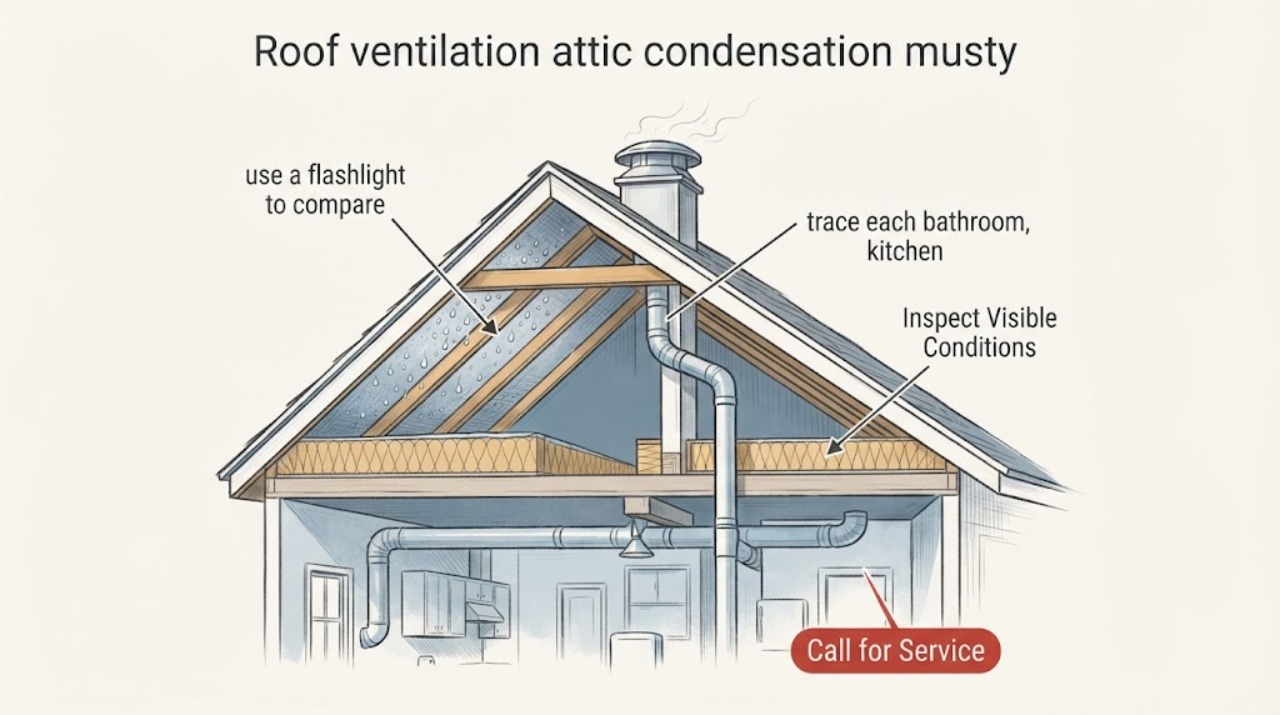
Roof ventilation attic condensation musty odor: What to Check and What to Do Next
A musty attic odor with condensation usually means moisture is reaching cold roof materials faster than the assembly can dry. First determine whether the moisture is widespread condensation or a localized roof leak, then check for indoor exhaust discharged into the attic, blocked soffit or ridge airflow, and high indoor humidity. Drying or deodorizing the attic without correcting the moisture path will not solve the problem.
-
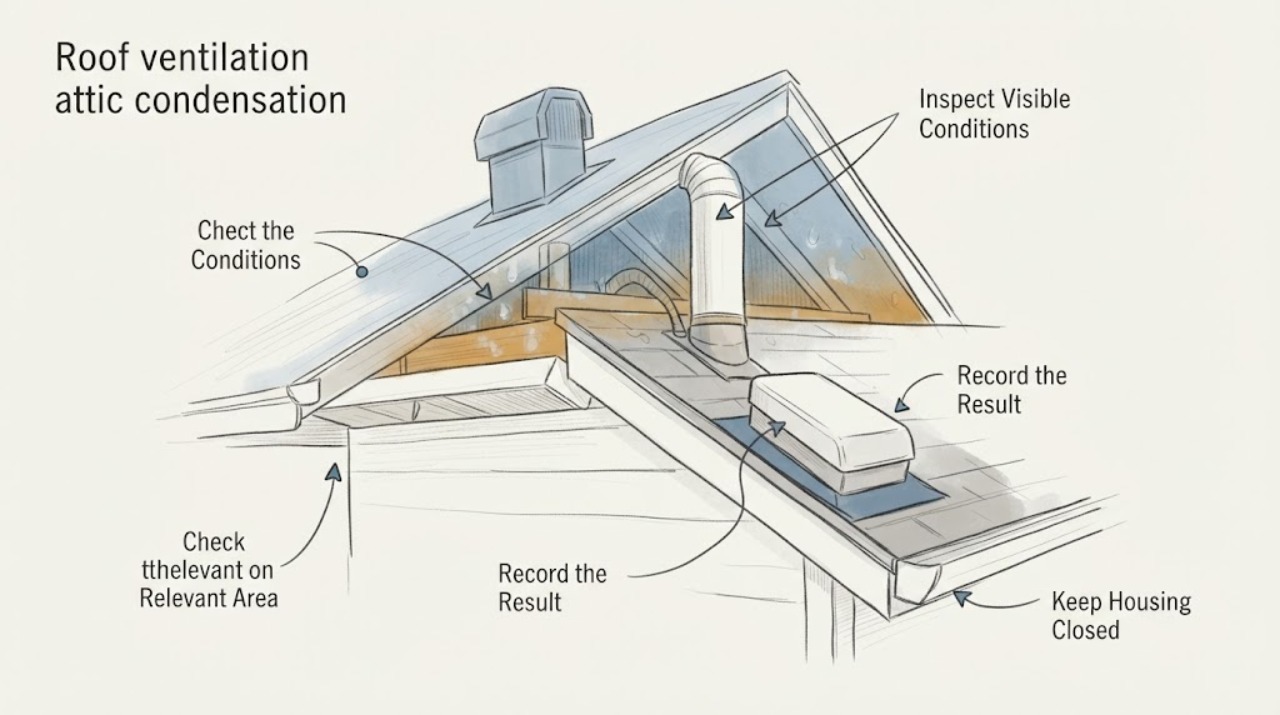
Roof ventilation attic condensation: What to Check and What to Do Next
Start from the living space and ground level. Note window or room condensation, indoor humidity clues, ceiling or upper-wall stains, and whether visible eaves, soffits, fascia, or roof edges show moisture-related changes.
-
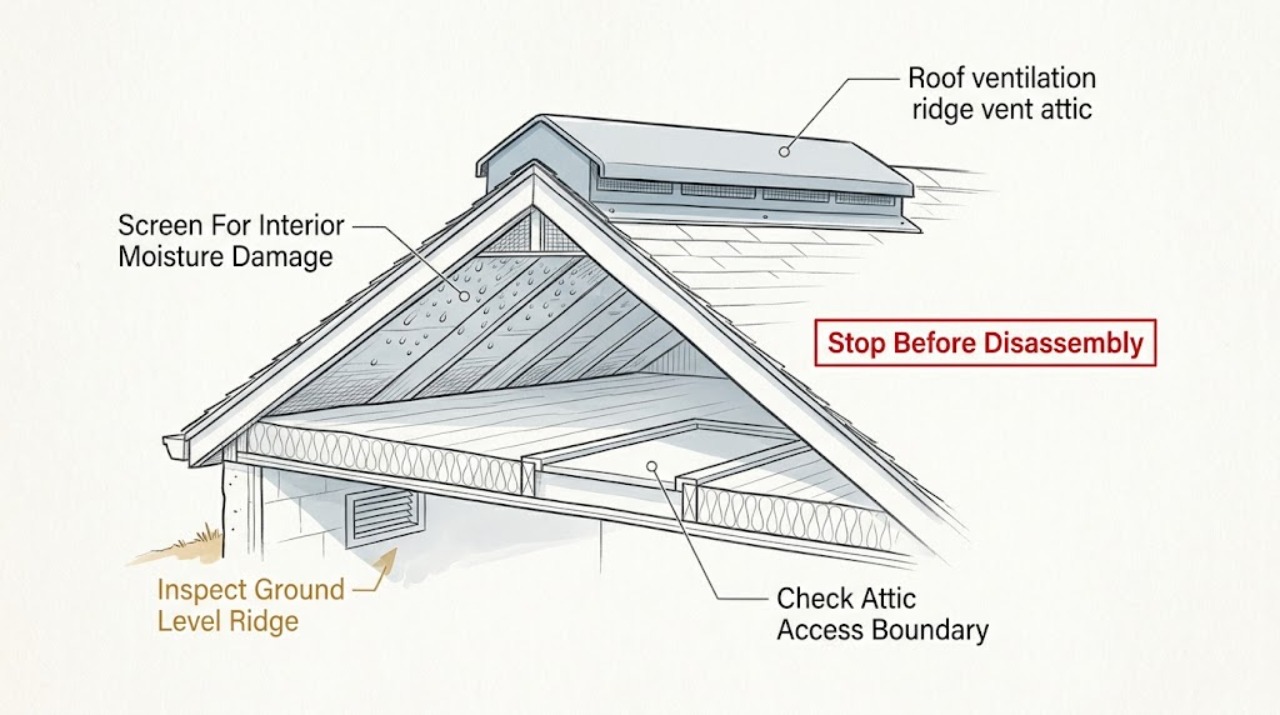
Roof ventilation ridge vent attic condensation: What to Check and What to Do Next
Attic condensation around a ridge-vented roof usually means moisture is entering faster than the attic assembly can remove it, or the intake and exhaust path is blocked or unbalanced; it can also be a roof leak rather than condensation.
-
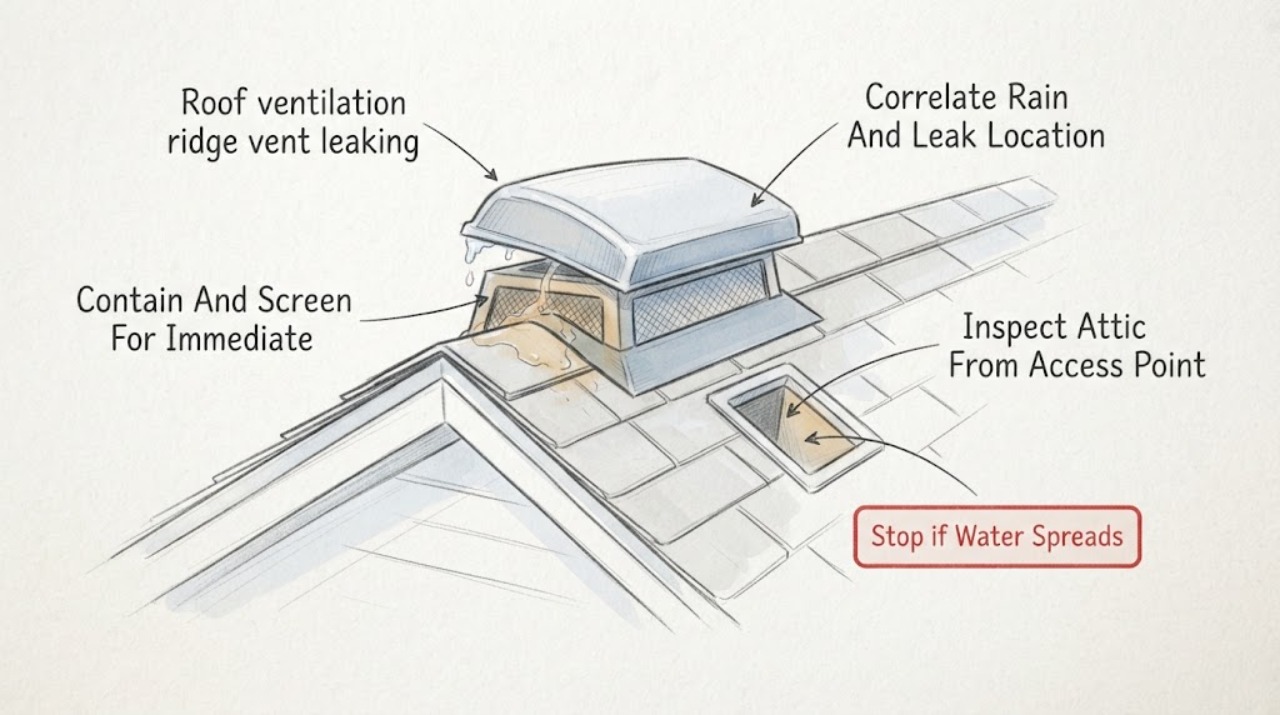
Roof ventilation ridge vent leaking loose cap: What to Check and What to Do Next
A loose ridge-vent cap can admit wind-driven rain, but a ceiling stain near the ridge is not proof that the ridge vent is the source; water can travel under roof coverings, and attic moisture can also come from condensation or another penetration. From a safe location, first contain interior water, check the attic only from the access opening for wet insulation or roof-deck staining, and use ground-level binoculars to document a shifted cap, visible gap, or missing section.
-
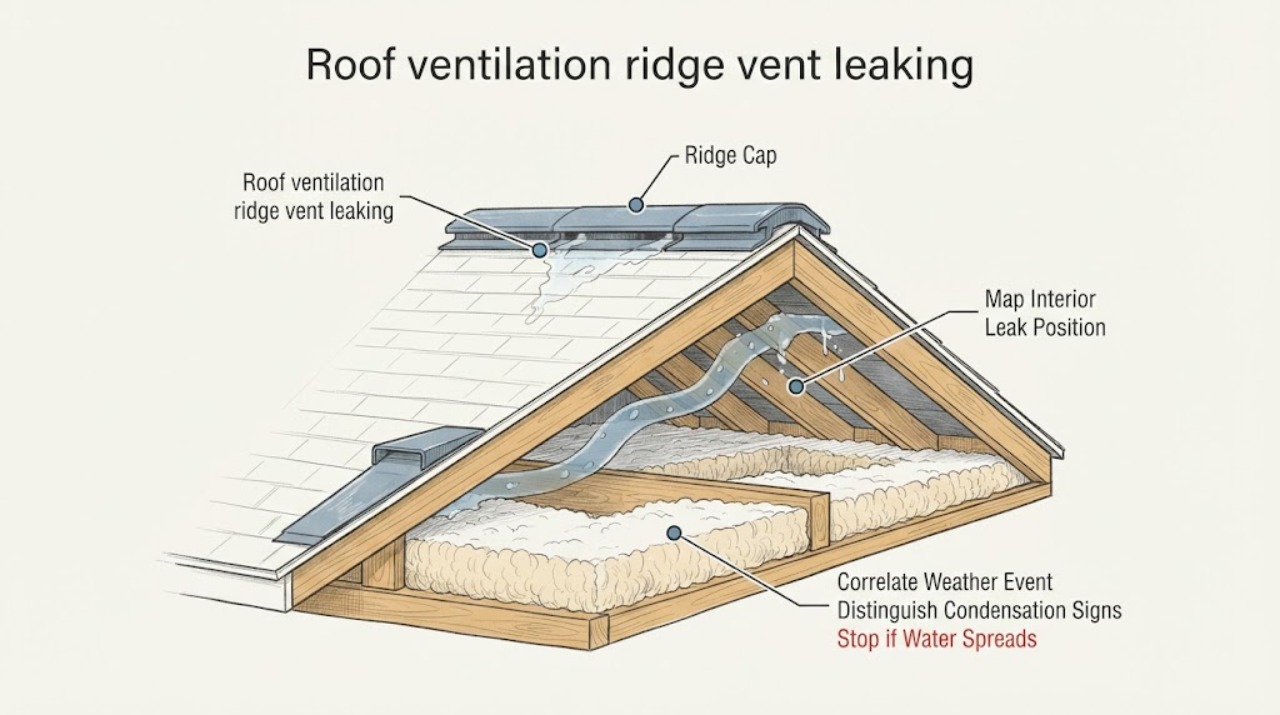
Roof ventilation ridge vent leaking: What to Check and What to Do Next
Do not climb onto the roof, enter the attic, use a ladder, remove a ridge vent, apply sealant, place a tarp, or inspect during a storm. From inside the living space and from safe ground after weather clears, record where the ceiling stain appears, whether it coincides with wind-driven rain, snow or ice, whether there are signs of condensation, and whether roof debris or visible ridge-cap damage can be seen without approaching the roof.
-
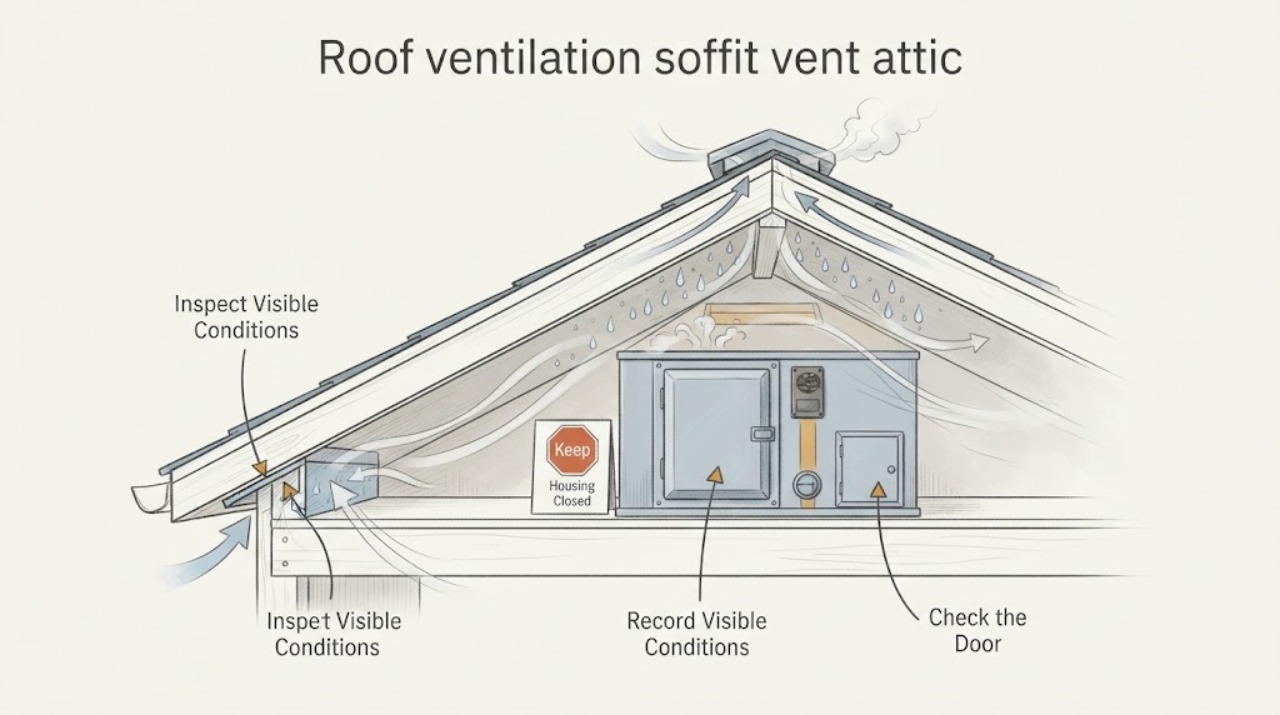
Roof ventilation soffit vent attic condensation: What to Check and What to Do Next
Condensation near a soffit vent can result from a blocked intake path, warm moist air leaking from the home, an exhaust duct terminating in the attic, or a roof leak. From a safe ground-level or normal standing position, document where and when the moisture appears and look for visible soffit blockage or damage; do not enter the attic, climb onto the roof, use a ladder, remove a soffit, or disturb insulation.