
Plumbing guides
Sinks Repair Guides – Page 2
Guidance for sink leaks, clogs, drainage, fittings, and installation questions.
Published sinks guides
Choose the guide that best matches the equipment and symptom you are seeing.
-
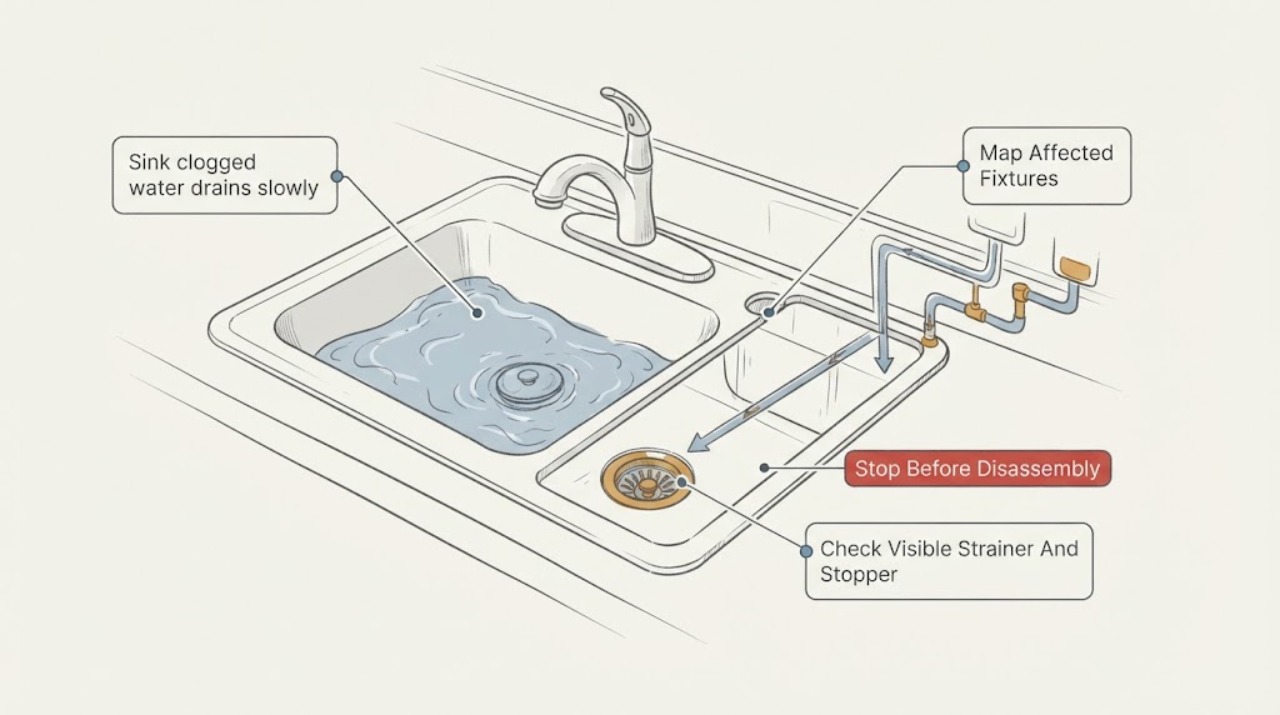
Sink clogged water drains slowly or not at all: What to Check and What to Do Next
If a sink drains slowly or not at all, first determine whether the blockage is limited to the sink or whether other fixtures are backing up. Remove only visible debris at the strainer or stopper, then use a correctly sized sink plunger with enough water to seal the drain if no chemical cleaner has been used.
-
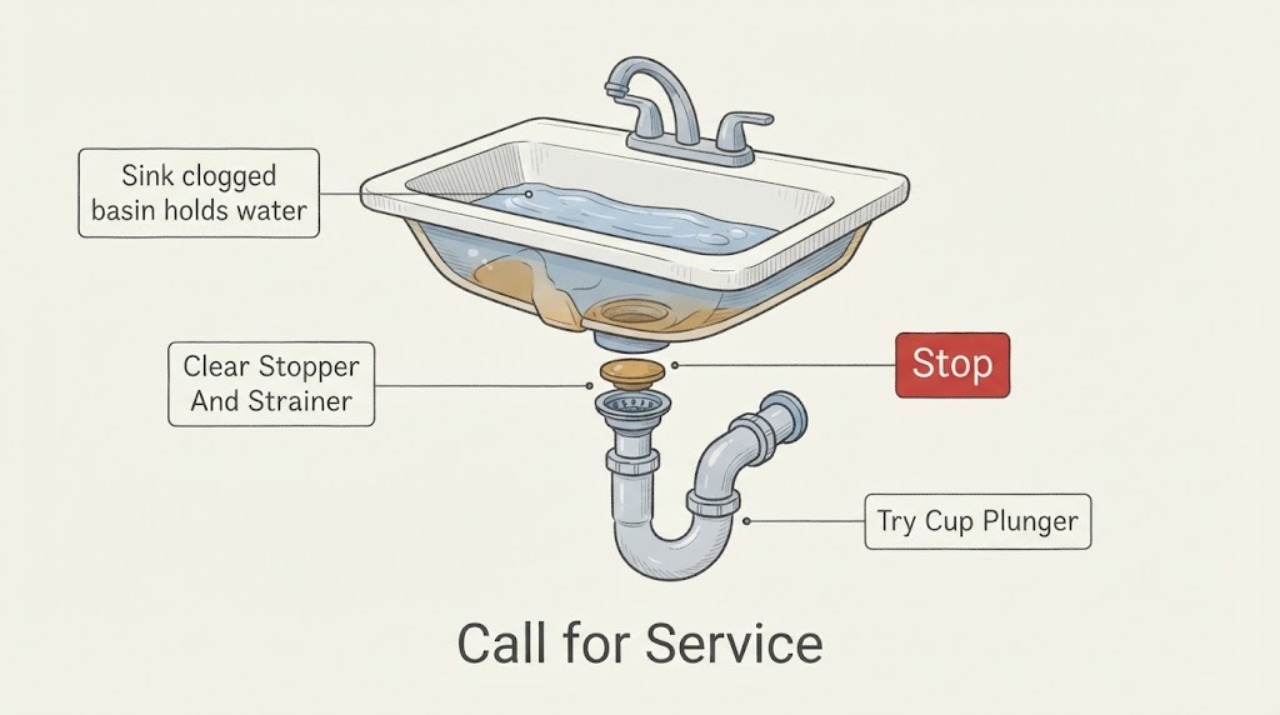
Sink clogged basin holds water: What to Check and What to Do Next
A sink basin that holds water usually has a restriction at the stopper or strainer, in the trap, or farther along the drain branch. First stop adding water, remove only an accessible stopper or strainer, and lift out visible debris.
-
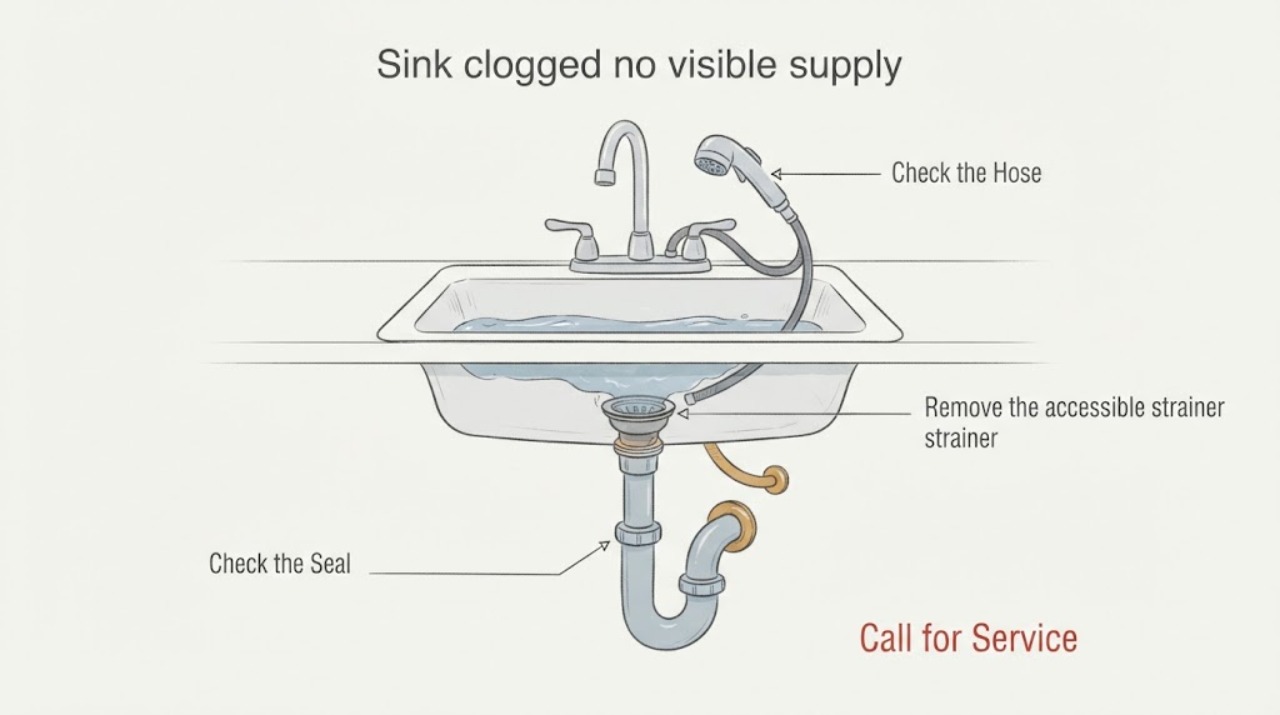
Sink clogged no visible supply leak: What to Check and What to Do Next
A sink can be fully clogged even when the faucet supply lines and shutoff valves are dry: the obstruction is usually at the stopper, strainer, P-trap, or downstream waste line rather than the pressurized supply. Dry the cabinet, keep the basin from overflowing, and briefly observe where water appears with the faucet off and then during a small, controlled flow.
-
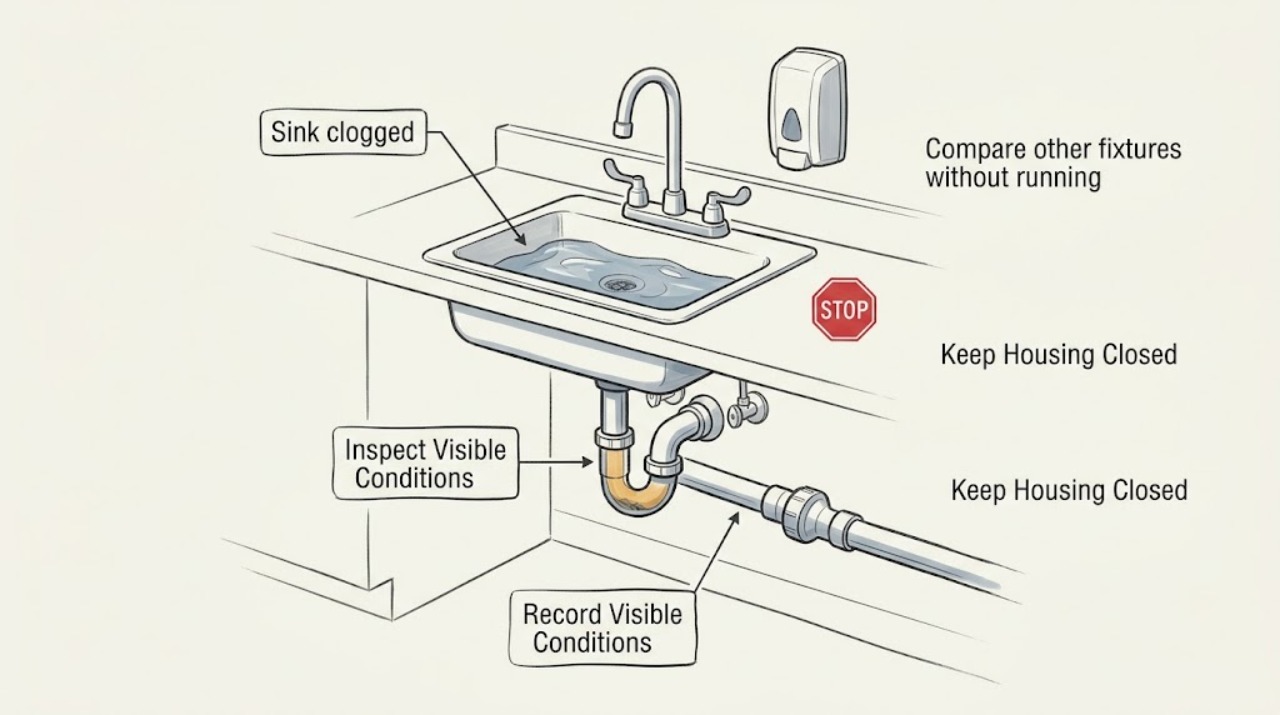
Sink clogged: What to Check and What to Do Next
First determine whether the blockage is limited to one sink or affects multiple fixtures, then note the water level, timing, gurgling, disposal context, and anything visible at the strainer. Stop adding water if the basin is filling, keep a garbage disposal switched off, and do not mix or add drain chemicals, use pressure tools, open the trap, reach into a disposal, or contact sewage.
-
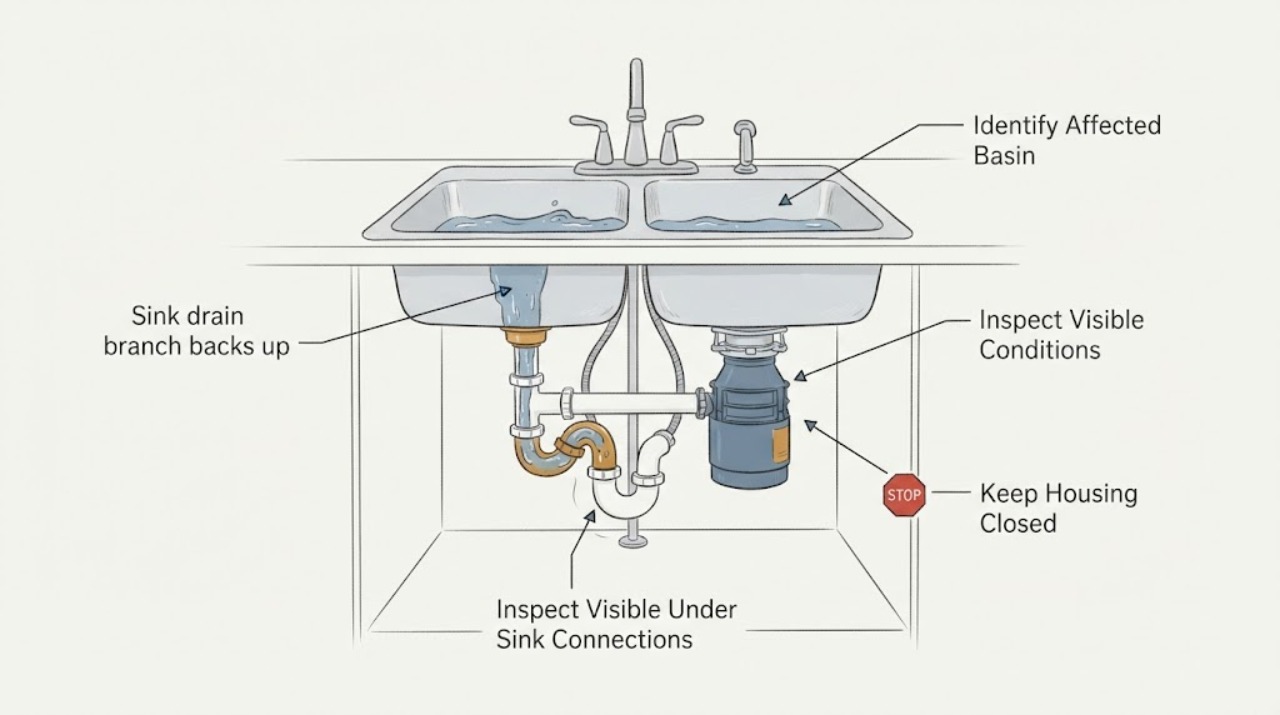
Sink drain branch backs up when disposal runs: What to Check and What to Do Next
When one sink drain branch backs up as the garbage disposal runs, the disposal is usually pushing water and ground food against a restriction in the outlet, trap, shared drain, or a connected branch; the disposal itself is not proven to be the failed part.
-
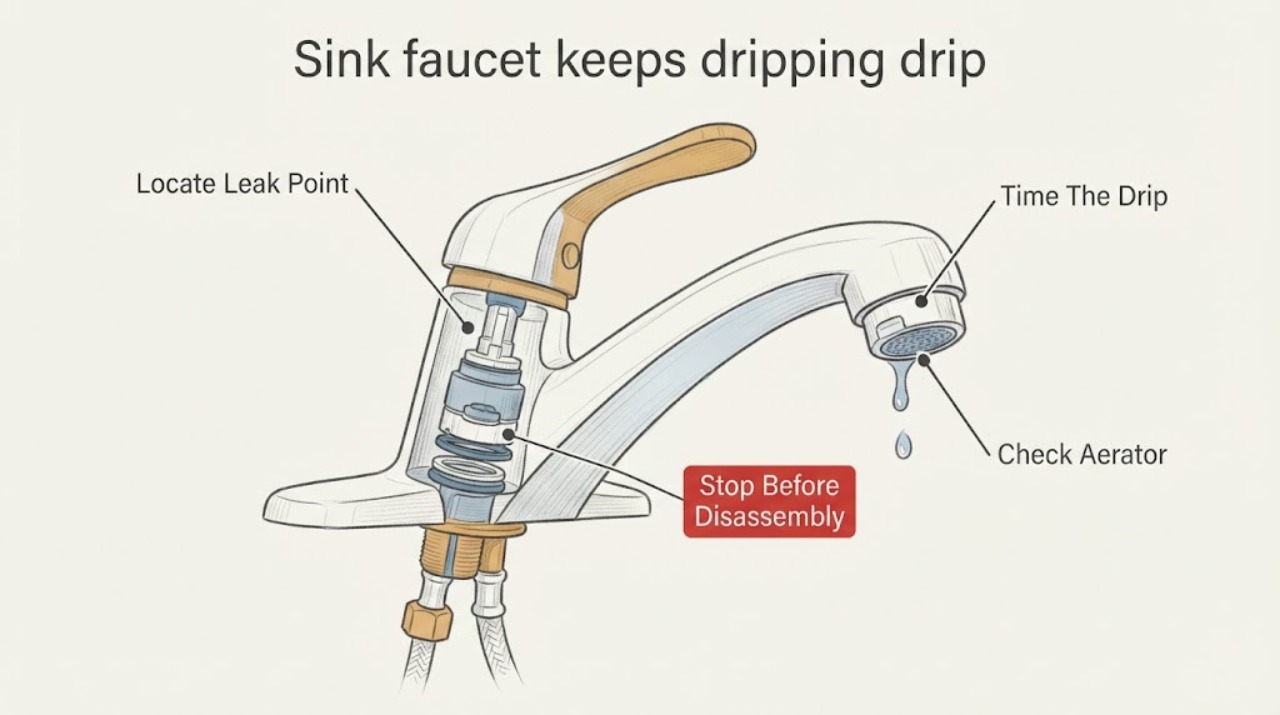
Sink faucet keeps dripping drip continues when handle is off: What to Check and What to Do Next
A sink faucet that drips briefly after the handle is closed may only be releasing water held in the spout or have debris at the aerator. A drip that continues steadily for hours or all day usually points to a worn valve or cartridge under the handle; worn washers, O-rings, or a handle mechanism can cause similar symptoms depending on the faucet design.
-
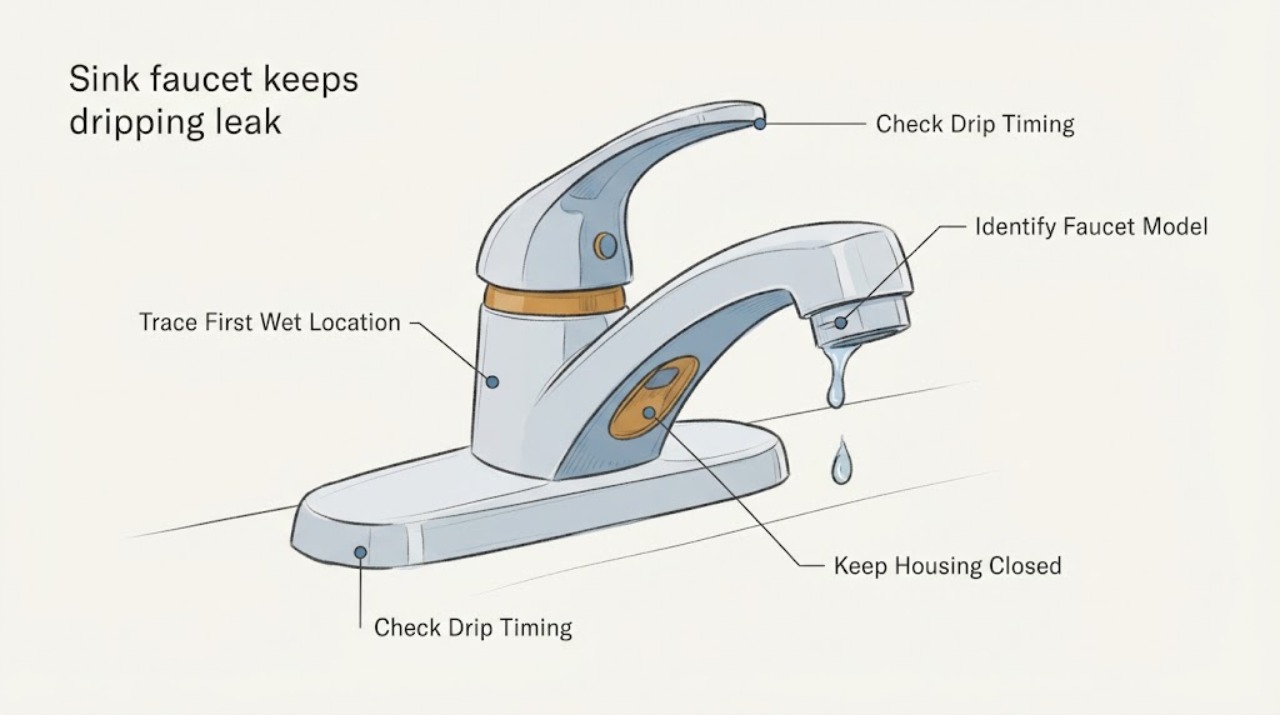
Sink faucet keeps dripping leak is at spout or base: What to Check and What to Do Next
First separate a drip from the end of the spout from water escaping where the spout meets the faucet body or the faucet meets the sink. A drip that continues after the handles are off usually points to the faucet's valve or cartridge not fully closing; a base leak that appears only while water is running is more consistent with spout seals or O-rings, while a base leak that continues after shutoff can involve the valve, cartridge, check valve, or another internal seal.
-
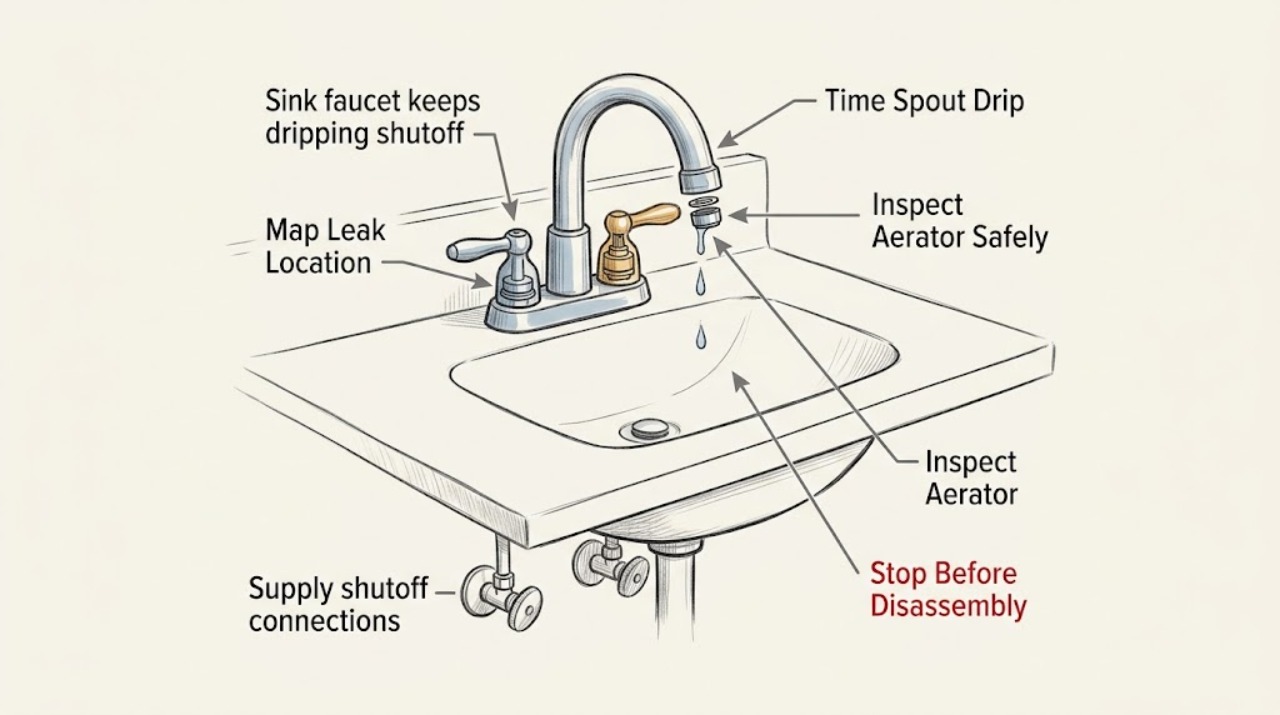
Sink faucet keeps dripping shutoff works: What to Check and What to Do Next
If the sink's hot and cold shutoff valves work but the faucet still drips with its handle off, the shutoffs are not the same as the faucet's internal flow-control valve. A brief drip from the spout may be residual water or aerator debris; a drip that continues steadily usually points to a worn cartridge, valve, washer, O-ring, or handle mechanism.
-
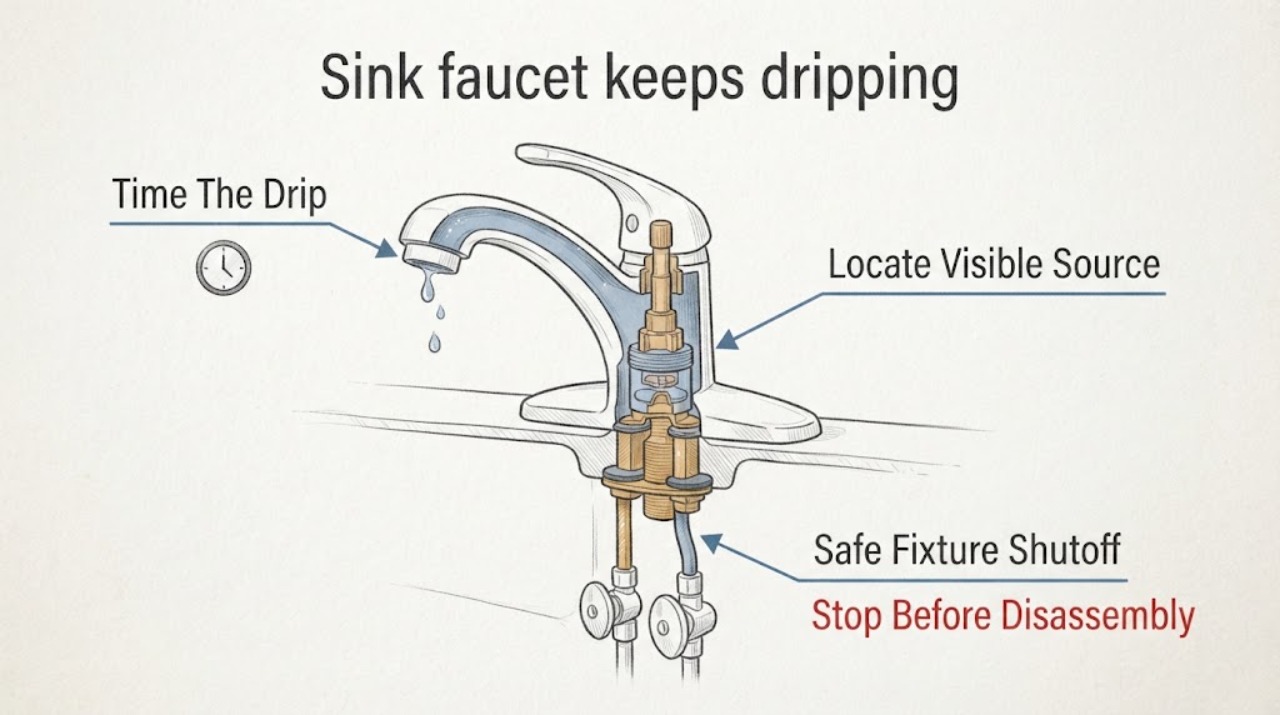
Sink faucet keeps dripping: What to Check and What to Do Next
First separate a short-lived drip after shutoff from a faucet that continues dripping. From a dry, stable position, record whether water comes from the spout, handle, faucet base, or under the counter; whether it stops after a short settling period or continues while the handle is off; and whether the drip is accompanied by a spreading leak, cabinet moisture, or a failed fixture shutoff.
-
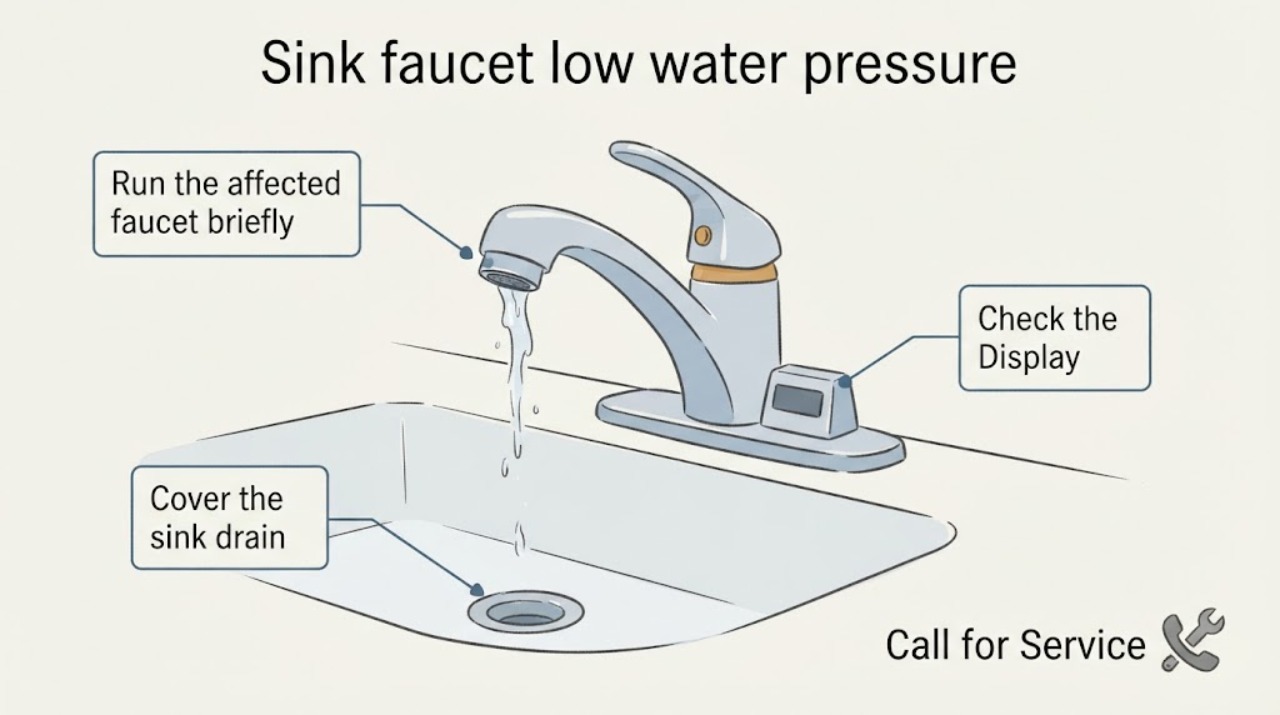
Sink faucet low water pressure other fixtures have normal flow: What to Check and What to Do Next
When other fixtures have normal flow, low flow at one sink faucet usually points to a local restriction rather than a whole-house pressure problem. Compare hot and cold flow, then cover the drain and remove the faucet aerator or screen if it is accessible.
-
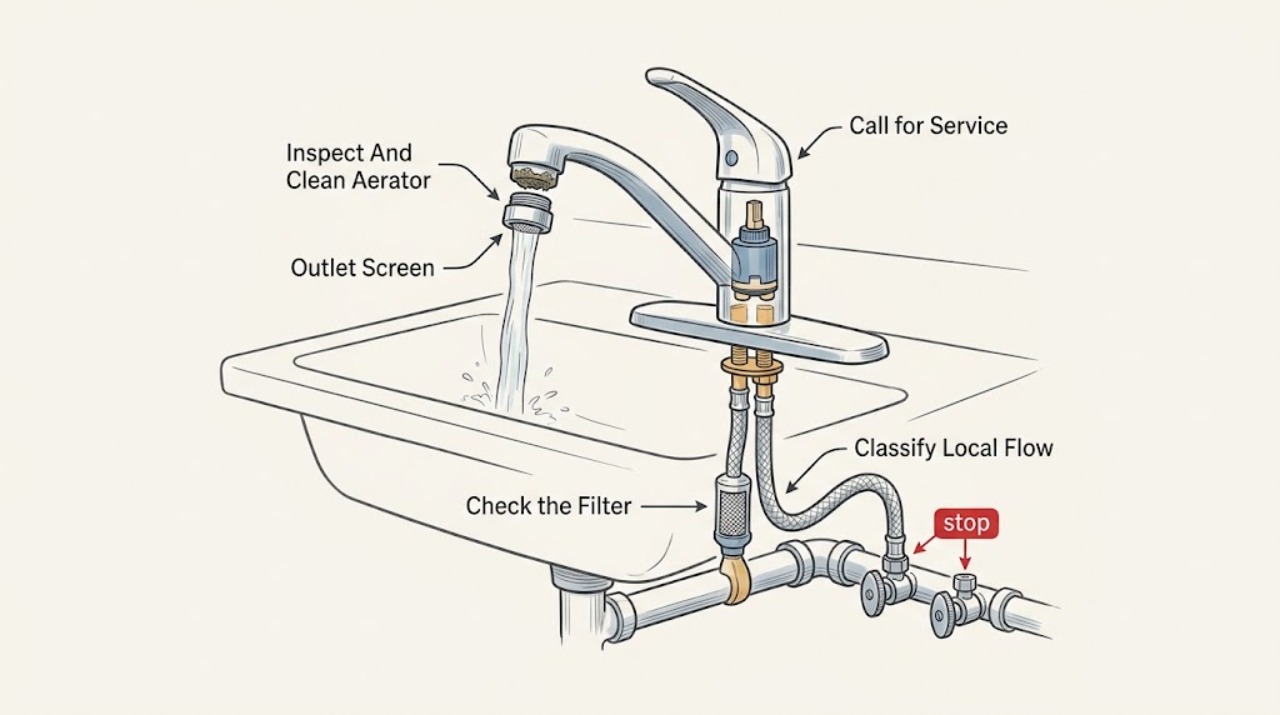
Sink faucet low water pressure screen may be clogged: What to Check and What to Do Next
Low flow at one sink faucet is often caused by mineral scale or debris in the aerator or outlet screen, a partly closed stop valve, a kinked supply line, or a faucet-specific filter. First compare that faucet with another fixture and compare hot with cold.
-
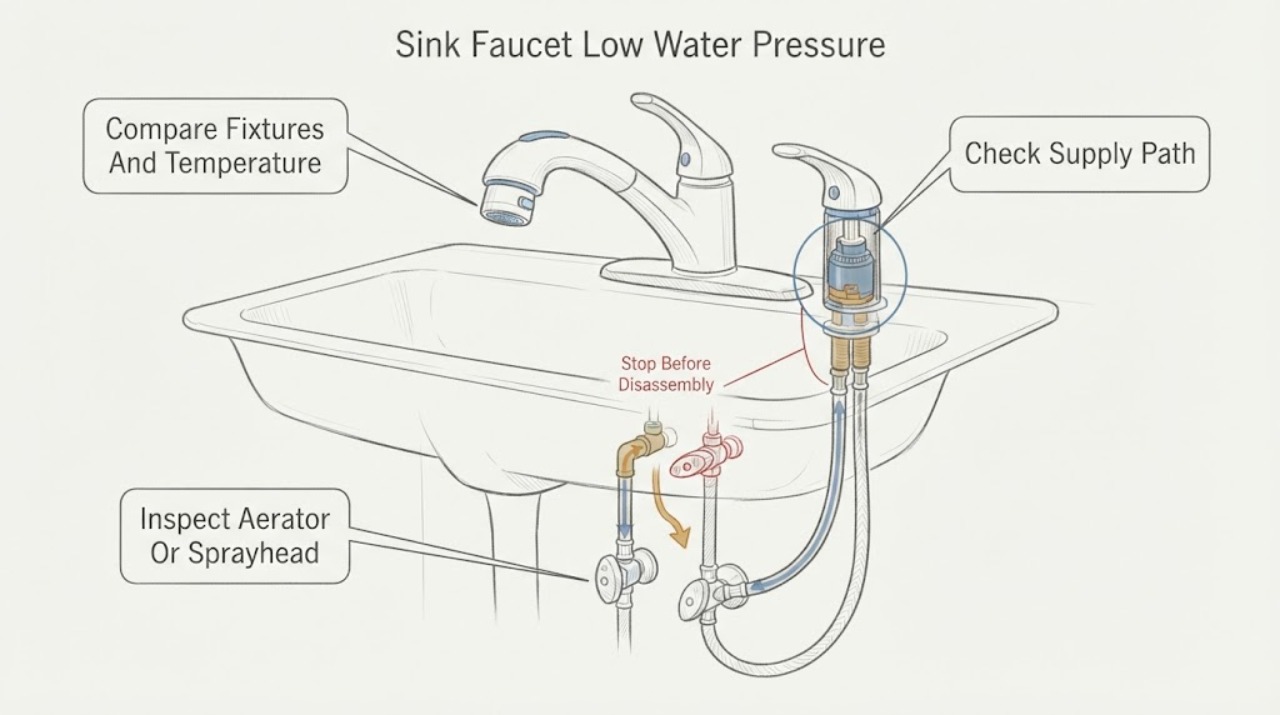
Sink faucet low water pressure one is affected: What to Check and What to Do Next
When only one sink faucet has low flow, a restriction at that fixture is more likely than a whole-house pressure problem. Start by comparing hot and cold flow and nearby faucets, then inspect or rinse the aerator or sprayhead, check that the under-sink shutoff valves are open and the supply hoses are not kinked, and identify whether a side spray or pull-out hose changes the symptom.
-
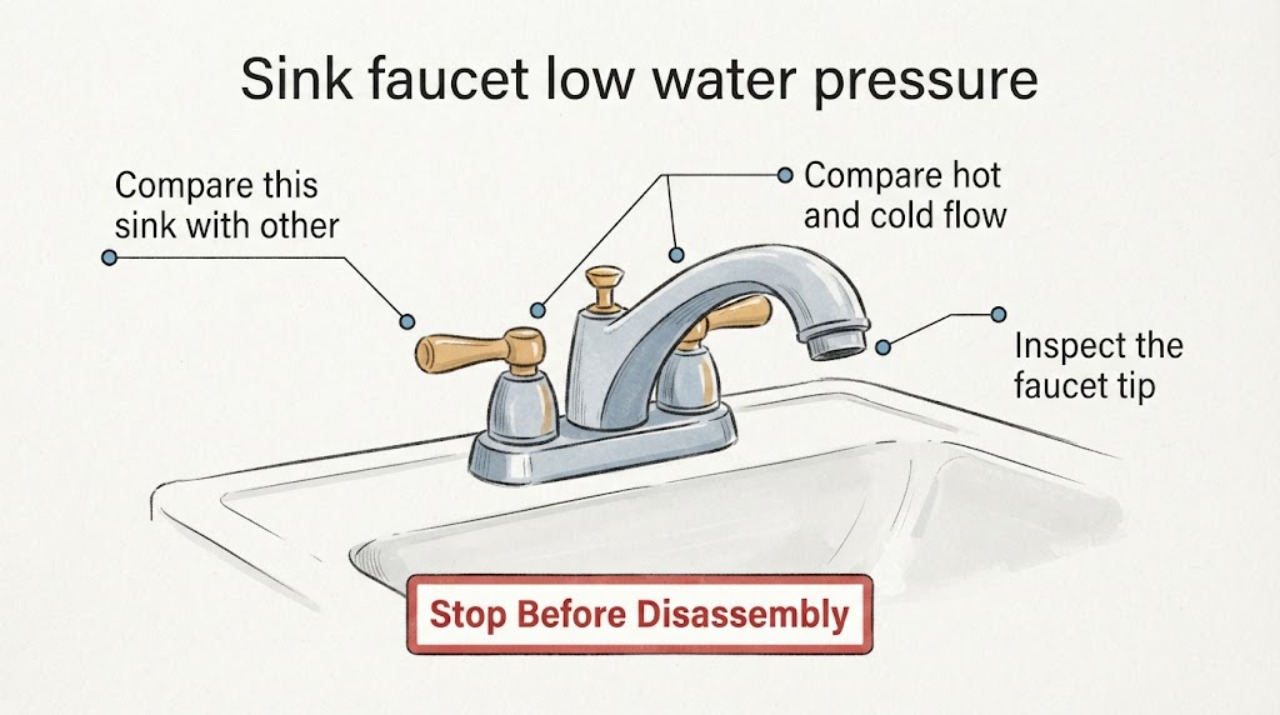
Sink faucet low water pressure: What to Check and What to Do Next
First determine whether the weak flow is limited to this sink or affects other fixtures, then compare hot and cold flow and inspect the faucet tip and visible supply area without taking anything apart. A single-faucet problem can be caused by a restricted aerator, cartridge, or supply path; a whole-home or sudden pressure change points to the building supply or a larger plumbing issue.
-
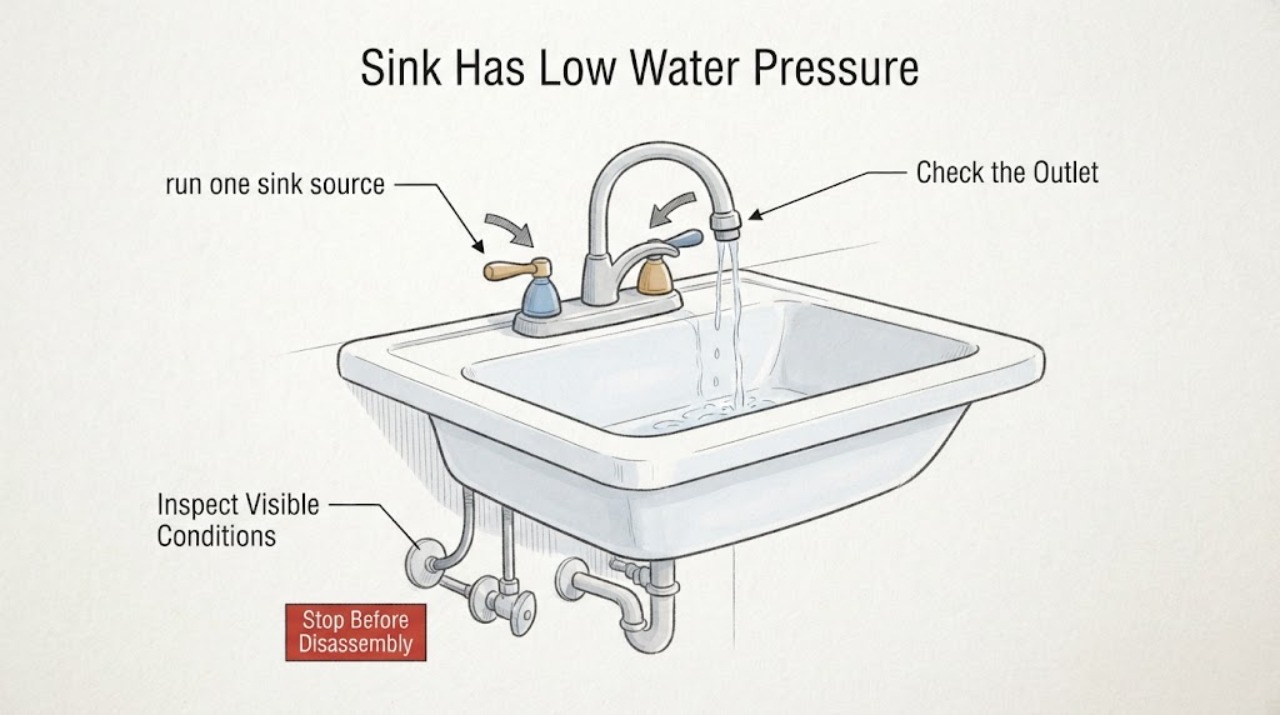
Sink Has Low Water Pressure When Two Sources Are in Use
When a sink loses pressure only while two water sources are in use, first compare one source at a time with both sources open and note whether the drop is limited to this sink or affects other fixtures.
-
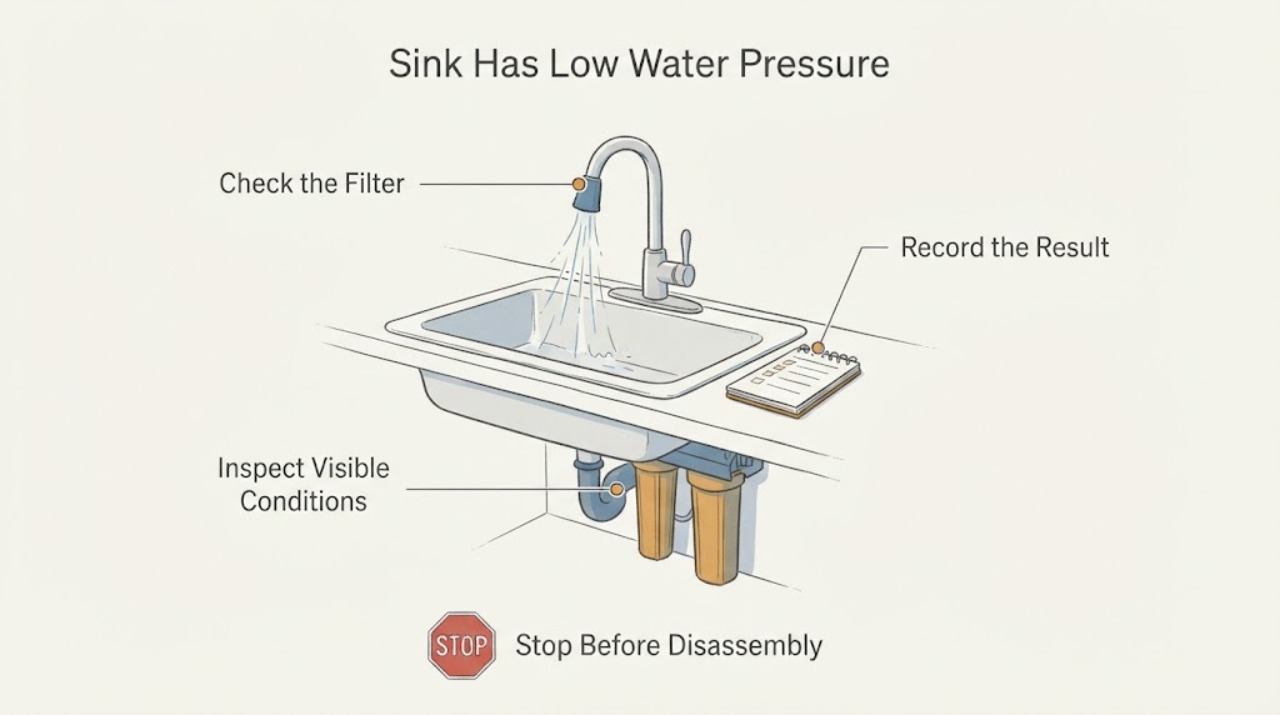
Sink Has Low Water Pressure: Check the Aerator, Filter, and Shutoff
First compare hot and cold flow at this sink with another faucet. If only this sink is weak, check the faucet aerator, any under-sink drinking-water filter, and both accessible shutoff valves for blockage, a partly closed position, or a leak.
-
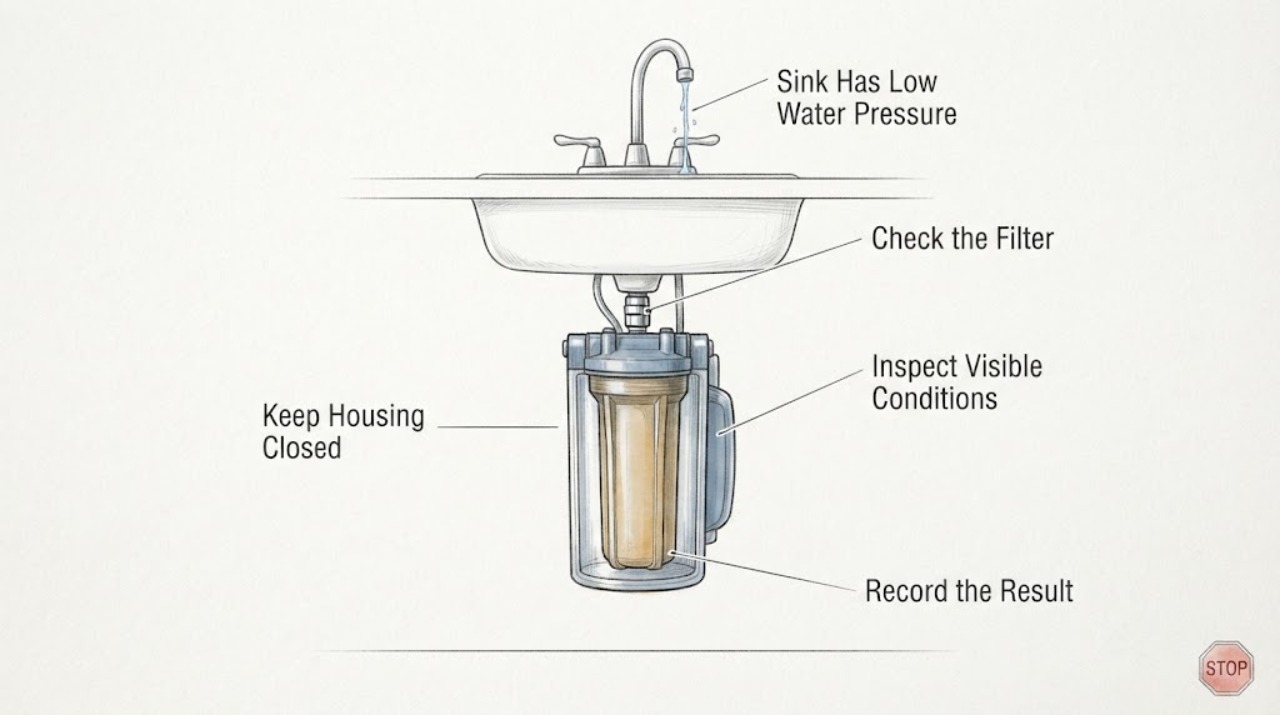
Sink Has Low Water Pressure: Check the Tank Path Without Guessing
Low pressure at one sink is usually localized to the faucet aerator, shutoff valve, supply hose, or a filter or under-sink device. If the tank component is part of the installation, it may be an under-sink water tank, filter, reverse-osmosis system, or hot-water unit, but do not assume the tank is the cause.
-
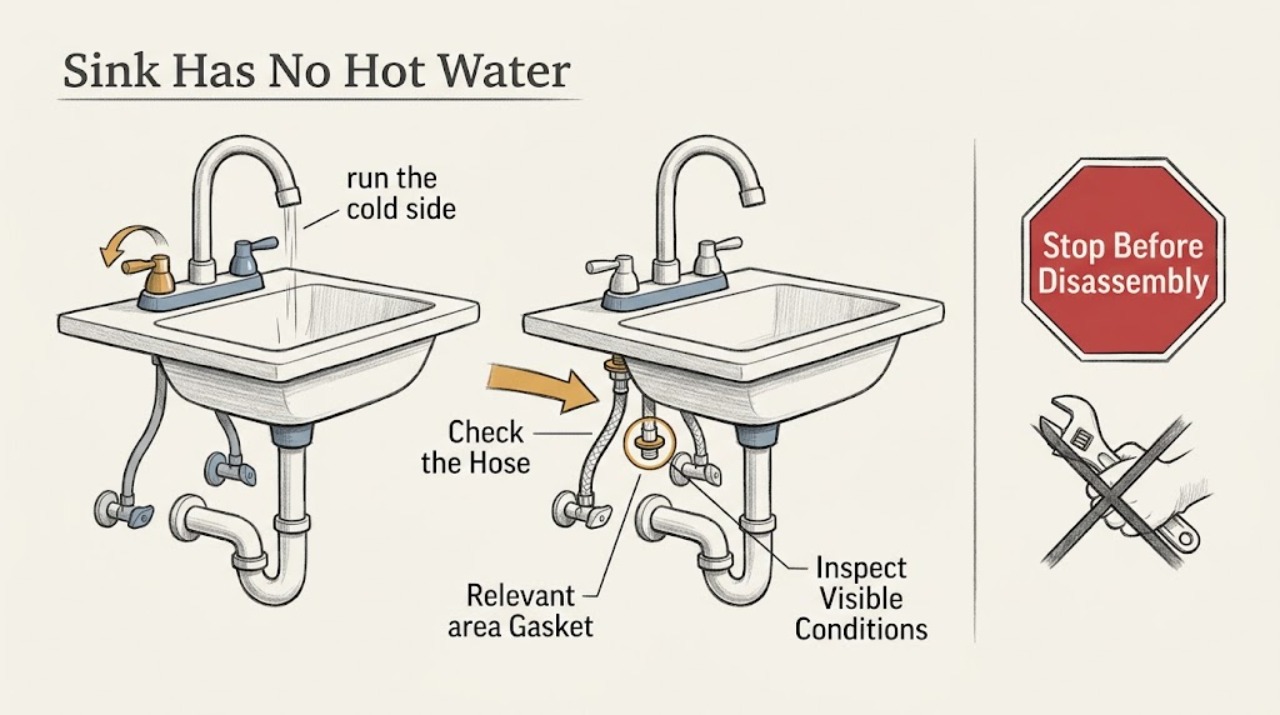
Sink Has No Hot Water: Check the Hot-Side Supply Before the Gasket
A sink gasket is a seal, not a heating element. If cold water works but this sink has no hot water, compare the hot side at another fixture, then check the sink's accessible hot shutoff, supply hose, faucet outlet, cartridge path, and visible leaks.
-
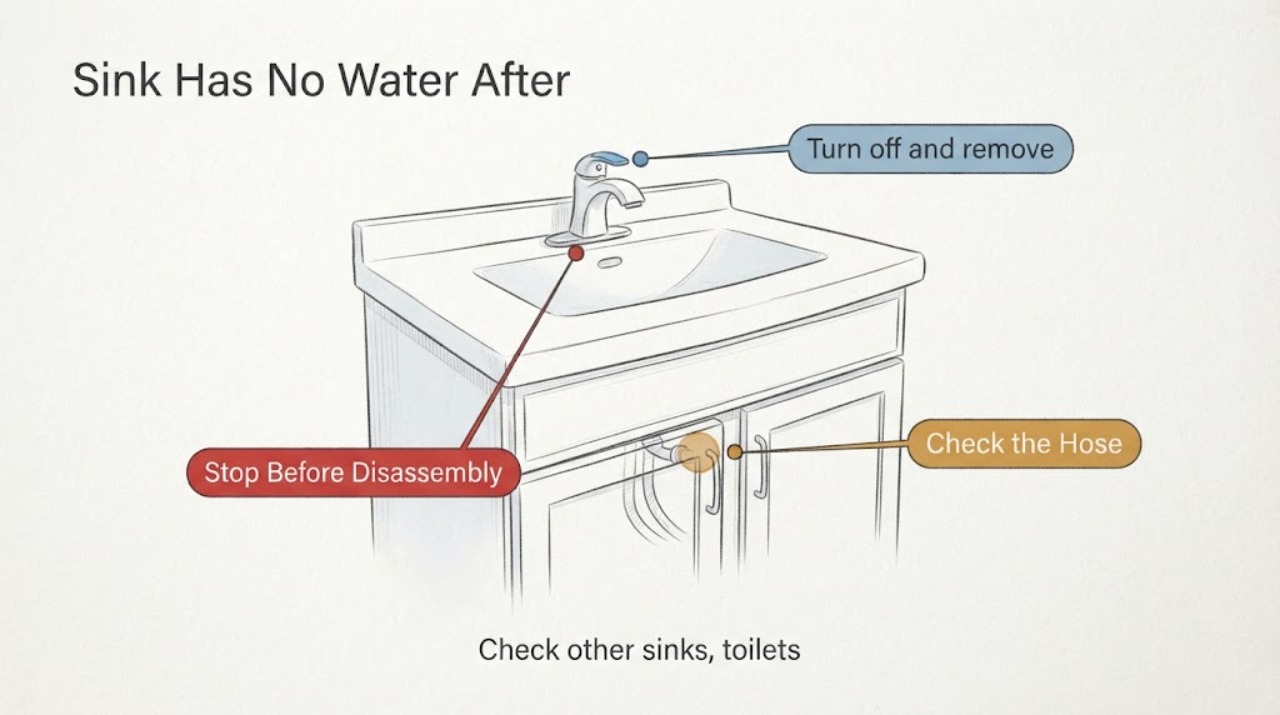
Sink Has No Water After Applying Heat: Stop and Check for a Frozen or Burst Pipe
If a sink still has no water after heat was applied, stop applying heat and do not use a torch, open flame, or high-heat device. First check from a dry, safe position whether the loss is at this sink only or also affects other fixtures, and whether both hot and cold sides are affected.
-
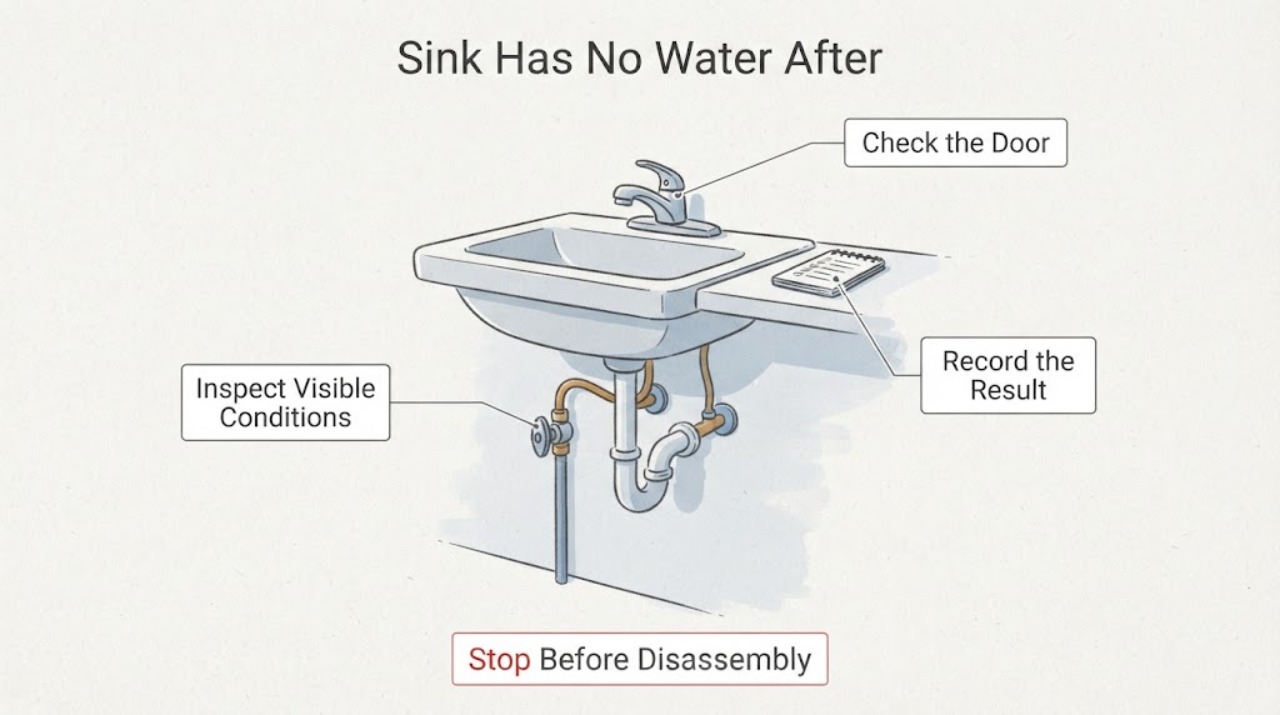
Sink Has No Water After Turning the Main Back On: Check the Valve, Air, and Sediment
After a main shutoff is turned back on, a sink may remain dry because the main or sink branch valve is not fully open, the neighborhood supply is still off, air is moving through the lines, or sediment has reached the faucet screen. First check whether other fixtures and neighbors have water, then inspect only the clearly accessible main and under-sink valves without forcing them.
-
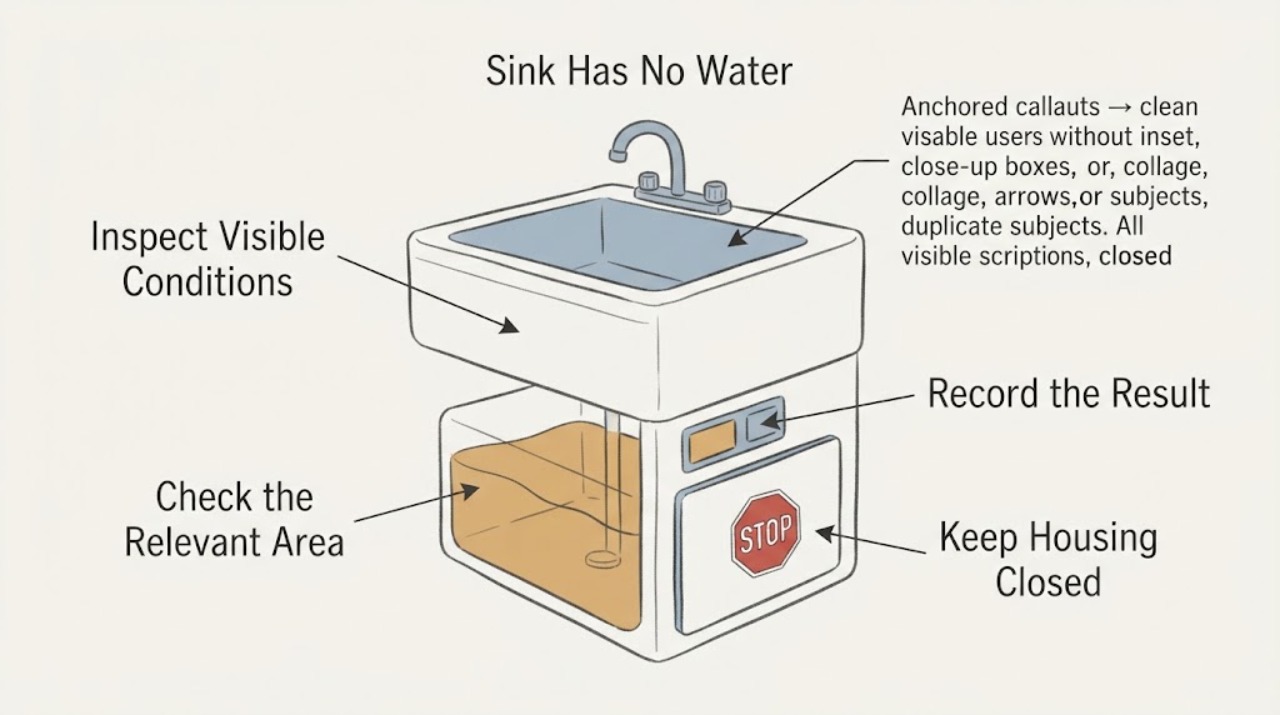
Sink Has No Water: Check the Tank and Supply Path Without Guessing the Device
First determine whether no water affects the whole sink, only hot or cold water, or only a dedicated filtered faucet. Confirm the local shutoff valves are open and dry, compare another fixture, and identify whether the under-sink tank is an actual reverse-osmosis storage tank or a different device.
-
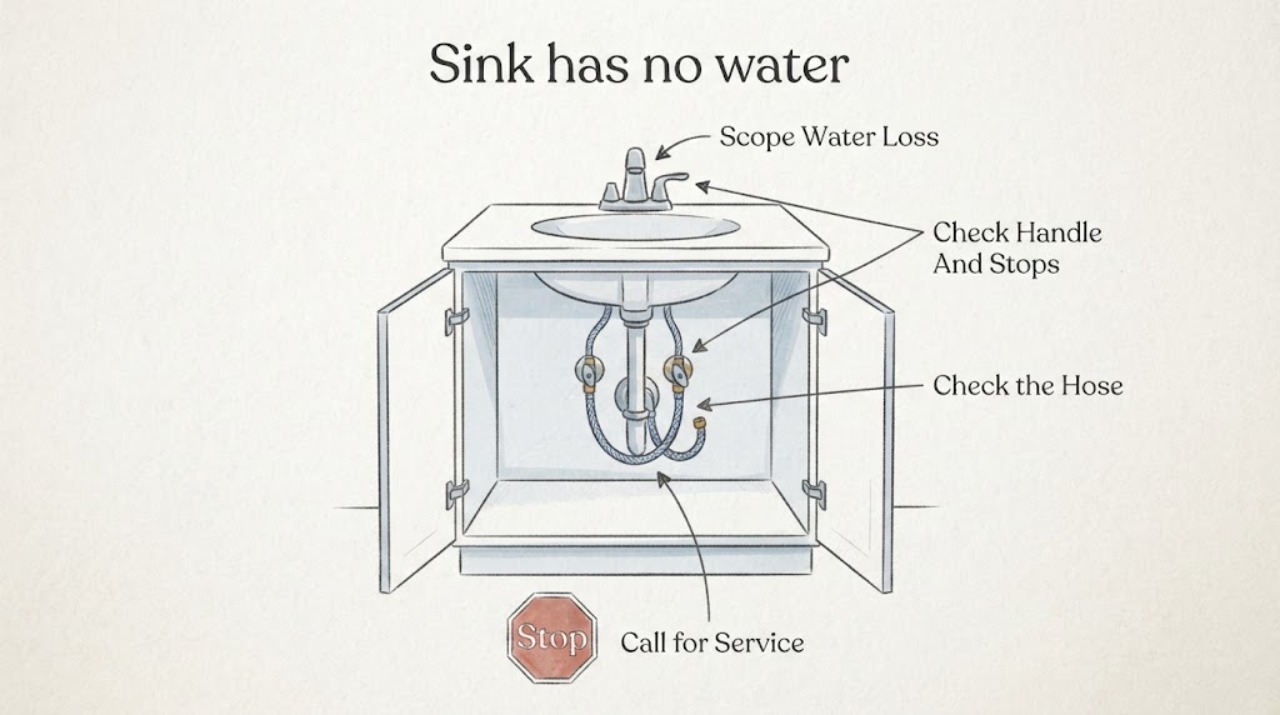
Sink has no water: separate a closed supply from a faucet blockage
When a sink has no water, first determine whether both hot and cold sides are affected and whether other fixtures still have water. A closed or partially closed shutoff valve, kinked supply hose, blocked aerator or sprayhead, low incoming supply, sensor or power issue on a touchless faucet, or a failed cartridge can all look like a dead faucet.
-
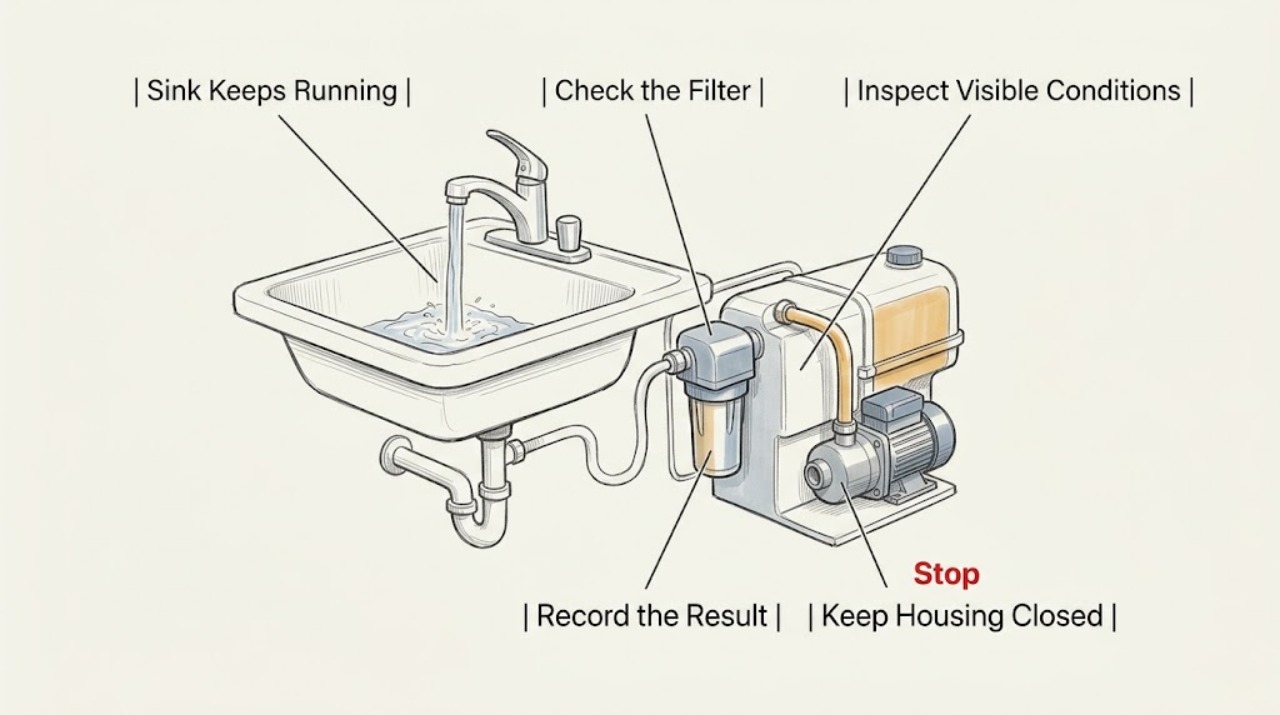
Sink Keeps Running: Separate Faucet Flow, Leaks, and Tank Refill
A sink that is “running” can mean water still comes from the spout after the handle is off, a continuous sound or stream comes from the cabinet, or an under-sink filter, reverse-osmosis unit, storage tank, or hot-water device is repeatedly filling or sending water to a drain. First identify the exact source and timing without opening or disconnecting anything.
-
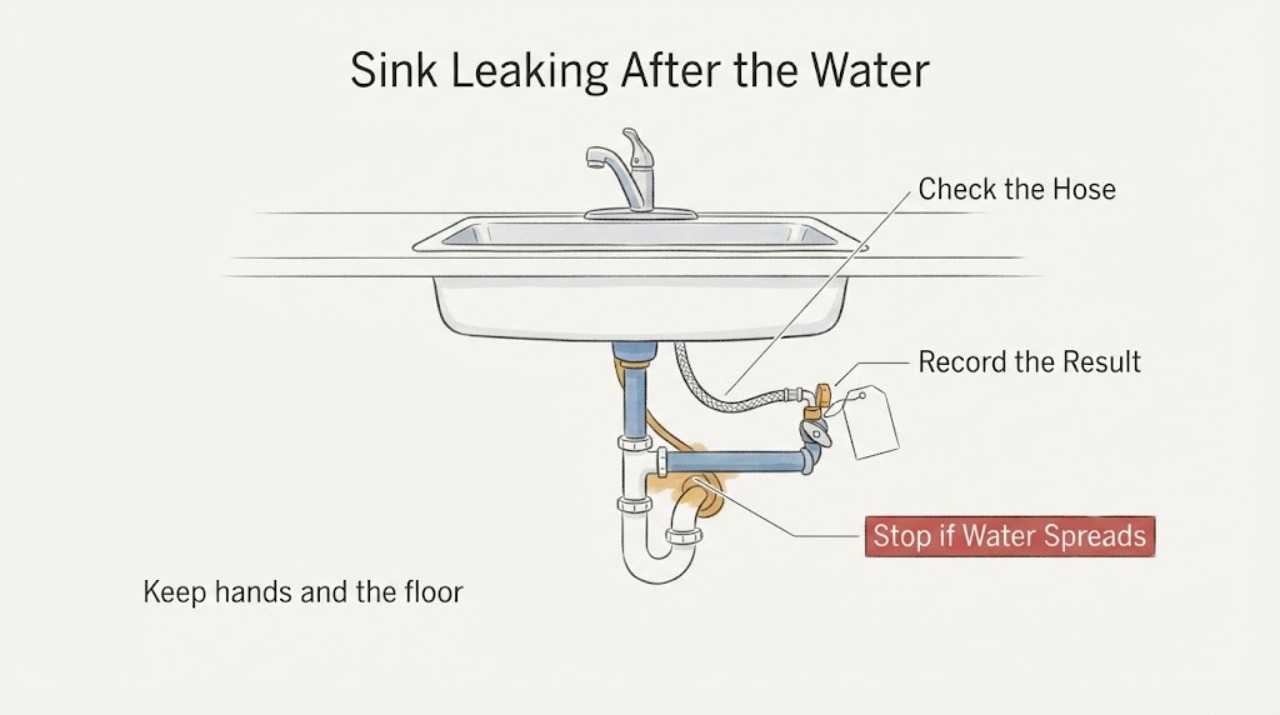
Sink Leaking After the Water Was Shut Off in a New House
Do not assume a new-house sink leak is normal after the water was shut off. Close the local sink valves, and if the leak continues or the valves do not isolate it, close the home's main water shutoff from a dry, safe location.
-
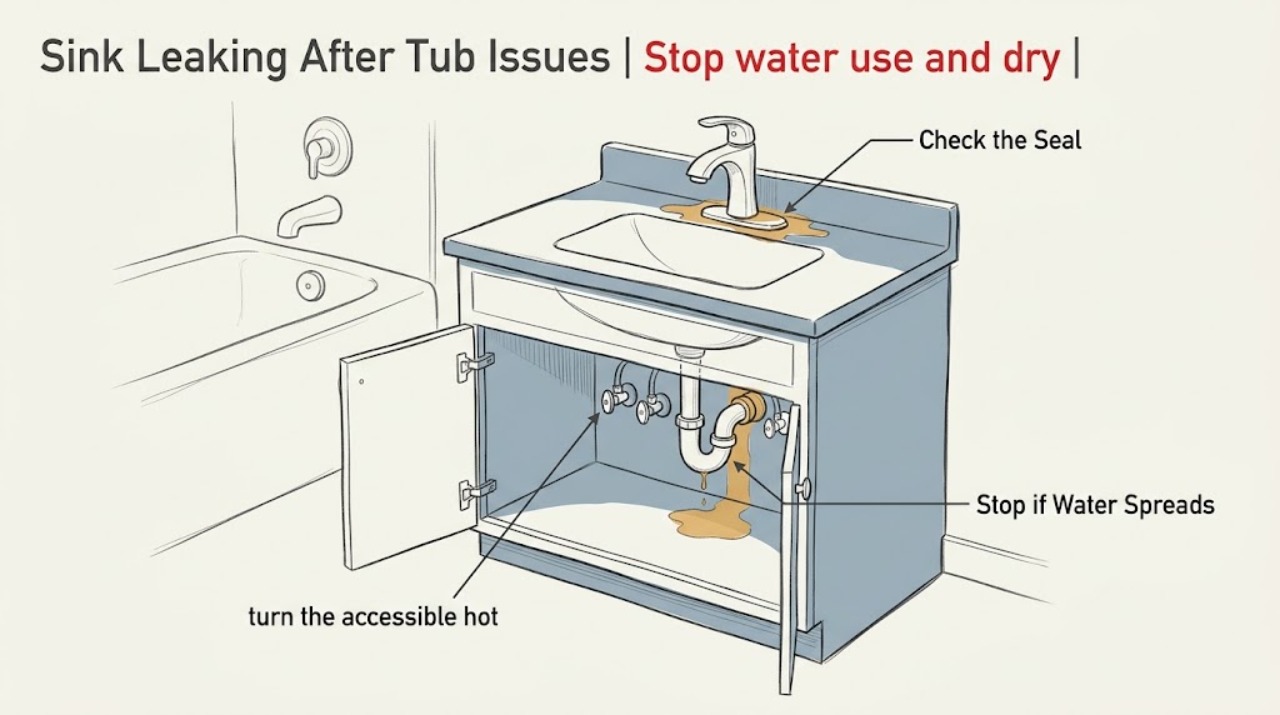
Sink Leaking After Tub Issues: Find the First Wet Point Safely
The timing after tub trouble or after something was put in the tub does not prove that the tub caused the sink leak. Find the first wet point while no water is running: sink faucet or supply connection, drain or trap, cabinet wall and floor, or a nearby tub, wall, or ceiling.
-
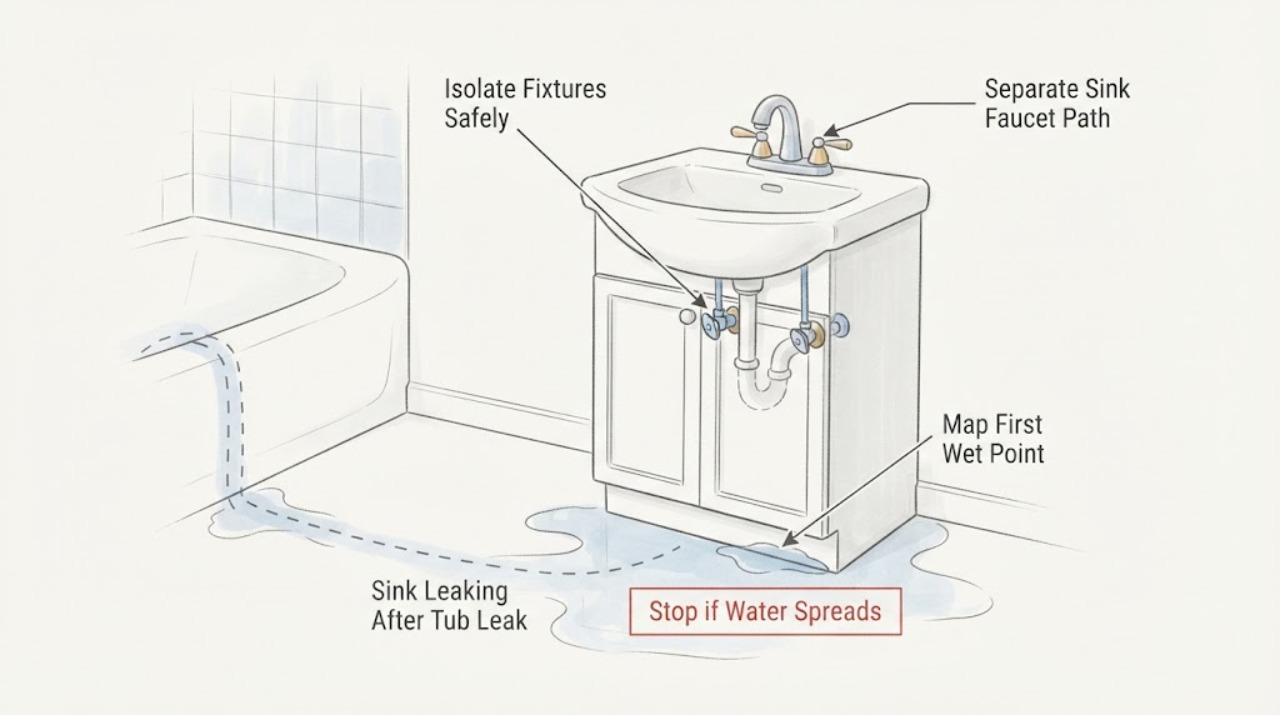
Sink Leaking After Tub Leak Problems: Separate the Fixture from the Shared Plumbing
A sink that starts leaking after tub leak problems may have a separate faucet, supply, drain, or seal failure, or the tub event may have exposed a shared drain, wall, floor, or cabinet path. Do not assume the tub caused the sink leak.
-
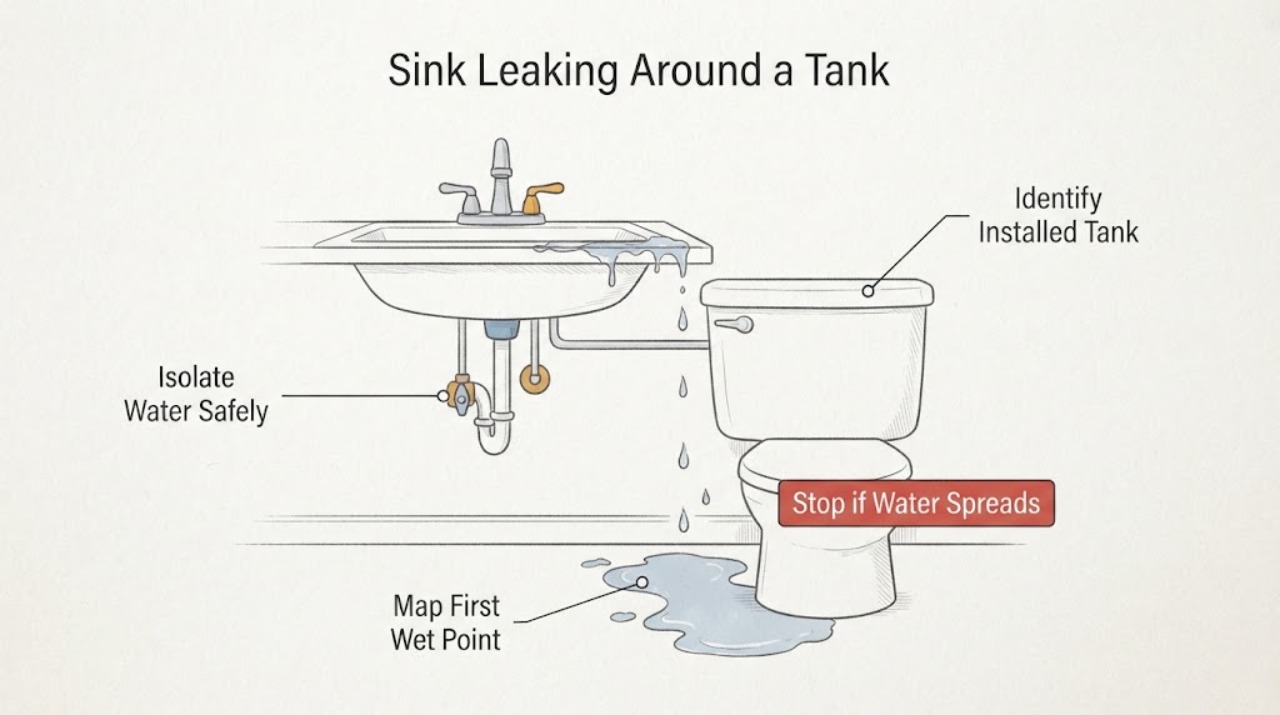
Sink Leaking Around a Tank: Find the First Wet Point Safely
A leaking sink with a tank underneath is not automatically a failed tank: the water may come from a supply connection, filter or reverse-osmosis tube, faucet, drain, or an under-sink hot-water device. First keep the cabinet safe, close the local water shutoff when you can reach it without touching wet electrical equipment, and find the first point that becomes wet rather than guessing from the puddle.
-
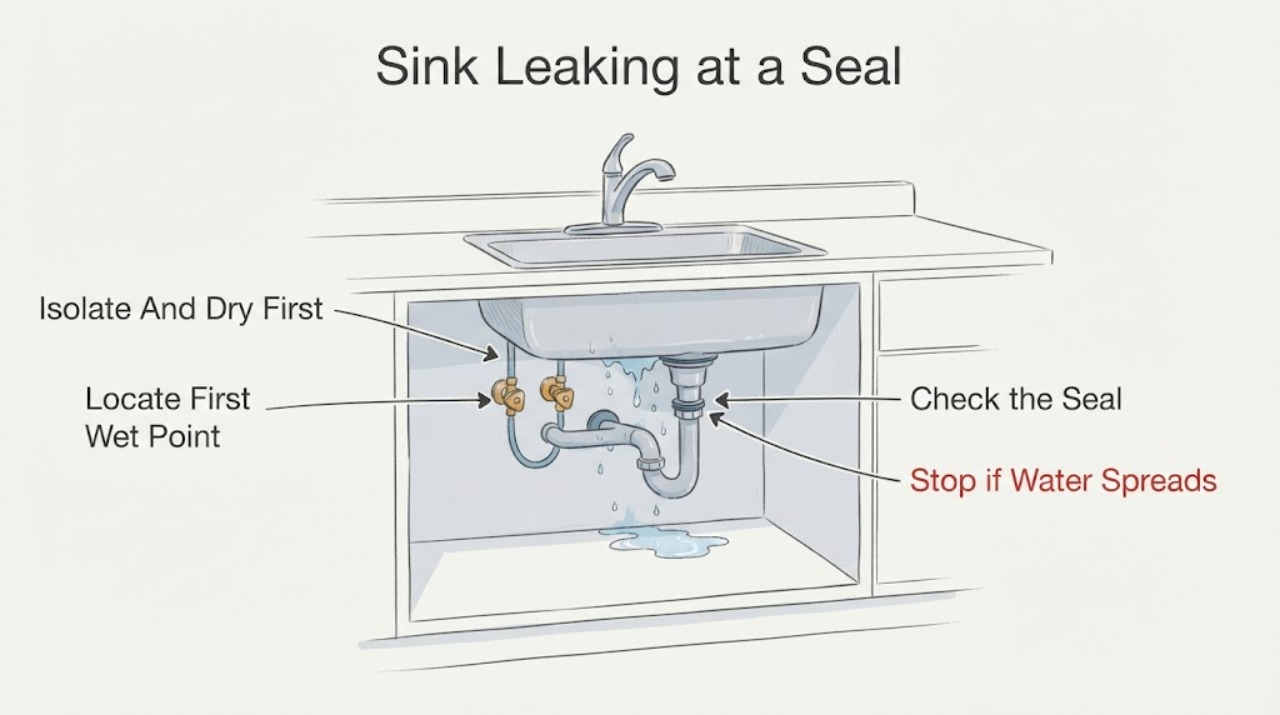
Sink Leaking at a Seal: Find the First Wet Point Before Replacing Parts
A sink leak that looks like a failed seal may actually start at the faucet, supply connection, drain strainer, trap, disposal flange, dishwasher hose, sink seam, or a higher point that runs downward. Close the affected shutoff valves, keep the cabinet dry, and place a towel or paper beneath the plumbing to locate the first wet point.
-
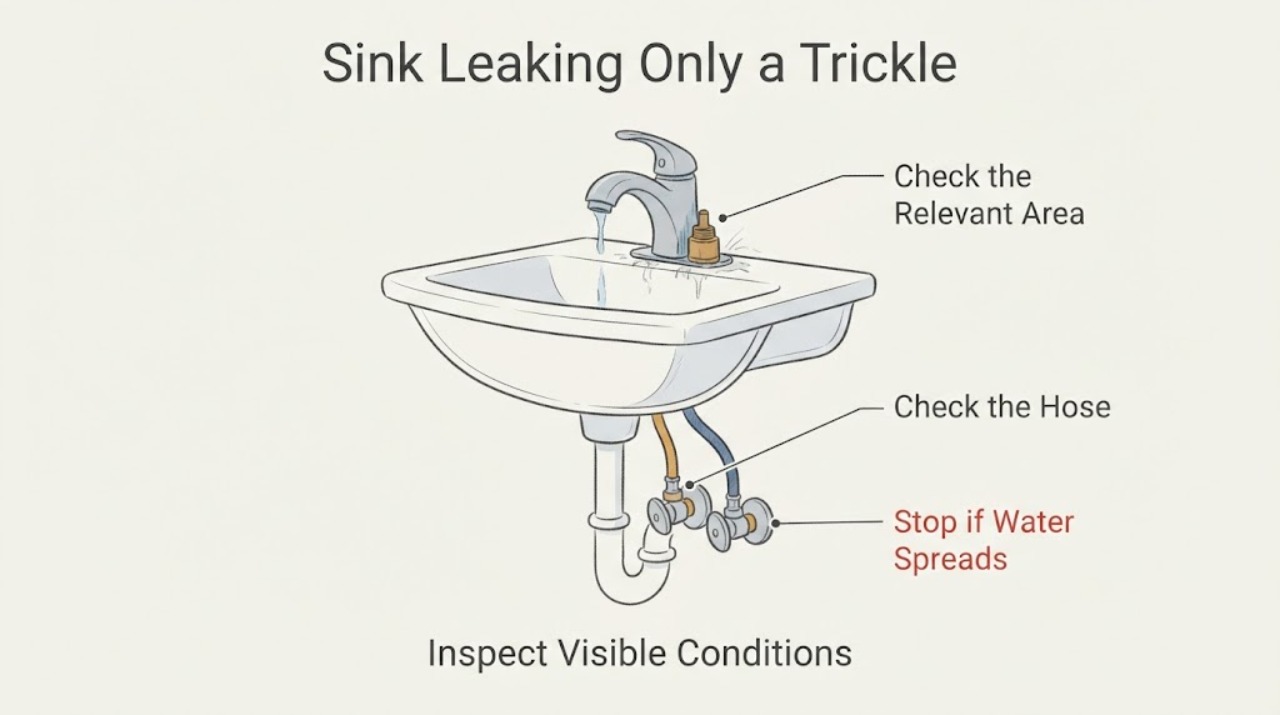
Sink Leaking Only a Trickle: Find the First Wet Point Safely
A sink that is leaking only a trickle still needs its source identified, because a slow faucet drip, a leak under the sink, a drain-joint seep, and a supply connection leak have different repairs. Empty the cabinet, keep electrical items and stored goods dry, and use a dry cloth or tissue to find the first wet point without loosening anything.
-
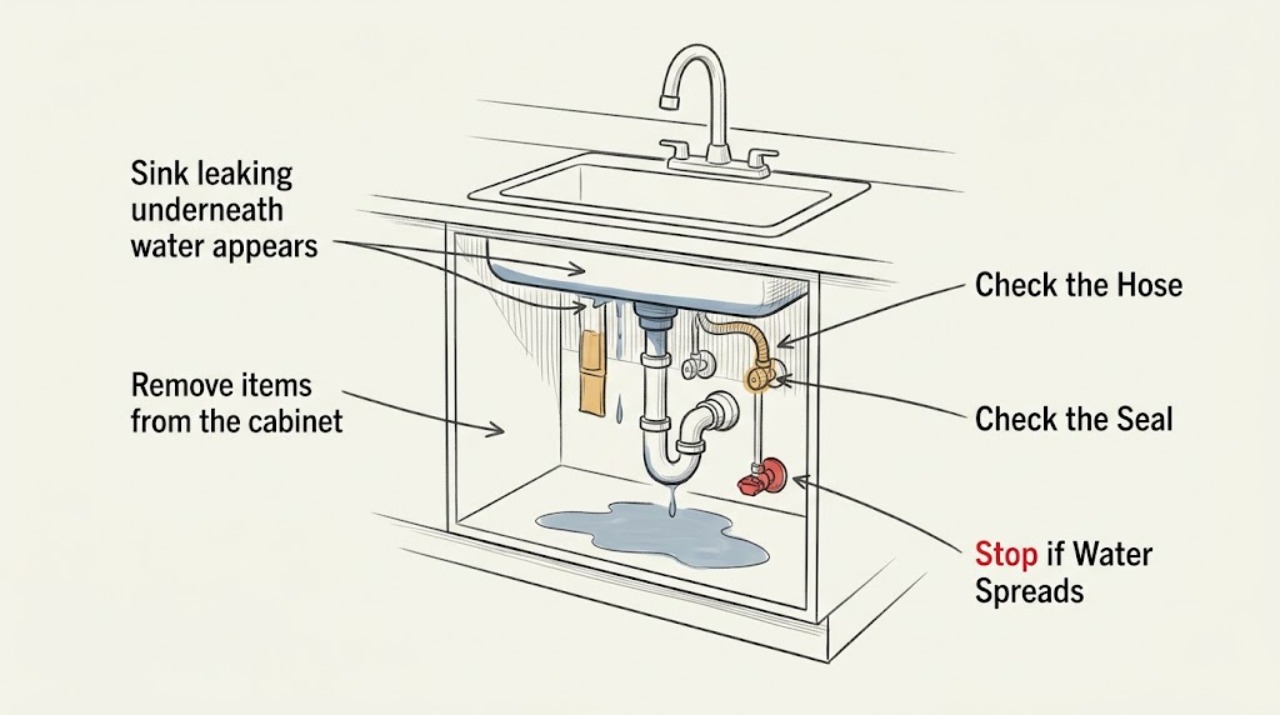
Sink leaking underneath water appears under cabinet: What to Check and What to Do Next
Water under a sink cabinet can come from a pressurized supply valve, hose, or faucet connection, or from the drain, P-trap, strainer, drain flange, disposal, or sink overflow path. Remove stored items, dry the area, and use a flashlight and dry paper towel to find the first wet point while the faucet is off and during a small, controlled flow.
-
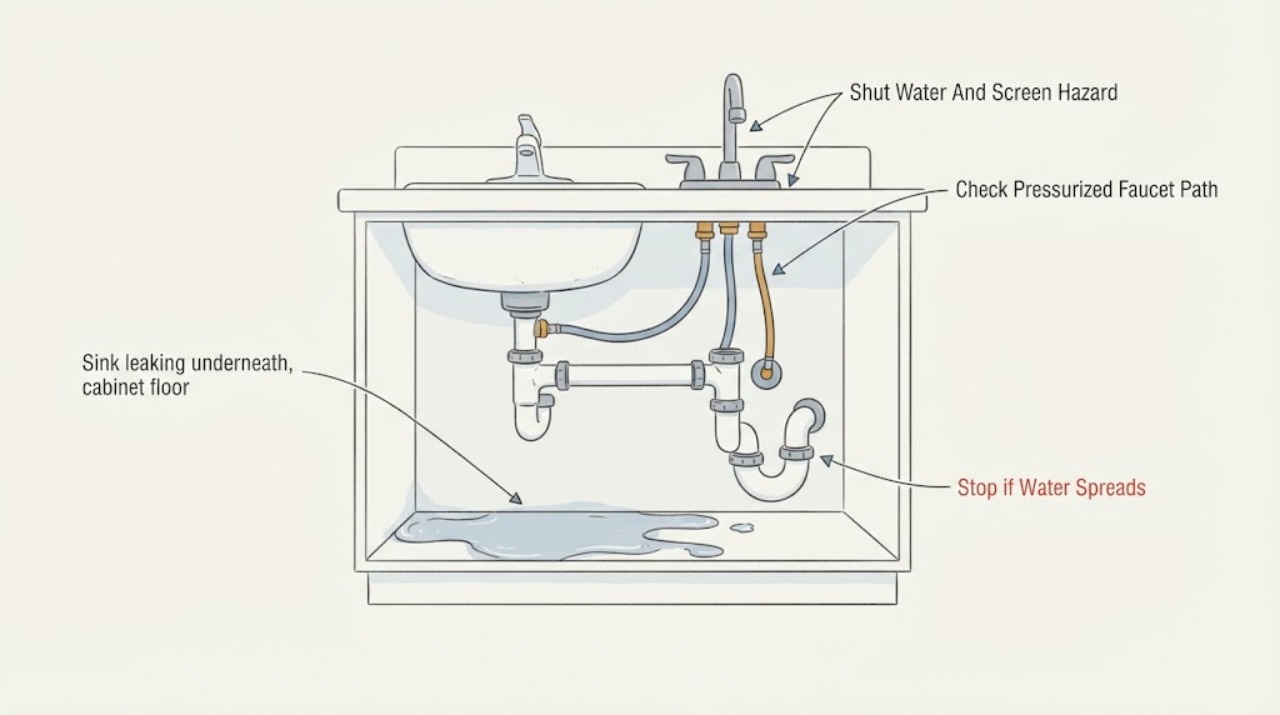
Sink leaking underneath, cabinet floor is wet: What to Check and What to Do Next
Remove items from under the sink, close the hot and cold stop valves, and dry the cabinet floor and every visible connection. Do not run a garbage disposal or touch a wet electrical outlet.
-
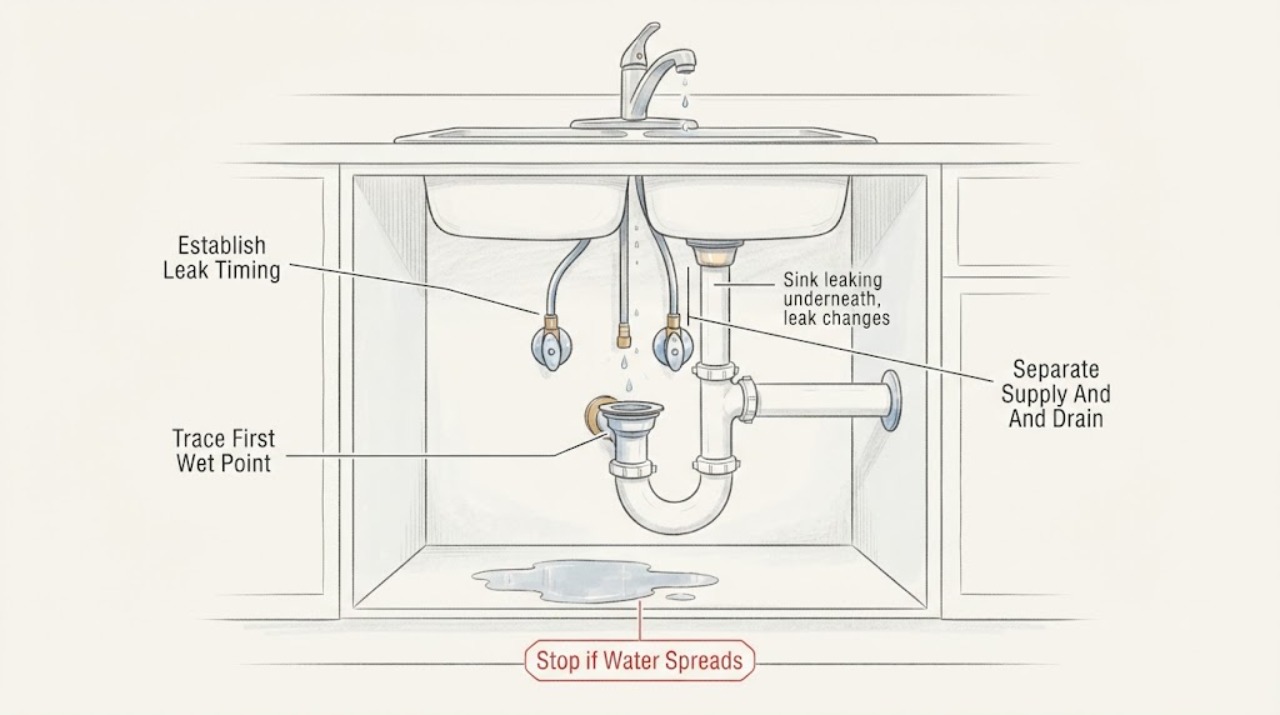
Sink leaking underneath, leak changes when faucet runs: What to Check and What to Do Next
A leak under a sink that changes when the faucet runs is usually separated by timing and location. Dry the cabinet, place paper towels under the faucet supply connections, shut-off valves, drain flange, trap, and nearby dishwasher or disposal connections, then run a small amount of water while watching from a safe position.
-
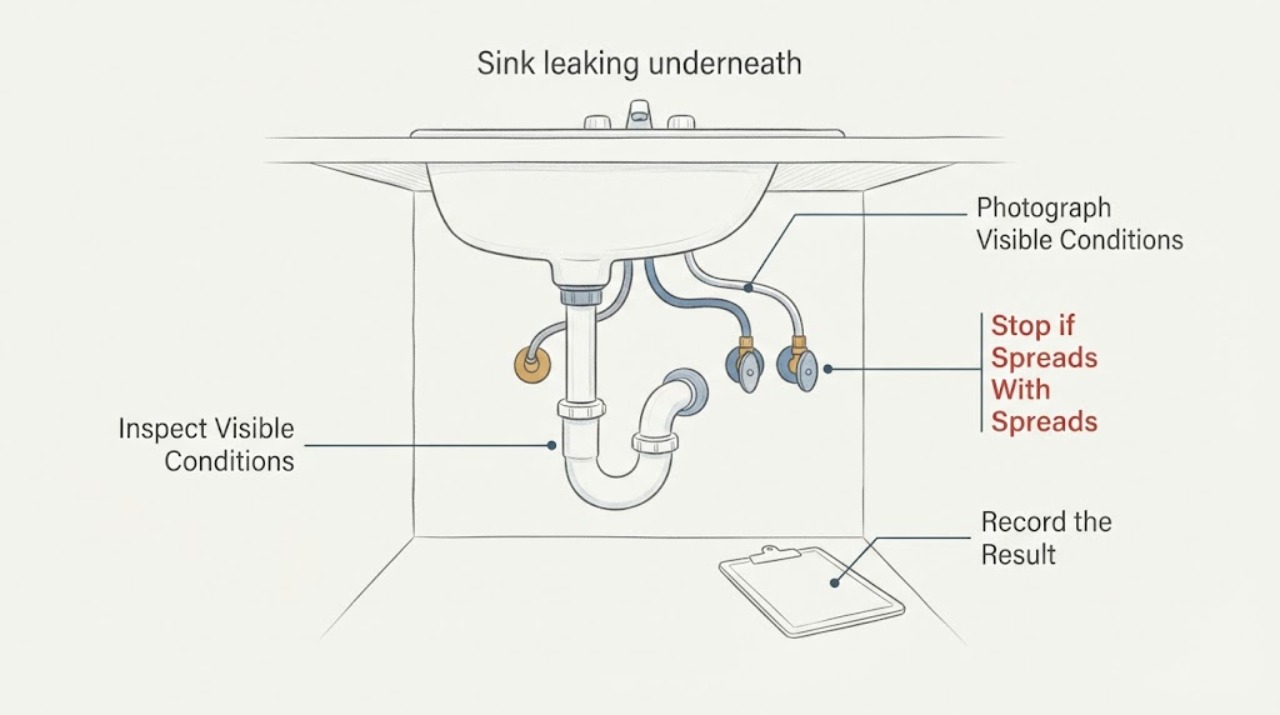
Sink leaking underneath: What to Check and What to Do Next
Stop using the sink if water is actively escaping underneath, then observe from a dry, safe position. If the leak is worsening and the fixture shutoff is dry, clearly accessible, and operates normally, close it gently; do not force it or dismantle any plumbing.
-
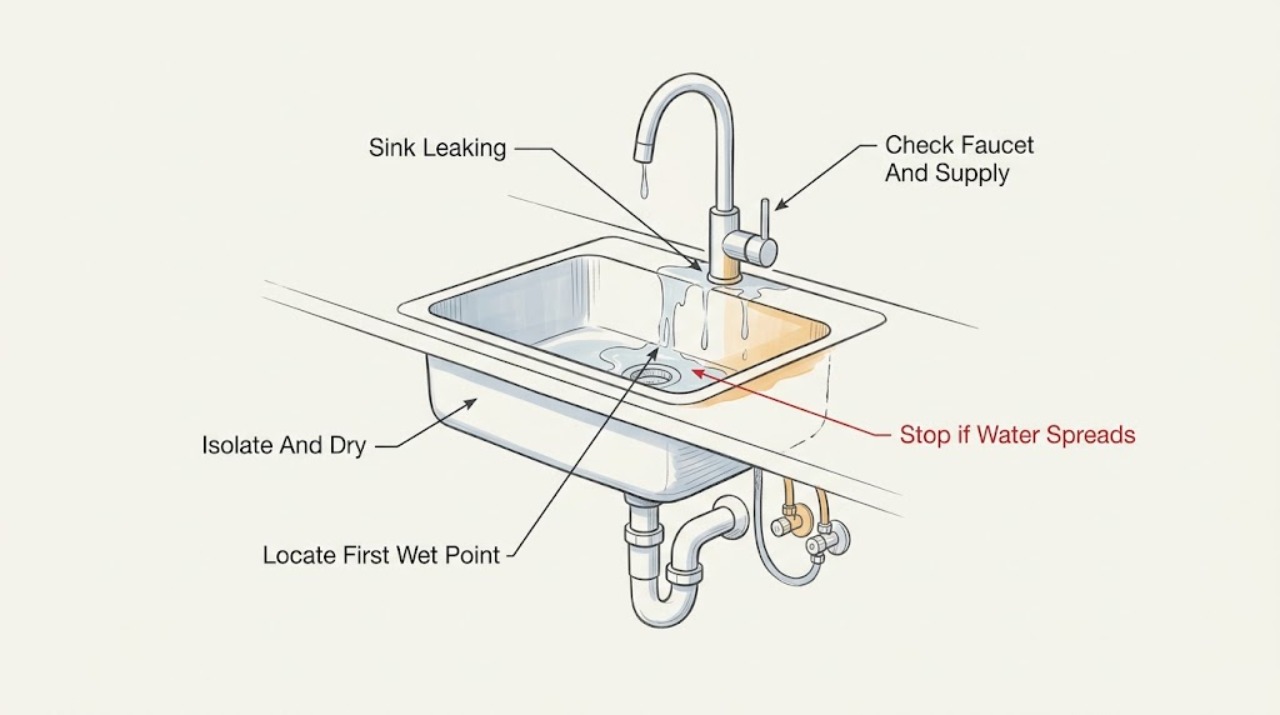
Sink Leaking: Find the First Wet Point Before Replacing a Seal
If a sink is leaking and the concern is where it starts in the first place, begin with the first wet point rather than the largest puddle. Close the affected shutoff valves if they turn normally, keep the cabinet dry, and use paper towels to separate the faucet and supplies, sink strainer and overflow, trap, disposal, dishwasher hose, cabinet wall, and floor.
-
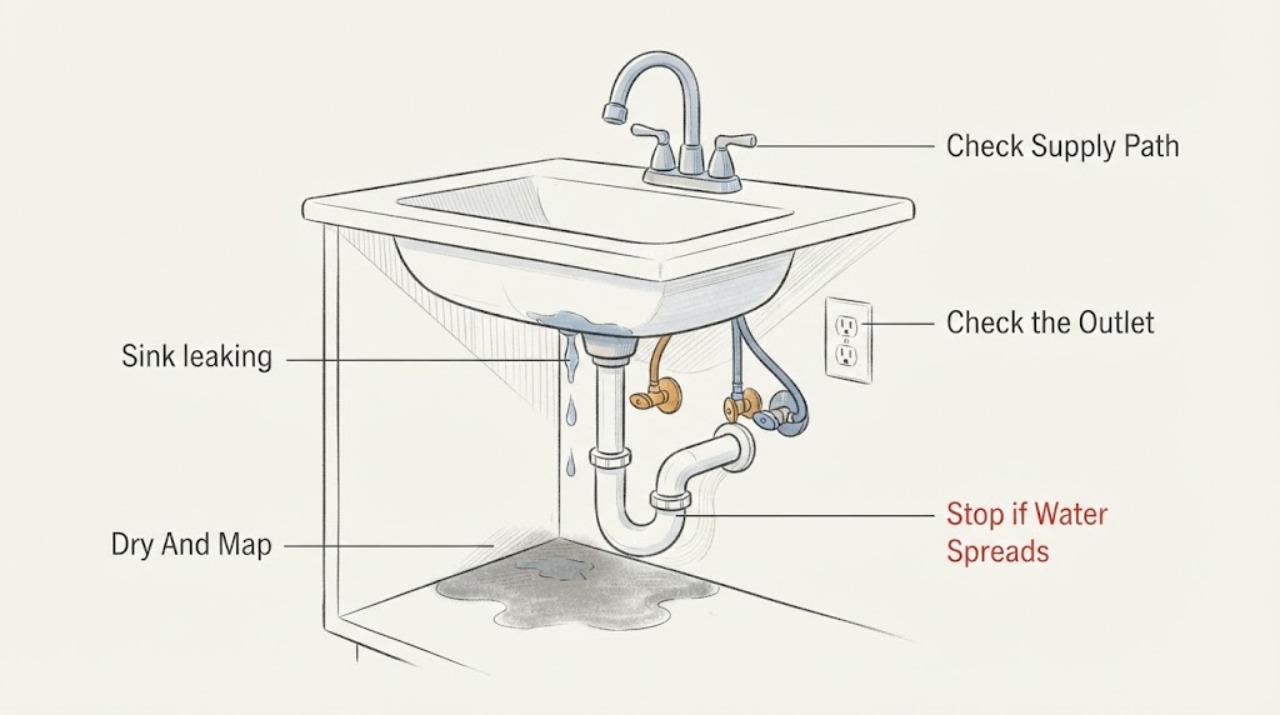
Sink leaking: locate the water path before choosing a repair
A leaking sink can leak from the faucet outlet, around the faucet base or handles, a hot or cold supply connection, the drain or strainer, the trap, an overflow opening, or a pipe hidden behind the cabinet. First dry the area, run the faucet briefly while watching from a safe position, and trace the first place that becomes wet.
-
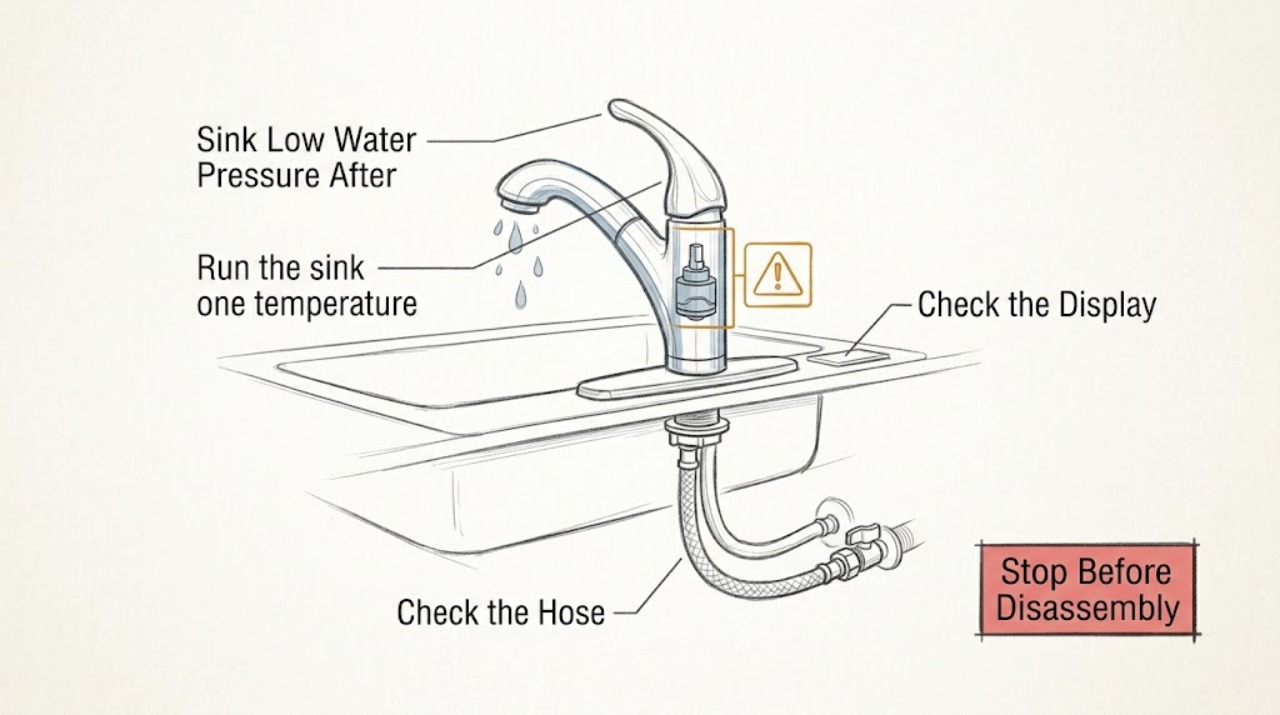
Sink Low Water Pressure After Cartridge Replacement: Safe Checks
Low flow that appears after a sink cartridge replacement is often caused by debris released during the repair, a blocked aerator or screen, a partly closed or kinked supply line, or a cartridge that is the wrong model or not seated as its instructions require. First compare hot and cold flow and determine whether other fixtures are affected.
-
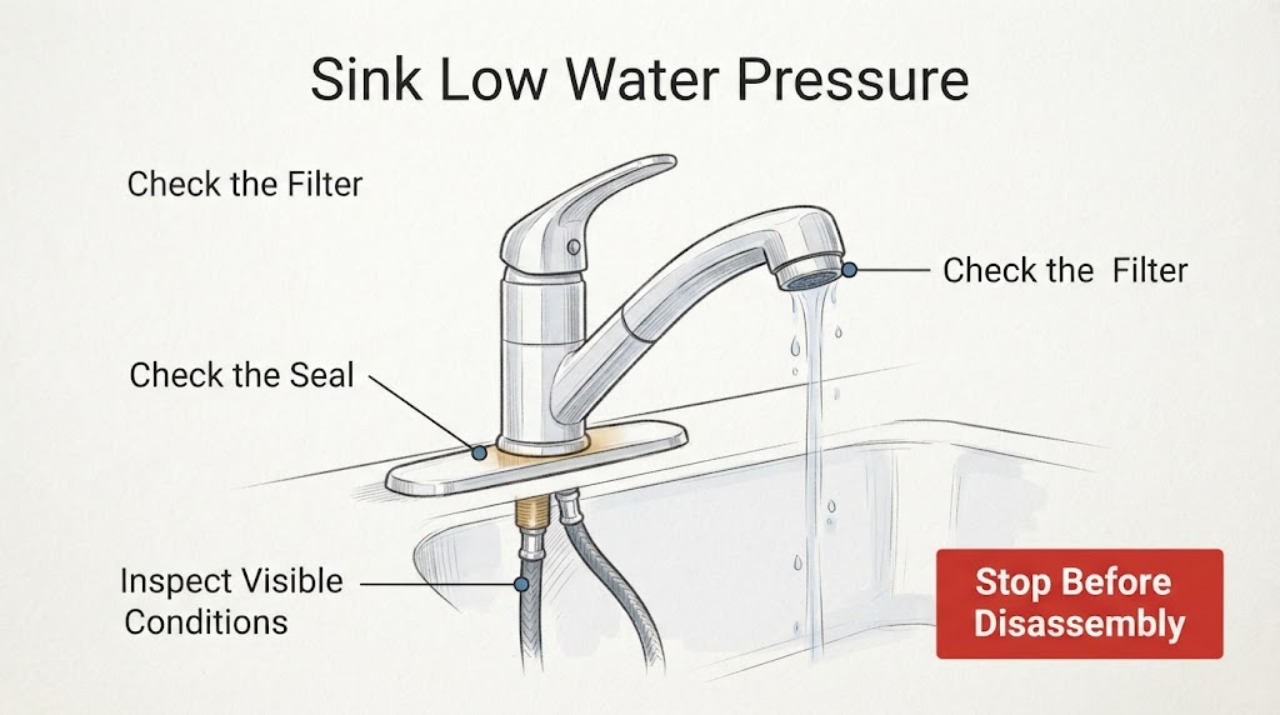
Sink Low Water Pressure at the Faucet: Check the Aerator and Supply
When low pressure is limited to the sink faucet, first compare hot and cold flow and check whether another nearby faucet is normal. A clogged aerator or flow restrictor, a partly closed under-sink valve, a kinked supply line, or a local faucet or cartridge restriction is more likely than a whole-house pressure failure.
-
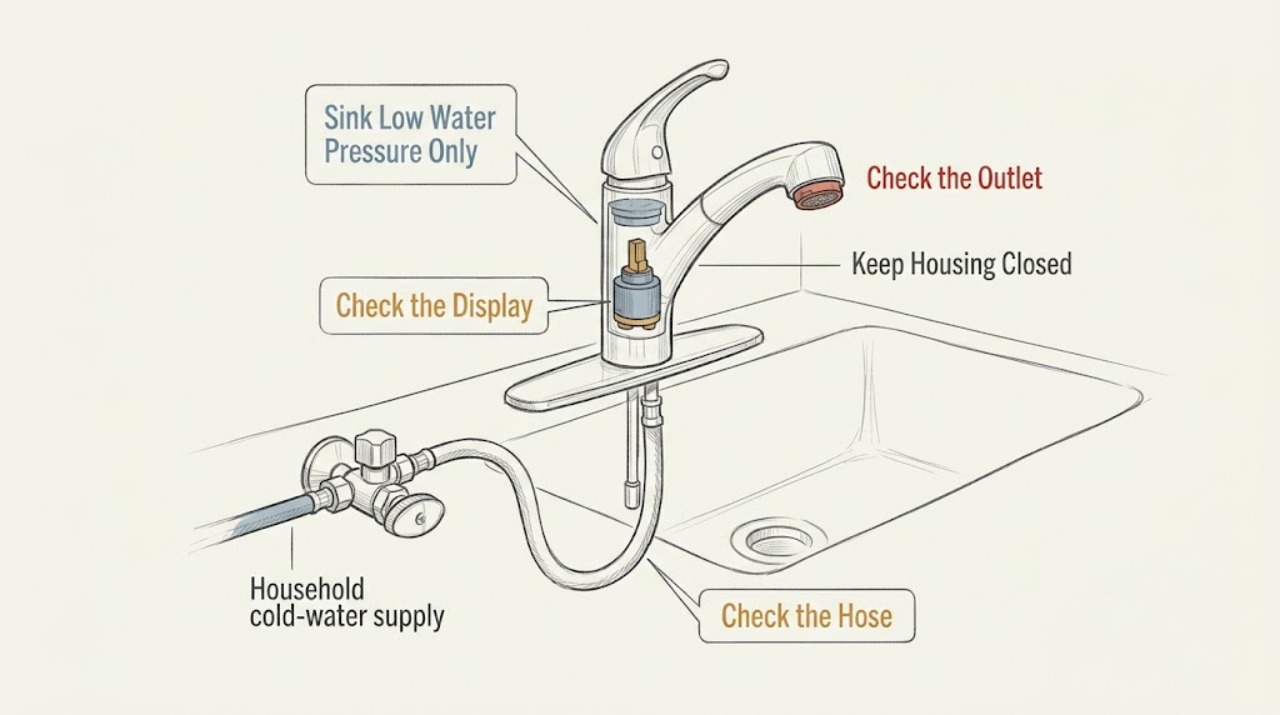
Sink Low Water Pressure Only on Cold Water: Find the Restriction Safely
If a sink has low water pressure only on cold water, first compare the cold stream at this sink with another cold fixture and compare it with the hot stream at the same sink. If only this cold side is weak, keep the area dry and inspect the cold shutoff valve, supply hose, faucet screen or aerator, and—only when the faucet design allows it—the cartridge path.
-
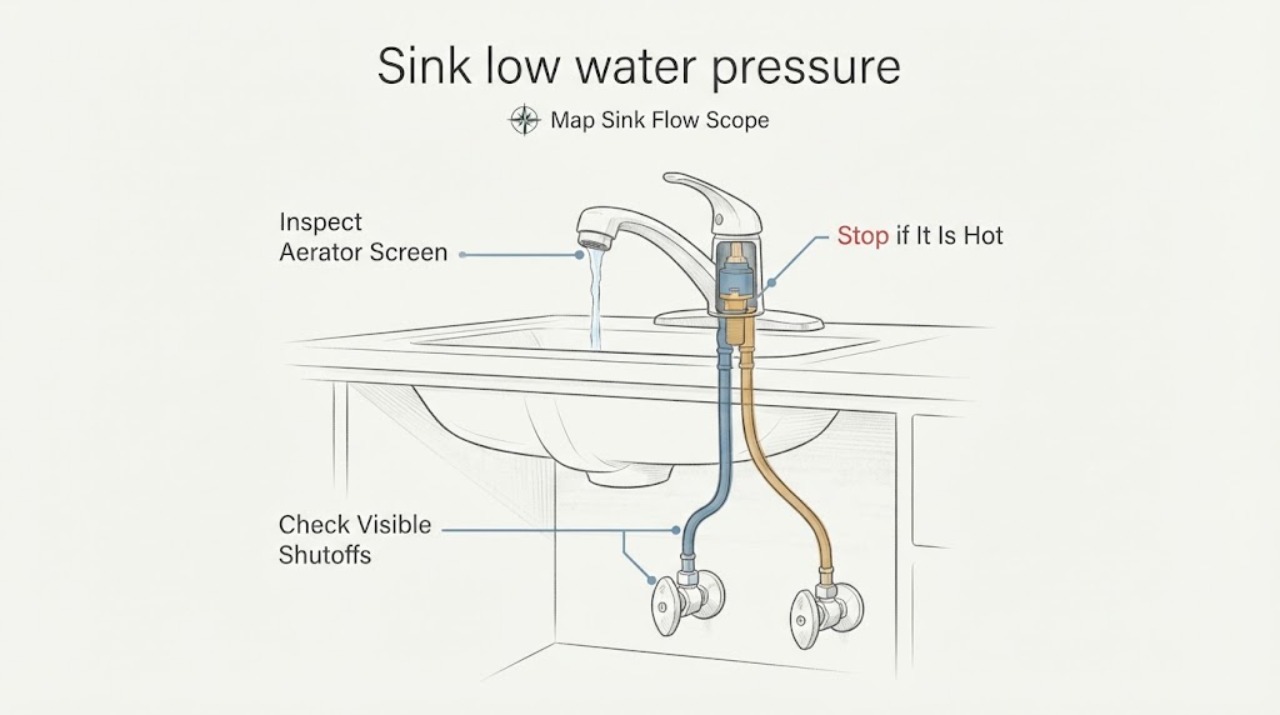
Sink low water pressure: safe checks before calling a plumber
First decide whether the sink alone is weak or whether every faucet is affected, and compare hot and cold flow. A sink-only problem is often a blocked aerator or screen, a partly closed accessible shutoff, a wand or hose screen, or another faucet-specific restriction; remove and rinse only an accessible aerator or screen and do not force a seized fitting.
-
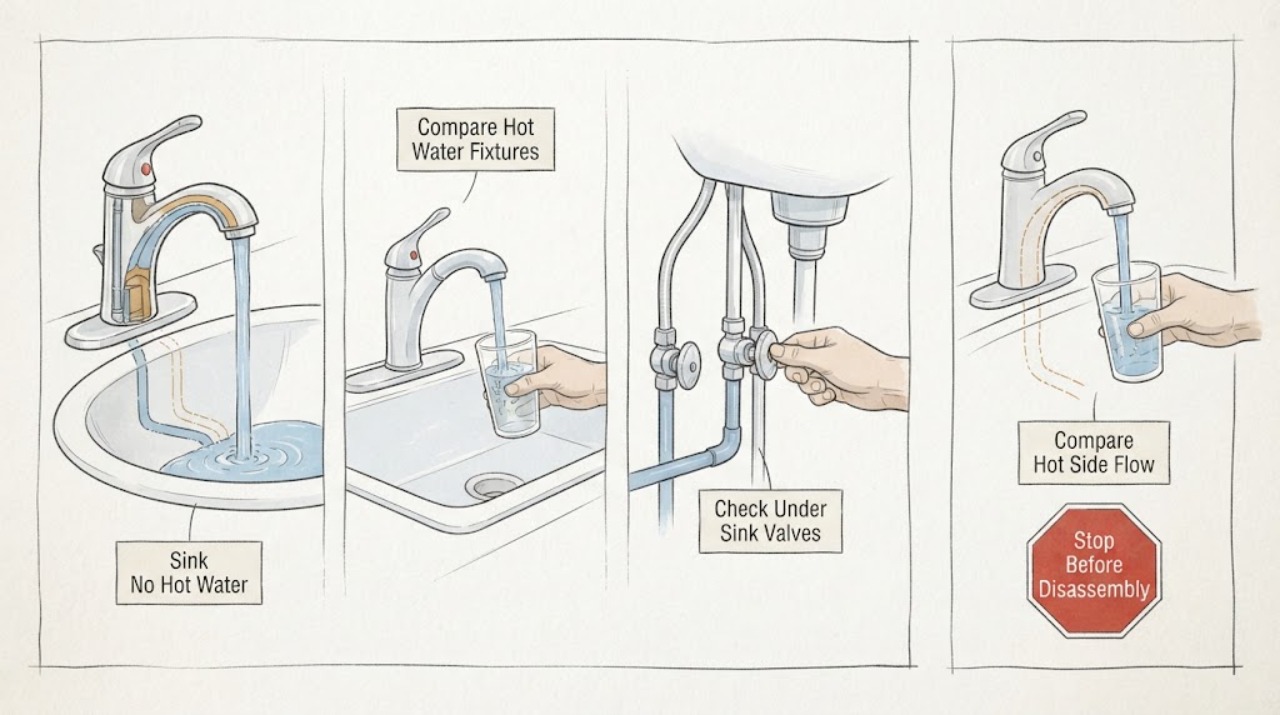
Sink No Hot Water
When a sink has no hot water, first compare it with another hot-water fixture. If other fixtures are hot, inspect this sink's hot shut-off valve and supply line, then consider a faucet-side restriction; if the whole home is cold, the problem is upstream at the water heater or hot-water supply.
-
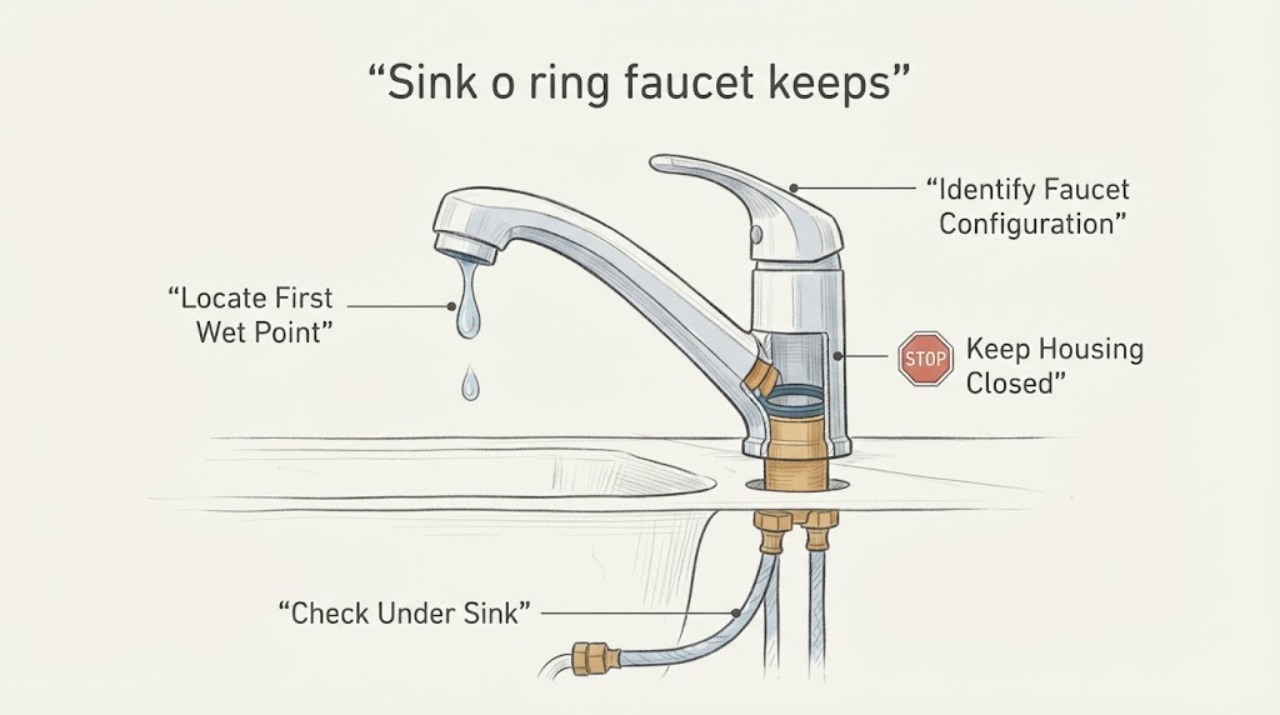
Sink o ring faucet keeps dripping: What to Check and What to Do Next
A sink faucet that keeps dripping may have a worn or displaced O-ring, but the drip location decides whether the cartridge is also in scope. A drip from the spout tip while the handle is off points toward the cartridge or valve seal; water between a rotating spout and its body, or around the spout base, makes a spout O-ring more relevant.
-
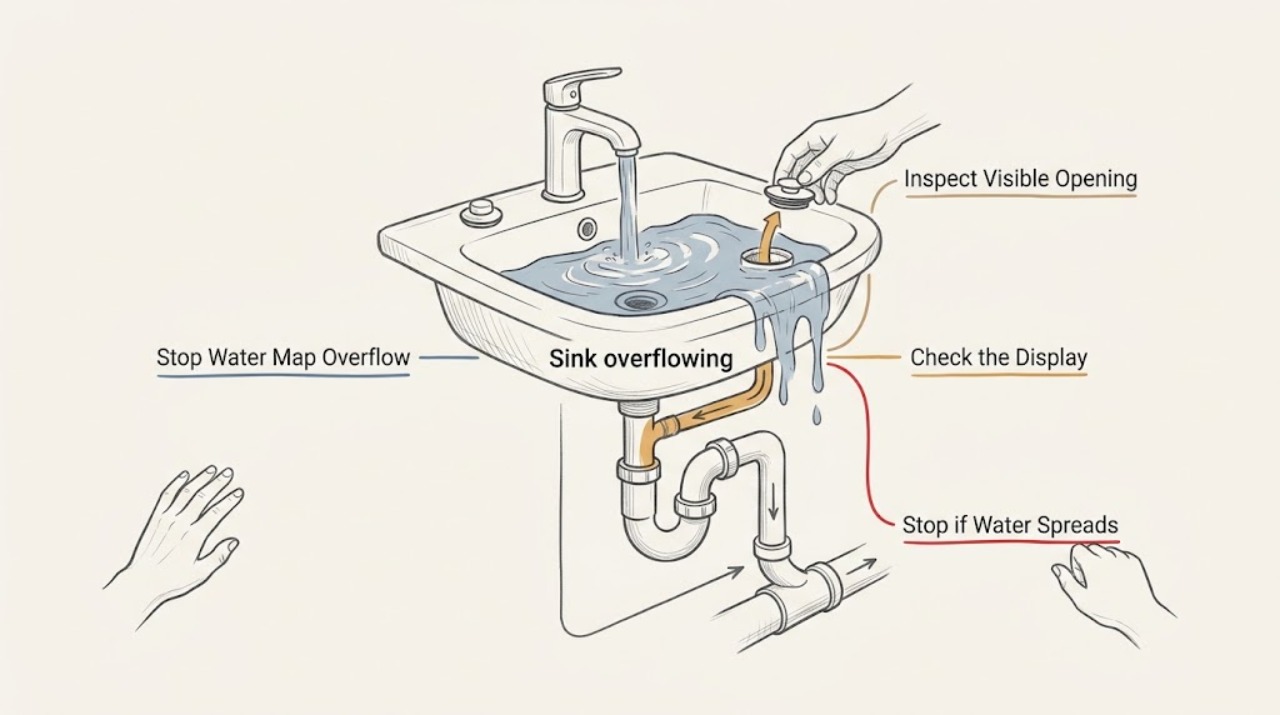
Sink overflowing: stop the water and find the safe next step
Turn off the faucet and stop using every nearby water fixture immediately. Identify whether clear water is simply entering faster than the sink drains, or whether dirty water is coming back through the drain; protect people, cabinets, and nearby electrical equipment without reaching into contaminated water.
-
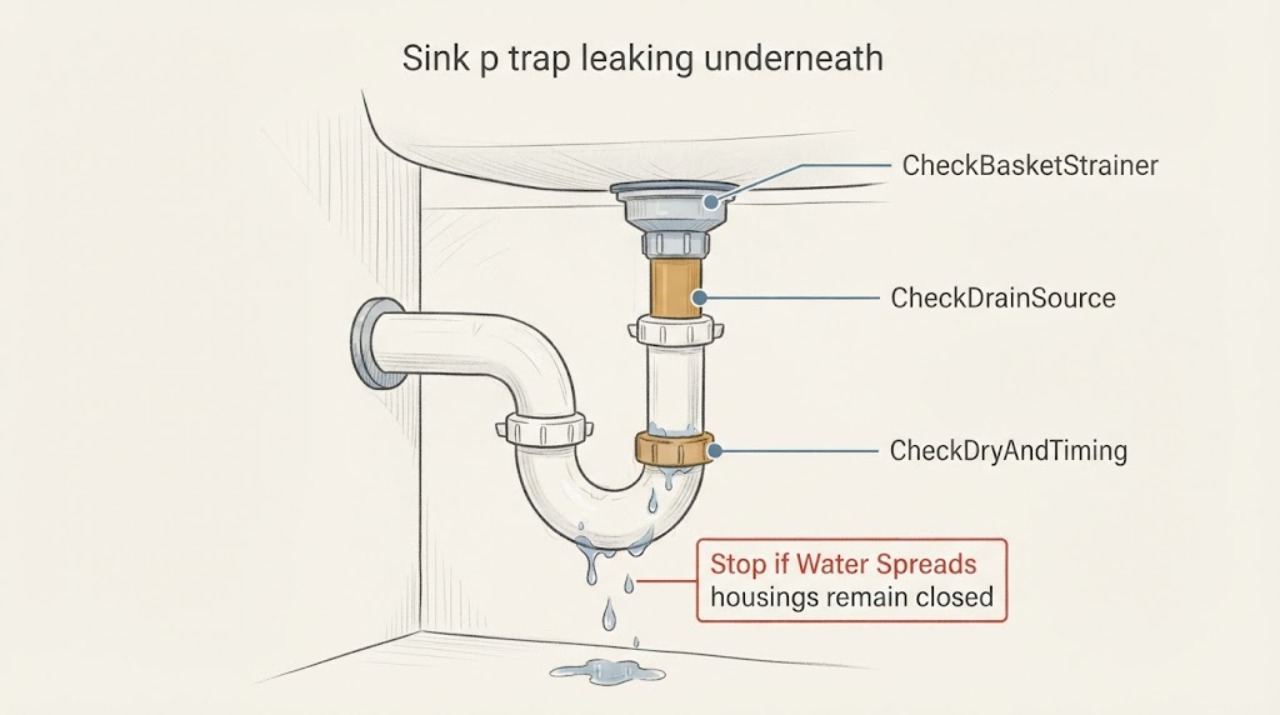
Sink p trap leaking underneath: What to Check and What to Do Next
A wet P-trap does not prove that the trap itself is leaking. First dry the cabinet and identify whether water appears only when the sink drains, at a P-trap slip-joint, at the tailpiece above the trap, or around the sink basket strainer.
-
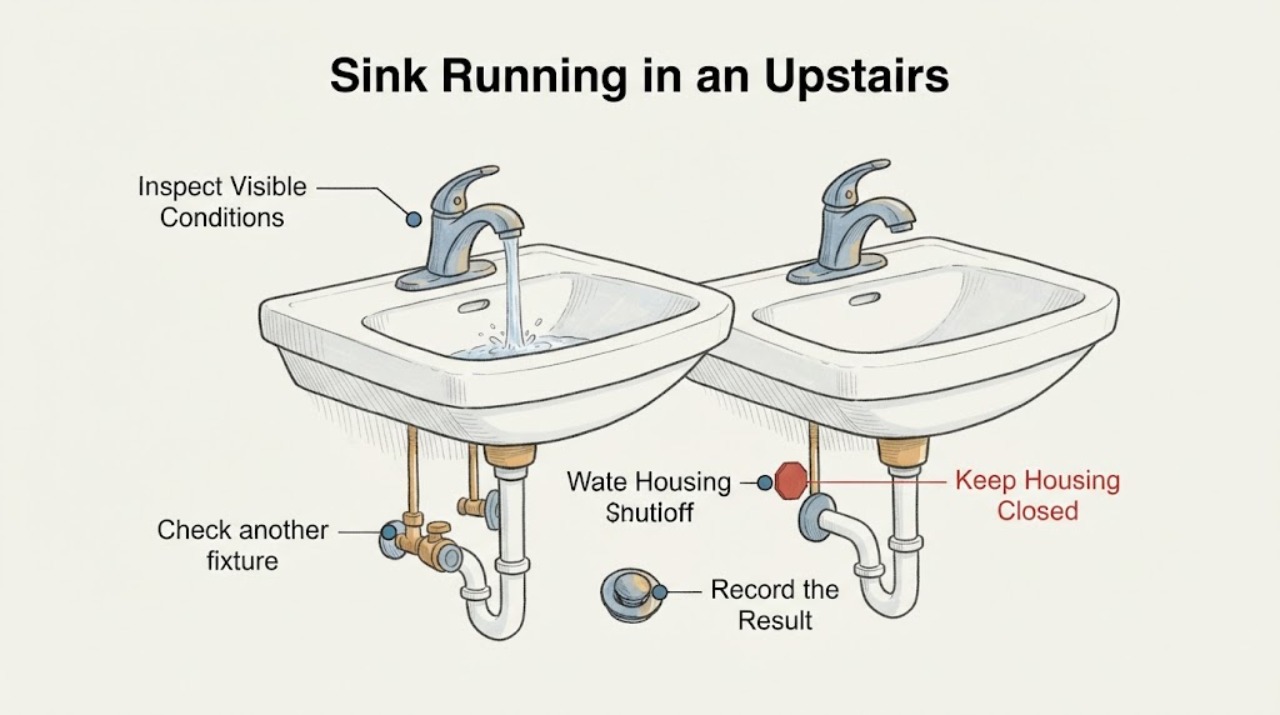
Sink Running in an Upstairs Bathroom: Separate No Flow from Water That Will Not Stop
The phrase “both not running and not stopping water” describes two different states that must be separated: no water comes from the sink, or water continues to flow after the handle or control is closed. First check the upstairs bathroom and another fixture to determine whether the problem is local or affects the supply.
-
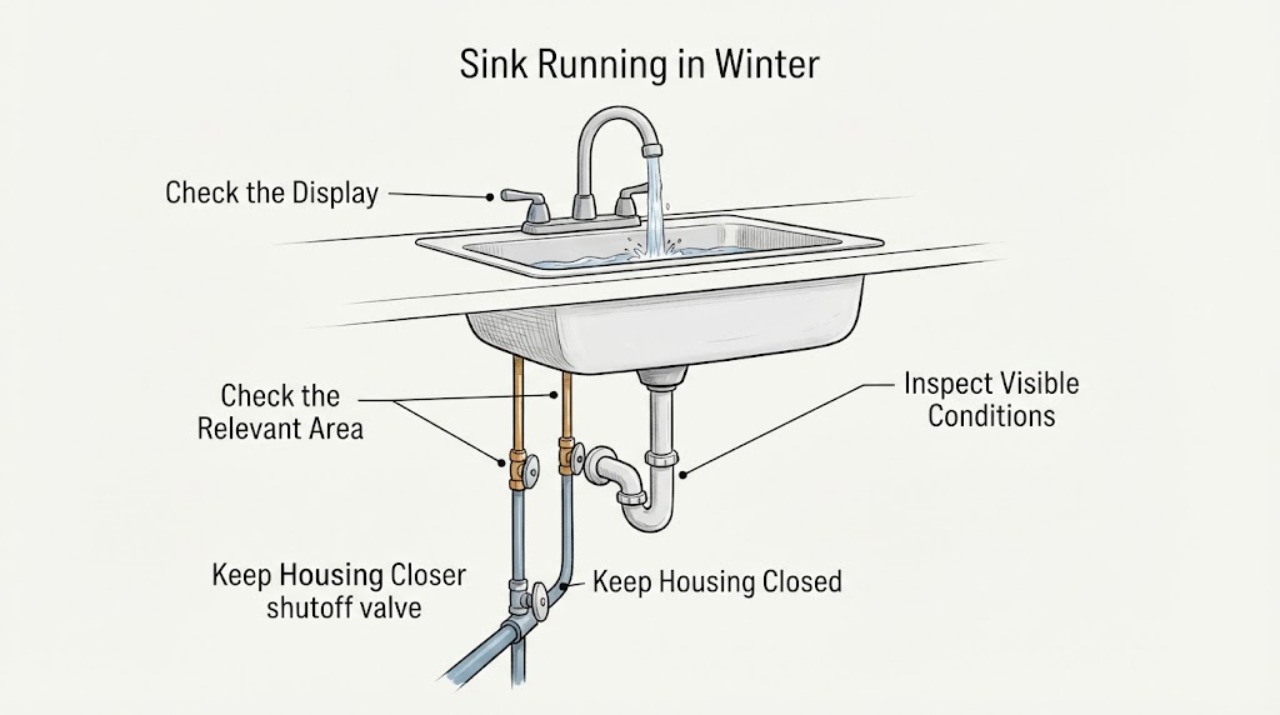
Sink Running in Winter: Separate a Safe Anti-Freeze Drip from a Leak
A sink that is running in winter may be intentionally dripping to protect a vulnerable pipe, or it may have a faucet valve that is not closing, a frozen or restricted supply, or a pipe that has cracked and started leaking. First note whether the water stops when the faucet control is fully off, whether the flow is cold or warm, and whether another fixture is affected.
-
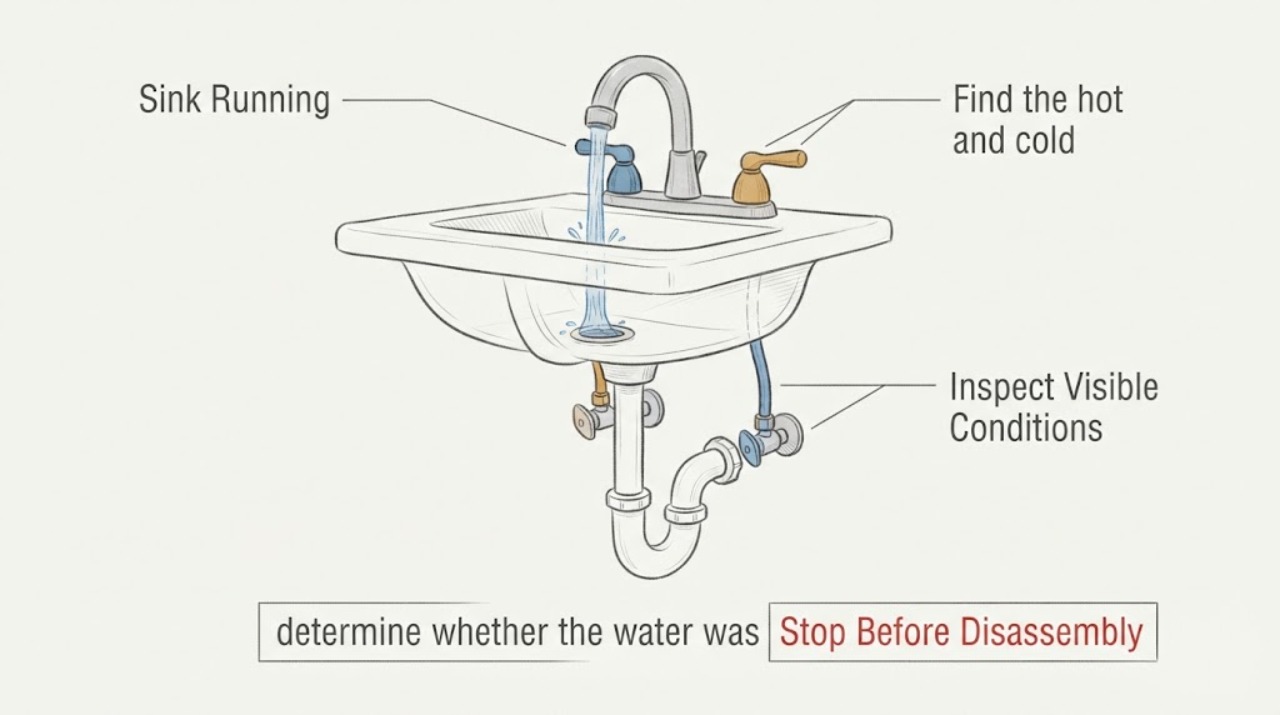
Sink Running: Find the Water Path, Isolate the Supply, and Stop the Leak Safely
If a sink keeps running after the faucet handle is closed, first identify whether water is coming from the spout, around the handle or base, a supply connection under the sink, or a drain or overflow. Close the handle normally, then turn the accessible hot and cold shutoff valves under the sink clockwise without forcing them; if they do not stop the flow, use the home's main shutoff if you know it and can reach it safely.
-
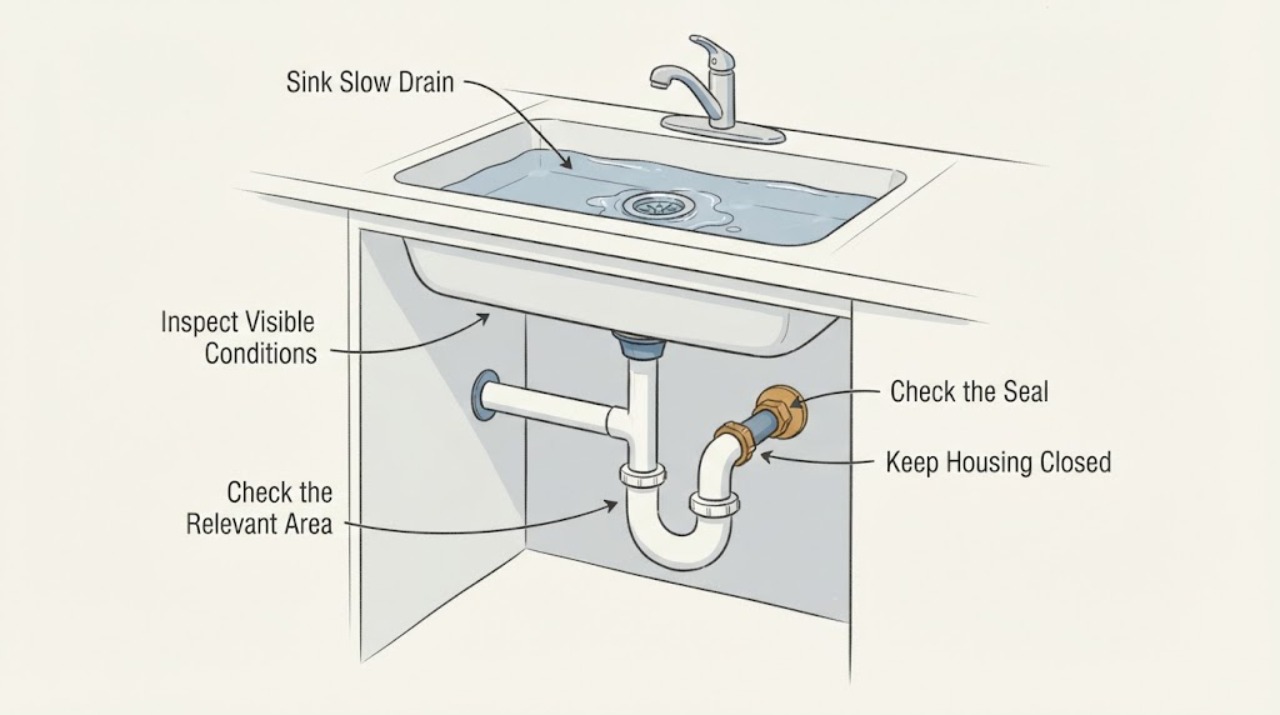
Sink Slow Drain: Check the Strainer, Trap, and Branch Line Safely
A sink that drains slowly usually has restriction near the visible strainer or stopper, in the trap below the sink, or farther along a branch drain. First note whether the water level falls slowly, stops completely, backs up into another fixture, or leaks under the sink.
-
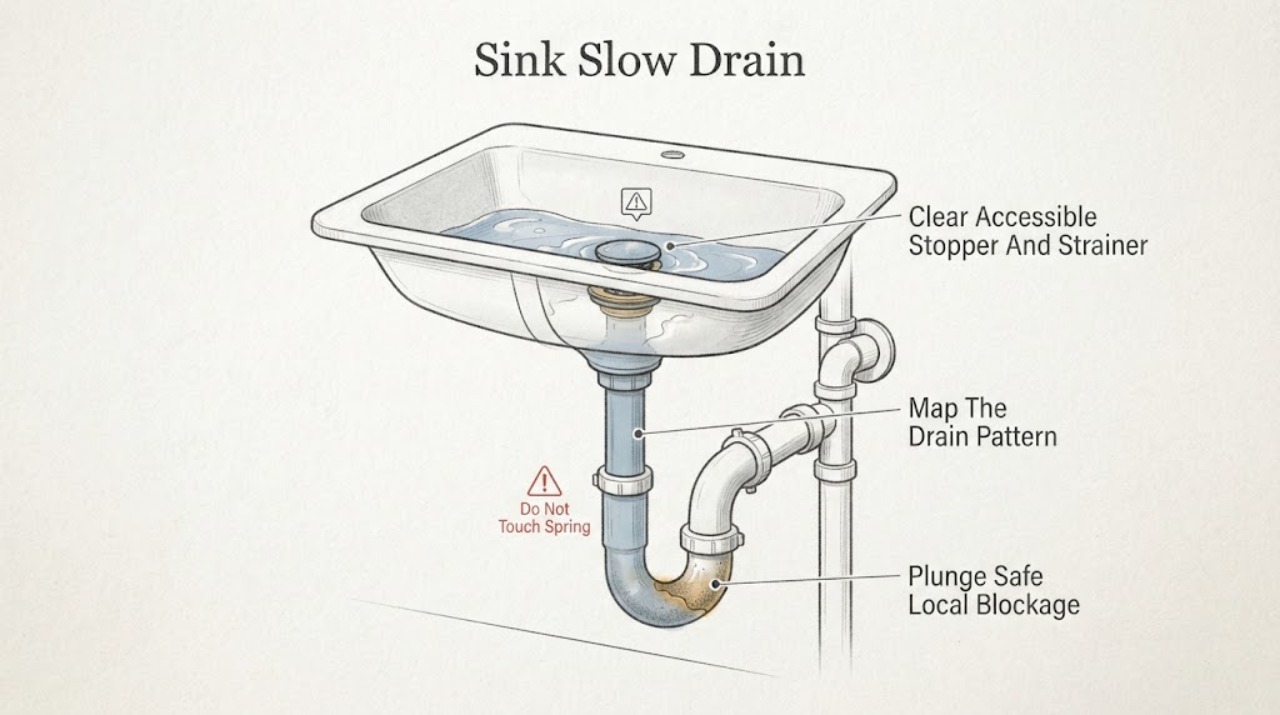
Sink Slow Drain: Isolate the Blockage Safely
A sink that drains slowly usually needs the blockage localized before anything is removed. First note whether only this sink is slow, whether water rises or backs up, and whether the problem follows a stopper, strainer, or food-and-grease use pattern.
-
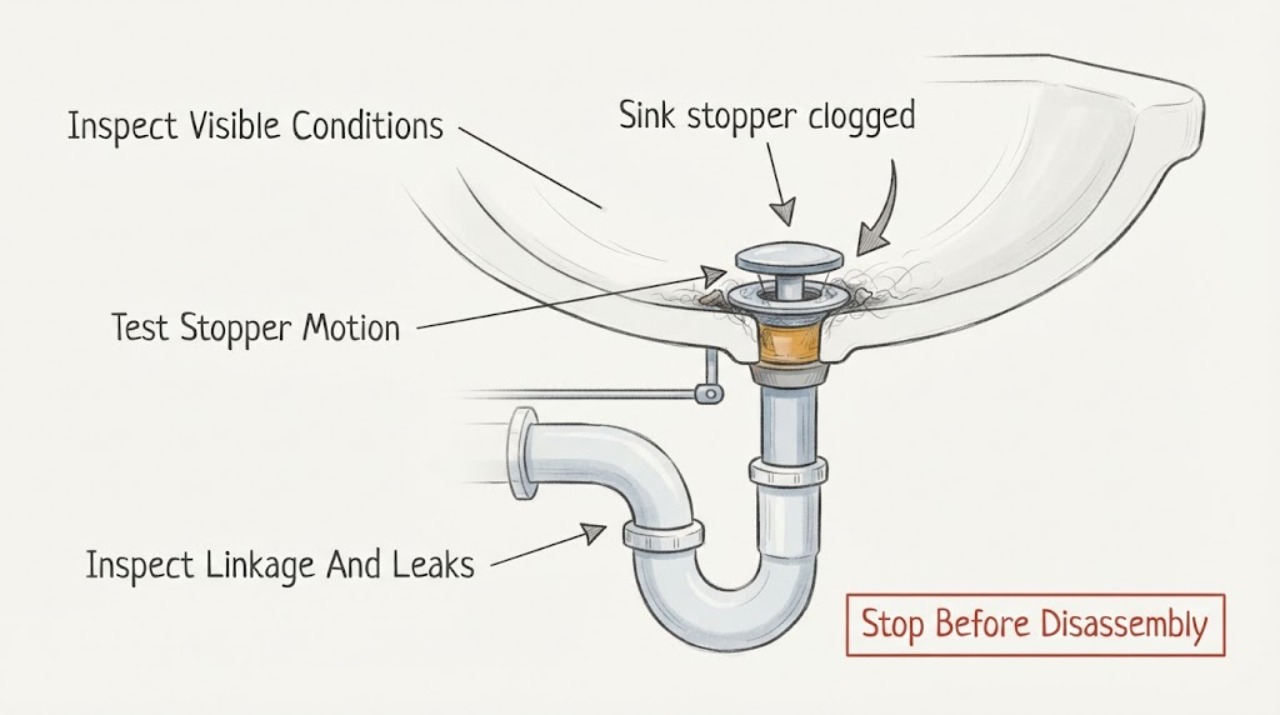
Sink stopper clogged: What to Check and What to Do Next
A clogged sink stopper can be caused by hair or residue around the stopper, a lift-rod or pop-up linkage that is not opening the stopper fully, or a blockage farther down the drain. First record whether the stopper moves and whether water drains slowly or not at all.