
Repair service
Windows Guides – Page 2
Window repair, installation, and maintenance.
Published windows guides
Choose the guide that best matches the service and problem you are seeing.
-
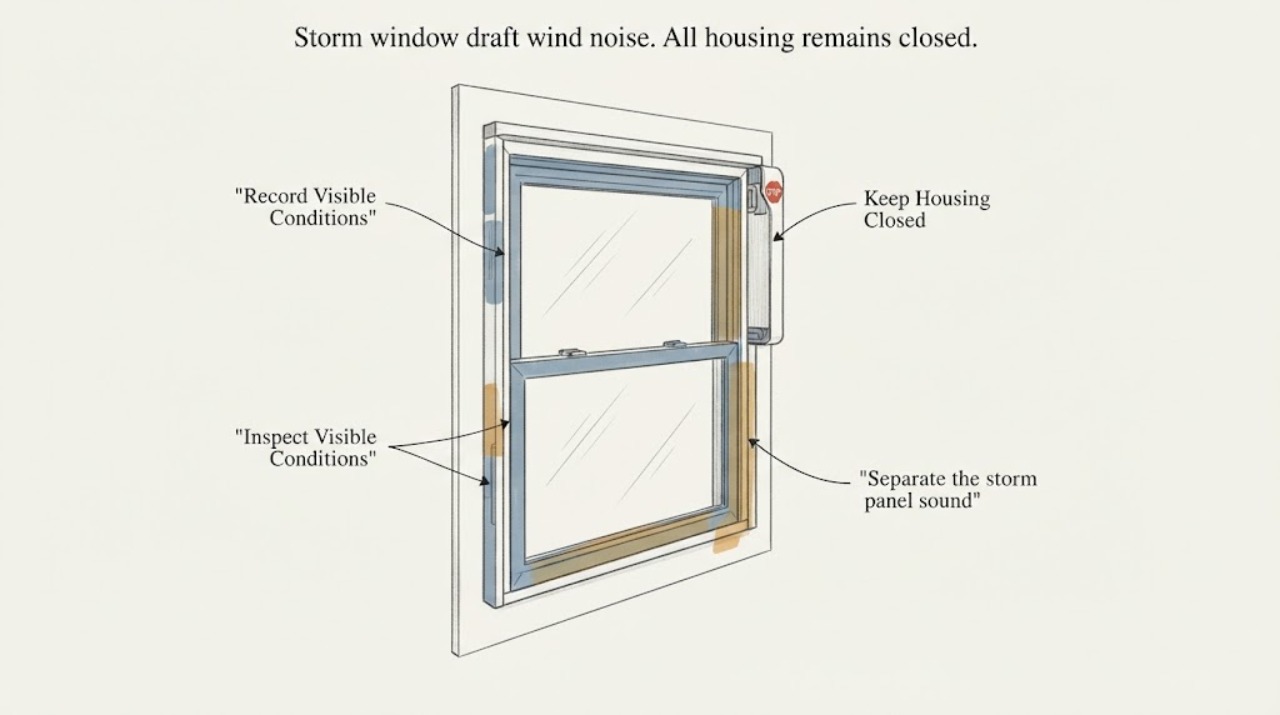
Storm window draft wind noise: What to Check and What to Do Next
For a storm window draft with wind noise, first log wind direction, gust timing, and whether the sound is a whistle, flutter, rattle, or vibration. From indoors or safe ground level, compare the storm panel, seals, frame, latches, hardware, primary window, and surrounding trim without touching or forcing them. Do not climb, remove glass or panels, use flame, smoke, hose, pressure, or impact tests, or buy a seal before the moving or leaking layer is confirmed.
-
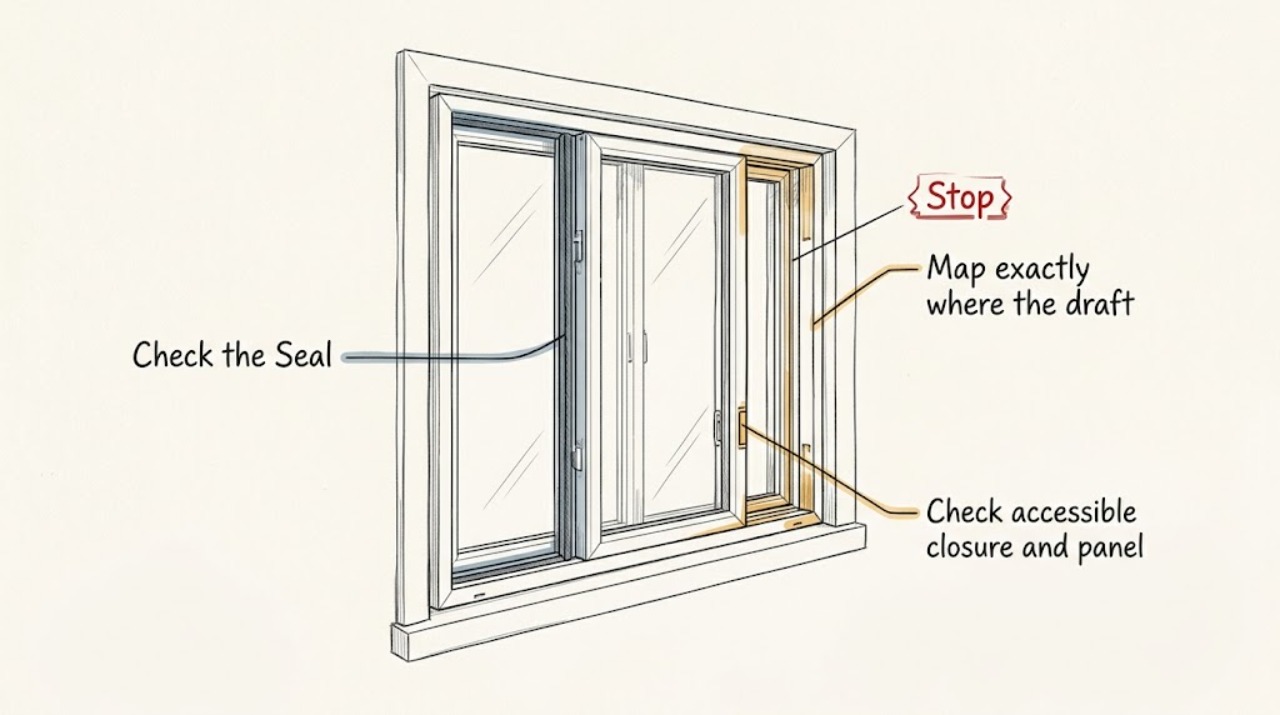
Storm window draft: What to Check and What to Do Next
A draft at a storm window usually comes from a panel that is not fully seated, a latch or frame gap, worn weatherstripping, or air leaking around the surrounding window opening. Start with safe, ground-level observations: note exactly where the air is felt, confirm that accessible latches are closed without force, inspect visible seals, and compare the draft with the primary window and nearby trim.
-
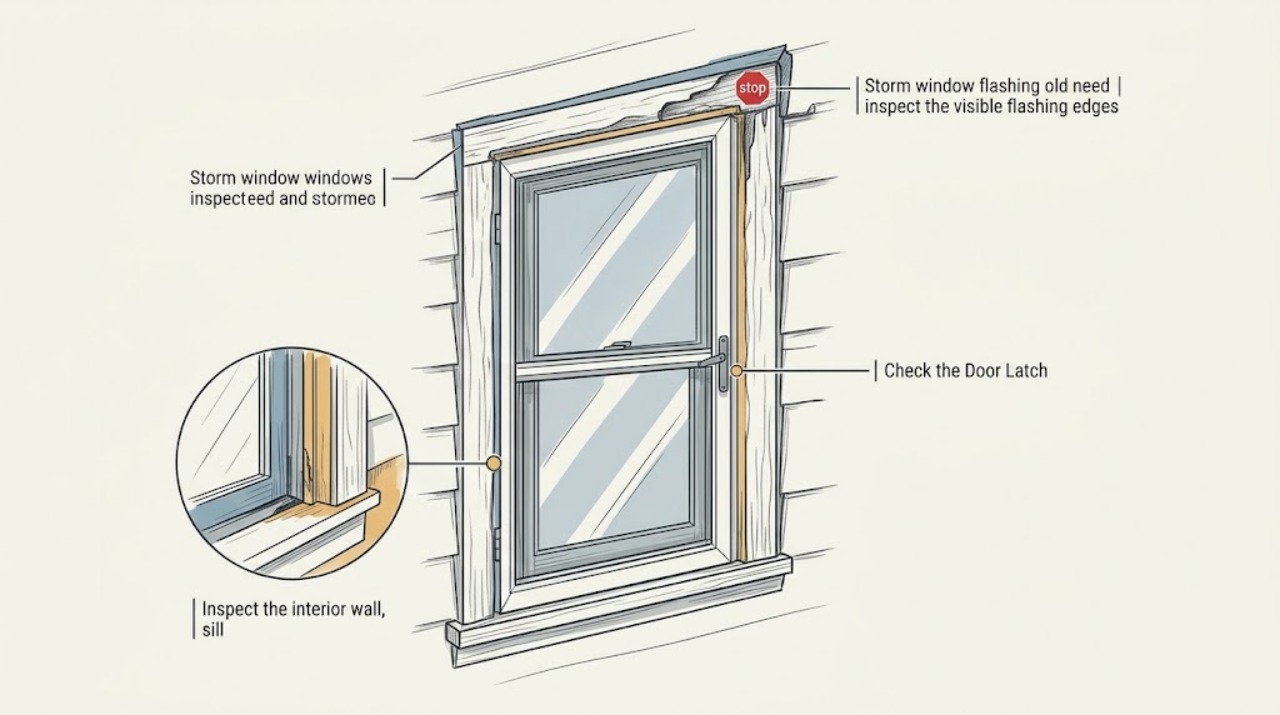
Storm window flashing old need replacement: What to Check and What to Do Next
An old storm-window flashing does not need replacement solely because of its age. From inside and from safe ground, look for corrosion, open joints, staining, soft or swollen adjacent wood, condensation, and a window that no longer sits or operates securely.
-
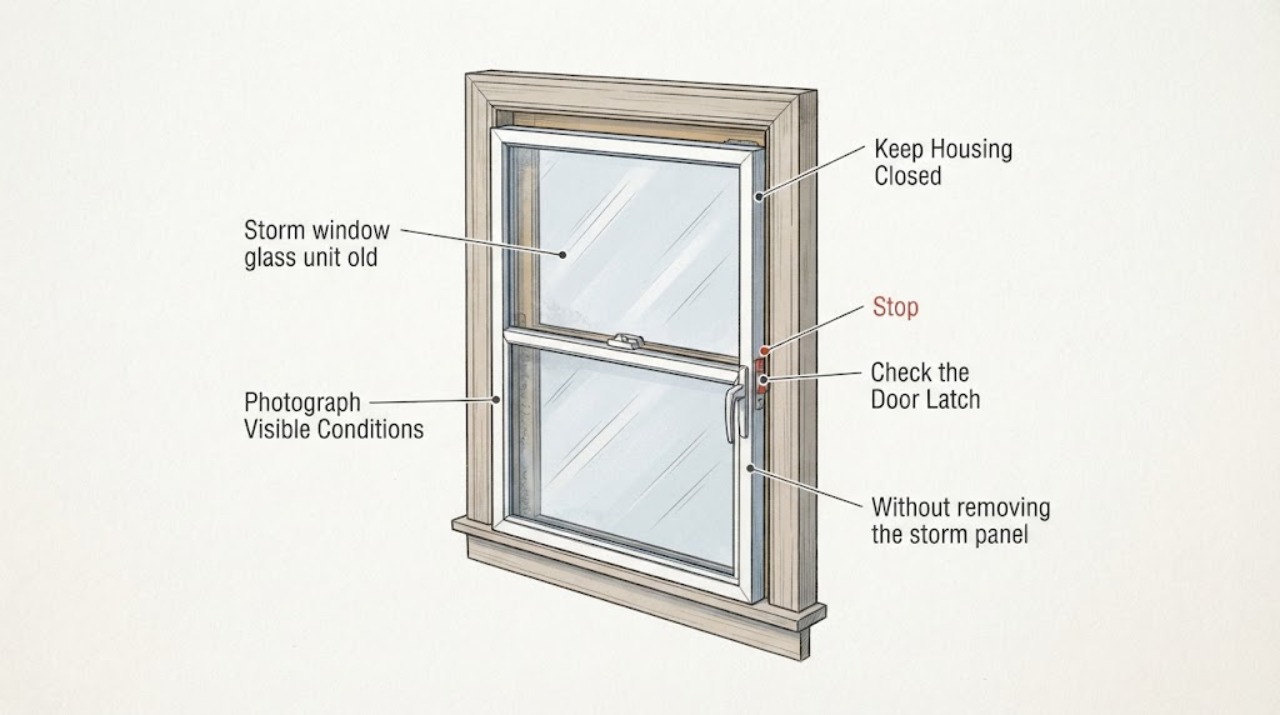
Storm window glass unit old need replacement: What to Check and What to Do Next
An old storm window does not automatically require a complete window replacement. First document whether the glass unit is cracked, loose, fogged between panes, or only showing removable surface condensation; then check from indoors or the ground whether the frame, tracks, latches, seals, and drainage path look sound.
-
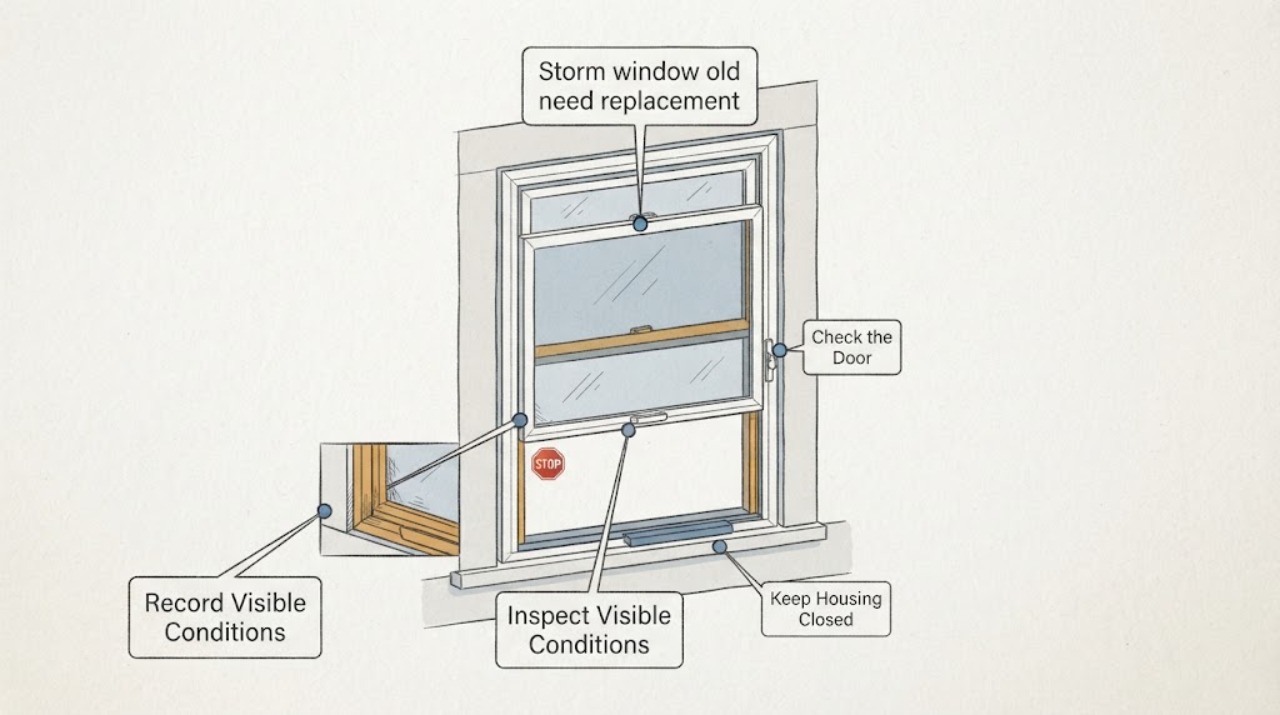
Storm window old need replacement repeated drafts: What to Check and What to Do Next
Repeated drafts around an old storm window need a comparison of the storm panel and the primary window, not an automatic replacement order. From a stable interior or ground-level exterior position, record the draft location, wind direction, weather, and whether the air path is at the frame, sash, seal, glass, or hardware.
-
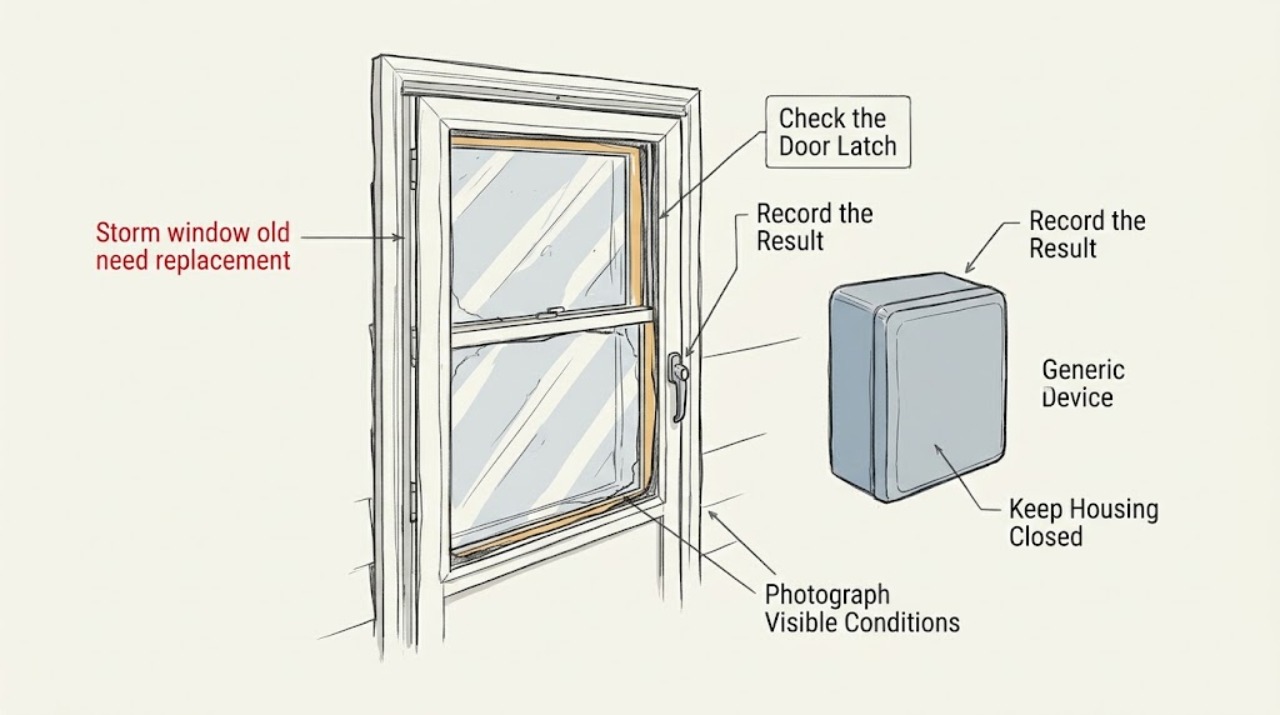
Storm window old need replacement: What to Check and What to Do Next
Before requesting a replacement estimate, inspect the storm window from inside and from safe ground-level views only. Record whether the frame is bent or corroded, the glazing is cracked or cloudy, the panel fits and latches, drafts or rattling are present, and moisture or condensation is trapped between the storm and primary window.
-
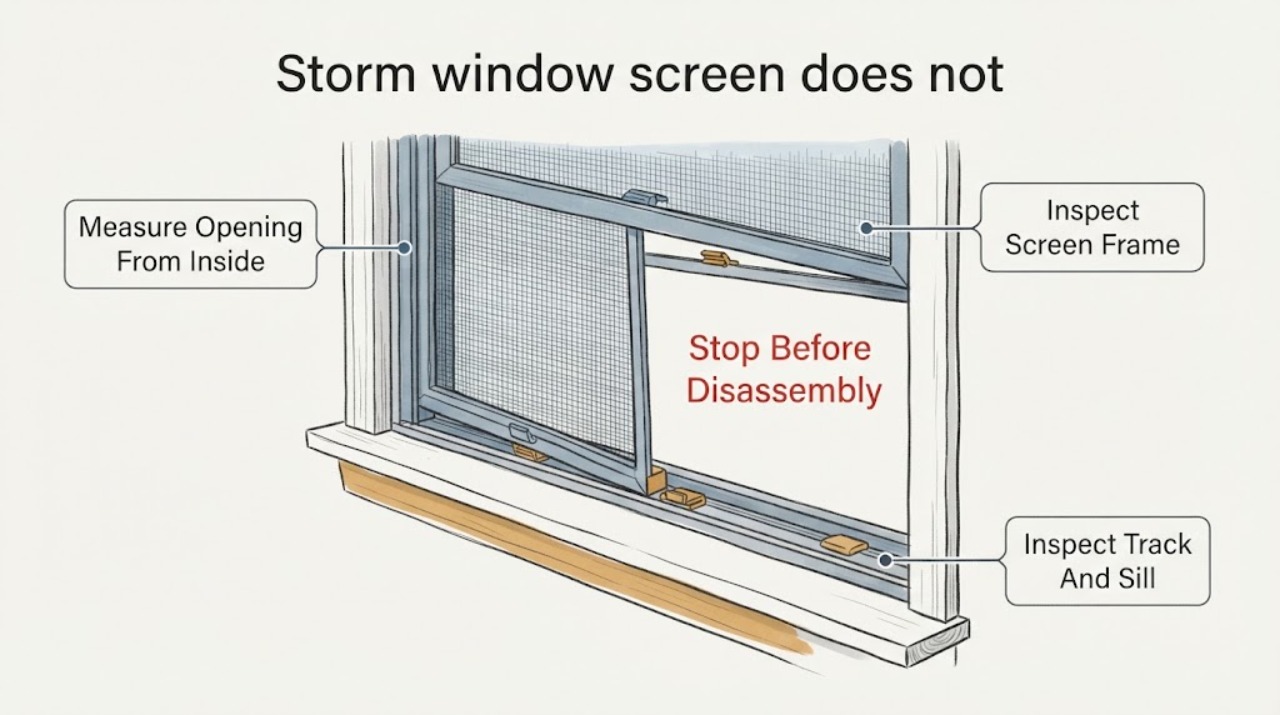
Storm window screen does not fit: What to Check and What to Do Next
Start from the room side or another ground-level position. Confirm which window opening and screen orientation are involved, then compare the clear opening at several points with the screen frame, visible track, clips, and sill.
-
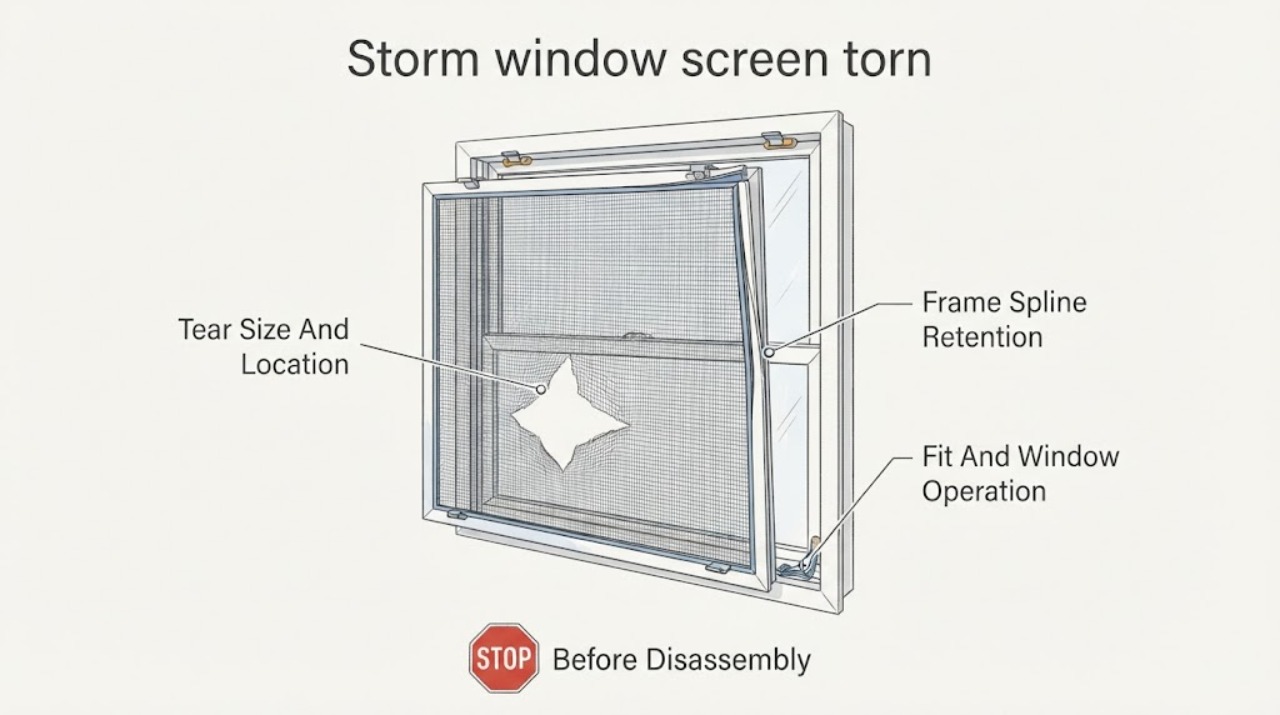
Storm window screen torn: What to Check and What to Do Next
Keep the screen in place unless it releases normally from a safe interior position. Observe the tear's size and location, whether the mesh is still held by the frame or spline, whether the frame is bent or corroded, and whether the screen still sits squarely without a gap.
-
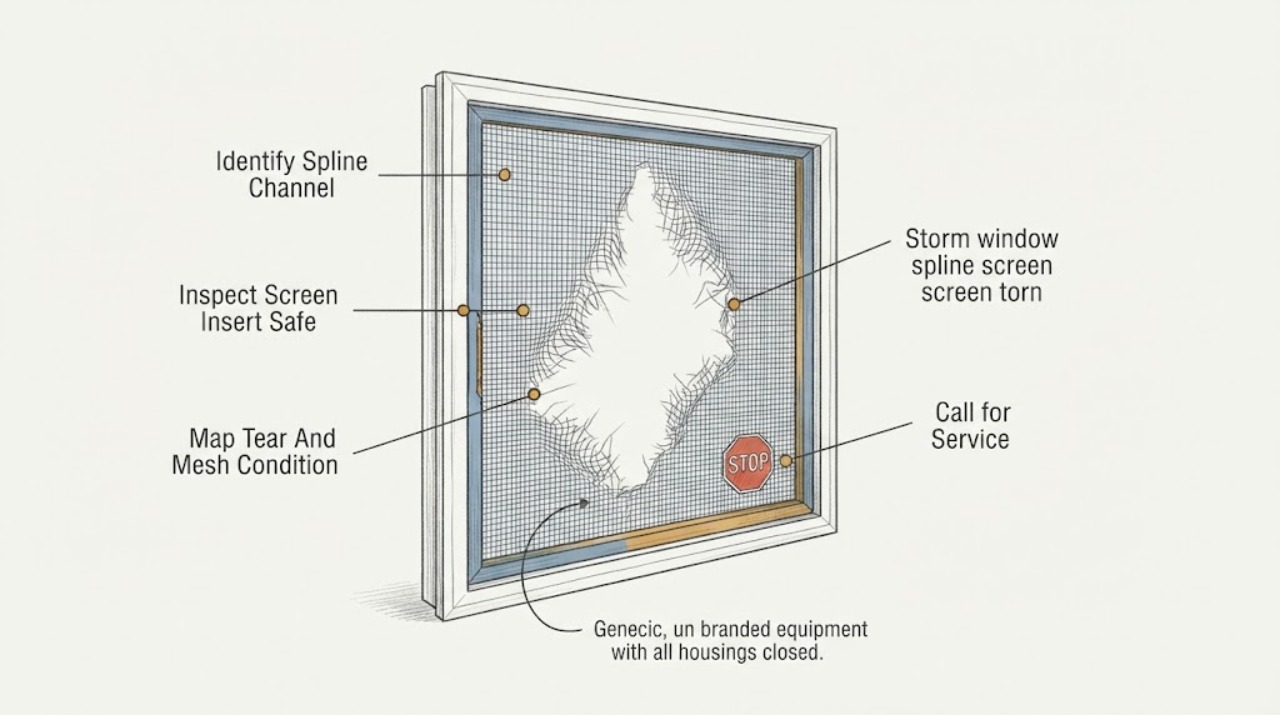
Storm window spline screen torn: What to Check and What to Do Next
A torn storm-window screen with loose or missing spline is usually a frame-retention problem, but first confirm that the insert and glass are sound and that the panel can be handled from a stable, ground-level work position. Photograph the frame channel, spline profile, tear, corners, clips, and any bent frame without climbing or removing glass.
-
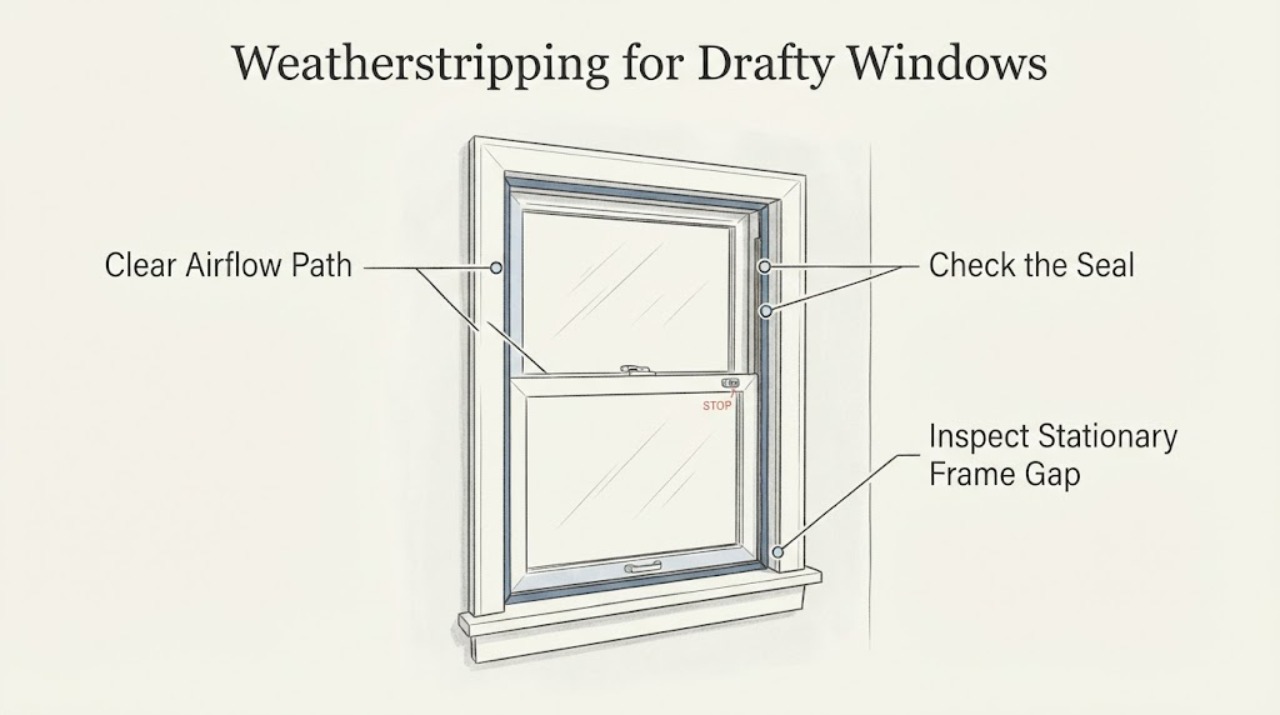
Weatherstripping for Drafty Windows: Find and Fix Air Leaks
Find the leak before buying weatherstripping. With the window closed and latched, use a paper test or watch a smoke source from a safe position around the sash, meeting rail, corners, frame, and trim.
-
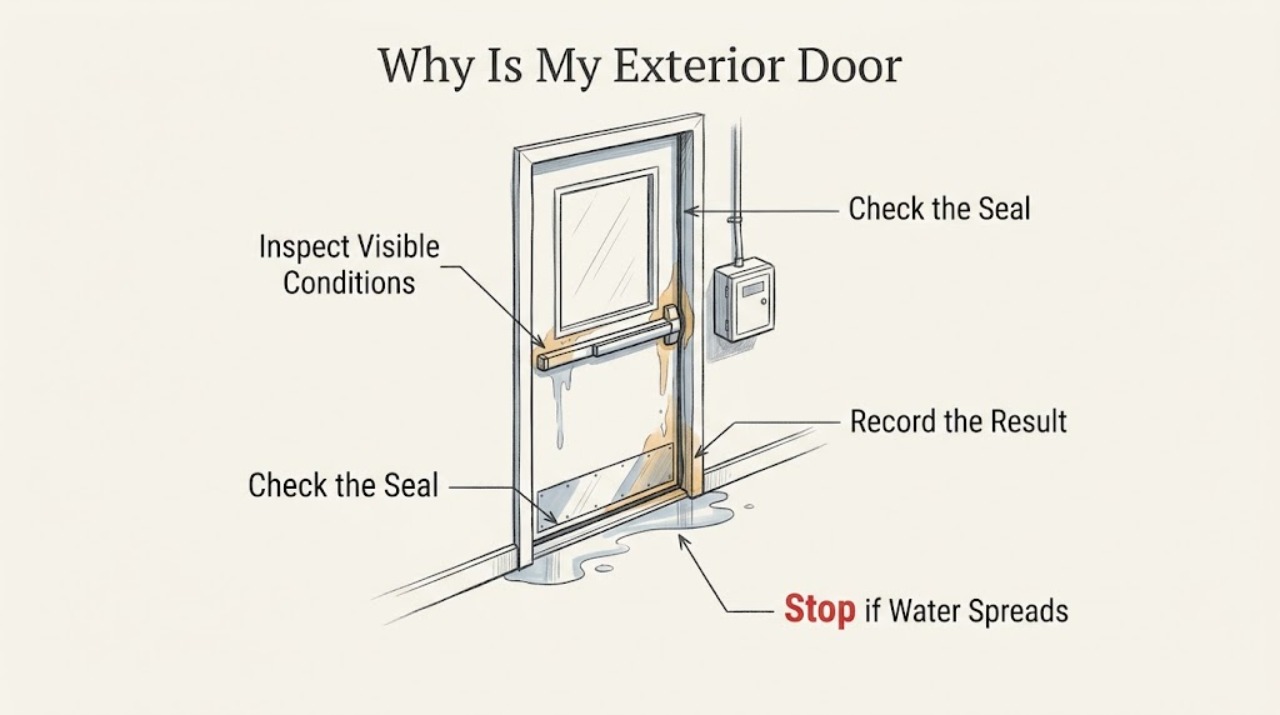
Why Is My Exterior Door Leaking? Check the Threshold, Weatherstrip, and Sill Flashing
First locate where water crosses the door: under the threshold, around the jambs or head, or from the wall above the opening. A worn sweep or weatherstrip can leave a gap, but water that enters around the frame or appears inside the wall points to the sill pan, lapped flashing, rough-opening seal, or surrounding drainage plane.
-
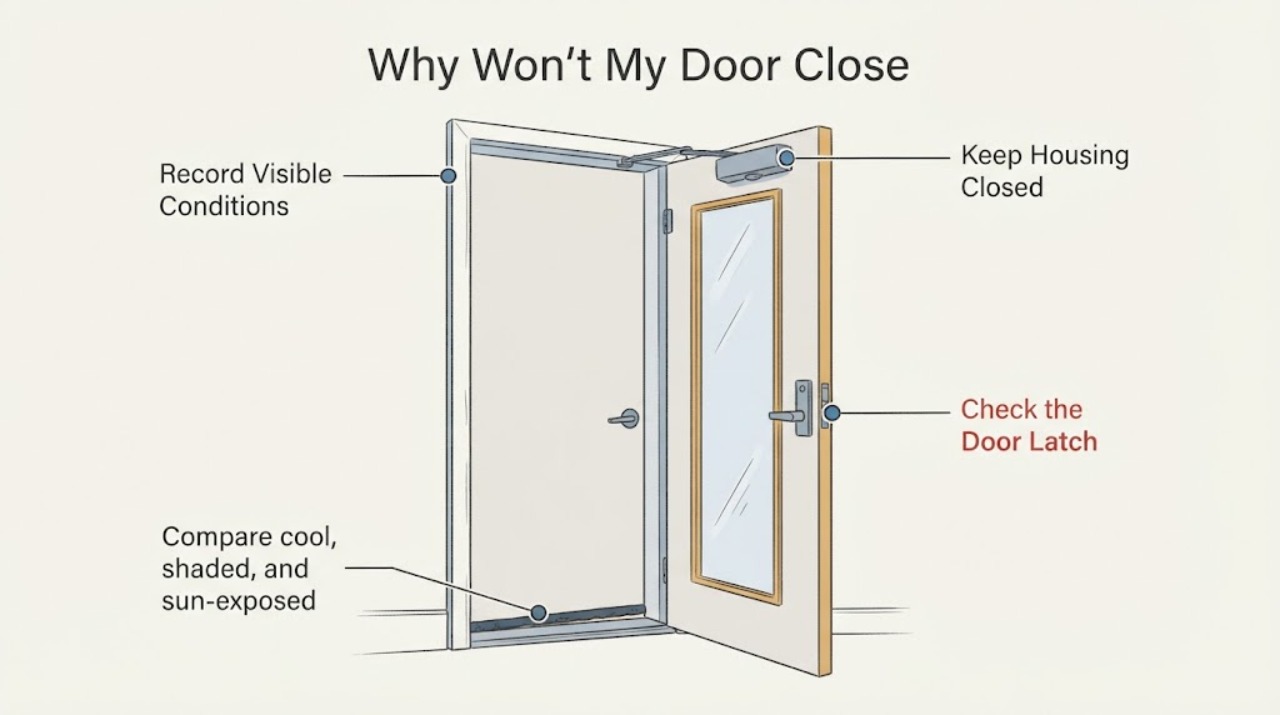
Why Won't My Door Close in the Morning or Daytime?
If a door will not close mainly in the morning or daytime, use the time pattern as a clue rather than forcing the latch. Direct sun and the temperature difference between the two sides of an exterior door can temporarily bow the door or bind the lock; a shifted frame, swollen material, worn hinge, roller, closer, weatherstrip, or track can create a similar symptom.
-
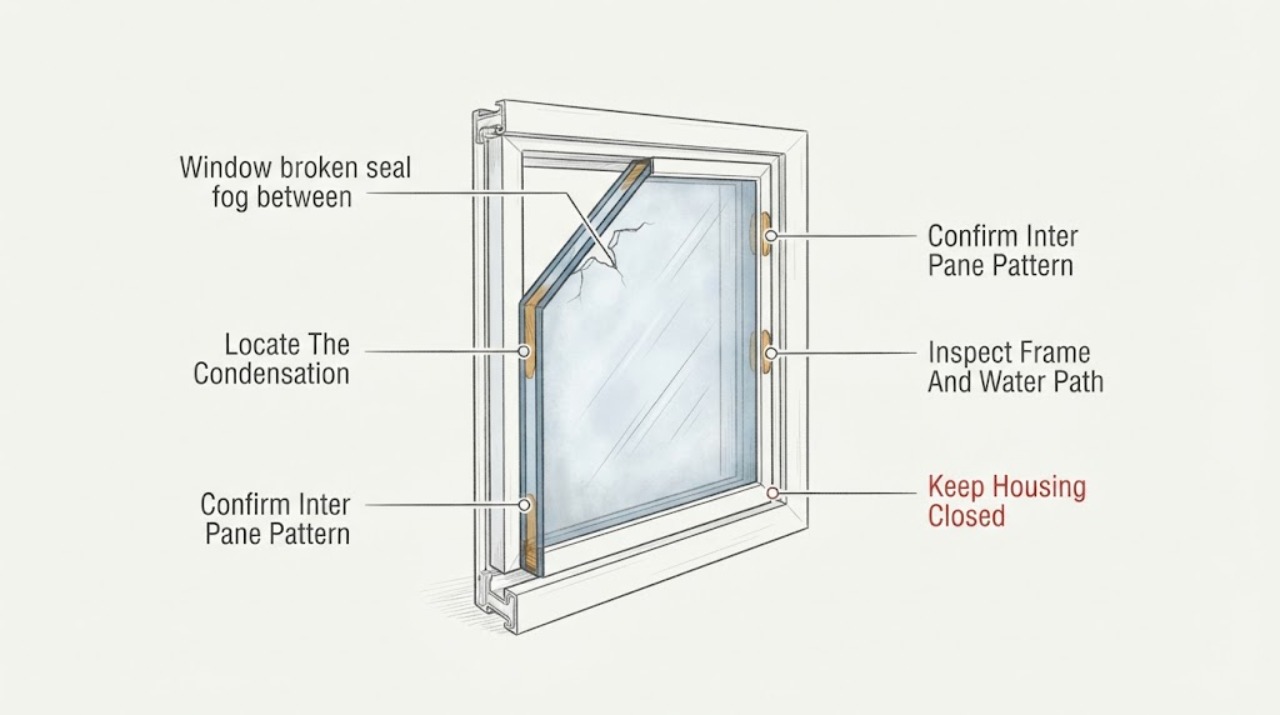
Window broken seal fog between panes: What to Check and What to Do Next
Fog or liquid moisture that remains in the space between two panes after you clean the accessible room-side and exterior surfaces is a strong sign that the insulating glass unit seal has failed. The sealed air space can no longer keep moisture out, so ordinary wiping or lowering indoor humidity will not remove that haze.
-
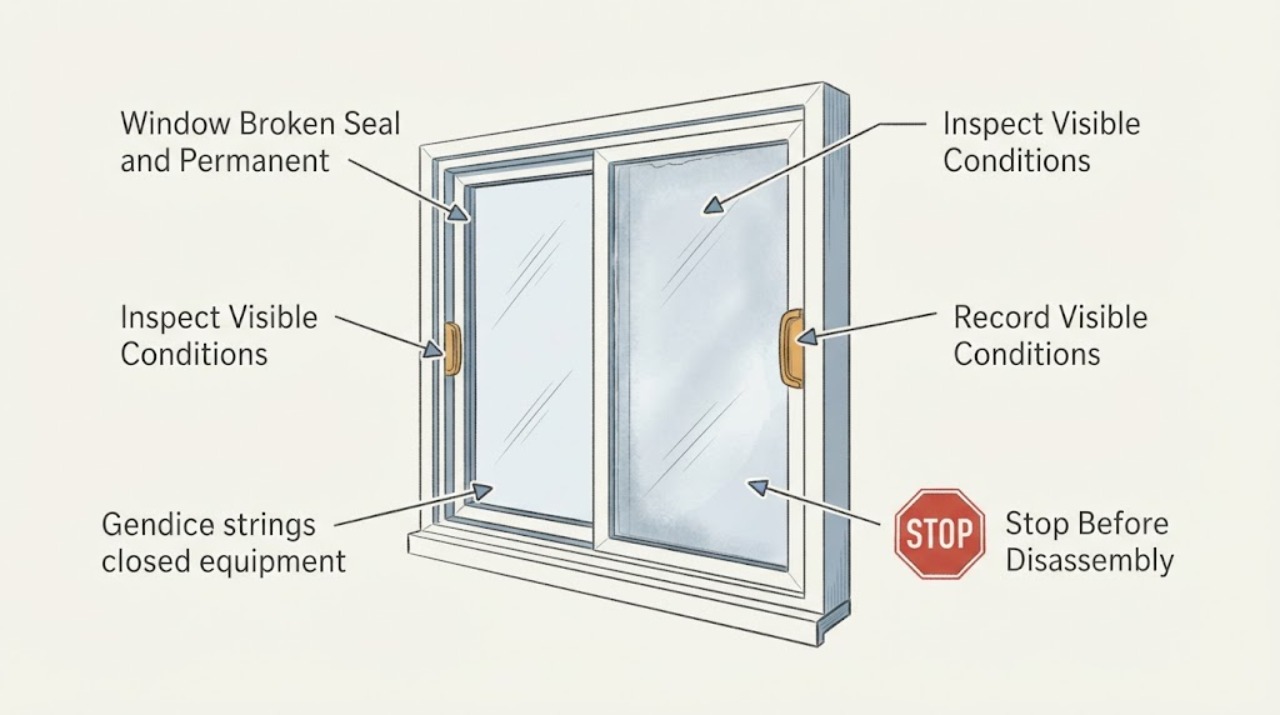
Window Broken Seal and Permanent Haze: What to Check and What to Do Next
First determine where the haze is. Moisture on the room side or outdoor side can be ordinary condensation related to temperature, humidity and air movement; haze or droplets that remain trapped between panes of insulated glass cannot be wiped away and usually indicate that the unit's perimeter seal has failed.
-
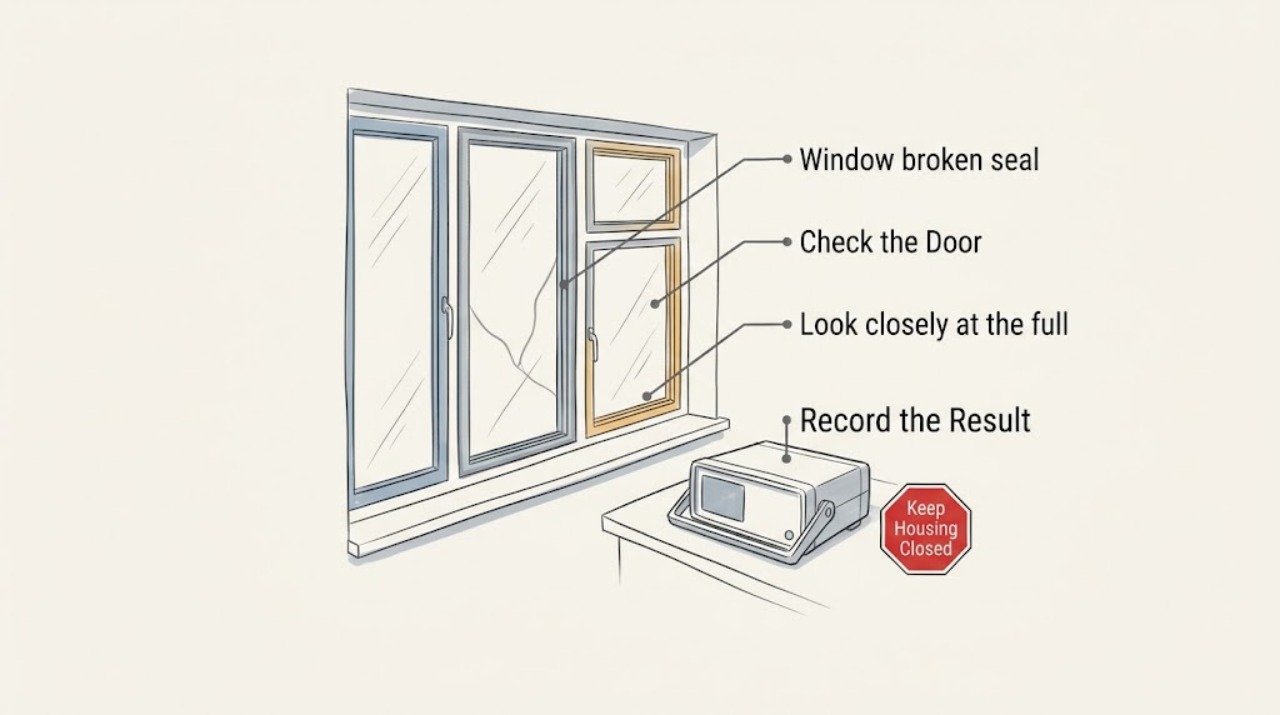
Window broken seal: What to Check and What to Do Next
If fog, droplets, or a milky haze stays between the panes after the accessible room-side and outdoor surfaces are dry, the insulated glass seal has likely failed. Do not remove the glass or drill the pane. Document the window and have a qualified window or glass professional confirm whether the insulated glass unit, sash, or whole window should be serviced. If the moisture is only on a surface, first treat it as room humidity or outdoor dew rather than a broken seal.
-
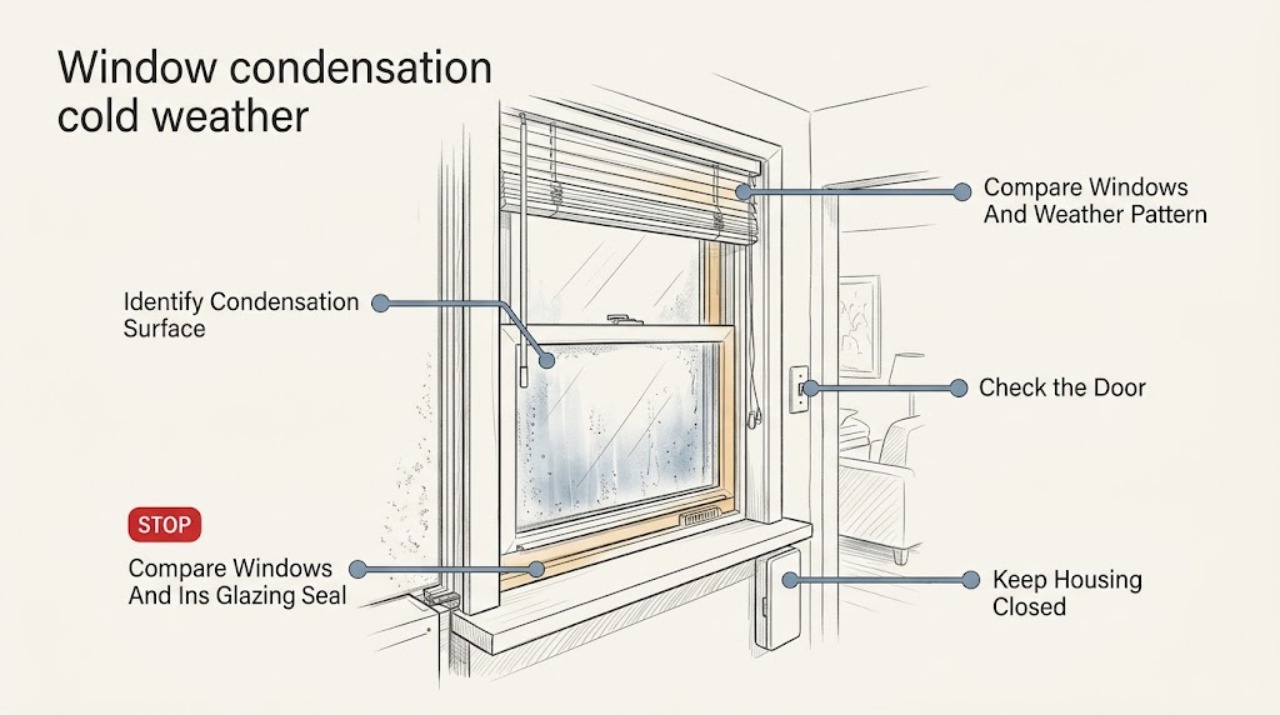
Window condensation cold weather: What to Check and What to Do Next
Condensation on the room-side of a window during cold weather usually means humid indoor air is reaching a surface cold enough to fall below its dew point; it is not automatically proof that the window is defective. First identify whether the moisture is on the room side, outside, or between panes, then note whether it affects one window or many and whether it follows showers, cooking, drying clothes, a humidifier, closed blinds, or poor air circulation.
-
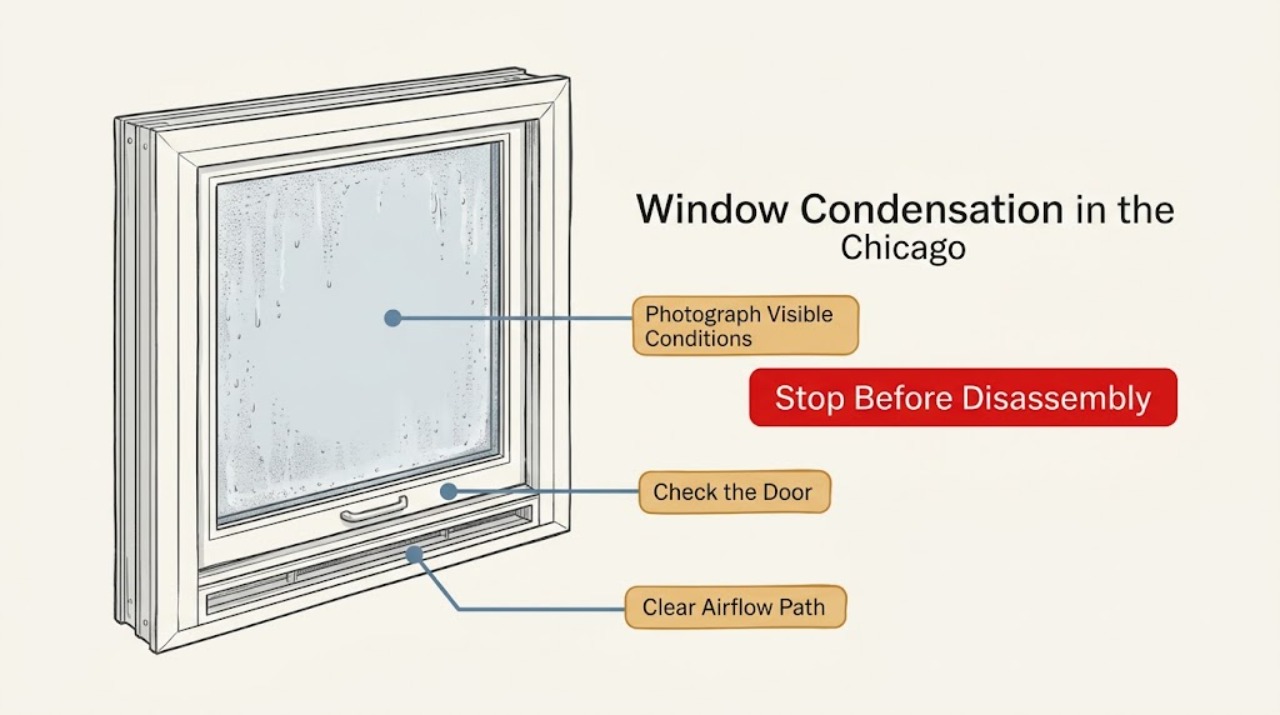
Window Condensation in the Chicago Suburbs: Identify the Surface Before You Act
First identify where the moisture is: on the room-side glass, on the exterior glass, or sealed between panes. In the Chicago suburbs, cold outdoor glass can make room-side condensation more likely when indoor humidity is high; measure indoor relative humidity, use kitchen and bath exhaust, keep air moving across the glass, and dry the sill promptly.
-
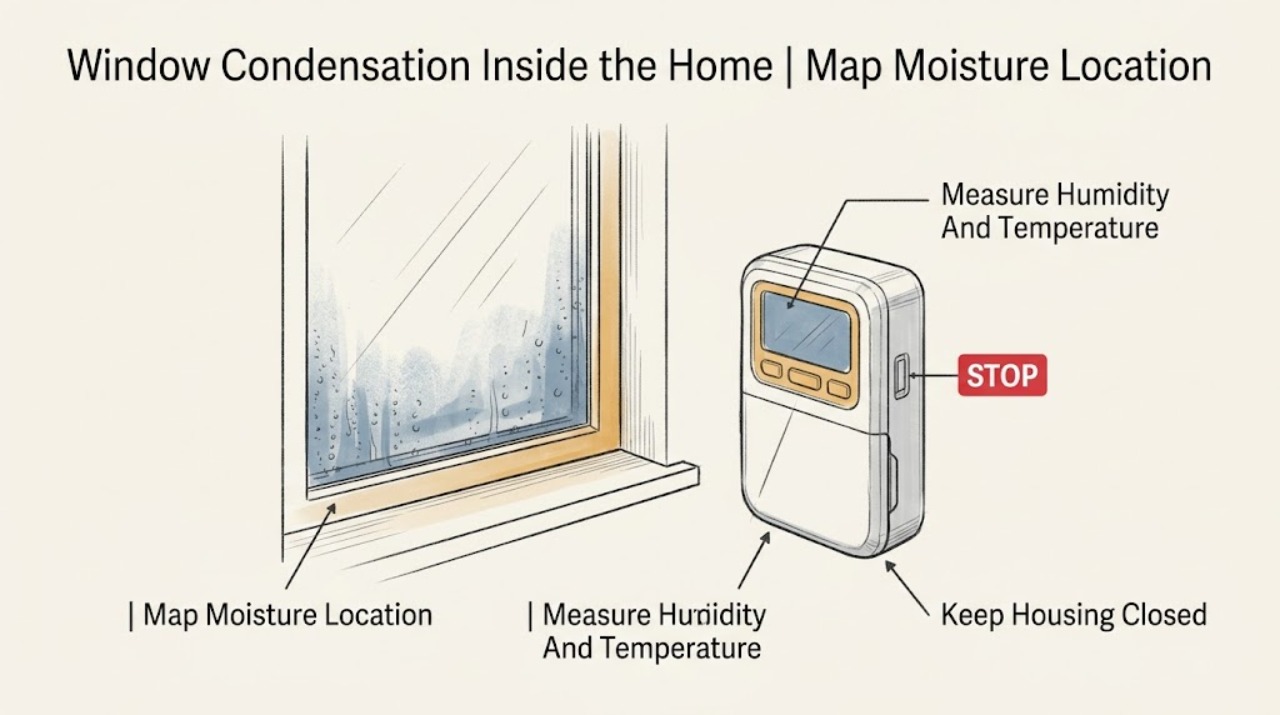
Window Condensation Inside the Home: Check Humidity, Airflow, and the Frame
Interior window condensation forms when humid indoor air meets a glass or frame surface that is below the air's dew point. First determine whether the moisture is on the room side, confined to the frame and sill, between insulating-glass panes, or arriving after rain.
-
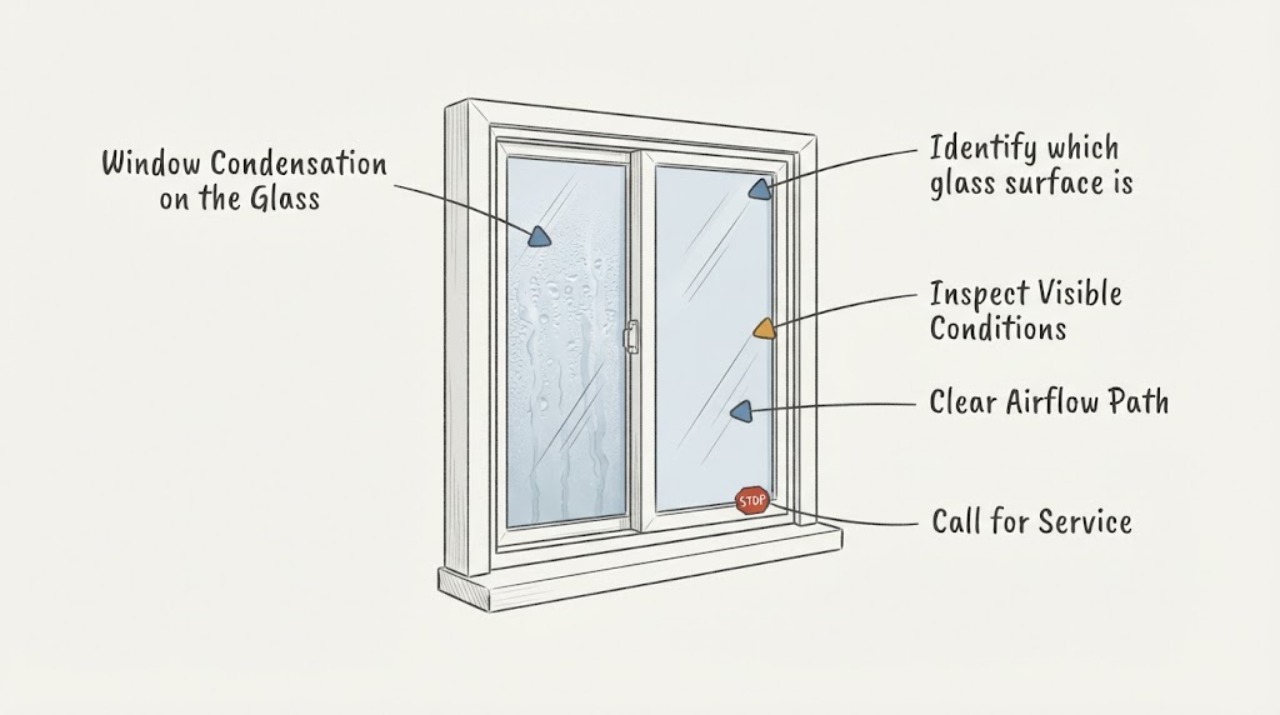
Window Condensation on the Glass: Find the Moisture Source and the Right Fix
Start by locating the water: on the room-side glass, on the exterior glass, or between sealed panes. Surface condensation usually forms when humid air meets cooler glass; the risk increases with indoor moisture, cold weather, low air movement, or coverings that trap cool air at the pane.
-
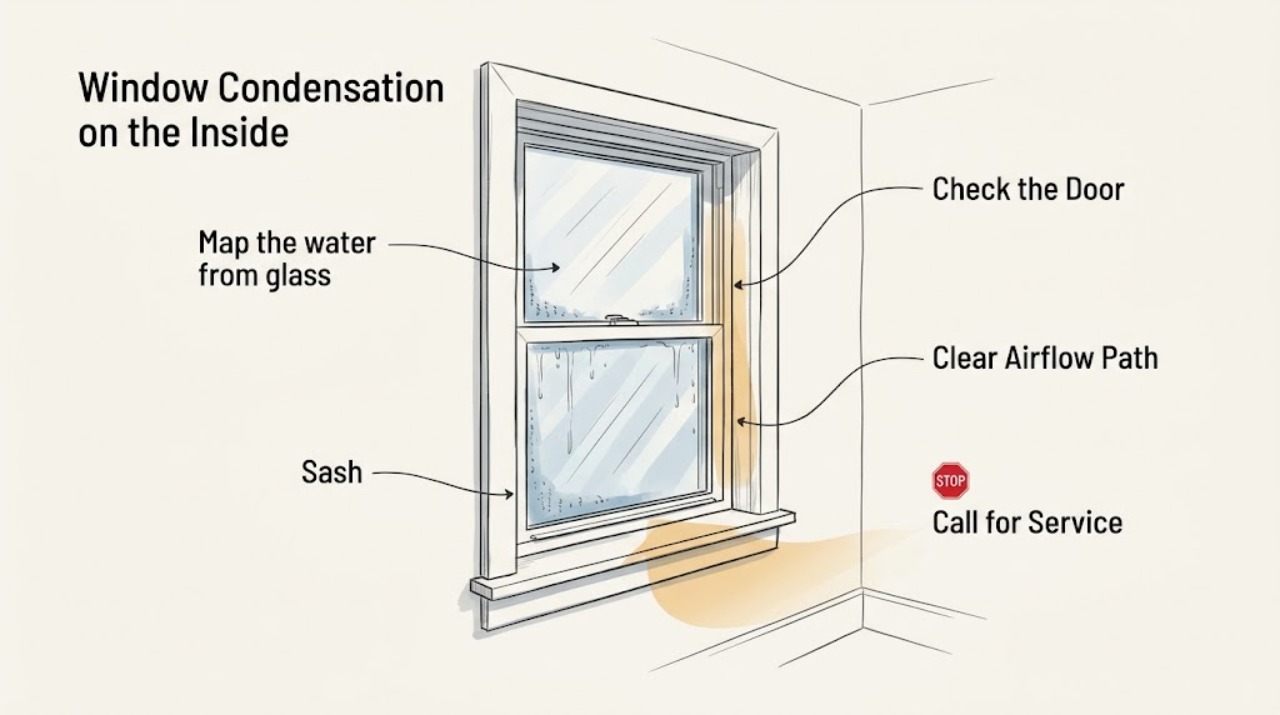
Window Condensation on the Inside Trim: Find the Moisture Path
Moisture on the inside trim or sill is not automatically a failed window. First dry the area and identify whether droplets form on the room-side glass and run down, collect only at a cold corner or edge, appear between sealed panes, or return after rain.
-
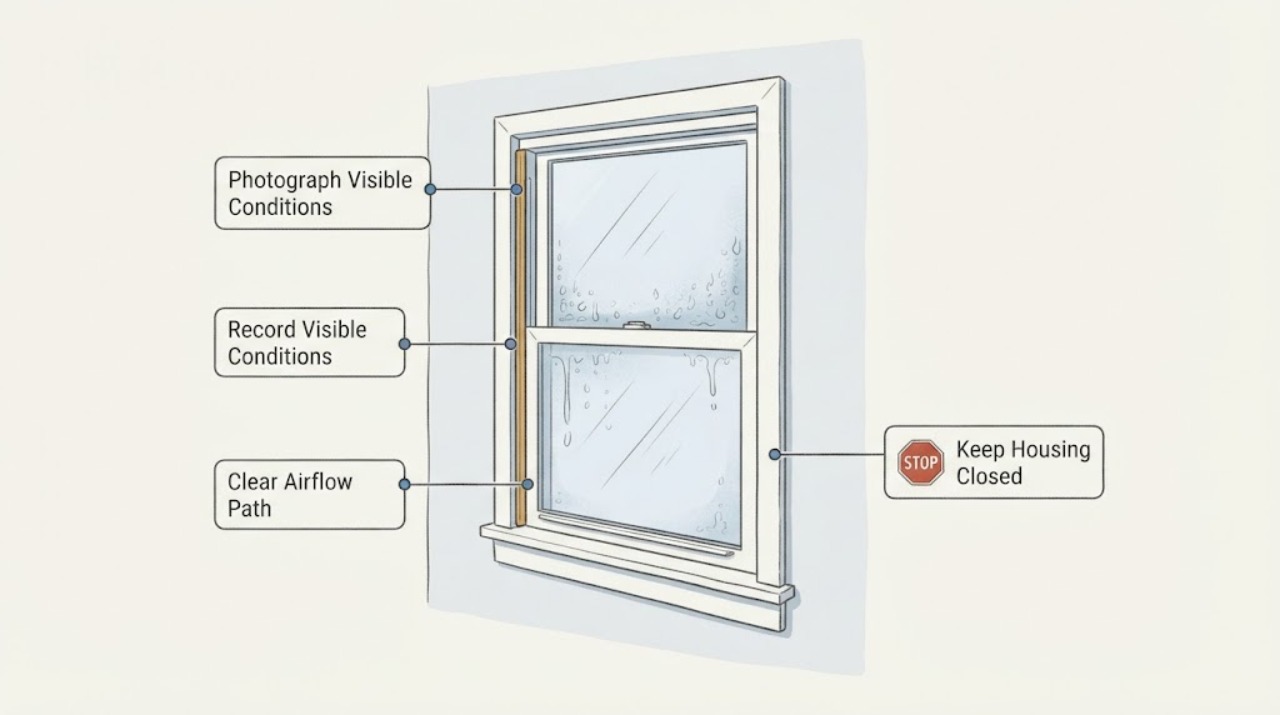
Window Condensation Repeated Moisture: What to Check and What to Do Next
Repeated moisture at a window is not automatically a leak. First identify where the water is: on the room-side glass or frame, between insulated panes, on the outside surface, or at the sill and surrounding wall.
-
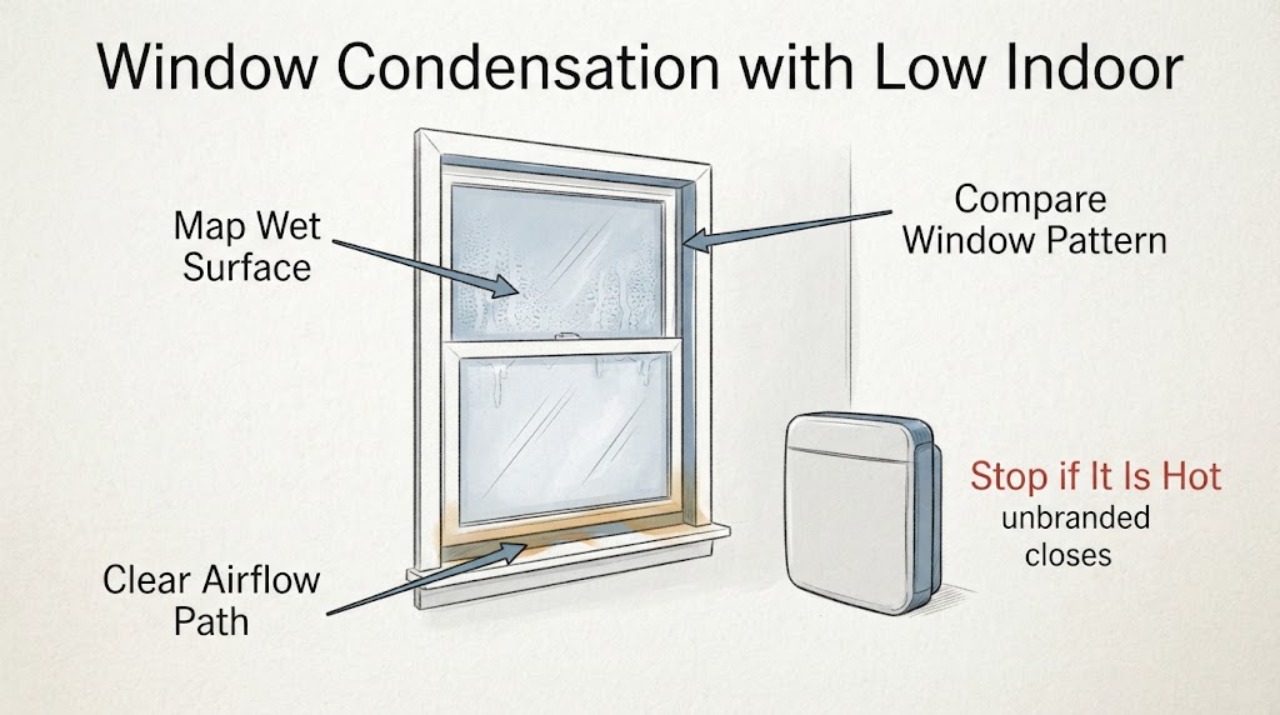
Window Condensation with Low Indoor Humidity: Find the Cold Surface or Air Leak
Low indoor relative humidity does not rule out condensation. Water or frost still forms when the local glass or frame surface falls below the room-air dew point, so one unusually cold pane, edge, frame, spacer, thermal bridge, or air leak can condense even when a room reading looks dry.
-
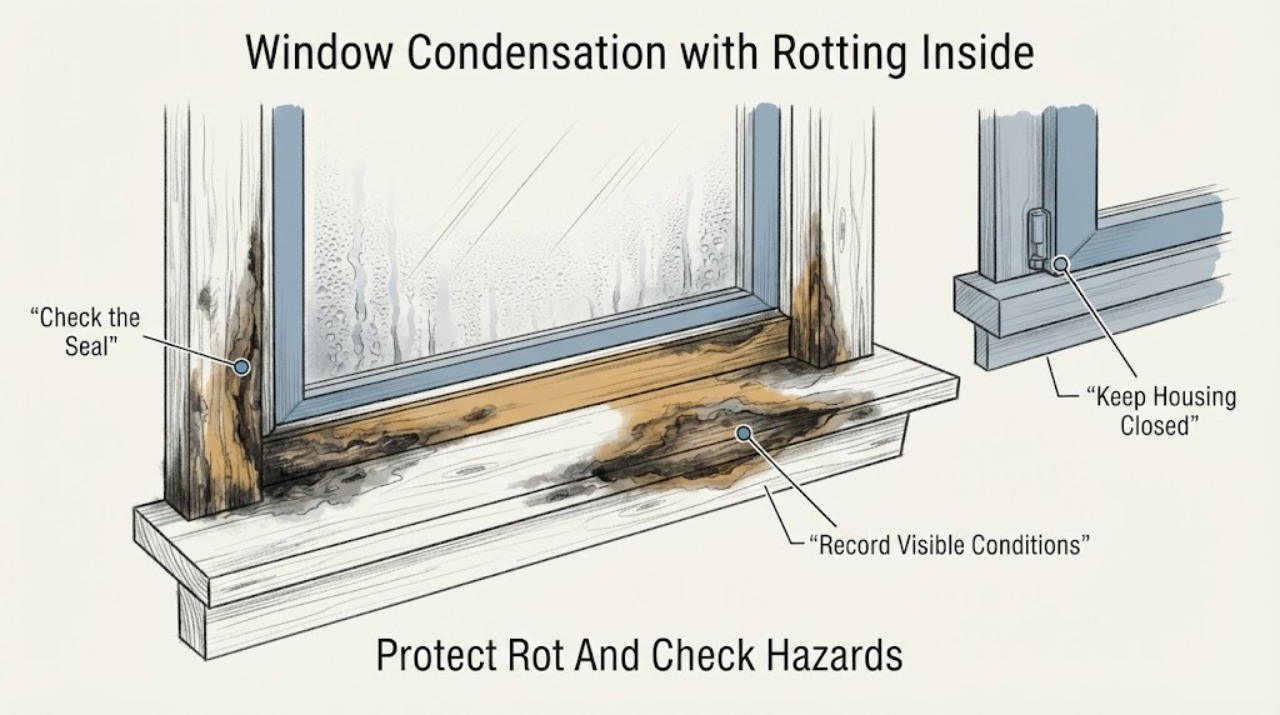
Window Condensation with Rotting Inside: Trace the Moisture Before Repairing the Frame
Rot inside a window opening is a moisture problem first and a cosmetic problem second. Determine whether water is forming on the room-side glass from humid air, trapped between sealed panes from a failed glass seal, or entering at the frame, sill, exterior sealant, flashing, or wall.
-
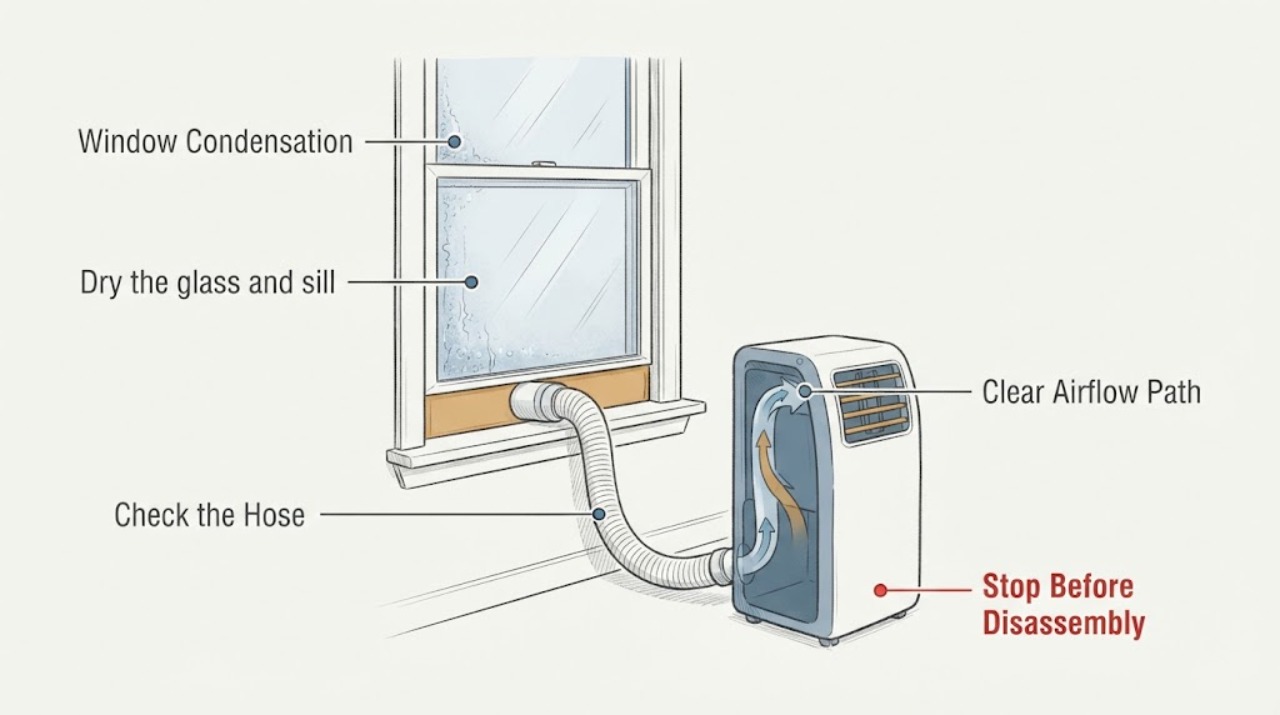
Window Condensation
Start by identifying where the water is: on the room side, outside, between insulated panes, or around the frame and sill. Room-side condensation usually means humid indoor air is meeting a colder glass or frame surface; outside condensation can be normal in warm, humid weather; moisture between panes usually indicates a failed insulated-glass seal.
-
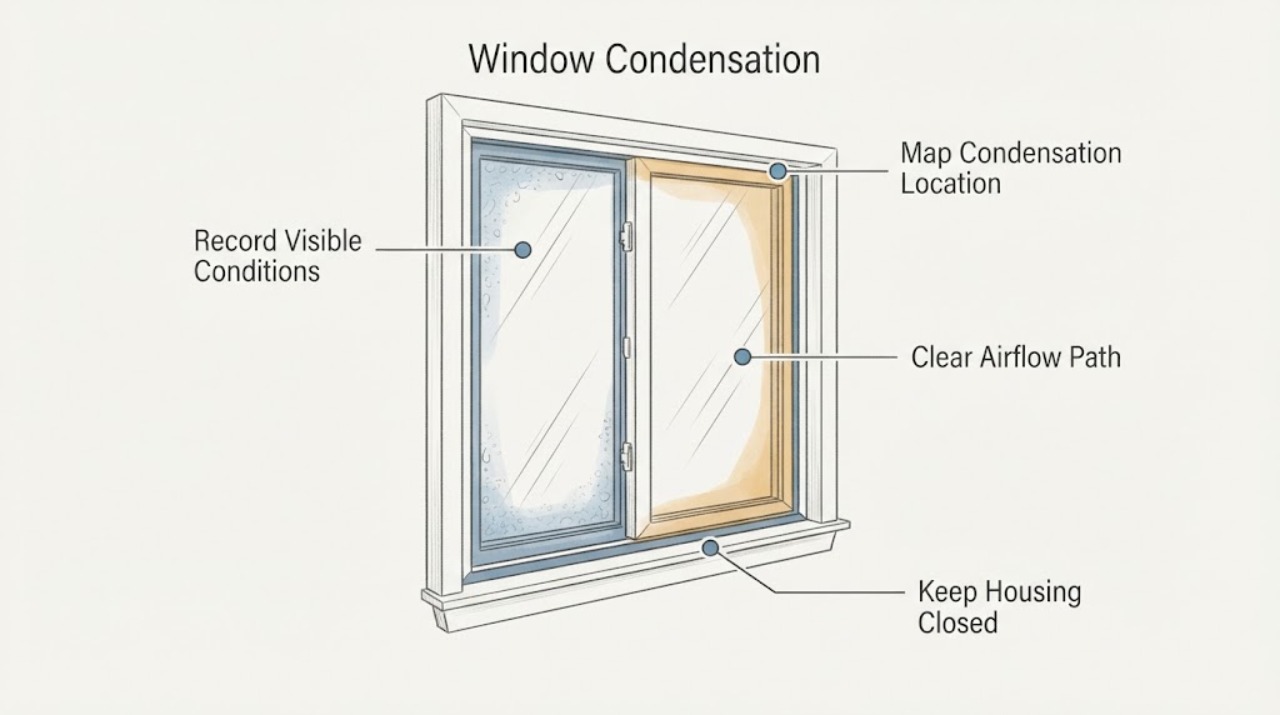
Window Condensation: Tell Humid-Air Moisture from a Glass or Seal Failure
First identify where the water is: on the room-side glass, on the outdoor glass, or between sealed panes. Room-side condensation usually means humid indoor air has reached a glass surface colder than its dew point, so record indoor humidity, improve exhaust from cooking, bathing, and laundry, keep air moving over the glass, and avoid blocking the window with tight coverings.
-
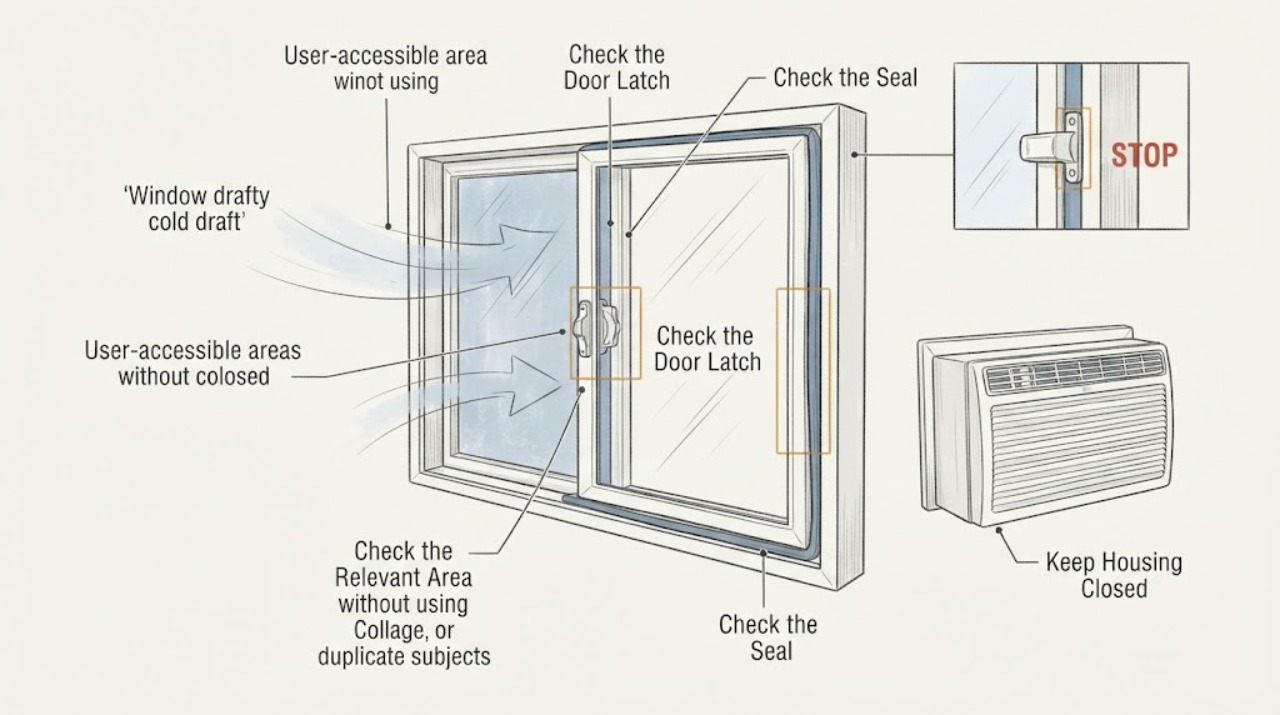
Window drafty cold draft: What to Check and What to Do Next
A cold draft can enter through the moving sash, the frame-to-wall opening, or a gap around exterior trim. On a windy day, first locate the airflow with a tissue strip at the closed window, sash joints, and frame edges without using a flame.
-
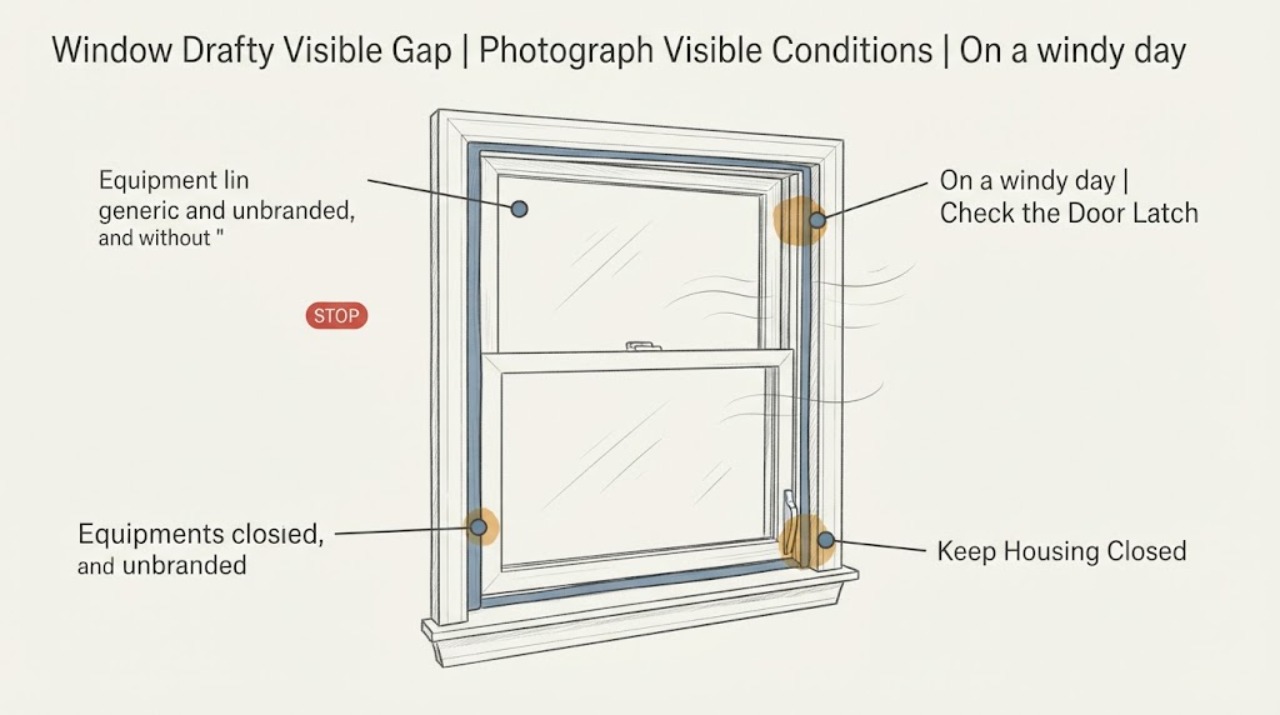
Window Drafty Visible Gap: What to Check and What to Do Next
A visible gap around a drafty window is not one single fault: it may be between a moving sash and its frame, between the fixed frame and the wall opening, at trim or exterior sealant, or around damaged glazing. First map exactly where daylight or air enters and whether the sash still closes and latches squarely.
-
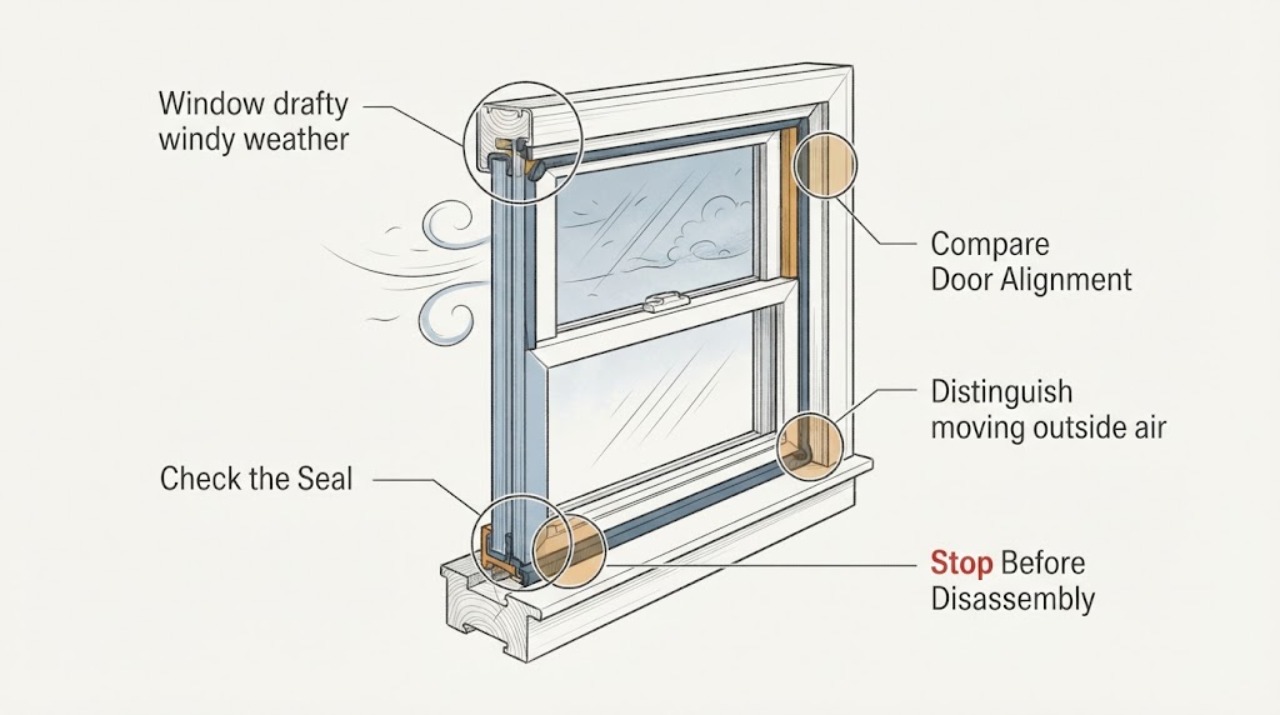
Window drafty windy weather: What to Check and What to Do Next
A window that feels drafty only when it is windy may have a loose sash, worn weatherstripping, a gap between the frame and rough opening, or a failed exterior flashing or seal; sometimes the sensation is a cold-glass downdraft rather than outside air entering. With the window closed and latched, use a thin strip of paper to compare the seal around the sash and inspect visible trim for gaps, dust tracks, dampness, or peeling paint.
-
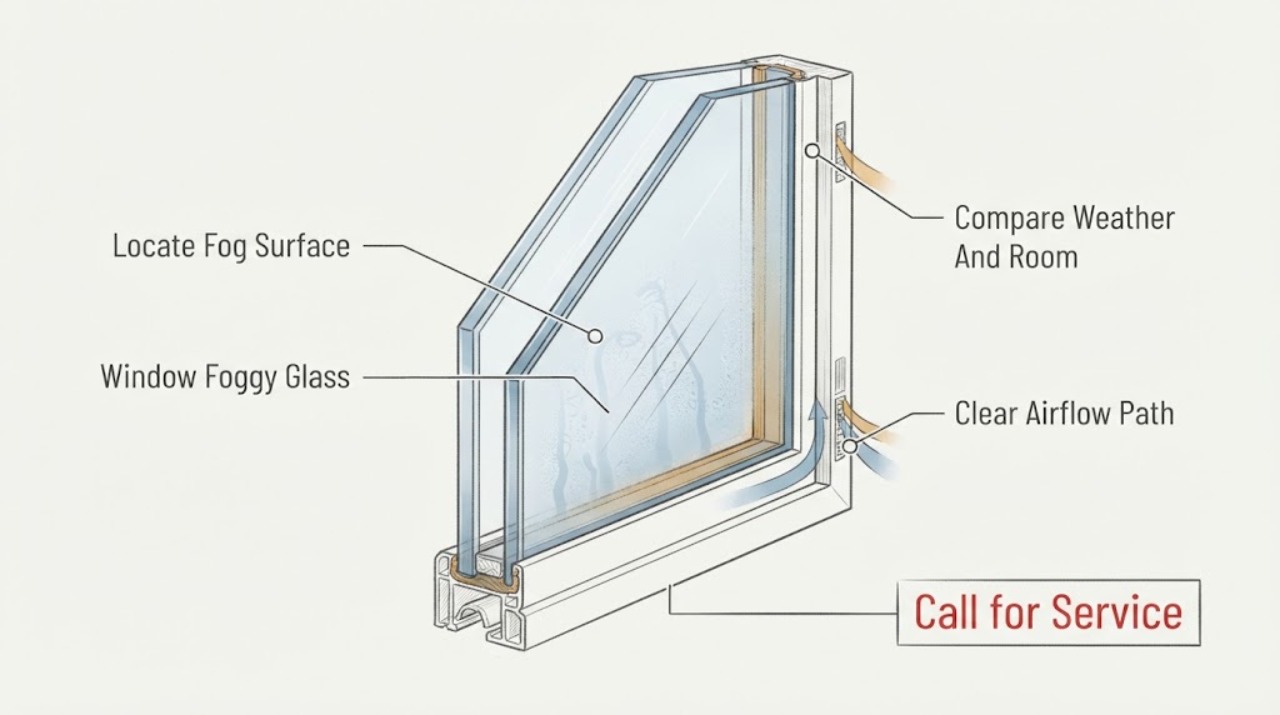
Window Foggy Glass
First locate the fog. Condensation on the room-side glass usually comes from indoor humidity meeting a cold surface; condensation on the outside can occur in some weather and does not automatically mean a failed seal.
-
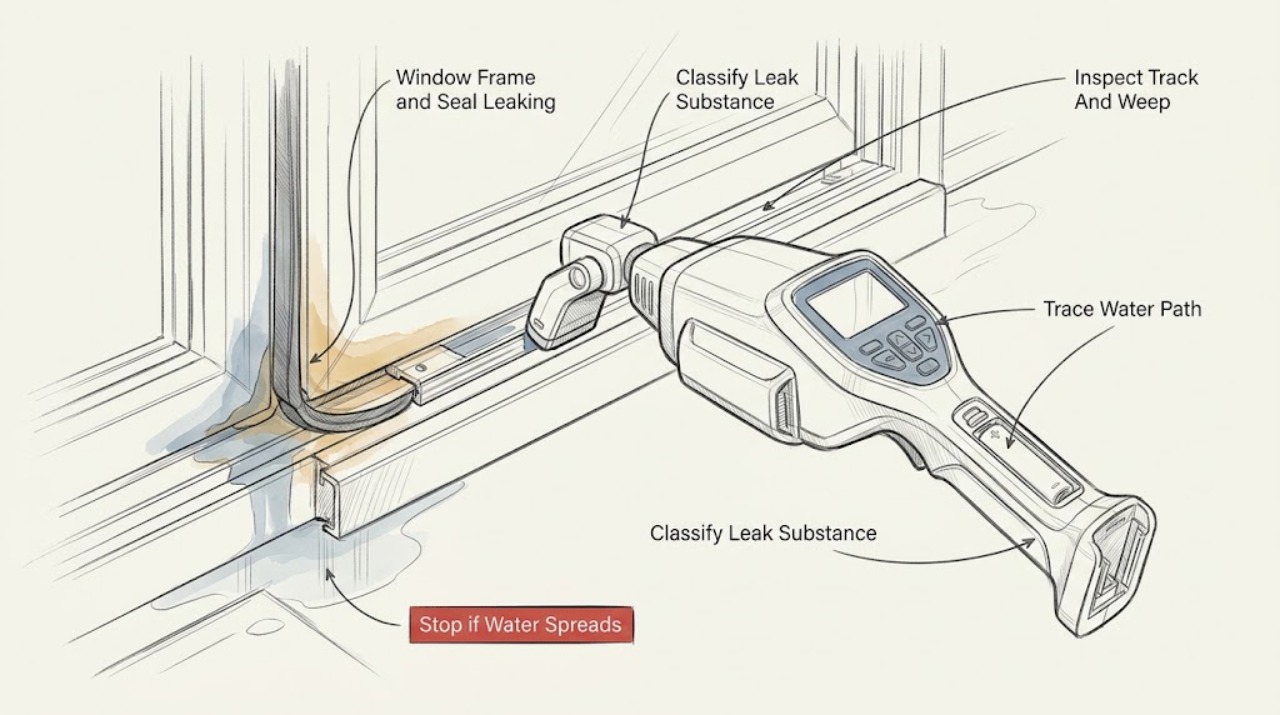
Window Frame and Seal Leaking: What to Check
Identify whether the leak is air, rainwater, or condensation before applying a seal. During or just after rain, inspect the sill, track, corners, sash edges, frame-to-trim joint, and wall below the window from a safe interior position.
-
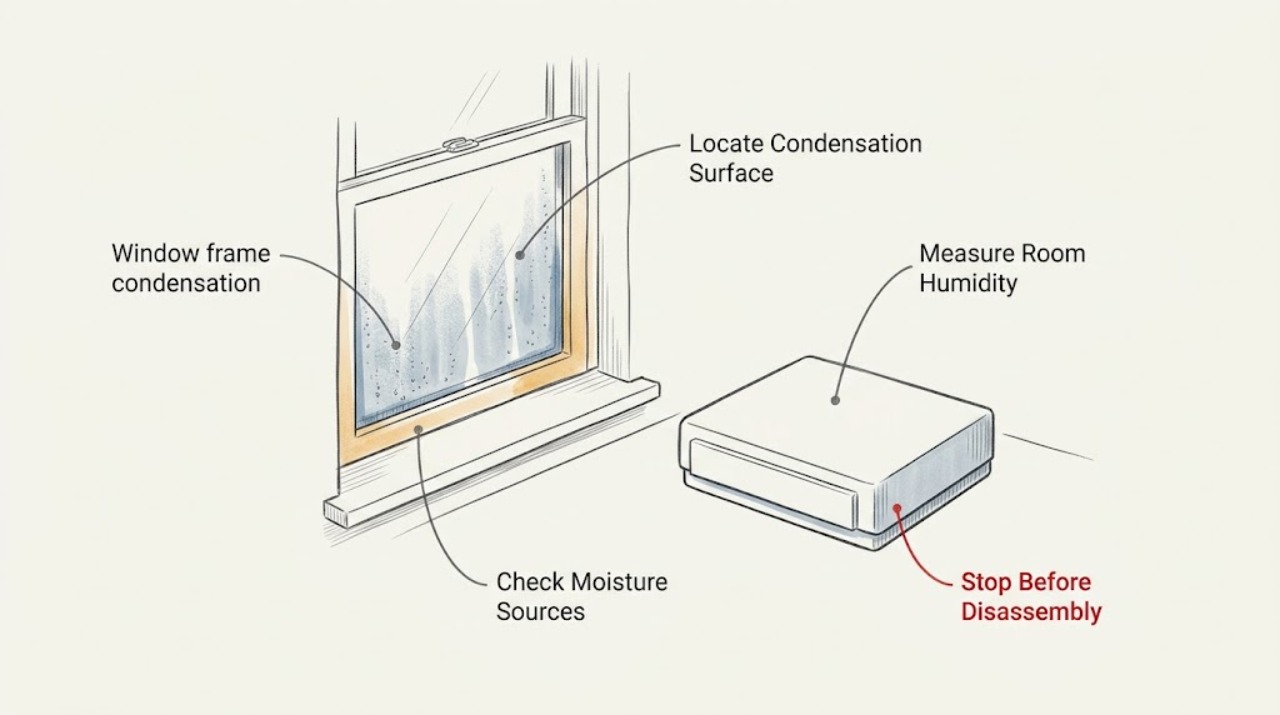
Window frame condensation: What to Check and What to Do Next
First identify where the water is: on the room side of the frame or glass, on the outside, between insulating panes, or only around the frame after rain. Room-side condensation usually means humid indoor air is meeting a cold surface; measure indoor relative humidity and check cooking, bathing, drying, ventilation, blinds, and blocked airflow.
-
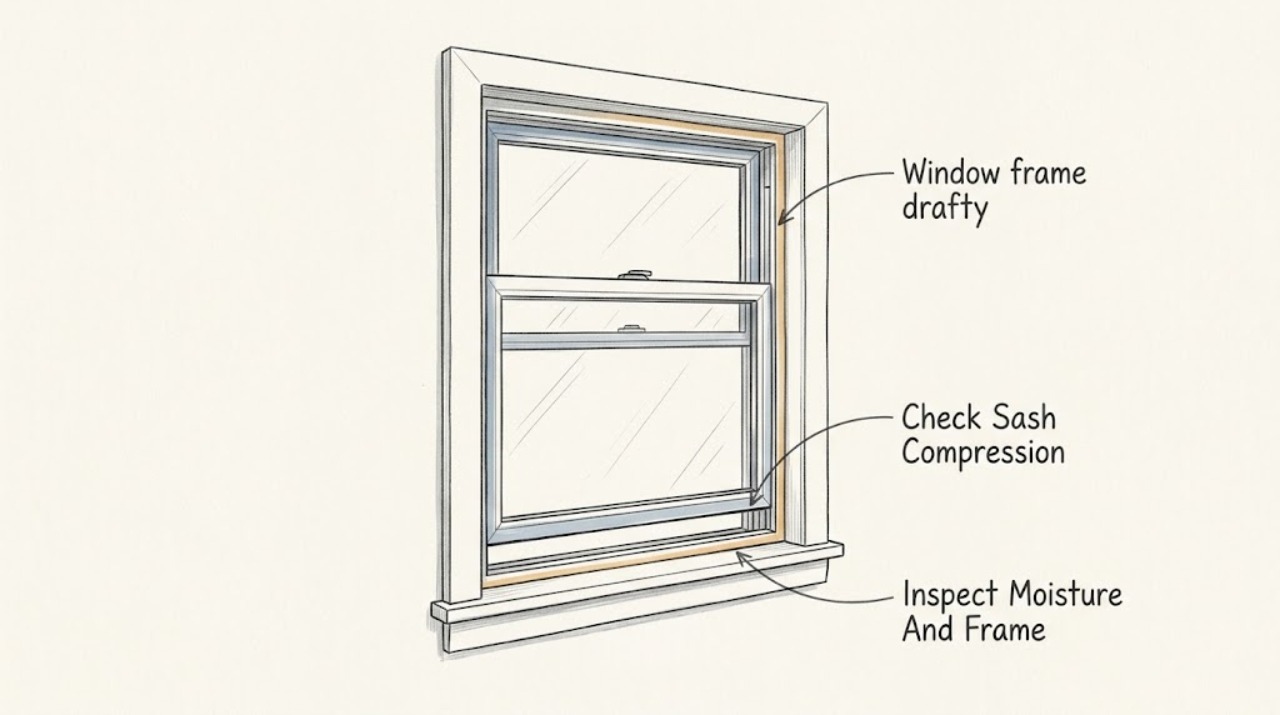
Window frame drafty: What to Check and What to Do Next
First locate where air moves around the closed window: the moving sash, the fixed frame and trim, or the nearby wall. A paper test can show whether the sash is losing compression, while a careful tissue or smoke observation can show a perimeter path; do not use an open flame.
-
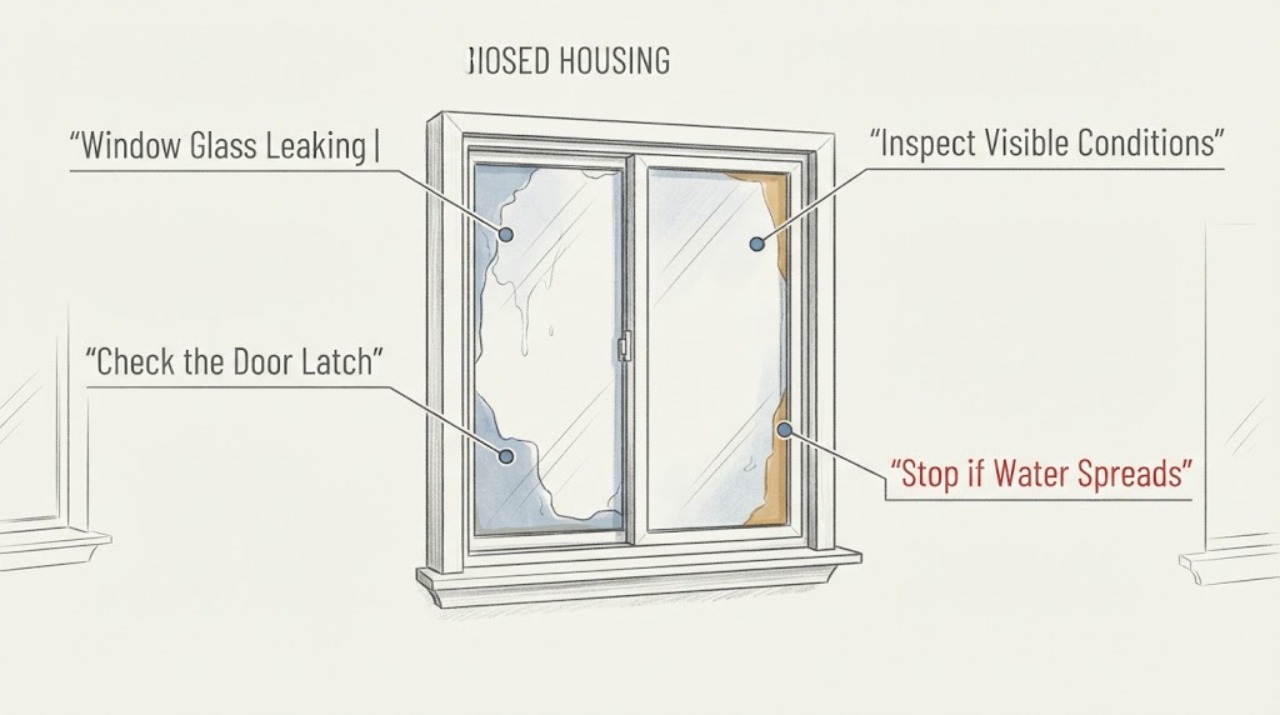
Window Glass Leaking: Check the Seal and Frame
First determine whether the water is on the room-side glass as condensation, at the glass edge or sash seal, or entering around the frame, sill, trim, or wall. Wipe the area dry, note the weather and the first place that becomes wet, and check that the window closes and locks without blocking exterior drainage openings.
-
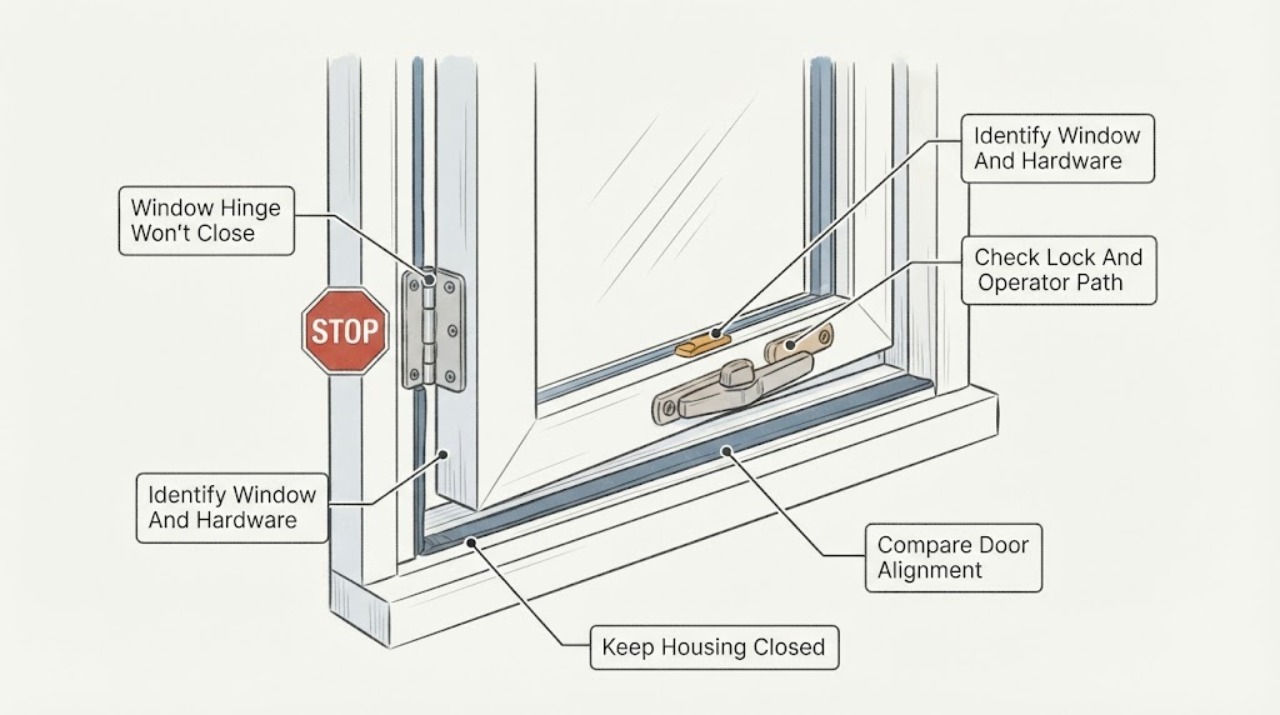
Window Hinge Won't Close: Safe Checks for a Sticking Sash
A window hinge that will not close is often a sash-alignment, obstruction, hinge, operator, lock, or frame problem, and the correct check depends on whether the window is casement, awning, or another hinged design. From a stable position, identify the window type, note where the sash first rubs or stops, check the lock and operator only with gentle normal movement, and look for visible debris, swelling, corrosion, or a displaced hinge without removing covers.
-
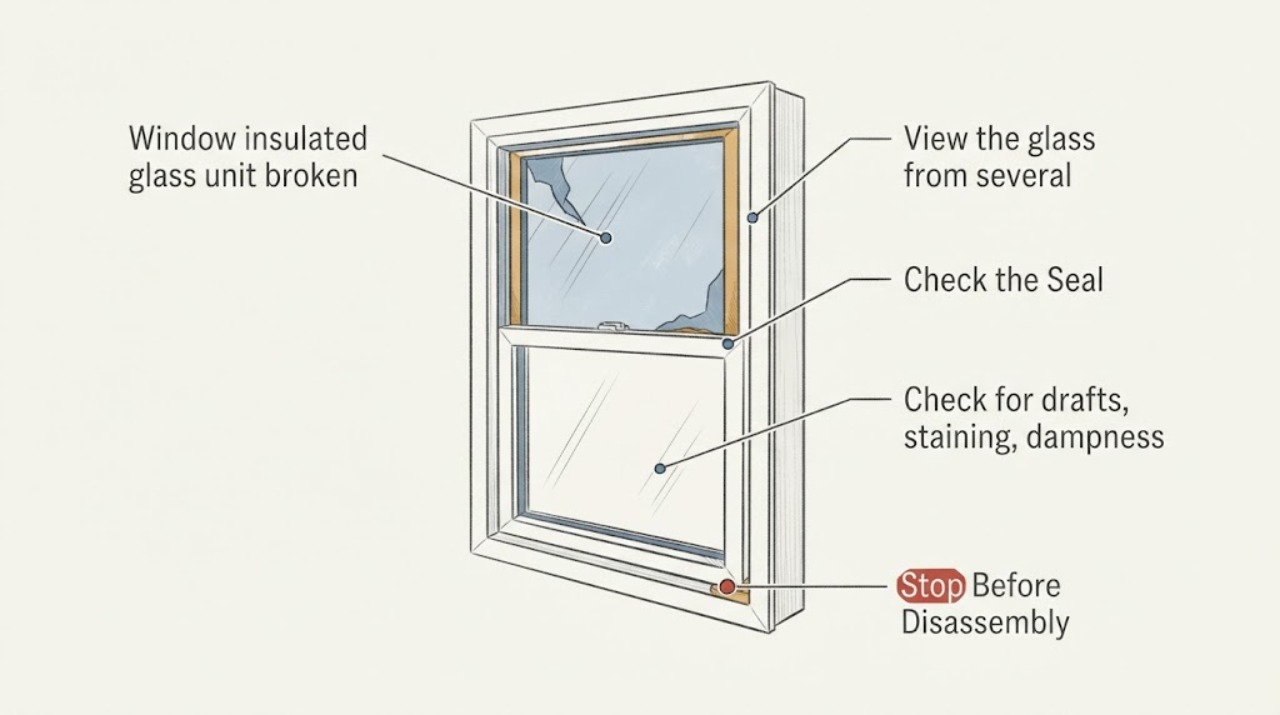
Window insulated glass unit broken seal: What to Check and What to Do Next
If haze remains between the panes after you wipe the room-side and exterior surfaces, the insulated glass unit may have lost its seal; cleaning will not restore it. Document whether the haze is between panes, then inspect the sash, frame, gaskets, sill, and surrounding wall from a safe position.
-
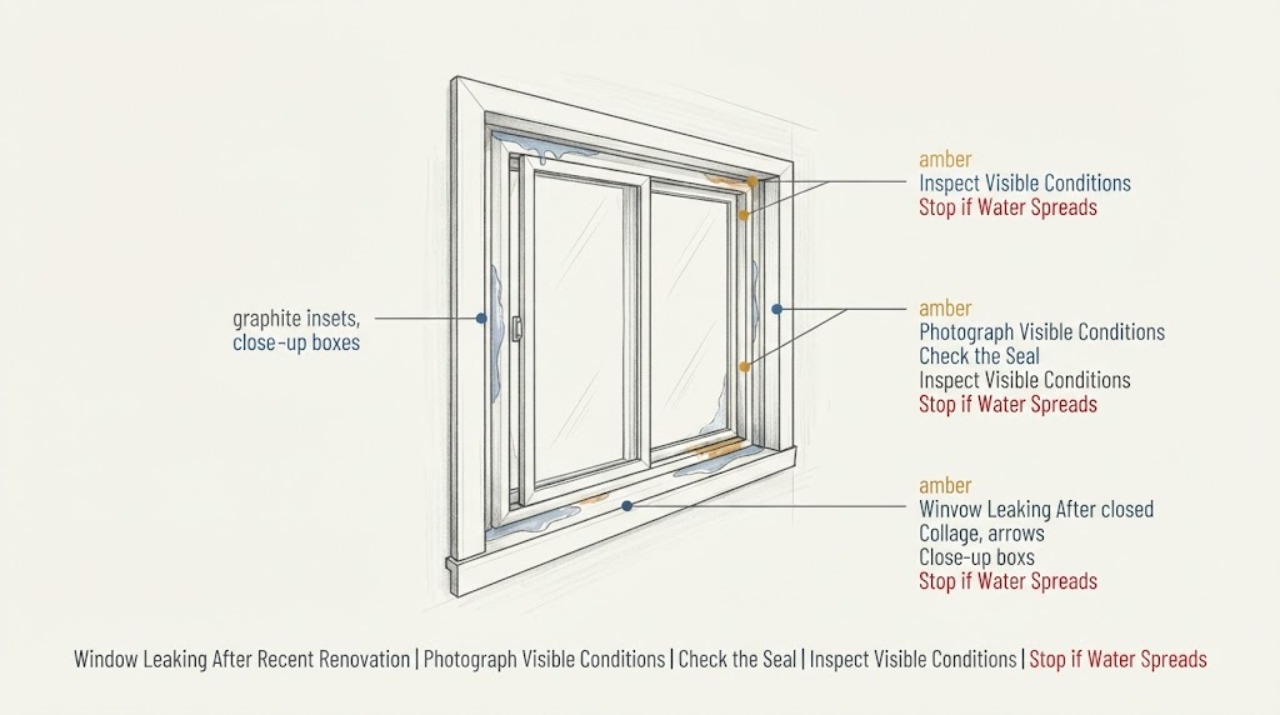
Window Leaking After Recent Renovation: Trace Water Through the Frame and Track
A window that started leaking after renovation needs a water-path diagnosis, not a blanket bead of caulk. First separate rain entry from interior condensation, then inspect the visible frame and track, including the sill and weep openings, without blocking or drilling them.
-
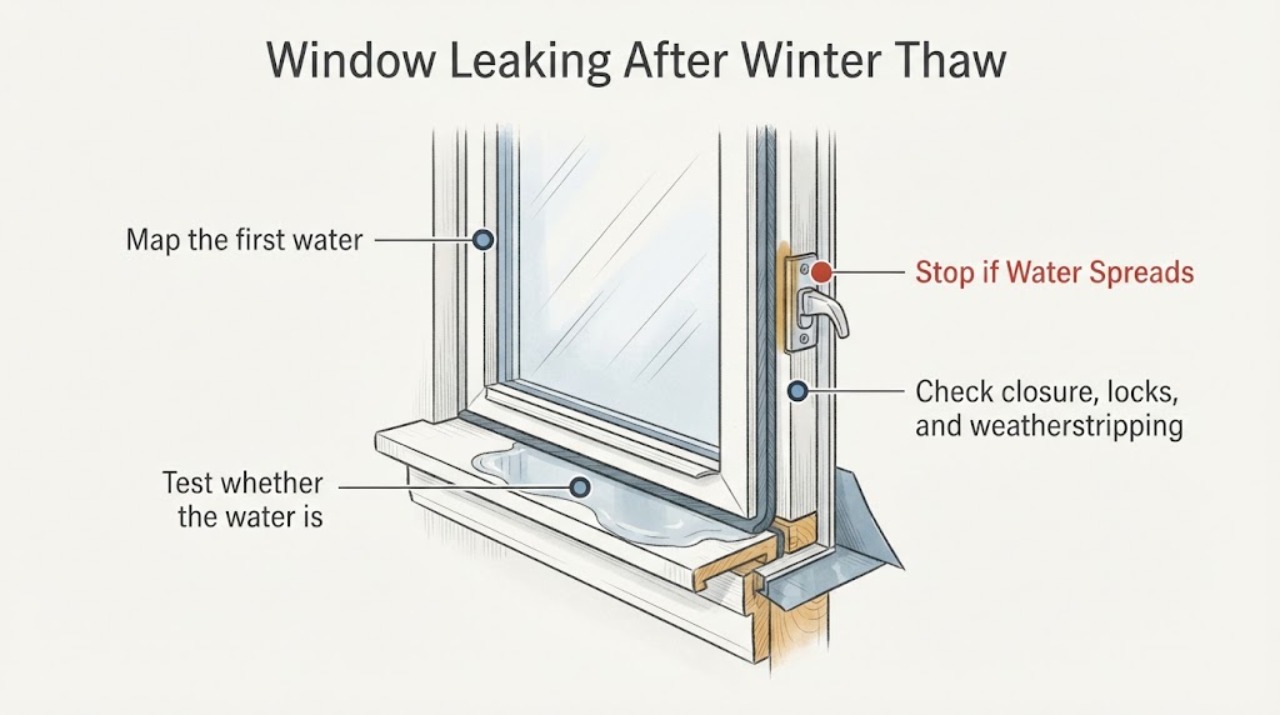
Window Leaking After Winter Thaw: Trace Meltwater vs. Condensation
Water noticed at a window after a winter thaw is not automatically a failed window. First separate room-side condensation or meltwater held in frost and drainage openings from water entering at the glazing, frame, sill, flashing, or the wall and roof around the opening.
-
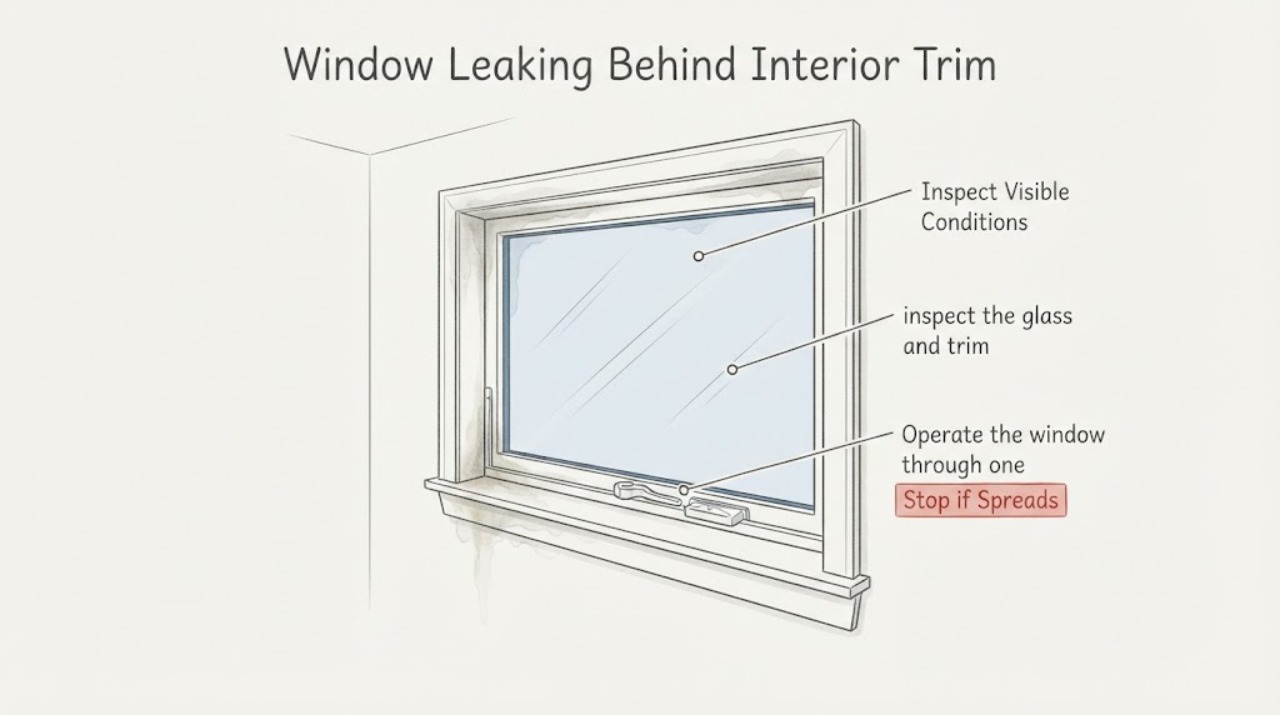
Window Leaking Behind Interior Trim: Safe Checks
Water showing inside the window trim means the visible trim may be downstream from the true entry point. Dry the trim and wall, identify whether water is coming from the sash, sill, head, or the wall cavity, and compare the pattern with rain and indoor humidity.
-
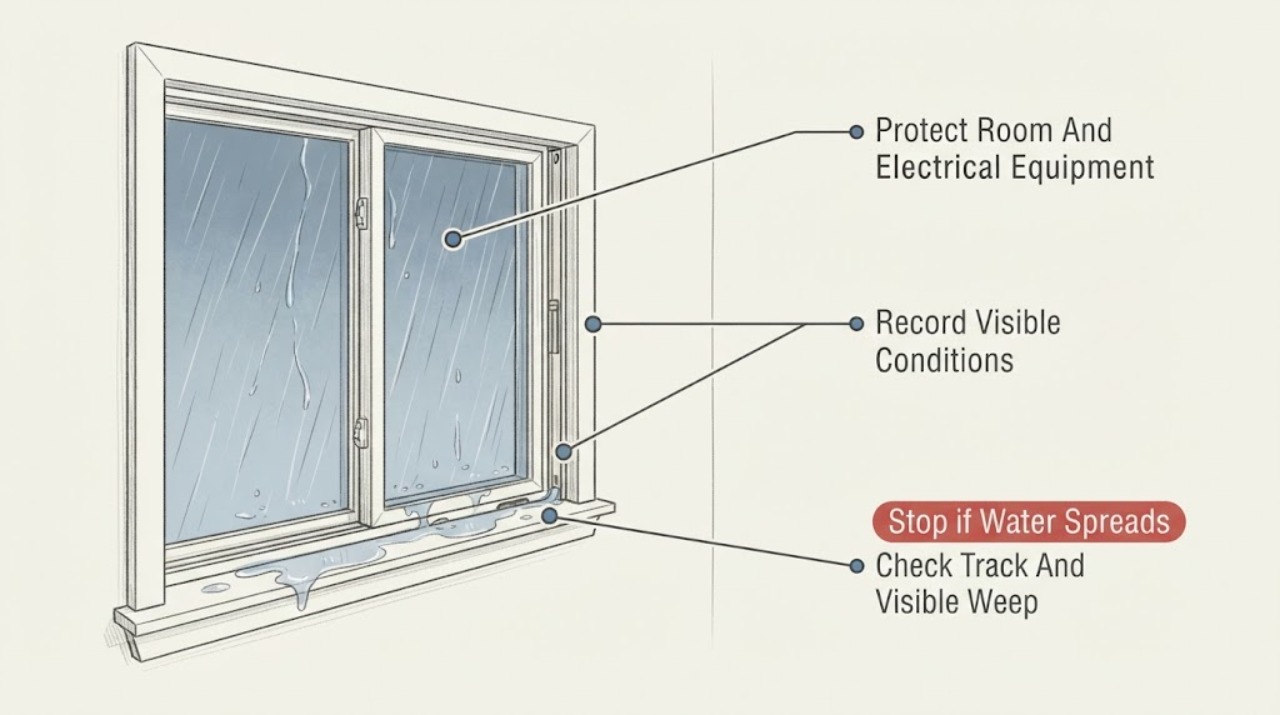
Window Leaking During Heavy Rain: Check the Track Before the Wall
During heavy rain, a small amount of water in a window track can be normal if the track drains through clear exterior weep openings. Water that stays in the track, crosses the inner sill, or appears at the wall needs a source check.
-
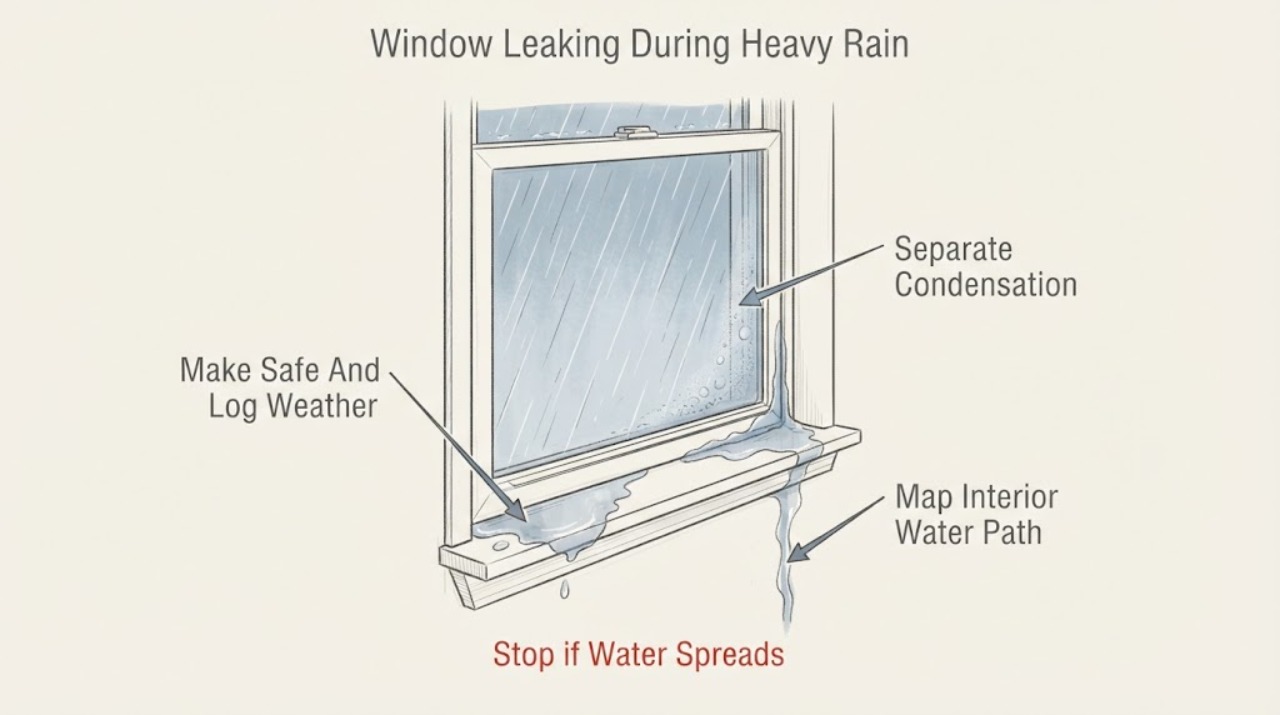
Window Leaking During Heavy Rain: Trace the Water Safely
A window that leaks only during heavy rain needs the water path identified before any sealant is applied. First distinguish rainwater from indoor condensation by noting whether water appears during or after wind-driven rain, where it first appears, and whether the glass is simply wet on the room side.
-
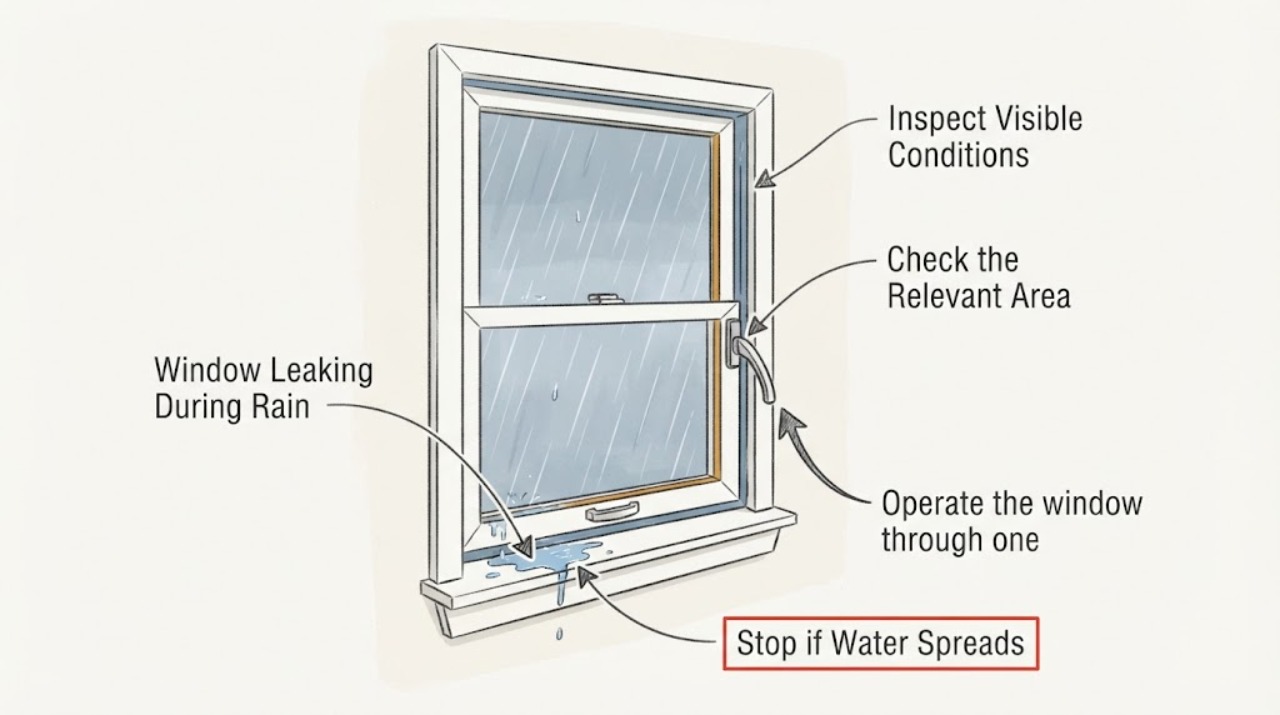
Window Leaking During Rain: What to Check
When a window leaks during rain, first dry the interior and watch where water appears first: on the glass surface, between panes, at the sash edge, in the sill or track, or behind trim. A track may collect and drain incidental water, but blocked weep openings, a poorly latched sash, failed weatherstripping, roof or gutter discharge, flashing, sealant, or a rough-opening defect can send water inside.
-
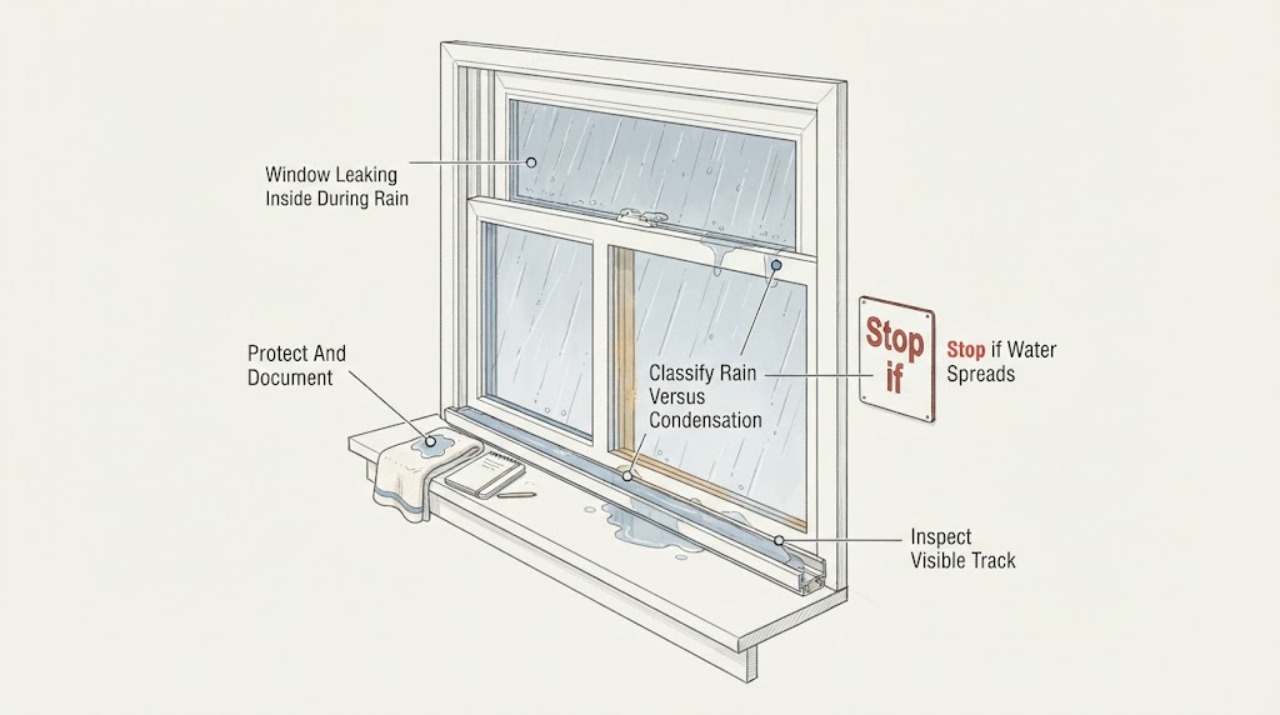
Window Leaking Inside During Rain: Trace the Track Before Sealing It
Water inside a window track during rain may be overflowing from a blocked or undersized drain path, passing the sash seal, entering at a frame joint, or arriving from flashing, siding, roof, or another wall opening above the window. First protect the room, photograph where water first appears, and inspect only the visible track, drain openings, sash seal, frame, sill, and nearby wall from a safe position.
-
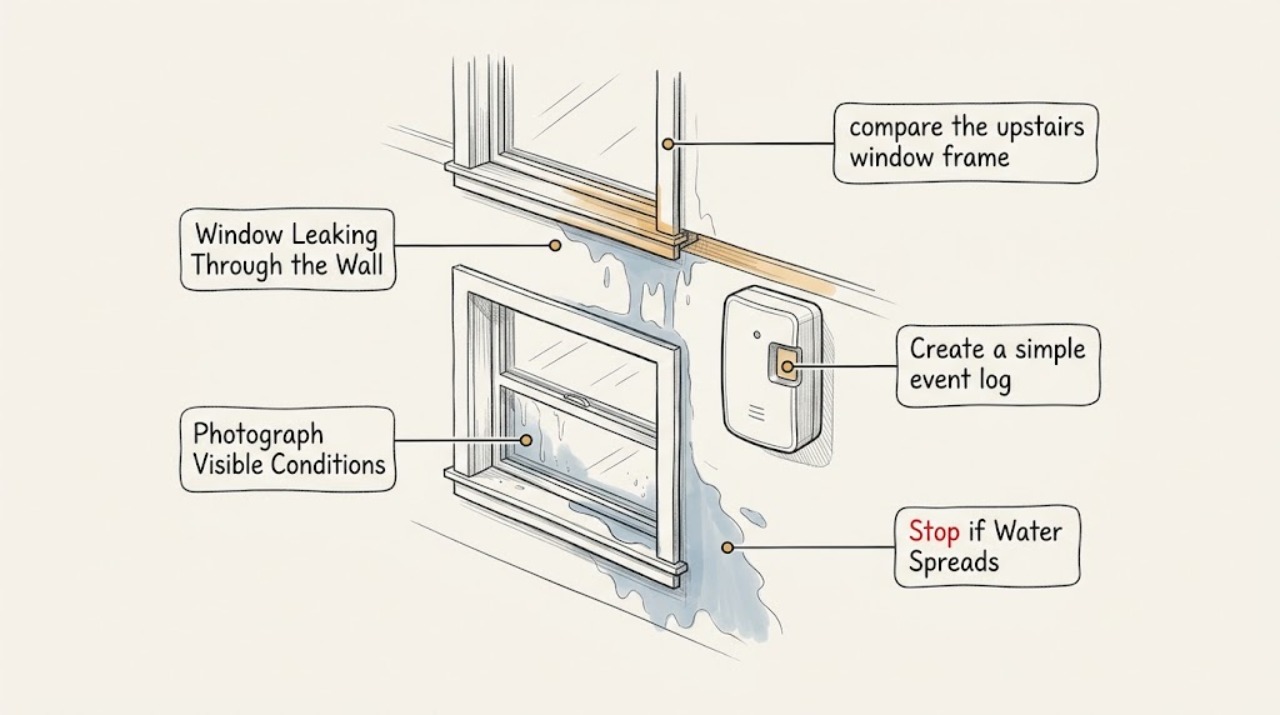
Window Leaking Through the Wall from an Upstairs Window: Safe Checks
Water appearing around a downstairs window after rain at an upstairs window may be traveling through the wall cavity, but the visible stain is not proof that the lower frame is the entry point. First protect people and electrical equipment, record when and where the water appears, and compare the upstairs window, exterior wall, roof or flashing above, and nearby plumbing without climbing or opening the wall.
-
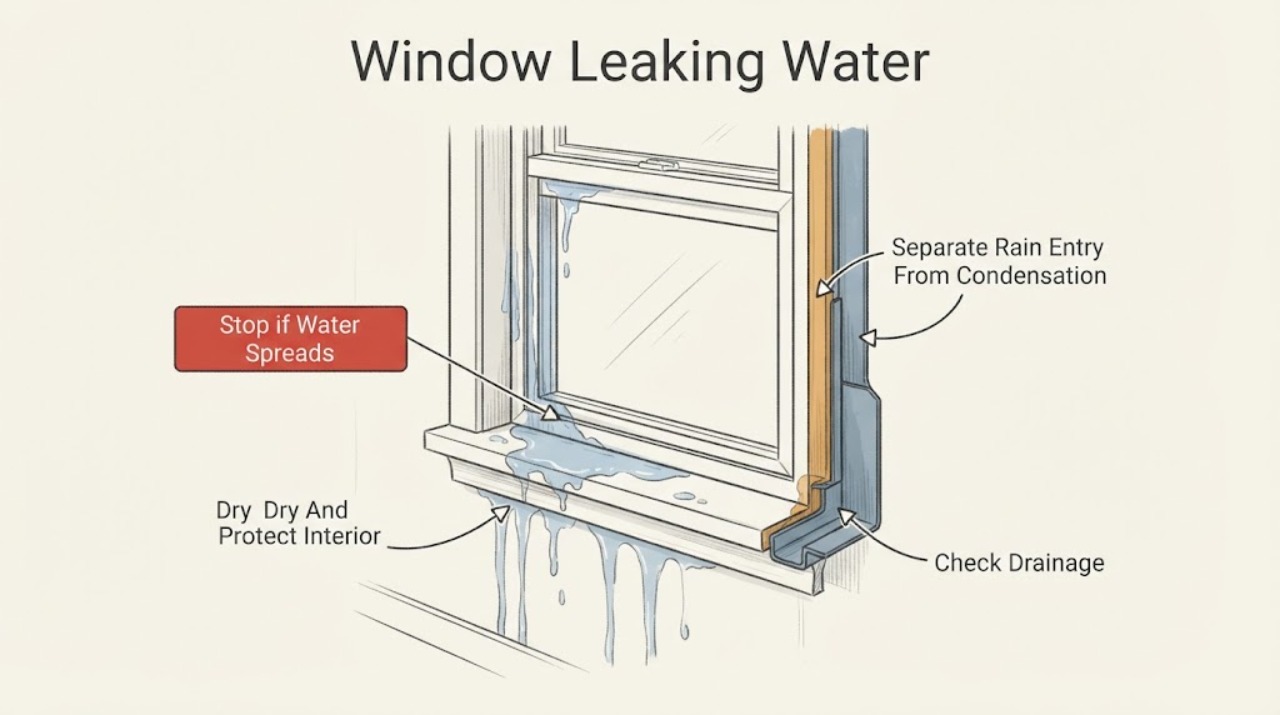
Window Leaking Water: Trace the Entry Point and Stop Further Damage
First decide whether water is entering from outdoors during rain or is condensation forming on the indoor glass. During or after rain, trace the highest wet point from inside and inspect the exterior only from a safe, reachable position for blocked drainage, failed seals, damaged flashing, siding or roof runoff.
-
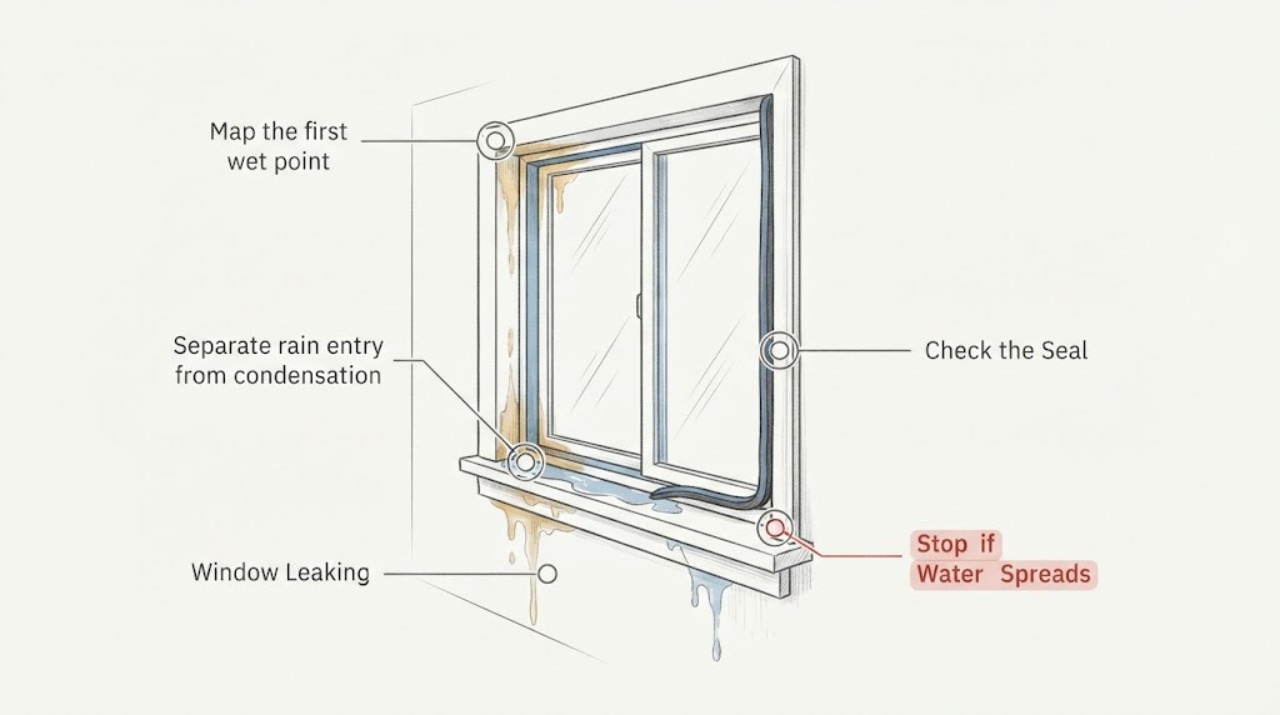
Window Leaking: Trace Water at the Frame Before Sealing Anything
A leaking window frame needs a source check, not an immediate bead of caulk. Dry the area and identify the first wet point: water in the frame or sill may be following the window's drainage path, while water at the room-side trim can indicate a blocked drain, displaced seal, failed perimeter seal, or an installation and wall-interface problem.
-
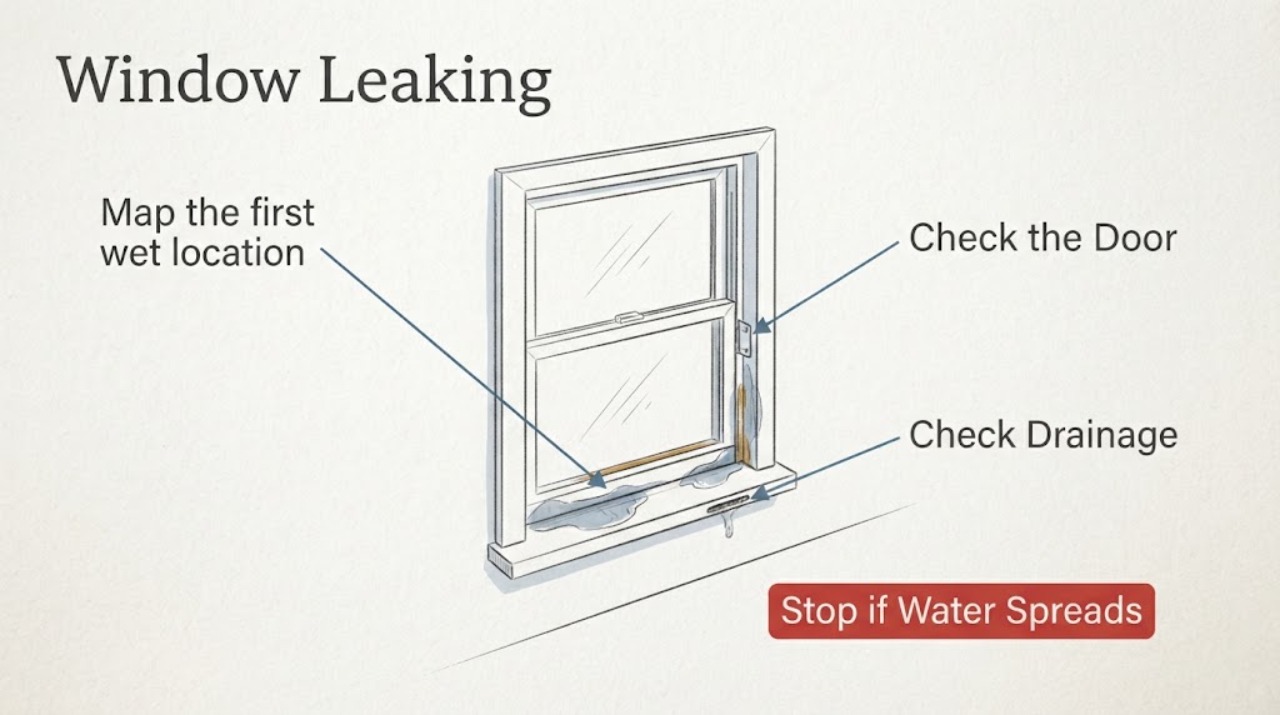
Window Leaking: Trace the Water Before Sealing Anything
A leaking window is not always a failed glass unit. First determine whether the moisture is condensation on the room-side glass, water trapped between panes, water in the sill or track, or water entering around the frame or wall opening after rain.
-
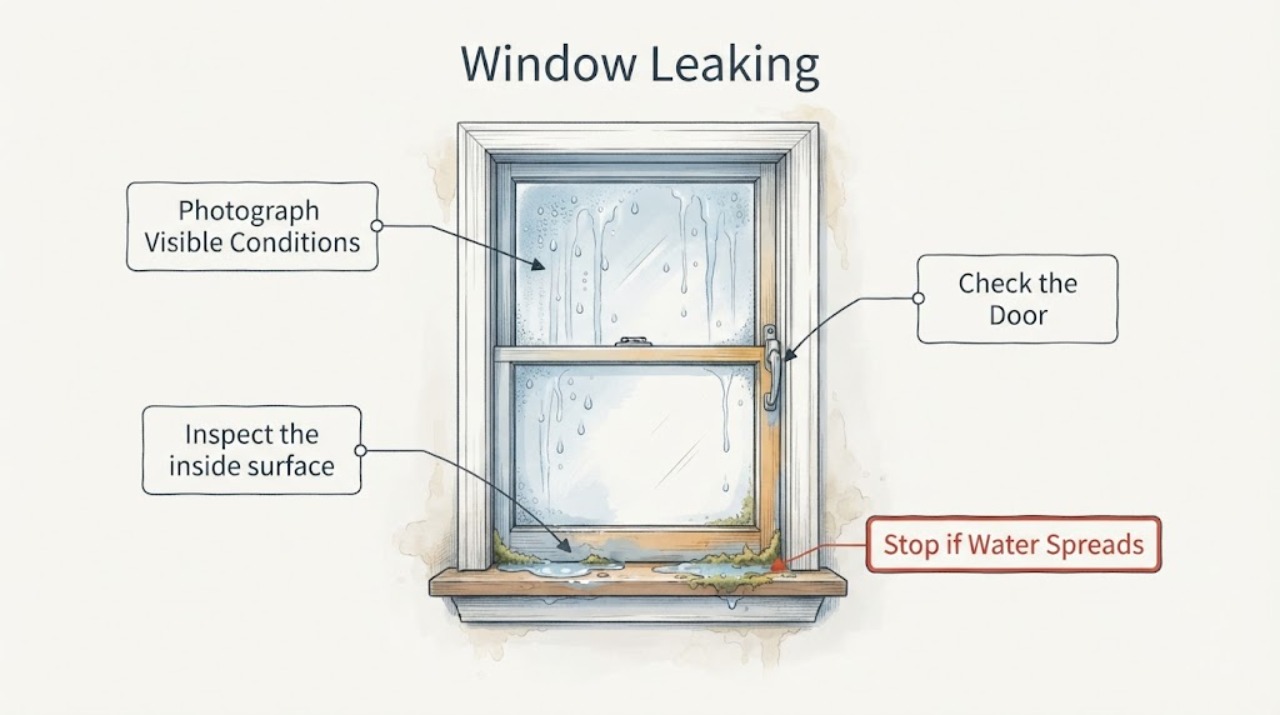
Window Leaking: What Inside Moss-Like Growth Usually Means
First determine whether the moisture is condensation on the room side of the glass or rainwater entering at the sash, sill, frame, or surrounding wall. If by inside moss you mean green, fuzzy, or dark growth on the sill or frame, treat it as a sign of persistent moisture rather than proof that the glass itself has failed.
-
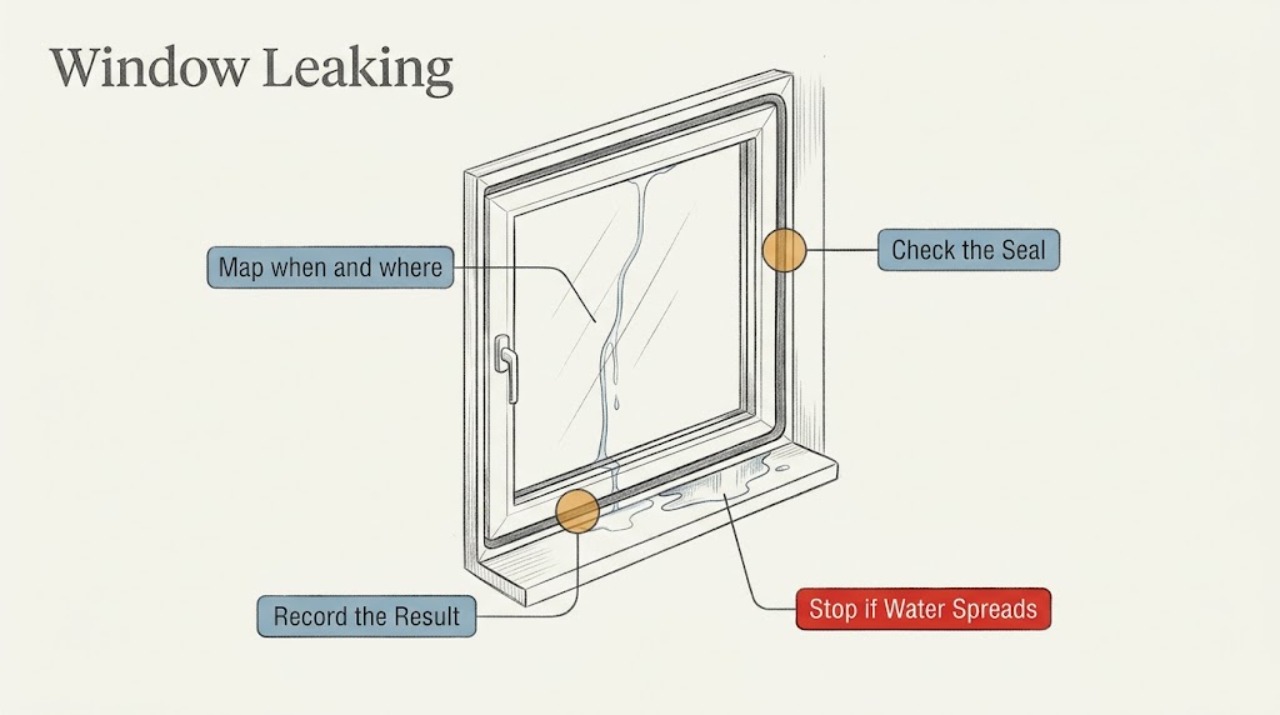
Window Leaking: Trace the Water, Check the Seal, and Protect the Opening
When a window is leaking, first determine whether the water is rain entering from the outside, water trapped in the sill or track, condensation on the room side, or a failed seal around the sash, glass, or frame. Close and lock the window, inspect the weatherstrip or gasket for a crack, tear, gap, compression damage, or displacement, and check the exterior sealant for an obvious open joint without covering the manufacturer's drainage path.